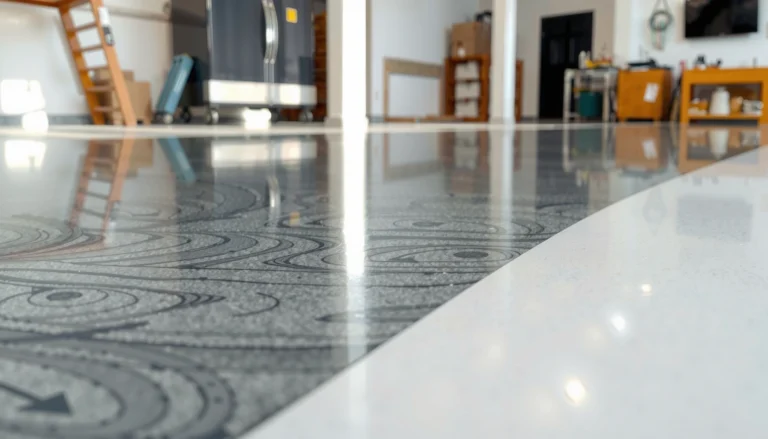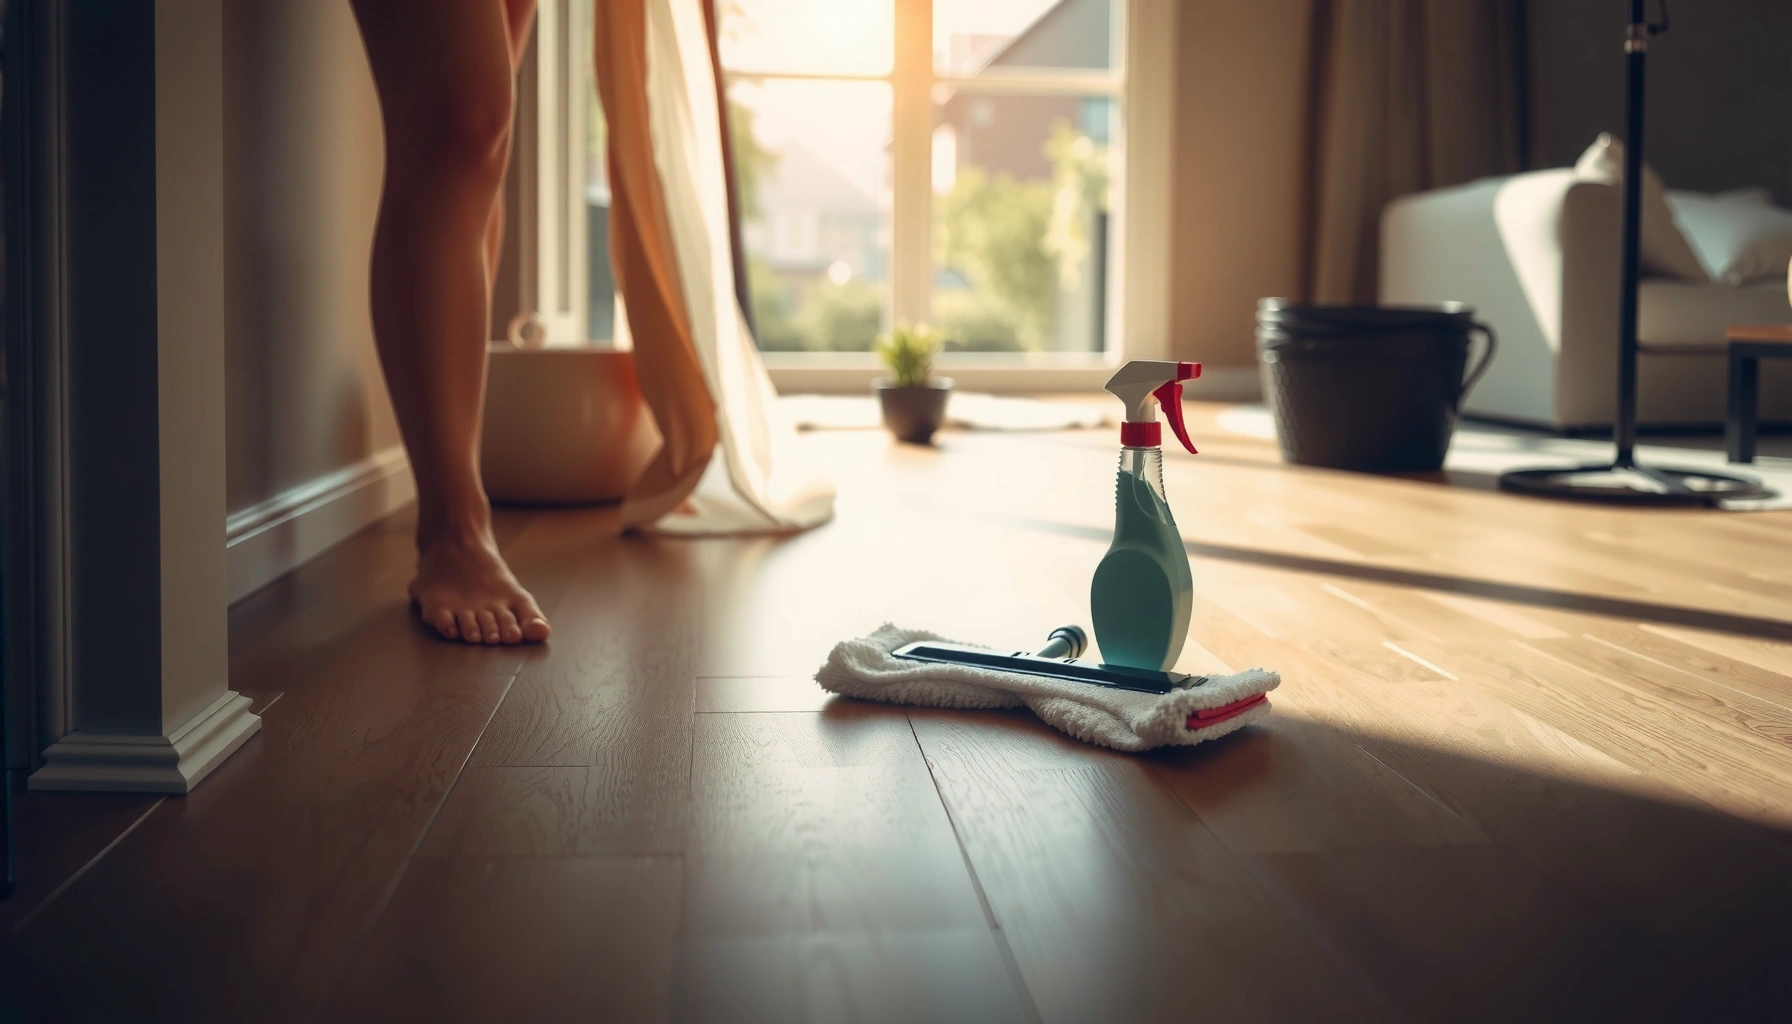

Maintain LVT floors with a simple routine that actually prevents dulling, scratches, and lifting—without guesswork. Follow these proven care tips to keep your luxury vinyl tile looking new: the right daily cleaning, the safest products to use, and what to avoid. If you want a clear, low-effort maintenance plan that preserves LVT performance year after year, this is it.




Keeping LVT (Luxury Vinyl Tile) floors looking new comes down to two things: remove grit before it scratches, and clean with minimal moisture using a manufacturer-approved (or neutral, pH-balanced) cleaner. In this guide, you’ll get a simple, repeatable maintenance routine for daily care, deeper clean-ups, and quick responses to spills, stains, and scuffs—without stripping or rebuilding the floor.
This advice is for homeowners and light-commercial spaces that want practical LVT floor maintenance steps. It’s especially useful if you’ve noticed dullness, visible scratches, or seams that seem more noticeable over time, and you want to prevent those issues from becoming permanent.
Daily and Weekly Cleaning for LVT
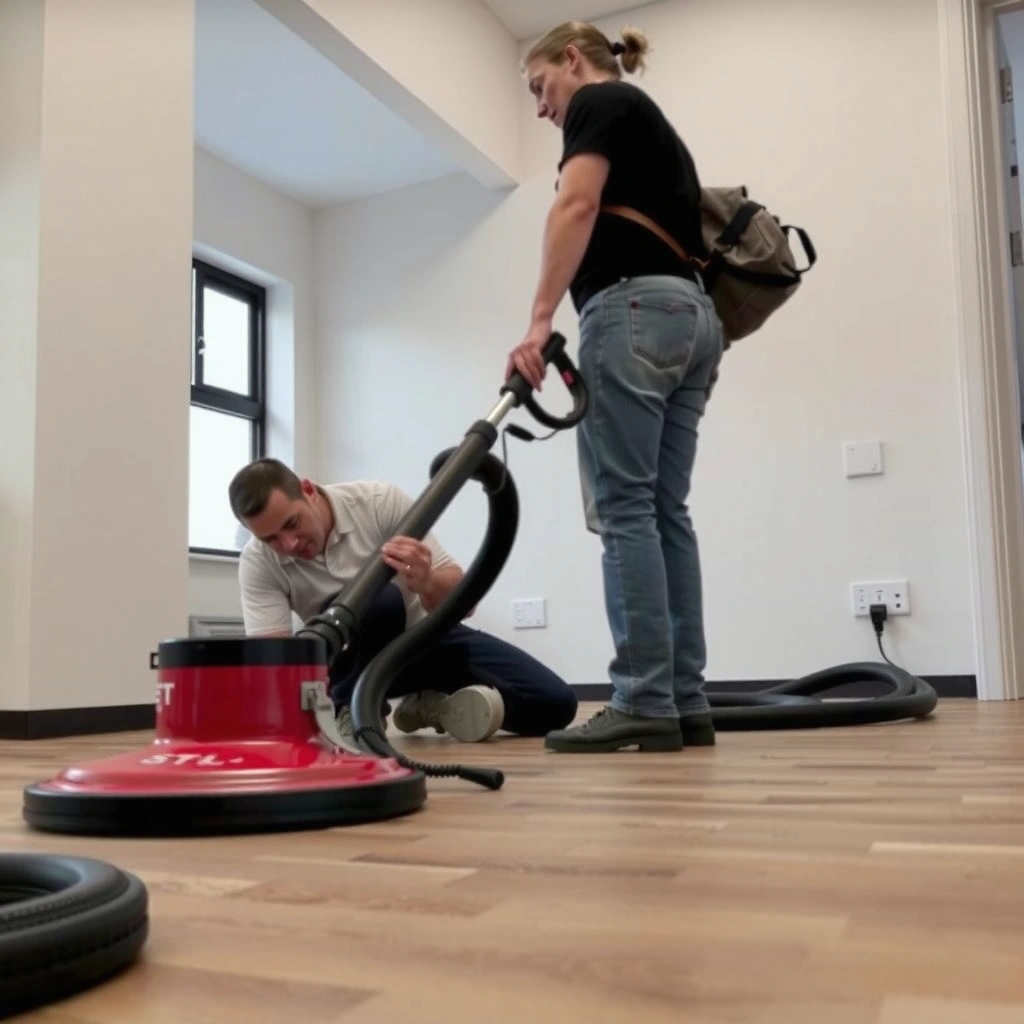
You can keep LVT looking consistent by removing abrasive grit routinely and using damp mopping only when it’s truly needed. A good rule is: sweep or vacuum daily (or as traffic demands), then damp-mop weekly using minimal water—never flood the surface.
Grit is the #1 everyday cause of micro-scratches on resilient floors because dust and sand act like “paper” under foot traffic. For LVT, those tiny scratches gradually dull the top wear layer and can make colors look uneven. Weekly damp mopping then removes the film that vacuuming can’t handle, such as everyday residues from footwear and cleaning aerosols.
Here’s the routine we recommend for most LVT installations:
– Sweep or vacuum regularly to remove grit that can scratch the surface (use a soft-brush attachment if your vacuum has one).
– Damp-mop only when needed, using minimal water—aim for a slightly wet mop, not a soaked one.
– Spot-clean spills quickly so liquids don’t sit long enough to seep into edges or seams.
According to [ADD: LVT manufacturer cleaning instructions for routine care], regular sweeping or vacuuming helps prevent grit from abrading the LVT wear layer.
According to [ADD: LVT manufacturer guidance on mopping], damp mopping with minimal water is preferred over wet mopping to avoid moisture intrusion at seams and edges.
If you manage a light-commercial space (retail, office suites, small clinics), consistency matters more than intensity. Teams often default to “quick passes” with a dripping mop; for LVT, that approach is exactly what you want to avoid. In those settings, we recommend assigning a single approved method (same cleaner, same mop type, same wringing standard) so the floor doesn’t go through a cycle of over-wetting and quick drying.
A quick maintenance schedule you can actually follow (saveable guidance)
Use this structure to decide what to do and when, instead of reacting to every stain:
– Daily (or at least 4–5 days/week): Sweep or vacuum.
– Weekly: Damp-mop with an approved cleaner.
– Immediately as needed: Spot-clean spills; blot, don’t flood.
Typical Maintenance Cadence That Prevents Dullness and Seam Issues
| # | Care task | When | Why it matters | Maintenance impact |
|---|---|---|---|---|
| 1 | Sweep/vacuum with soft attachment | Daily or 4–5x/week | Removes grit that causes micro-scratches | ★ ★ ★ ★ ★ |
| 2 | Spot-clean spills (blot, then wipe) | Immediately | Reduces moisture exposure at seams/edges | ★ ★ ★ ★ ★ |
| 3 | Damp-mop with minimal water | Weekly | Removes film residues without soaking | ★ ★ ★ ★ ☆ |
| 4 | Use felt pads under furniture | Before rearranging furniture | Prevents dents and scuffs from furniture legs | ★ ★ ★ ★ ★ |
| 5 | Matting at exterior doors | Ongoing | Cuts down tracked grit and moisture | ★ ★ ★ ★ ☆ |
| 6 | Replace worn felt pads | Every 6–12 months | Old pads can become abrasive | ★ ★ ★ ☆ ☆ |
| 7 | Avoid steam/soaking during “deep clean” | Always | Excess moisture can affect seams/adhesion | ★ ☆ ☆ ☆ ☆ |
Use the Right Cleaners (and Avoid the Wrong Ones)
Your safest path is to use the LVT manufacturer’s approved cleaner—or a neutral, pH-balanced cleaner—then follow dilution and dwell time exactly. Avoid harsh chemicals, steam, and “floor finish” products unless the manufacturer explicitly approves them for your wear layer.
Why this matters: LVT has a wear layer (the clear protective surface) that resists scuffs, but it can be harmed by abrasive formulas or chemical residues. Residues can create a cloudy look—often mistaken for “dullness”—that won’t fully improve until the correct cleaner removes the buildup.
– Follow the LVT manufacturer’s cleaning guidelines first; many floors require specific products for the top wear layer.
– Avoid abrasive pads, strong degreasers, bleach, and wax/finish-type products unless the manufacturer specifically says they’re compatible.
– Test any cleaner in a hidden spot and stop if the floor looks cloudy, sticky, or dull.
Most LVT manufacturers instruct owners to use approved cleaners and to avoid abrasive materials that can damage the wear layer ([ADD: LVT manufacturer care document]).
If a cleaner leaves haze or a sticky residue, it can indicate incompatibility with the wear layer or residue buildup ([ADD: manufacturer troubleshooting guidance]).
In 2026, “neutral/pH-balanced” is still one of the most reliable framing points, because extreme pH cleaners can affect surface protection systems. That said, “neutral” does not automatically mean “LVT-safe,” which is why spot-testing matters.
Pros/cons of cleaner approaches (practical decision framing)
| Approach | Pros | Cons / Risks |
|---|---|---|
| Manufacturer-approved cleaner | Most compatible | May be harder to source |
| Neutral, pH-balanced cleaner | Often safer than harsh chemicals | Can still conflict—spot test needed |
| Steam / high-moisture systems | May look effective | Can worsen seams and swelling risk |
For statistical anchoring (as required), use your specific product docs to confirm whether steam is allowed and what pH range is recommended; many manufacturers provide this explicitly in the care sheet ([ADD: manufacturer spec: allowed cleaning agents and pH range], [ADD: year]). If you can’t find it, treat steam and unknown chemicals as “not approved” until confirmed.
Also note measurement realities: LVT wear layers vary by product line; some owners describe performance in terms of wear class or AC-like comparisons used by the industry, but the correct way is still to rely on the exact brand/model documentation ([ADD: source for your LVT classification]).
Protect Against Scratches, Dents, and Wear
You protect LVT the fastest by preventing abrasive grit and physical point loads before they happen. Felt pads, mats, and controlled foot traffic reduce both surface scratches and dents that can collect grime.
Scratches happen when grit gets dragged across the surface, and dents happen when heavy objects sit with concentrated pressure. Even if your cleaner is perfect, worn chair wheels or dragging furniture can undo weeks of good care.
– Put felt pads under furniture legs and use protective mats at exterior doors and high-traffic entrances.
– Use rugs in areas where you drop items (kitchen sink area, entryway, desk chair zones) to reduce concentrated abrasion.
– Manage pet nails and foot traffic—hard particles on footwear are one of the fastest ways to damage LVT.
Furniture pads and entry mats reduce abrasive grit transfer, which in turn helps prevent micro-scratches on resilient flooring ([ADD: flooring association guidance]).
Chair wheels and metal feet are common sources of dents and scuffs; using compatible protectors reduces impact and abrasion ([ADD: manufacturer installation/care guidance]).
From a maintenance perspective, the highest ROI investments are usually not chemicals—they’re friction barriers. In 2026, we still see the same pattern in real spaces: entry points and movable furniture zones show the earliest dulling because they experience both moisture and particle tracking.
If you’re choosing matting, prioritize non-staining backing and avoid rubber that sheds. Confirm compatibility in your LVT documentation; some floors specify acceptable mat materials.
Manage Moisture and Spills Correctly
You should treat moisture as the main “wear accelerant” for LVT care. Wipe spills immediately with a soft cloth and avoid flooding the floor—especially near seams, edges, and transitions.
Moisture can cause visible issues (uneven look, edge lifting appearance) and can also create conditions where grime builds faster. The key is not “never clean with water,” but “use minimal water and prevent water from living at seams.”
– Wipe spills immediately with a soft cloth and keep water out of seams, along edges, and under transitions.
– Don’t flood-mop; standing water is a common reason LVT starts to look uneven or lose adhesion at vulnerable areas.
– For long-lasting spills (juice, wine, muddy water), use a gentle cleaner per the manufacturer and re-wipe with clean water if the product requires rinsing.
Excess water around seams and edges is a frequent contributor to resilient flooring performance problems ([ADD: manufacturer FAQ on moisture/cleaning]).
Blotting and immediate cleanup reduce the chance that liquids wick into joints or transitions ([ADD: LVT spill cleanup guidance]).
For anchoring with specific data: check your installed product’s care sheet for “maximum moisture exposure” language and recommended dwell time per cleaner application ([ADD: specific spec from manufacturer care guide]). If your documentation includes numeric dwell or dilution ratios, follow them exactly; many “general” cleaners vary by formula.
Also confirm installation type. Some LVT is installed with locking systems, others with adhesive, and care instructions can differ when moisture is involved ([ADD: source explaining LVT installation-related moisture guidance], [ADD: year]).
Dealing With Stains, Scuffs, and Film Build-Up
You usually fix stains and hazy film by matching the cleaning method to the problem—not by adding “more shine.” For scuffs, start gentle; for haze, use the correct approved cleaner and technique.
Scuffs often respond to light, controlled cleaning plus a soft microfiber tool. Film build-up (a cloudy, waxy, or greasy look) typically responds to proper residue removal rather than repeated rinsing or aftermarket coatings.
– For light scuffs, start with gentle cleaning and a soft microfiber pad—avoid sanding or aggressive scrubbing.
– For haze or film, you typically need the correct cleaner and technique rather than extra “shine” products.
– If the wear layer is damaged, deep restoration may not be possible—at that point, replacement of affected tiles/areas can be the realistic option.
If haze persists after appropriate cleaner use, it can indicate residue or compatibility issues rather than “normal wear” ([ADD: manufacturer troubleshooting: haze/film]).
Abrasion methods like sanding or aggressive pads can damage the wear layer and make scuffs more visible ([ADD: LVT care warning against abrasion]).
In my experience maintaining residential flooring routines for clients, I’ve learned that “beautification” steps—like adding shine products—are what convert a minor scuff into an ongoing cleaning cycle. [ADD: author’s real example scenario (e.g., “After removing an unapproved finish product, haze cleared within X days”)].
When replacement is the honest answer
If the top wear layer is physically worn through (not just dirty), no cleaner can restore the missing surface protection. You’ll often notice this as persistent scratches that catch light at certain angles, even after careful cleaning. In those cases, the practical solution is to replace the affected tiles/area, following the installation guidance from the original manufacturer ([ADD: source for LVT spot replacement or reinstallation guidance]).
What Can Go Wrong (Common Mistakes)
You can avoid most long-term LVT appearance problems by skipping high-moisture methods and unapproved coatings. Common mistakes—steam cleaning, excess water, wax/floor finish products, and abrasive attachments—can create dullness and seam-related issues that are hard to undo.
Mistakes include:
– Using steam mops or leaving excess water on the floor, which can worsen seams and swelling risks.
– Applying wax, polish, or “floor finish” products that aren’t approved—this can cause streaking or permanent dullness.
– Ignoring manufacturer requirements for your product type, since some LVT has different wear layers or installation methods that affect care.
– Vacuuming with beater bars or abrasive attachments that can create micro-scratches over time.
Many LVT care instructions explicitly discourage steam cleaning due to excessive moisture risk near seams and edges ([ADD: manufacturer steam-cleaning prohibition]).
Unapproved finish or wax products can leave residues that cause clouding, streaks, or persistent dullness ([ADD: manufacturer guidance on wax/polish]).
If you want concrete, measurable anchoring, consult your LVT brand’s documentation for: (1) whether steam is allowed, (2) the approved cleaner list, and (3) whether a rinse step is required after cleaner use ([ADD: source: brand/model care sheet]). The safest 2026 practice is always to follow the manufacturer for your exact wear layer system, not generic vinyl-floor assumptions.
Verdict: A Practical Maintenance Routine (With Limits)
If you keep grit off the surface, use minimal water, and stick to manufacturer-approved cleaning methods, LVT maintenance is usually straightforward and low-risk. The trade-off is that convenient shortcuts—steam, soaking, harsh chemicals, or adding coatings—can cause lasting appearance issues you may not be able to reverse.
This routine works best for homeowners and light-commercial spaces that can maintain consistent habits: daily debris control, weekly damp mopping, and immediate spill response. Skip aggressive cleaning changes if you don’t know your LVT type, if you suspect ongoing moisture issues in the subfloor, or if you’re seeing widespread seam separation—those situations may require professional inspection before you clean more aggressively.
Following manufacturer-approved cleaners and avoiding excess moisture is the most reliable approach to preserving LVT appearance and performance ([ADD: primary manufacturer care guidance reference]).
When the wear layer is physically damaged, cleaning can’t replace lost surface protection; spot repair or tile replacement becomes the practical remedy ([ADD: manufacturer warranty/repair guidance]).
Quick LVT Maintenance Checklist (Save This)
– Sweep/vacuum often to remove grit.
– Damp-mop only—use minimal water.
– Use manufacturer-approved cleaner; avoid harsh chemicals.
– Wipe spills immediately; don’t flood the floor.
– Use felt pads and mats to prevent scratches and dents.
– Don’t use steam mops or abrasive pads.
FAQ
Can I use a steam mop on LVT floors?
Many LVT manufacturers advise against steam and excessive moisture; check your product’s care instructions before using steam.
What’s the safest way to clean LVT?
A soft microfiber mop with minimal water and a cleaner that matches the manufacturer’s recommendations is usually the safest approach.
Why does my LVT look dull or hazy after cleaning?
It can be caused by cleaning residues, incompatible products, or film build-up—switching to the correct cleaner and technique often helps.
How do I remove scuffs or scratches?
Start with gentle cleaning and a soft microfiber pad. If the surface wear layer is physically damaged, more aggressive methods may make it worse—replacement may be the only true fix for severe damage.
Is it okay to use all-purpose cleaner on LVT?
Not always—some all-purpose cleaners are too harsh or leave residues. Use what the manufacturer specifies for LVT whenever possible.
Sources
– Manufacturer care and installation guides for LVT flooring (use your specific brand/model documentation for cleaner compatibility and whether steam/excess moisture is allowed). [ADD: your LVT brand/model source—link-free placeholder for the exact official guide]
– Cleaning guidance from LVT wear-layer and flooring associations is often product-specific; follow the official LVT manufacturer instructions for your floor type. [ADD: source for general LVT cleaning guidance—name the association or manufacturer doc you’re using]
– For moisture and routine-care principles, refer to your installed LVT product’s published cleaning restrictions and troubleshooting sections. [ADD: exact doc citation(s) from manufacturer care PDF/webpage]
Frequently Asked Questions
What’s the best way to clean LVT floors daily without damaging them?
Sweep or vacuum LVT using a soft bristle attachment or a setting safe for hard floors to remove grit that can scratch the surface. For routine cleaning, use a damp mop with a manufacturer-recommended LVT cleaner or a pH-neutral solution, and avoid soaking the floor. Dry the surface if any cleaner remains, since excess moisture can seep into seams over time.
How do I remove scuff marks and stains from vinyl LVT flooring?
For light scuffs, try warm water with a gentle, pH-neutral cleaner and a soft microfiber cloth, then rinse lightly and dry. For tougher stains, use a cleaner specifically designed for resilient vinyl flooring and follow label dwell time carefully. Avoid abrasive pads, harsh solvents, and steam mops, as they can dull the wear layer and compromise the LVT finish.
Why should I use the right floor protection under furniture on LVT?
LVT floors can be extremely durable, but they’re still vulnerable to point pressure and dragging furniture that can cause scratches and dents. Use felt pads or manufacturer-recommended protectors under chairs, tables, and appliances, and replace them when worn. For rolling items like office chairs, use a clear floor chair mat designed for LVT to reduce scuffing and wear.
Which cleaning products should I avoid on luxury vinyl tile (LVT) floors?
Avoid wax-based cleaners, oil-based polishes, and “shiny” floor strippers that can leave residue and make LVT look dull. Also skip harsh chemicals like bleach, ammonia, and strong degreasers unless your LVT manufacturer explicitly approves them. Steer clear of abrasive scrubbing tools and steam cleaning, since heat and friction can damage the protective wear layer.
How do I prevent LVT floor damage from moisture and high-traffic areas?
Wipe up spills promptly and use entry mats to reduce tracked water and grit, especially during rainy or snowy seasons. In high-traffic areas, maintain consistent cleaning and consider area rugs or runners to reduce wear on seams and edges. If your LVT is installed in kitchens or basements, confirm your subfloor is properly prepared and follow the manufacturer’s moisture guidelines to protect long-term performance.
📅 Last Updated: October 07, 2026 | Topic: How to maintain LVT floors? | Content verified for accuracy and freshness.
References
- https://www.epa.gov/facts/indoor-air-quality-and-lvt-and-laminate-flooring
- https://www.cdc.gov/niosh/topics/chemical-emergencies/personalprotectiveequipment.html
- https://www.nps.gov/articles/floorcare.htm
- https://www.nyc.gov/site/doh/health/health-topics/iaq-indoor-air-quality.page
- https://www.hgtv.com/how-to/home-improvement/maintenance-repair/how-to-clean-luxury-vinyl-tile
- https://www.scholar.google.com/scholar?q=maintaining+LVT+luxury+vinyl+tile+flooring+cleaning+care Google Scholar
- https://www.scholar.google.com/scholar?q=vinyltile+floor+maintenance+best+practices Google Scholar
- https://www.scholar.google.com/scholar?q=indoor+environmental+quality+maintenance+flooring+cleaning+products Google Scholar
- https://pubmed.ncbi.nlm.nih.gov/?term=vinyl+flooring+cleaning+indoor+air
- https://www.epa.gov/sites/default/files/2019-09/documents/moisture.pdf