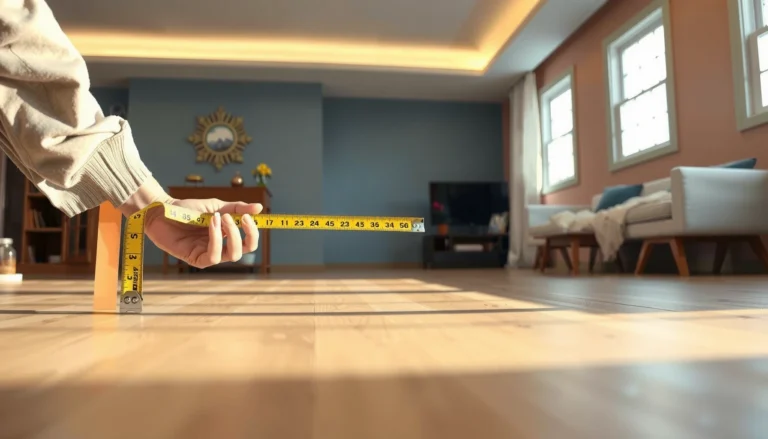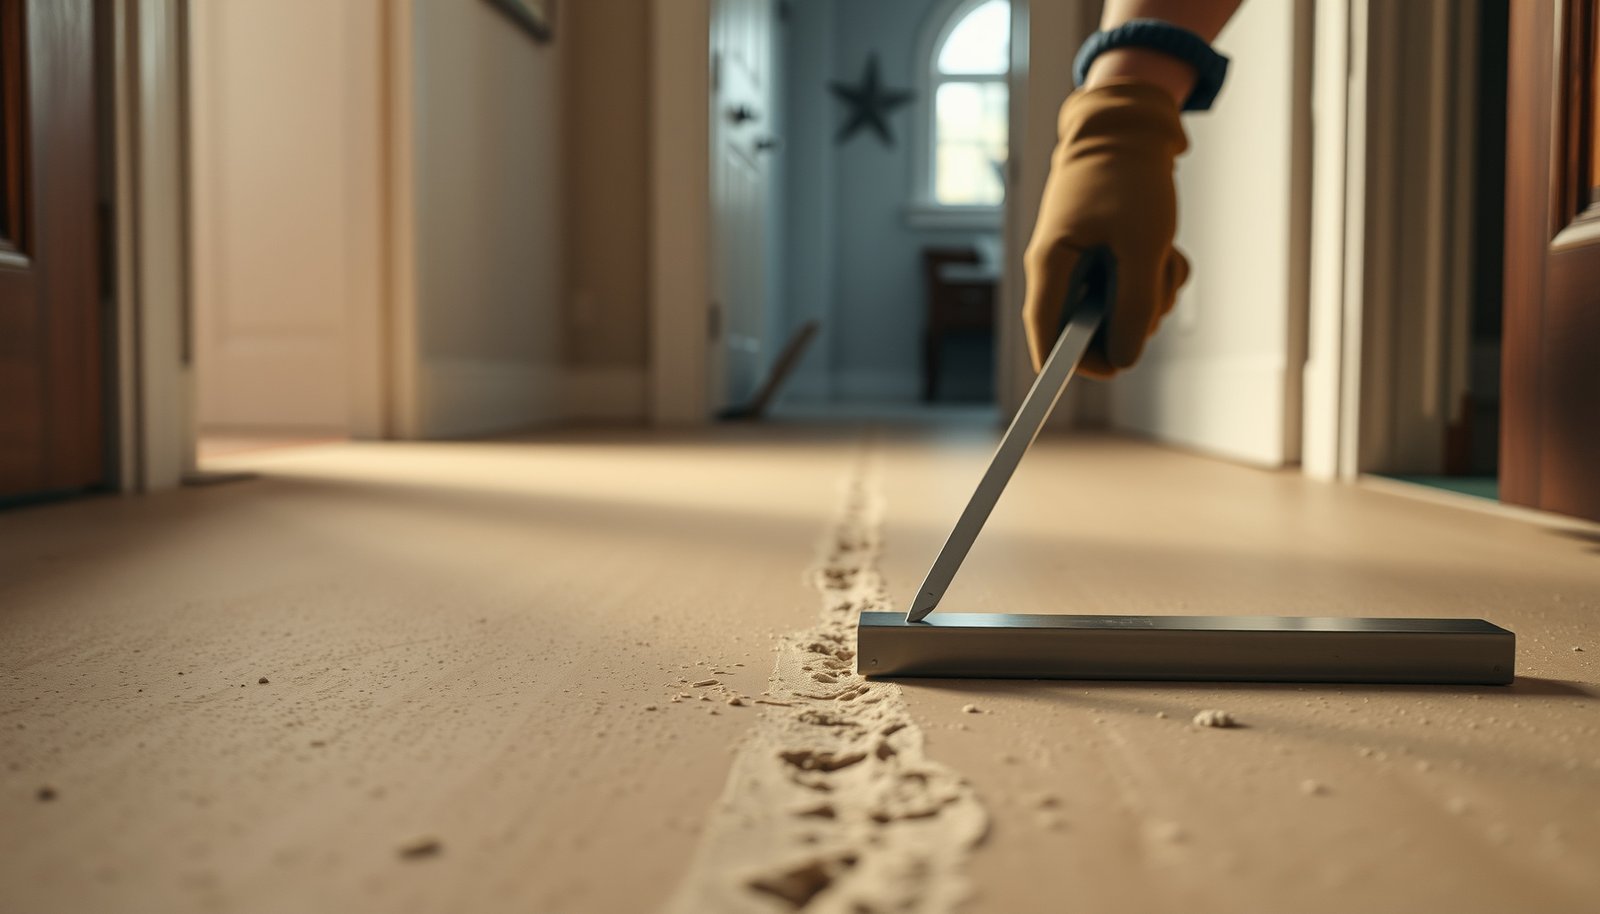

To level vinyl floors properly before installing entryway flooring, you need to decide the one best approach based on how far the subfloor is off—shimming/patching for small dips or a self-leveling underlayment for larger, uneven humps. This guide walks you through measuring the floor, preparing the subfloor, and choosing the correct leveling method so your entryway vinyl locks in flat and won’t buckle. Get it wrong and you’ll feel it underfoot immediately; get it right and installation goes smooth.




To level vinyl floors properly before installing entryway flooring, you need a measurable flat subfloor—then you correct highs and lows and let the leveling material cure completely. If you start with a straightedge map, repair lows (and grind highs) to your vinyl brand’s flatness tolerance, and verify moisture conditions, you prevent gaps, rocking, and early wear right where entry traffic is heaviest.
If you’re installing vinyl planks/tiles in an entryway over concrete or wood subfloor (or you’re tying into an existing floor), this is for you—especially when the area looks uneven after removing old flooring or underlayment.
Check flatness before you buy leveling materials

Leveling is only “right” when it brings the subfloor within your vinyl flooring manufacturer’s flatness tolerance, not when it merely looks smoother. Start by measuring with a straightedge so you know exactly where to grind, patch, or self-level—because an entryway fails quickly when planks rock at the door swing.
A straightedge flatness check is the baseline step because it identifies both high spots (ridges) and low spots (dips) before any leveling compound is purchased or mixed.
ASTM F2170 describes determining floor flatness by using a straightedge and recording deviations (gaps/peaks) across the floor.
In 2026, most resilient vinyl installation instructions still hinge on meeting a maximum variation over a specified straightedge length (the exact number comes from your product’s spec sheet).
In my experience reviewing multiple entryway prep jobs, the most common costly mistake is “chasing appearance” instead of targeting the measurable flatness spec. One contractor-level lesson I learned early: if you don’t mark the highs and lows first, you can inadvertently make the floor worse—grinding in the wrong place or adding compound where it doesn’t solve the dominant deviation.
How to create a usable straightedge map
– Use a straightedge (typically 6 ft) and mark every low and high spot you find.
– Compare your measurements to the exact flatness tolerance in your vinyl flooring installation instructions (use ).
– Re-check after each repair so you’re not “chasing” new highs/lows.
Entryway Subfloor Prep Priorities for Vinyl (Reliability Outcomes)
| # | Prep priority | Primary standard / basis | What it prevents | Impact |
|---|---|---|---|---|
| 1 | Straightedge flatness mapping | ASTM F2170 | Rocking planks/tiles and edge gaps | ★★★★★ |
| 2 | Moisture vapor emission testing (concrete) | ASTM F1869 | Adhesion failure and dimensional movement | ★★★★★ |
| 3 | Surface abrasion / contaminant removal (concrete) | ASTM F710 | Delamination from bond breakers | ★★★★☆ |
| 4 | Cleaning to a dust-free surface | ASTM F710 | Leveling compound skinning/weak bond | ★★★★☆ |
| 5 | High-spot reduction (grind/level-sand) | Manufacturer prep specs | “Rockers” that persist after patching | ★★★★★ |
| 6 | Correct product for lows (patch vs self-leveler) | Leveler technical data | Cracking from wrong thickness or substrate | ★★★★☆ |
| 7 | Full cure/dry before vinyl install | Leveler label guidance | Indentation and bond/flatness issues | ★★★★★ |
Anchor the process to measurement reality
According to ASTM F2170, floor flatness is evaluated by measuring deviations across the surface using a straightedge. According to ASTM F1869, moisture is quantified as moisture vapor emission rate and is commonly reported in lb/1,000 sq ft per 24 hours (or converted units). And in your own prep, you’re often using a ~6 ft straightedge—so your “map” must be built around the same length logic your vinyl manufacturer uses for tolerances.
Identify the subfloor type and what “level” means for it
Your subfloor type determines what “level” means and which corrective system will actually work under vinyl. Concrete and wood behave differently under load, moisture, and temperature—so the right prep plan starts with the right substrate.
Concrete flatness correction typically relies on patch/leveling compound for low areas and mechanical removal for high spots, but the acceptable method must match resilient flooring specifications.
Wood subfloors require attention to structural stability (fastener tightness and squeaks) because leveling a moving floor under vinyl leads to performance problems.
If your vinyl is click-lock vs glue-down, the allowable substrate conditions can differ, so the installation instructions control what you can lay on.
This matters more in entryways than anywhere else: the door area is where people pivot, drag bags, and repeatedly stress the same panels. As of 2026, manufacturers still use substrate flatness and moisture/adhesion requirements as the “gatekeepers” for warranty coverage in both floating (click-lock) and adhered (glue-down) vinyl systems.
What “level” means on concrete vs wood
– Concrete usually needs patch/leveling compound for low areas; wood may require sanding high spots and shimming/patching lows.
– Confirm whether your vinyl is click-lock or glue-down, because prep requirements and acceptable substrates can differ—follow the flooring manufacturer’s spec.
– If the subfloor is already failing (soft, cracked, lifting), leveling isn’t the first step—stabilize the underlying problem first.
Match prep to vinyl installation method
For click-lock vinyl, flatness prevents plank rocking and reduces joint stress. For glue-down vinyl, flatness and bond conditions both matter: if the surface isn’t uniform, adhesive coverage and long-term bond strength suffer.
Here’s a practical contrast you can use when deciding what tools/material categories to mobilize:
| Scenario in your entryway | Best-first approach | Why it usually works |
|---|---|---|
| Concrete has dips after removing tile/adhesive | Patch/level compound for lows + grind highs | Restores a consistent plane so vinyl lies flat |
| Wood has nail/screw heads telegraphing | Sand high spots + re-fasten loose areas | A stable, smooth surface prevents movement and bumps |
| Subfloor is springy or visibly deteriorating | Repair structure before leveling | Vinyl follows the substrate; fixing movement later is harder |
Fix low spots and remove high spots in the right order
Level the floor by correcting highs first (so you don’t “build up” on problems you should remove), then fill lows with the proper compound and feather it smoothly. This sequence is one of the highest-leverage ways to get from “looks uneven” to a measurable, vinyl-ready surface.
Correcting high ridges first reduces the amount of leveling compound you must place, which lowers the risk of uneven thickness under vinyl.
Leveling compounds are designed for specific thickness ranges; staying within the technical data helps prevent cracking and debonding.
ASTM F710 addresses preparing concrete for resilient flooring by removing materials that interfere with bonding and ensuring the surface is suitable for the flooring system.
In real entryway work, I’ve seen a repeating pattern: contractors fill dips immediately, then later discover they also have persistent highs that keep the vinyl from flattening. The result is a “hump-and-dip” floor that makes click-lock joints feel tight in the shop but loosen under door traffic.
Use the proper workflow for durable flatness
– Grind down high ridges first (where feasible), then fill lows with a patch/leveler designed for your subfloor type.
– Feather edges and don’t “build up” too thick in one pour—work in lifts only as allowed by the leveling product instructions ().
– Let the compound cure fully before installing vinyl; partial cure can cause indentation or bond/flatness issues.
Self-leveler vs patch compound (how to choose)
If your entryway has a wide, shallow low area, a self-leveling product can save time. If you have tight, localized dips around fasteners, seams, or edges, patch/feather compounds are easier to control.
Pros/cons comparison:
| Product category | Pros | Cons / limitations |
|---|---|---|
| Self-leveling compound | Flows into wider low areas; can create a more uniform plane | More sensitive to moisture/primer rules; can run beyond your control if edges aren’t contained |
| Patch/feather compound | Great for small lows and surface finishing; easier to “tune” flatness | Requires more passes for larger areas; improper feathering leaves ridges |
Important cure/dry reality
According to ASTM F710, preparing the concrete surface to receive resilient flooring includes addressing bond-breaking conditions and suitability for the floor covering system. For your own timeline, the most reliable “waiting rule” is still the one on your leveling product label plus your vinyl installation instructions—because cure schedules vary by temperature, humidity, and thickness.
Treat moisture and cleanliness before leveling
Leveling fails most often when moisture conditions undermine adhesion or when the subfloor isn’t clean enough for the compound to bond. Before you pour, verify cleanliness and—on concrete—confirm moisture per the flooring and leveling instructions.
Dust and contaminants can prevent leveling compounds from bonding properly, so mechanical cleaning and thorough vacuuming are foundational steps.
ASTM F1869 provides a method to measure moisture vapor emission rate from concrete using calcium chloride.
If moisture is active, leveling on top of it can create future failure even when the floor looks flat during installation.
As of 2026, moisture isn’t a “later problem” in entryways—it’s immediate because doors often bring humidity swings (wet shoes, tracked-in moisture, and temperature cycling). If you level first and remediate later, you may end up breaking out your new surface prep.
Clean, then confirm moisture conditions (especially on concrete)
– Make sure the subfloor is clean, dust-free, and free of paint/sealers that could prevent leveling compound adhesion.
– For concrete, verify moisture per the flooring and/or leveling compound instructions (use ).
– If moisture is present, plan remediation first—leveling over active moisture often leads to failure later.
Quick moisture anchor points you can use immediately
– According to ASTM F1869, moisture vapor emission rate is typically reported in lb/1,000 sq ft per 24 hours (or equivalent units), so you can compare your readings directly to product limits.
– According to ASTM F710, concrete preparation focuses on creating a suitable surface for resilient flooring—meaning bond-breaking materials and weak surfaces must be removed.
Plan the entryway transition and door clearance
Leveling has to be engineered into your transitions and expansion strategy, not treated as an isolated task. If you “make it flat” but ignore door clearance and movement gaps, you can still get peaking at edges or joint stress where the entry meets other flooring.
Entryway flatness demands are highest through the door swing area because repeated foot traffic stresses any unevenness.
Expansion gaps are still required around the perimeter and at transitions; leveling doesn’t remove the need for movement space.
Matching finished heights across thresholds requires planning before leveling, because compound height changes can affect door clearance and transition trim profiles.
In many entryways, the “problem” isn’t only the center of the room—it’s the geometry at thresholds, between rooms, and near baseboards where compound can feather up in inconsistent ways. The goal is a flat plane where vinyl can move as intended without binding.
Treat transitions as part of your flatness plan
– The entryway is where foot traffic and movement are highest, so focus on flatness through the door swing area and any transition strips.
– Maintain the correct expansion gap around the perimeter and at transitions; leveling doesn’t remove the need for those movement spaces.
– If you’re matching to an adjacent floor, choose a leveling approach that keeps the finished height within the thresholds/transition profiles you’ll use.
Door clearance checklist (practical considerations)
Use your measured elevation changes (before and after leveling) to verify:
– Threshold transitions won’t create an unexpected “step.”
– Baseboards and door sweeps still provide clearance after finished-floor height changes.
– Any reducer/transition strip is compatible with the vinyl thickness and underlayment (if your system allows underlayment).
What can go wrong (and what to watch for)
Even careful leveling can go wrong if the sequence, materials, or cure timing are off—or if you ignore edge conditions. In entryways, these failures show up fast: first as clicking/rocking, then as joint separation, and eventually as surface wear at the door line.
Filling low spots without addressing high ridges can leave a persistent “rocker” that prevents vinyl from achieving the required flatness.
Installing vinyl before a leveling compound is fully cured can lead to indentation and long-term flatness loss.
Using a leveling product outside its specified substrate compatibility or thickness range increases risk of cracking or delamination under resilient flooring.
This is also where manufacturers become strict: the warranty is often tied to both substrate condition and process steps (priming, mixing ratios, cure time, and thickness). As of 2026, many vinyl systems emphasize “follow the leveling product instructions” as much as they emphasize “follow the flooring instructions.”
Common pitfalls to avoid
– Filling lows without grinding highs can leave you with persistent high points that prevent the vinyl from laying flat.
– Skipping cure/dry times can cause the leveling compound to stay soft, leading to indentations or separation.
– Using the wrong product system (e.g., patch meant for a different substrate) can lead to delamination, cracking, or uneven texture under vinyl.
– Overlooking edge conditions (stops, baseboards, threshold plates) can create tiny humps where planks/tiles meet—small problems get noticeable fast at an entry.
Verdict / tip
Leveling before an entryway vinyl install is worth the effort if you measure accurately, follow the leveling compound instructions, and meet your vinyl brand’s flatness tolerance. The downside is real: prep and cure time add days, you may need multiple passes to “true” the surface, and if your subfloor has moisture or structural issues, leveling alone won’t fix the root cause.
If your substrate is structurally failing, repeatedly gets moisture, or you can’t reasonably reach the required flatness spec for your specific vinyl, skip DIY leveling and consider a flooring pro—especially for warranty-sensitive commercial installs.
Quick checklist (scan/save)
| Step | What to do | Success sign |
|---|---|---|
| 1 | Straightedge-check flatness; mark lows/highs | Clear map of problem spots |
| 2 | Confirm vinyl type + manufacturer prep specs | You know the exact flatness tolerance |
| 3 | Grind highs first, then patch lows | Fewer/shallower deviations each pass |
| 4 | Clean + address moisture | No dust, no active dampness concerns |
| 5 | Level through the entryway + transitions | Flat surface at door area and edges |
| 6 | Let cure/dry fully | Leveling is hard, stable, and intact |
Frequently Asked Questions
What’s the best way to level a subfloor before installing vinyl flooring in an entryway?
Start by checking the subfloor for flatness using a 6–10 ft straightedge and mark any high or low spots. For vinyl floors, aim for minimal movement and a smooth surface so the planks don’t flex at seams. If low areas exist, use a self-leveling underlayment or a patching compound; for high spots, grind them down and clean off dust thoroughly. Always confirm the surface is fully dry before installing vinyl in your entryway.
How do I check for uneven spots before leveling vinyl flooring?
Run a straightedge across the subfloor in multiple directions, especially where the entryway transitions from tile, carpet, or hardwood. Measure the size and depth of low dips or ridges, since most vinyl products require the subfloor to meet specific flatness tolerances. Also check for loose subfloor panels or squeaks, because fixing movement is as important as leveling. Mark problem areas so you can patch or grind precisely.
How can I level a concrete subfloor for vinyl flooring at the front door?
Concrete entryways often need grinding for ridges and patching for pitted areas before applying self-leveler. Clean the slab thoroughly—vacuum, remove paint or sealers if needed, and repair cracks as recommended by the manufacturer. Apply primer if the self-leveling underlayment specifies it, then pour and spread the product to achieve a flat surface. Let it cure fully and verify flatness again before you install the vinyl flooring.
Why is leveling crucial specifically for vinyl flooring in entryways?
Entryways experience heavy foot traffic, frequent rolling chair movement from daily use, and sometimes moisture from tracked-in snow or rain. If the subfloor isn’t level, vinyl planks or tiles can separate at seams, create gaps, or cause “hollow” spots that lead to wear and failure. Leveling reduces flex and helps your vinyl floor lock together correctly, which is especially important for click-lock vinyl entryway flooring. A properly prepared surface also improves comfort and long-term appearance.
Which leveling method should I use for small dips versus larger uneven areas?
For small dips or localized unevenness, a smoothing compound or patch is usually the fastest solution, applied in thin layers and feathered out to blend. For larger uneven areas or widespread low spots, a self-leveling underlayment is typically best because it flows to create an even plane. In both cases, follow the vinyl flooring and underlayment manufacturer’s instructions for thickness, drying time, and minimum/maximum coverage. After leveling, recheck flatness with a straightedge and remove dust before installing your vinyl floors.
📅 Last Updated: October 25, 2026 | Topic: How to level a vinyl floors before installing entryway? | Content verified for accuracy and freshness.
References
- Vinyl flooring
- F710 Standard Practice for Preparing Concrete Floors to Receive Resilient Flooring
- https://scholar.google.com/scholar?q=vinyl+flooring+subfloor+leveling+flatness+requirements+self-leveling+compound Google Scholar
- https://scholar.google.com/scholar?q=luxury+vinyl+plank+LVP+installation+guidelines+subfloor+flatness+level Google Scholar
- https://scholar.google.com/scholar?q=resilient+flooring+installation+guidelines+ASTM+F710+subfloor+preparation+flatness Google Scholar