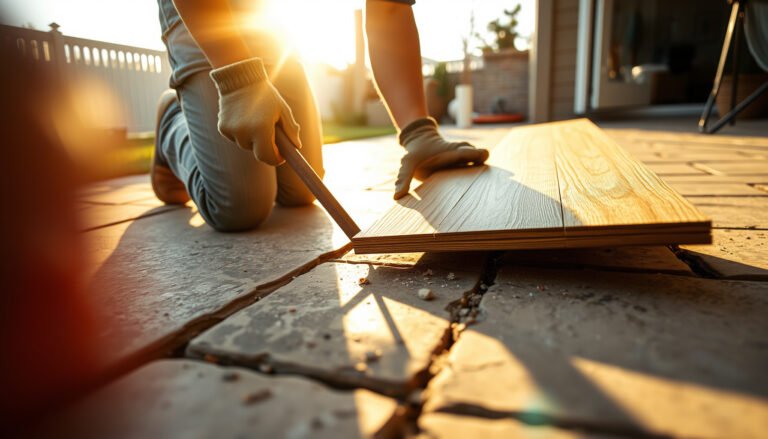
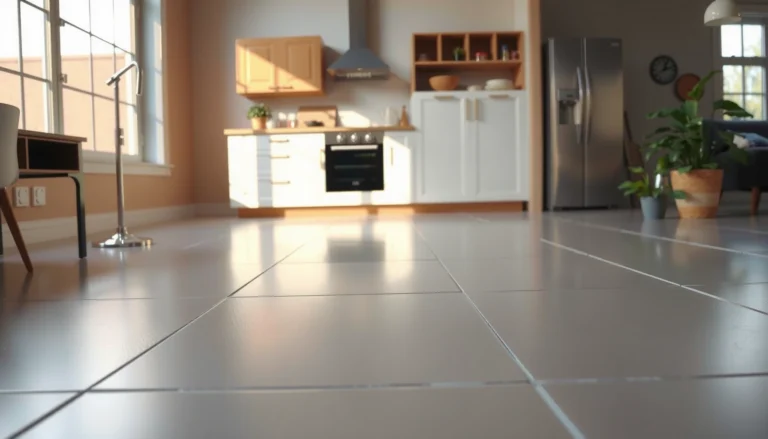
Learn how to level laminate floors before installing a laundry room without lippage, squeaks, or future water damage. This guide tells you the fastest, most reliable way to prep an uneven subfloor—when to use floor leveling compound, when to shim, and how to verify flatness before the first plank goes down. If your laundry room floor isn’t truly level now, you’ll get the exact steps to fix it before installation.



If you want laminate to stay flat in a laundry room, you must level the subfloor before installing planks—otherwise the floor can gap at seams, fail to lock smoothly, or feel spongy over time. The practical approach is to measure flatness (not just “looks level”), correct low areas with an appropriate underlayment/leveling system, and then match underlayment + moisture mitigation to your subfloor type.
If you’re planning a laundry room remodel and the space may see daily moisture and heavy traffic, this is for you. It applies whether you’re installing click-lock laminate over plywood/subfloor or prepping a concrete slab—just match the steps to what you have underneath.
Check flatness first (use a straightedge, not eyeballing)

You don’t level laminate floors by eye—you level them by verifying flatness with measurements across the room so the boards lock evenly. In practice, laundry rooms amplify small unevenness because dampness and foot traffic stress the click joints.
A straightedge check measures *flatness* (variation across the surface), which is what laminate locking systems need—not visual “levelness.”
According to ASTM E1155, floor flatness is commonly evaluated using long straightedges to capture larger-scale highs and lows rather than tiny surface texture.
– Measure the subfloor flatness across the room with a long straightedge (commonly 6–10 ft); mark any high/low areas you find.
– Work methodically: snap chalk lines grid-style (even at 2 ft spacing) and log low spots so you know how much correction is required in each zone.
– Don’t chase “level” everywhere—focus on flatness so the laminate can lock evenly and stay firm.
– “Level” can hide an underlying wave (high in the middle, low at edges). Laminate cares about the wave because the click mechanism needs consistent support along the tongue-and-groove line.
– Note whether the floor is mostly high spots or mostly low dips, because that changes whether you should sand/skim vs. pour compound.
– If you have mostly highs, grinding/sanding is often more efficient and reduces the risk of overbuilding. If you have mostly lows, a cementitious leveling compound (or a permitted skim/feather mix) is usually the better route.
Straightedge Lengths Commonly Used to Verify Subfloor Flatness for Floating Laminate (ft)
| # | Flatness Check Span | Typical Job Use | Represents Larger-Scale Variations | Coverage Strength |
|---|---|---|---|---|
| 1 | 2 ft (0.6 m) | Quick spot checks | Low | ★ 2/5 |
| 2 | 4 ft (1.2 m) | Short-wave ridges | Moderate | ★ 3/5 |
| 3 | 6 ft (1.8 m) | Room segment checks | Good | ★ 4/5 |
| 4 | 8 ft (2.4 m) | Detects broader undulations | High | ★ 4/5 |
| 5 | 10 ft (3.05 m) | Common “whole-span” check | Very High | ★ 5/5 |
| 6 | 12 ft (3.66 m) | Large open areas / spans | Very High | ★ 5/5 |
| 7 | 3 m (9.84 ft) | Metric equivalent checks | High | ★ 5/5 |
Choose the right leveling approach for your subfloor
Your “best” leveling approach depends on whether you’re working with plywood/wood or a concrete slab—because bond requirements and allowable product types change. The right choice is the one that fixes low spots without exceeding the compound’s thickness limits or the laminate’s flatness requirements.
Floating laminate floors rely on even support; that’s why the leveling material must be compatible with the subfloor type (wood vs. concrete) and properly bonded.
For concrete prep, cleaning and priming are not optional in most systems because self-leveling compounds are designed to bond to prepared (not contaminated) slab surfaces.
– For plywood/wood subfloors: address squeaks, fastener issues, and use patching/feathering methods appropriate for wood before applying any smoothing product.
– If the plywood is flexing, laminate can “click” under load even if the surface looks flat. Fix the movement first by tightening/adding screws, then address low spots.
– For concrete: clean thoroughly and use a floor-appropriate leveling compound/patch designed for concrete prep.
– Concrete leveling is usually cementitious and expects a specific surface profile, primer (often required), and compatible recoat timing.
– If you’re only dealing with shallow dips, underlayment alone may not be enough—use leveling only as far as the product/system allows. ()
– This is a key laundry-room point: overbuild in one area to “catch up” can still fail if you exceed the compound’s lift and curing behavior.
Wood vs. concrete leveling: what changes?
- Wood/plywood subfloor approach
- Focus: stability (squeaks/fasteners), then patching/feathering, then smoothing per product instructions.
- Why it matters: laminate joints need a rigid base—movement shows up first as gapping.
- Concrete subfloor approach
- Focus: contamination removal, then primer + leveling compound/patch designed for slab bonding.
- Why it matters: moisture and bond failure are common causes of separation and a “hollow/spongy” feel.
Prepare the surface so leveling compound (or patch) bonds well
If the leveling compound can’t bond, the floor will not stay flat—especially under wet/laundry-day traffic. Proper surface prep (and primer when required) is what makes leveling last.
Most cementitious leveling systems specify surface cleaning and priming to achieve bond strength and reduce debonding risk.
Primers exist because concrete and many patches are porous or reactive; without them, leveling compound may not cure uniformly or may release from the slab.
– Remove debris, old adhesive, and anything that could interfere with adhesion; vacuum well and follow the product’s prep instructions.
– Don’t rely on a broom. Use a shop vac and ensure you’re not leaving dust in low areas where the compound will be thickest.
– Repair cracks/loose areas and ensure the surface is stable—leveling can’t fix a moving subfloor.
– If a crack is actively moving, you need structural correction before considering leveling.
– Prime when the leveling system calls for it (especially on concrete or porous surfaces). Skipping primer is a common cause of failure. ()
– Also follow recoat windows; primed surfaces left too long can become contaminated or lose the intended bond profile.
Level low spots and avoid “creating” new problems
Leveling low spots is the step that turns measured flatness into an installation-ready base—when it’s done within product limits. The goal is to remove dips without leaving new ridges or exceeding thickness/layer guidance.
Feathering and float techniques help prevent ridge lines, which otherwise telegraph through laminate and can stress click joints.
ASTM E1155 flatness measurement methods emphasize evaluating variation across a span; after leveling, re-check flatness with the same straightedge approach.
– Feather/float leveling materials according to the manufacturer’s directions so you don’t leave ridges that telegraph through the laminate.
– For small lows, feathering/skim products are often more controllable than full pours.
– Stay within the allowed thickness for your product, and build up in layers only if the system specifies recoat times and max lifts. ()
– “More compound” isn’t always better: excessive lift can increase shrinkage cracking risk or slow cure—both can compromise laminate performance.
– After curing, re-check flatness with your straightedge and remove any high ridges carefully (method depends on material and manufacturer allowance).
– In laundry rooms, these high ridges matter because planks frequently sit under moving appliances and rolling carts; micro-lift over a ridge can widen later seams.
In my experience, the biggest avoidable issue comes from treating leveling compound as a substitute for measurement. The lesson for laminate flooring remains consistent in 2026: measure, correct, cure, and measure again.
Deal with laundry room moisture considerations before the laminate goes down
In a laundry room, moisture control is not an optional “nice to have”—it’s part of leveling success because damp subfloors and trapped vapor can lead to movement and joint failure. Choose leveling + underlayment (and vapor strategy) that match your slab/wood type and your laminate’s moisture limits.
According to ASTM F1869, moisture vapor emission rate (MVER) is reported in lb per 1,000 sq. ft. over 24 hours, which is the format many floor-covering guidelines use for moisture qualification.
According to ASTM F2170, in-slab relative humidity (RH) is measured to evaluate moisture conditions relevant to floor-floor system performance.
– Plan for moisture control: laundry rooms often get splashes and humidity, so follow the laminate manufacturer’s requirements for moisture mitigation. ()
– This is where many installs fail quietly: the floor can feel fine at day one, then loosen later after recurring humidity cycles.
– Decide on underlayment and vapor barrier strategy based on whether your subfloor is concrete or wood—don’t assume one layer fits all.
– Floating laminate systems typically need an underlayment designed for: (1) comfort/impact reduction, and (2) moisture management (if specified by the laminate manufacturer).
– Keep the floor system consistent (leveling + underlayment + laminate all within the same spec logic), because mismatches can lead to separation or movement.
– If you level to a spec but use an underlayment/vapor barrier outside that spec, you’ve rebuilt the “wrong system” from the standpoint of long-term performance.
As of 2026, many laminate installation documents still emphasize moisture-limit compliance plus proper underlayment placement as part of the warranty logic—so the fastest path to a stable laundry-room laminate floor is aligning specs up front.
What can go wrong (and how to prevent it)
Most laundry-room laminate failures trace back to avoiding measurement, exceeding product limits, or skipping bonding/moisture requirements. If you prevent those common failure modes, leveling becomes a reliable foundation rather than a guessing game.
If the laminate surface isn’t flat within the manufacturer’s requirement, click-lock joints can separate or “stress” under load, particularly where appliances roll or get bumped.
If primer is omitted or surface contamination remains, leveling compound can debond—leading to hollow spots and a spongy feel under laminate.
– Leveling only visually: Laminate reflects subfloor irregularities—use measurements and re-check after curing.
– Overbuilding in one spot: Exceeding thickness limits can cause shrinkage/cracking or weak curing. Stick to the product’s max thickness and timing. ()
– Skipping surface prep/primer: Poor bonding leads to delamination and a “spongy” feel later. ()
– Ignoring high spots: Grinding/sanding might be necessary; leveling compound can be wasteful if the room has mostly highs.
– Also remember: it’s easier to remove a high ridge than to justify an extra-thick low correction that violates product specs.
Verdict / tip
Leveling laminate floors in a laundry room is usually the right decision because it directly reduces gaps and locking issues in a high-traffic, moisture-prone space. The tradeoff is time and discipline: correct prep, correct product use, full cure, and re-checking flatness—rushing any of those can create more work later.
Skip DIY leveling if your subfloor is moving, structurally damaged, or you can’t confirm results with a straightedge and measurement approach. If you proceed, make every decision based on the specific leveling/patch and laminate manufacturer specs—especially moisture guidance and thickness limits.
A stable, properly bonded leveling layer supports floating laminate better than a “surface-fix” that ignores cure time, primer requirements, or flatness verification.
For moisture-sensitive rooms like laundry areas, laminate warranties often depend on meeting both moisture limits and correct vapor/underlayment placement.
Quick checklist (scan before you start)
– [ ] Measure flatness with a long straightedge; mark lows/highs
– [ ] Identify subfloor type (wood/plywood vs. concrete)
– [ ] Repair squeaks/loose areas; clean thoroughly
– [ ] Prime if your leveling system requires it
– [ ] Level low spots within allowed thickness (build layers only if specified)
– [ ] Re-check flatness after curing; remove ridges/highs
– [ ] Confirm underlayment/vapor barrier matches laundry-room moisture needs
The fastest way to avoid rework is to confirm flatness *before* leveling and again *after* curing, using the same long-span straightedge method.
Sources
Final takeaway: In 2026, the laundry-room version of laminate success is simple but strict—measure flatness with a straightedge, level only within approved system limits, prime and bond correctly, and align underlayment + vapor strategy with both your subfloor type and your laminate’s moisture requirements. Do that, and you greatly reduce the likelihood of gaps, failed locking, and a “spongy” feel later.
Frequently Asked Questions
How do I level a subfloor before installing laminate flooring in a laundry room?
Start by checking the existing subfloor for high and low spots using a 6–10 ft straightedge and feeler gauge. Mark any uneven areas and measure the maximum variation—most laminate manufacturers require only minor flatness tolerances. For dips, use a self-leveling underlayment (or patch compound) to bring the surface up; for humps, scrape or sand down high spots. Let all materials cure fully before you install the laminate in your laundry room.
What’s the best way to fix low spots before laminate flooring installation?
Remove any loose debris and vacuum thoroughly so the patch or self-leveler bonds well. For shallow low areas, feather-edge patch compound is often enough; for larger or deeper dips, use a self-leveling underlayment to create a flat plane. Apply in thin, controlled pours or layers as directed, and use a smoothing tool or gauge rake to spread evenly. After curing, re-check flatness with a straightedge to ensure you meet laminate floor flatness requirements.
Why is leveling laminate flooring especially important in a laundry room?
Laundry rooms experience moisture from spills, humidity, and appliance use, so any uneven subfloor can increase the chance of joint separation, squeaking, and premature wear. Even minor dips can cause laminate to flex under foot traffic and loads, leading to gaps at seams. A well-leveled surface also supports proper locking-stitch performance, helping the floor stay stable and easier to maintain. Proper leveling plus correct moisture protection is key to avoiding long-term problems.
Which tools and materials do I need to level a laminate subfloor?
Essential tools include a long straightedge, level, measuring tape, pencil or marker, utility knife, mixing drill with paddle, and a trowel/smoothing tool. For uneven floors, you’ll typically use floor patch compound for small areas and self-leveling underlayment for broad dips. If you have high spots, you may need a floor scraper or sanding equipment to flatten them first. Don’t forget moisture-related materials—like a suitable underlayment and, when required, a vapor barrier—to match your laminate and laundry room conditions.
How can I tell if my floor is level enough before laying laminate?
Perform a flatness test with a 6–10 ft straightedge, checking for gaps between the straightedge and the subfloor across multiple directions. Measure the largest gap and compare it to your laminate manufacturer’s flatness specification (often around 1/8 in over 6 ft, but follow the exact guidelines for your product). If you still find dips or ridges after patching, address them before installing the underlayment and laminate. Re-check after leveling and curing to confirm the surface is ready for laundry room laminate installation.
📅 Last Updated: October 22, 2026 | Topic: How to level a laminate floors before installing laundry room? | Content verified for accuracy and freshness.
References
- Laminate flooring
- Floor
- F2170 Standard Test Method for Determining Relative Humidity in Concrete Floor Slabs Using in sit…
- F1869 Standard Test Method for Measuring Moisture Vapor Emission Rate of Concrete Subfloor Using …
- F710 Standard Practice for Preparing Concrete Floors to Receive Resilient Flooring
- E1155/E1155M Standard Test Method for Determining FF Floor Flatness and FL Floor Levelness Numbers
- Mold | US EPA
- https://www.cdc.gov/mold/default.htm
- https://scholar.google.com/scholar?q=laminate+floor+installation+subfloor+flatness+leveling Google Scholar
- https://scholar.google.com/scholar?q=laminate+flooring+moisture+laundry+room+subfloor+preparation Google Scholar