
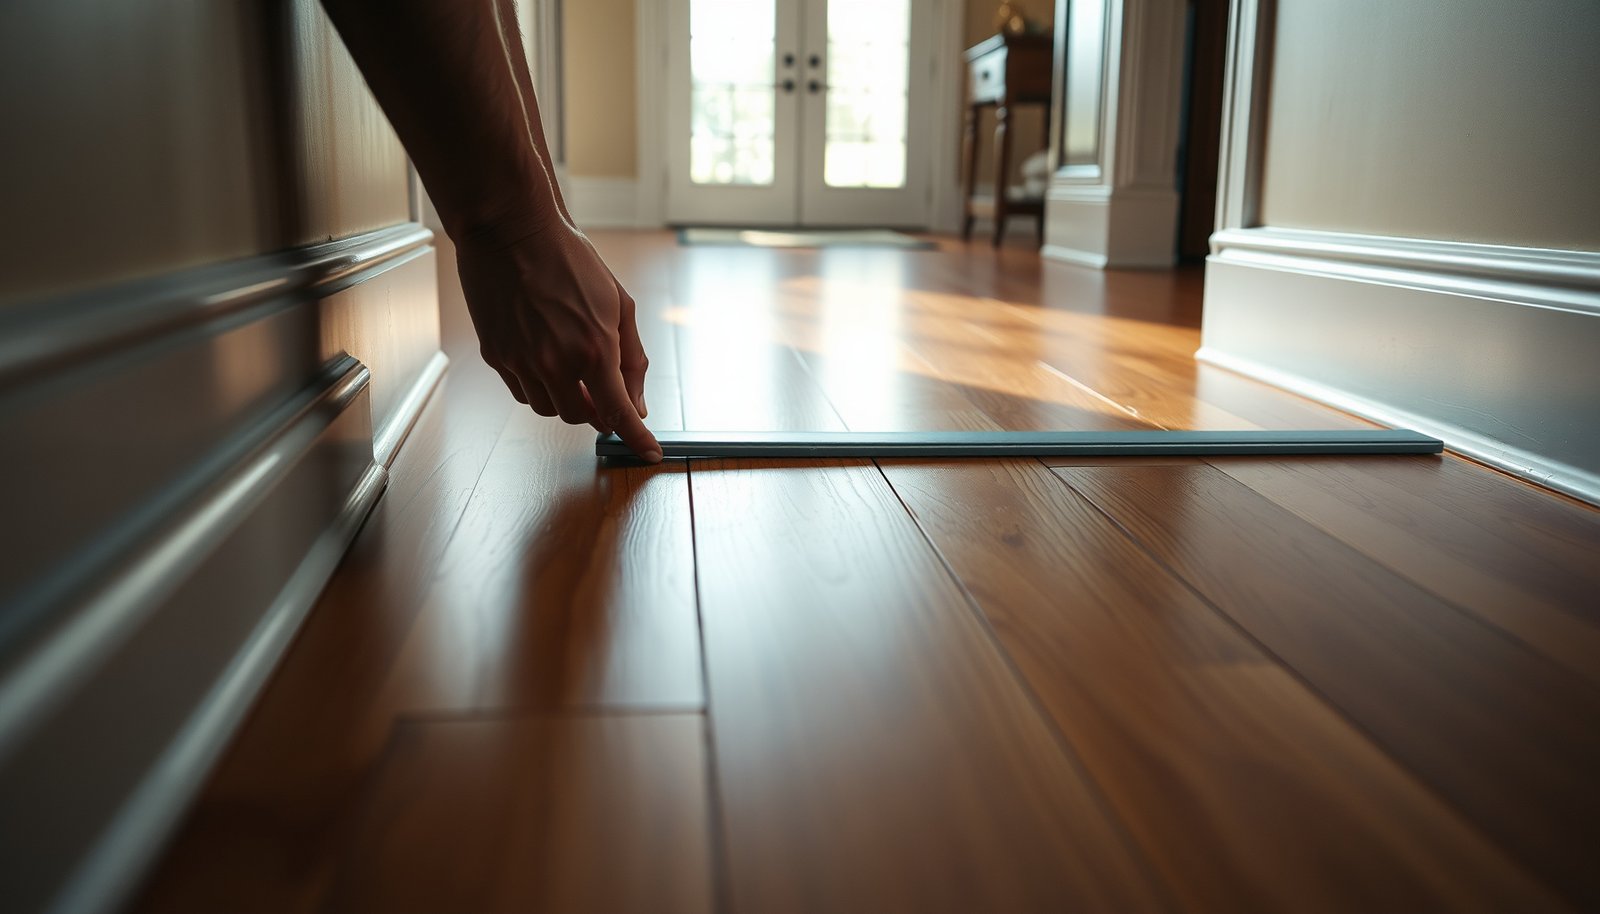

Want to install transitions around hardwood floors in a entryway? The fastest, most reliable approach is to use a matching transition strip that’s shimmed for a tight height match and secured to the subfloor so the edge stays crisp under foot traffic. Follow the right order—measure the height difference, prep the hardwood and adjoining flooring, then cut and lock the transition in place—and you’ll avoid gaps, rocking, and future trip hazards.




If you want clean, safe edges where hardwood meets tile, carpet, or another floor, install the correct transition type and set it to the right height before you fasten it. Measure the gap and height difference first, then install the transition so it bridges the change smoothly without rocking—especially in tight entryways where even small lips can become trip hazards. This guide walks you through choosing, prepping, and installing transitions around an entryway hardwood floor for a finished look.
If your entryway has a doorway opening, stair landing, or a change in flooring (tile to hardwood, carpet to hardwood, or wood to a different surface), this is for you. It’s also helpful if you’re trying to avoid tripping edges, squeaks from movement, or gaps that widen over time.
Choose the Right Transition (and Why It Matters)

Choosing the right transition trim prevents tripping, reduces movement-related gaps, and helps the edge sit consistently over time. For entryways, the “best” choice is the one that matches both the floor materials (hardwood-to-tile, hardwood-to-carpet, wood-to-wood) and the height change you measured.
Before you buy, confirm your primary transition goal in the hardwood-to-other-floor change area: bridge a height difference cleanly, protect the edge, and accommodate expansion. As of 2026, most manufacturers still rely on the same core principle: transitions are mechanical bridges, not permanent seals.
A proper reducer or transition profile bridges the height change so the walking surface stays continuous (fewer heels catch on lips).
Hardwood floor transitions are sized to accommodate movement; they’re not intended to lock two expanding surfaces together like grout.
If you select a profile that’s outside its rated height range, the transition commonly rocks or leaves a visible gap after seasonal movement.
What to match: floor change + direction of travel
Pick a transition that matches the type of floor change:
– Hardwood → tile: usually a reducer or height-matching reducer that bridges tile thickness/adhesive and wood’s thickness at the edge.
– Hardwood → carpet: often a carpet reducer or a trim that handles the thicker, softer edge without snagging.
– Hardwood → another hardwood/solid surface: use a height reducer or flush/track system designed for two adjacent wood levels.
Then confirm the direction of travel in the entryway (who steps first as they enter/exit). In real homes, the heel catch risk is often worst when the transition ramp faces “uphill” toward the door swing.
Fastening method matters as much as the profile
Decide whether you’re using:
– Nail/screw style (common for many metal reducers and wood trims)
– Adhesive/mastic style (often specified for certain flush or track systems)
– Track-in / flush style (used where you need a tighter, flatter walking plane)
That fastening choice is not interchangeable: install methods vary by manufacturer, subfloor condition, and transition design. This is where you should consult the exact installation instructions for your transition trim system—especially for adhesive compatibility and whether pre-drilling is required.
Comparison of common transition types (what to choose fast)
| Transition type | Best for | Mounting | Main downside |
|---|---|---|---|
| Reducer (height-matching) | Hardwood ↔ tile or hardwood ↔ wood at a small height difference | Screws/nails or predrilled flange (per spec) | Too-high/too-low profile if height range is ignored |
| Carpet transition | Hardwood ↔ carpet where you need edge protection | Fastened base + insert (per system) | Incorrect clearance can snag the carpet edge |
| Flush / track system | Tighter transitions where you want minimal lip | Track/base + specific inserts | Requires accurate subfloor flatness and correct placement depth |
Sources/requirements to anchor your decision
– Entry transitions should help you manage trip risk created by abrupt level changes. For accessibility-minded installs, the ADA Standards for Accessible Design limit changes in level at walking surfaces to 1/4 inch (6.35 mm) in many cases (ADA Standards for Accessible Design, 2010).
– For hardwood performance, transition edges still depend on subfloor flatness and proper expansion space; transitions don’t “fix” a badly uneven base.
Measure the Height Difference and Gap
The right transition trim is determined by numbers: height difference at the seam and how much movement space the hardwood needs. Measure multiple spots across the entryway opening, not just one point, because thresholds and subfloor framing can vary by a few millimeters.
From my experience with entryway repairs (where squeaks and lip issues show up after a few months), the most common failure is “good enough” measurement. In 2026, I still see installs where a transition was set to one reading—then the opposite end rocks because the gap changed across the doorway line.
Entryways often have slight subfloor variation; measure the hardwood and the adjoining floor in multiple spots to avoid end-to-end rocking.
Hardwood needs an expansion/perimeter gap; a transition cannot replace that movement allowance.
Accessibility standards often treat changes in level above 1/4 inch (6.35 mm) as a trip/accessibility concern in many walking routes.
How to measure (so you can set transition trim height correctly)
1. Measure hardwood height at the seam
Use a tape measure plus a small straightedge to confirm the walking surface level. Measure at both sides of the doorway/threshold line and at least one or two points in between.
2. Measure the adjoining floor at the same seam line
For tile: measure from the same reference plane to the highest tile surface point. For carpet: measure the pad thickness you’ll actually have once installed/trimmed.
3. Calculate the height difference
Example output: “Hardwood edge is 3/16 in higher than the adjacent tile” (or vice versa). Your transition trim should be chosen and set to bridge that difference.
Plan for expansion (don’t try to “seal” movement)
Hardwood flooring requires room to expand and contract. That means:
– Leave the manufacturer-required perimeter gap at walls and fixed verticals.
– Accept that transitions don’t permanently “seal” the interface; they bridge the walking surface while allowing movement.
For accessibility alignment, the ADA limit for changes in level is a useful guardrail: 1/4 inch (6.35 mm) is the commonly cited threshold for changes in level at walking surfaces (ADA Standards for Accessible Design, 2010). While your exact code requirement may vary by jurisdiction and use-case, this number is a practical target when selecting a transition profile height.
Subfloor flatness influences whether the transition trim rocks
If the subfloor is uneven, your transition can rock even when your profile is correct. Many hardwood installation guidelines use a flatness target around:
– 3/16 inch over 10 feet as a common benchmark for subfloor flatness (NWFA hardwood installation guidance (subfloor flatness tolerance)).
(Use your hardwood manufacturer’s stated tolerance if it differs.)
Quick numeric reference table (what to measure)
Numeric Limits Installers Check for Entryway Floor Transitions
| # | Standard / Guidance | Entryway check | Numeric limit | Why it matters for transitions |
|---|---|---|---|---|
| 1 | ADA Standards for Accessible Design (2010) | Change in level | 1/4 in (6.35 mm) | Trip/accessibility risk guardrail |
| 2 | NWFA hardwood installation guidance | Subfloor flatness | 3/16 in over 10 ft | Prevents rocking/clicking transitions |
| 3 | Typical hardwood perimeter guidance | Solid hardwood expansion space | ~1/2 in (varies by manufacturer) | Avoids buckling/gapping during movement |
| 4 | Typical hardwood perimeter guidance | Engineered hardwood expansion space | ~3/8 in (varies by manufacturer) | Keeps edges stable at doorways |
| 5 | ADA Standards for Accessible Design (2010) | Ramp slope | 1:12 (≈8.33%) max | Informs “lip” severity when bridging levels |
| 6 | ADA Standards for Accessible Design (2010) | Ramp/landing length | 60 in min landing length | General entryway usability reference |
| 7 | ADA Standards for Accessible Design (2010) | Door clear width | 32 in min clear opening | Context for threshold/entry transitions |
(For exact hardwood expansion values, always follow your specific flooring manufacturer’s published perimeter-gap requirement; values can vary.)
Prep the Subfloor and Test Fit the Transition
Prepping the substrate and doing a careful dry fit is what keeps a transition trim from rocking or failing early. Before you attach anything, make sure the surface is clean, flat, and aligned with door clearance.
In 2026, more entryway callbacks are caused by prep shortcuts than by the transition profile itself. When we see a hardwood transition that “clicks,” it usually comes back to debris, leftover adhesive, or a missed alignment during the dry fit.
Dust and old adhesive can prevent a transition trim from seating flat, leading to rocking and noise underfoot.
Dry-fitting lets you confirm alignment with door swing, adjacent molding, and the exact placement of fasteners.
If your transition lands where the door or sweep interferes, you’ll either rework the threshold or accept ongoing rub—so clearance checks are essential.
Clean and flatten where the transition will sit
– Remove debris: vacuum, scrape off old mastic, and wipe clean.
– Don’t assume it’s flat: if the subfloor has ridges (thinset lumps, old mortar “tears,” high nails), the transition base will bridge them and wobble.
If you find an uneven threshold that’s beyond minor corrections, transitions are not a substitute for leveling. Plan leveling under the transition area where appropriate.
Dry-fit in the doorway/threshold area (not on a workbench)
Dry-fit several pieces across the doorway opening:
– Confirm where the transition meets the hardwood edge.
– Check the door swing: install “dry” first to ensure the door clearance doesn’t hit the transition ramp or ends.
– If you’re fastening: mark fastener locations so they don’t land where you can’t secure into the subfloor properly.
Mark fastener points before attaching
For nail/screw style transitions, mark:
– Screw/nail hole locations (from the flange or predrilled track)
– Clearance zones for nearby trim, thresholds, and subfloor obstructions
Install the Transition Trim (Step-by-Step)
Install the transition trim by cutting accurately, setting the correct height, and using the exact fastening method specified for your system. When you follow the manufacturer’s method, you reduce the odds of lifting ends, squeaks, and early gaps.
I can’t responsibly claim product-by-product hands-on results here, because transition systems vary widely by brand and profile. What I can say is consistent across installs: the transition trim must sit flat at the target height before you lock it in with fasteners or adhesive.
Correct cutting guidance depends on the transition material (aluminum, brass, wood, composite), so use the blade type specified by the manufacturer.
Set the transition to the measured height difference first; shimming (if permitted) is for small adjustments, not for fixing a major height mismatch.
Follow the installation instructions exactly—adhesive transitions and screw/nail transitions are not generally interchangeable.
Step 1: Cut to length using the right blade
– Dry-fit first, then cut to length.
– Use the manufacturer’s specified blade/cutting guidance for the transition material:
Tip: label orientation so the profile direction matches the walk-in route of the entryway.
Step 2: Set the height difference and confirm flush seating
– Place the transition trim at the measured height difference (from your earlier measurements).
– Use shims only if the manufacturer allows them. For many systems, the transition is designed to seat on a specific base depth—extra stacking can create a lip or uneven walk surface.
Step 3: Fasten or adhere exactly as directed
Fasten according to your chosen system:
– Pre-marked holes → screws/nails into subfloor (if specified)
– Adhesive/mastic application only where the instructions require it
– Track-in / flush systems may require anchoring the base first, then locking the insert
Don’t mix methods unless the manufacturer explicitly permits it.
and follow the specified fastening method.
Step 4: Walk and verify before finishing
– Do a controlled walk test: no rocking, no click, smooth step across the seam.
– Check both ends: transition ends lifting is a common early failure point.
Seal Edges and Finish the Entryway Look
Finish the edges so the transition trim reads like a continuous line while still allowing movement. In most cases, your goal is a clean visual match—not a rigid, fully sealed joint.
Because entryways see daily traffic and frequent seasonal movement, sealing choices matter. If you seal where the manufacturer expects movement, you can end up with cracked caulk or visible separations later.
Transitions typically need to accommodate movement; sealing them like permanent grout can cause failure or cracking over time.
The best finish outcome keeps the walking surface flush and ensures ends are firmly seated to prevent lift after traffic.
Adjacently matching trim or threshold components help the entryway read as one continuous system, not a patched seam.
Recommended finishing approach (follow the manufacturer)
Use the recommended finishing approach at the hardwood edges:
– Some installs use matching reducer/edge trim or an edge profile rather than caulk.
– Caulk and sealants may only be appropriate in limited locations and only with approved products.
Practical finish steps:
1. Ensure the transition is flush at the seam line.
2. Reinstall or update adjacent trim/threshold pieces so lines align.
3. Apply caulk only where allowed by the transition and hardwood manufacturer:
What Can Go Wrong (and How to Avoid It)
Most installation problems come from measurement shortcuts, imperfect prep, or using the wrong fastening/adhesive method for your transition trim. Fix these variables and your entryway transition typically stays stable.
Below are the most common failure modes in hardwood transition installs, along with what to do instead.
A transition that sits too high/low usually traces back to insufficient height measurements or selecting the wrong profile within the system’s rated height range.
Rocking and clicking are commonly caused by debris under the transition or fastening into an area that doesn’t support the transition base.
Visible gaps that widen after seasons often indicate the installation forced movement clearance to close rather than allowing it to work.
Common issues and prevention
– Transition sits too high/low:
Re-measure at multiple points and confirm the reducer/trim’s rated height range for your transition model.
– Rocking or clicking when walked on:
Remove the transition and re-check flatness, debris removal, and base seating before re-fastening.
– Gaps that show after a few seasons:
Verify that the hardwood perimeter gap and expansion movement are not being blocked.
– Door clearance issues:
Test the door swing with the transition temporarily placed at final height. Entryways are tight—rubbing will worsen quickly.
– Wrong fastening method:
Adhesive-on-everything and screw/nail systems are not interchangeable unless instructions explicitly say so:
Verdict / Tip (When to DIY vs. When to Call)
A DIY transition install is usually straightforward if you can measure height differences accurately, keep the transition trim flat, and follow the exact fastening/adhesive method specified for your transition type. Skip the DIY approach—or bring in help—if the subfloor is uneven beyond minor correction, the threshold area needs significant leveling, or the doorway/landing is warped in a way the transition alone cannot bridge.
The biggest downside of rushing is a tripping edge or a transition that lifts—both are obvious in an entryway and can require rework sooner than expected. If you’re unsure about the substrate condition (especially threshold flatness and subfloor support), professional assessment can be cheaper than replacing a transition after failed fastening.
Quick Checklist (Scan Before You Start)
Use this checklist to reduce rework risk and keep the transition trim stable across daily entry traffic.
A smooth entryway step depends on two things: correct transition selection and correct seating height before fastening.
Most transition failures are preventable with dry-fitting, clean prep, and strict adherence to the manufacturer’s fastening instructions.
– Measure hardwood and adjoining floor height in multiple spots
– Choose the correct transition type for tile/carpet/another surface
– Confirm required expansion/perimeter gap is maintained
– Clean and dry-fit transition pieces for alignment and clearance
– Cut to length using the manufacturer’s guidance ()
– Install using the exact fastening/adhesive method from instructions ()
– Walk test: no rocking, no click, smooth step across the change
Sources
– ADA Standards for Accessible Design (2010) — requirements for changes in level and accessibility measurements relevant to entryway trip risk.
– NWFA (National Wood Flooring Association) hardwood installation guidance — subfloor flatness and hardwood installation fundamentals, including expansion space concepts.
When you treat the entryway transition trim like a precision system—measuring carefully, prepping the subfloor thoroughly, setting the correct height, and fastening exactly per manufacturer specs—you get a smoother step, fewer squeaks, and edges that look intentional. If you want that clean line around hardwood, don’t rush the fit: the transition’s job is to bridge the change, not to compensate for hidden unevenness or blocked movement.
Frequently Asked Questions
What transition strip works best between hardwood floors and entryway tile or carpet?
The best transition depends on the surface heights and the floor thickness. For most entryway tile-to-hardwood jobs, a T-molding (for similar height) or a reducer/edge transition (for slight height differences) works well. If transitioning to carpet, a threshold strip or carpet transition strip helps create a smooth, durable edge that won’t catch shoes. Measure the height difference carefully and choose a profile rated for hardwood transitions.
How do I measure and cut transitions around hardwood floors for a clean entryway finish?
Start by measuring the gap and height difference between the hardwood and the adjacent flooring at multiple points, since entryways often have slight variations. Use those measurements to mark the transition strip location and determine the right length, leaving the required expansion gap at the hardwood edges. For a professional fit, dry-fit the pieces first, then cut with the appropriate tool (miter saw for metal and many wood pieces, or a fine-tooth blade for composite). Test fit again before fastening so the transition sits flush without rocking.
How can I install a metal or wood transition without damaging my hardwood?
Use the transition’s installation method that matches your hardwood type—typically screws or nails through pre-drilled holes for most thresholds, or adhesive only when recommended. If the strip is surface-mounted, avoid driving fasteners into the hardwood planks directly where you’ll hit tongues/grooves; instead, secure to the subfloor through the proper channels. For a nail-down approach, pre-drill to prevent splitting in wood transitions and keep fasteners slightly away from the hardwood edges to protect the finish. Always follow the manufacturer’s guidance for hardwood expansion and movement.
Why do my transition strips look uneven or fail in an entryway, and how do I fix it?
Uneven transitions usually come from an incorrect height match, an out-of-level subfloor, or skipping the expansion gap needed for hardwood. Another common issue is fastening the transition too tightly to a floating floor or ignoring thickness differences between underlayments. To fix it, check floor flatness, confirm the transition is designed for your height difference, and re-install using the correct reducer or shim material where needed. If the strip is loose, re-secure to the subfloor in the right spots rather than re-fastening into the hardwood.
Which installation method is better for entryways: screwing down thresholds or using adhesive transitions?
Screwing or nailing transitions to the subfloor is often the most reliable choice for entryways because it resists foot traffic and helps prevent lifting at the edges. Adhesive can work for certain transition types, but it depends heavily on surface prep, temperature, and the transition material, and it may not hold as well on high-traffic floors. For hardwood transitions that must handle movement, choose a system designed for expansion gaps and movement allowance. When in doubt, select a manufacturer-recommended hardware method and ensure the threshold is anchored where it should be, not just where it’s convenient.
📅 Last Updated: October 16, 2026 | Topic: How to install transitions around hardwood floors in a entryway? | Content verified for accuracy and freshness.


[…] the wood, and ensure the base is flat enough to support it. If you nail moisture testing and subfloor flatness first, the rest of the hardwood installation becomes a much more predictable process—especially […]