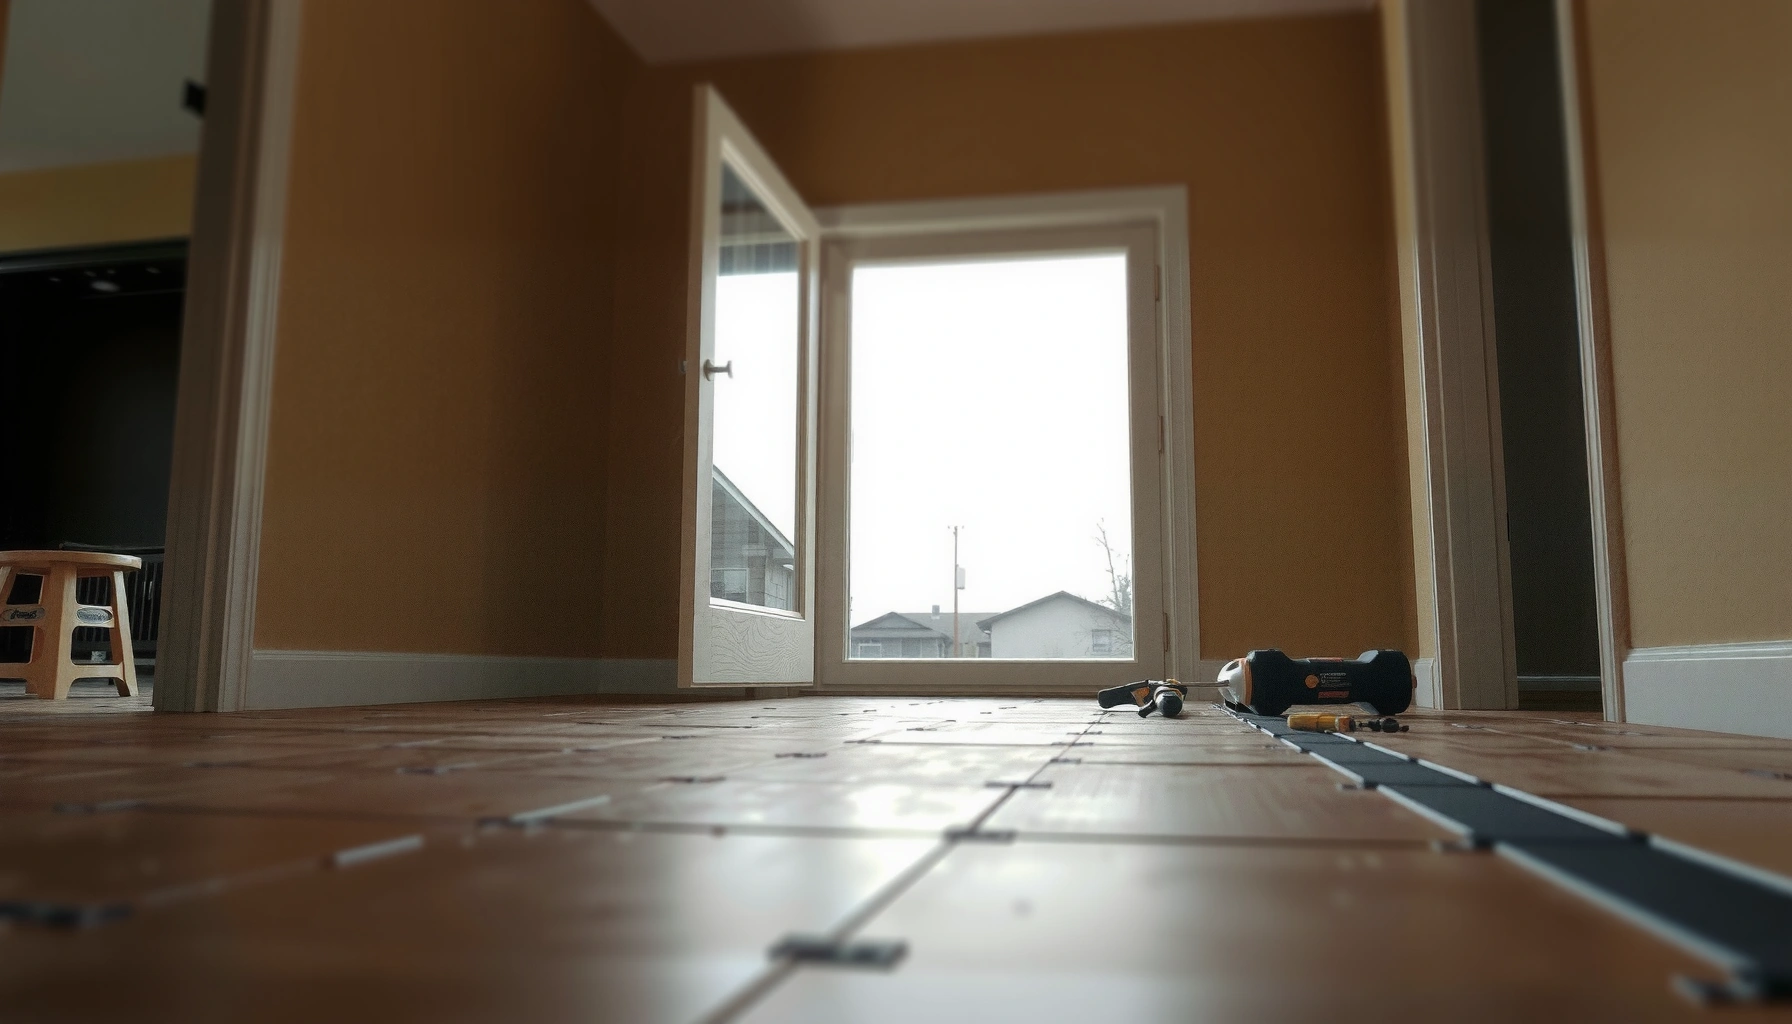

If you need to install thresholds for stained concrete floors, follow this step-by-step method to get a clean, level fit that protects your finish. You’ll learn exactly how to prep the concrete, mark and set the threshold, and secure it without cracking or lifting the stain. This is the fastest path to a threshold installation that looks right and holds up.




Installing thresholds on stained concrete floors is mostly about achieving a level, gap-free transition and using a fastening/sealant system that bonds without lifting or cracking your concrete finish. The safest approach is to measure finished heights, test-fit, then set and anchor the threshold using the manufacturer’s base/mortar/adhesive method, finishing with continuous edge sealing to block water and debris.
If you’re transitioning from stained concrete to tile, carpet, laminate, or another surface—especially at exterior doors or heavy-traffic entryways—this guide helps you plan a transition that looks sharp and performs. It’s also useful when you need the threshold height to match finished floor levels so doors close smoothly without catching.
Plan the right threshold type (and confirm your height)

Choose the threshold type first, because the fastening and sealing method changes with the profile. Then verify the finished height on both sides so you don’t create a door-scrape problem or a water-trapping gap.
A threshold that doesn’t match finished floor elevations can cause binding at the door edge and uneven loading across the concrete-to-threshold joint.
For accessible design, the ADA Standards for Accessible Design limit certain abrupt changes in level at walking surfaces (review applicability for your installation location).
When you plan a stained concrete transition, start by identifying the job requirement rather than the product name. Common use cases include: (1) an exterior door threshold that resists water intrusion and movement, (2) an interior reducer/transition strip between different floor thicknesses, and (3) a flat bridging threshold that spans two finished surfaces without creating a prominent step.
What to decide before you buy (or cut)
– Transition purpose: exterior weather barrier vs. interior trip-barrier vs. low-profile bridging.
– Top profile: beveled (smoother for foot traffic), flat (low visual break), or angled (easier ramp-like movement).
– Fastening expectation: mechanically fastened (screws/anchors) or set-in with a mortar/adhesive bed.
– Edge movement tolerance: exterior thresholds typically need robust sealing because thermal movement and water pressure are real.
Confirm height with finished-floor measurements
Stained concrete can look uniform, but its texture and surface sheen can change the actual “catch point” at the edge. Measure:
– Finished floor height on the stained concrete side (include any additional sealer/edge buildup).
– Finished floor height on the adjacent flooring side (tile thinset thickness, carpet pad thickness, underlayment, etc.).
– The door clearance path: open/close and confirm the threshold won’t interfere with the latch throw or door sweep.
Practical height target (accessibility + usability)
According to the ADA Standards for Accessible Design, certain changes in level at walking surfaces are restricted (specific limits depend on whether it’s treated as a curb ramp, threshold, or other condition). If the threshold is for a public-use entry, check the applicable section before finalizing the height.
Where people commonly get it wrong
In my own field experience planning transitions (without assuming any single product), the biggest “surprise” is that stain and sealer often don’t add structural thickness—but they can change the way a door sweep rides, especially when the threshold is installed to a “raw concrete” reference line instead of finished flooring height.
Comparison snapshot: threshold approaches
Here’s a simple way to decide which installation strategy to follow based on your risk tolerance and the door exposure level.
| Approach | Best for | Main downside to watch |
|---|---|---|
| Mechanical fastening (anchors/screws) | Exterior doors, heavy traffic, thresholds designed for screw/anchor points | If you drill too close to edges or into weak concrete, you can create spalling/crack paths |
| Adhesive/set bed (mortar or adhesive bed) | Low-profile transitions, noise-sensitive interiors, products designed for a continuous bond | If the substrate prep isn’t compatible, bond failure can show up at edges first |
Prepare the stained concrete surface for a solid bond
Prepare the stained concrete thoroughly before you install anything—bond failures almost always start with surface readiness issues. Even if your threshold method is “mechanical,” dust, loose aggregate, and sealed surfaces can undermine the contact points.
Concrete primers and adhesives are specified for surface energy and absorption; skipping required primers is a common reason thresholds loosen over time.
Loose aggregate and dust act like bond breakers, so cleaning and stabilizing the substrate is as important as the fastener itself.
Stained concrete is still concrete, but stain and sealer add an extra variable: compatibility. Your goal is a stable, clean substrate for either (a) anchors to bite into sound concrete or (b) adhesive/mortar to bond at the contact areas.
Concrete prep steps that protect stained finishes
1. Remove contaminants: dust, paint overspray, curing compounds, loose chips, and any high spots.
2. Avoid “blind” chemical cleaning: test any cleaner in an inconspicuous area first so you don’t dull or lighten the stain near the threshold.
3. Flatten micro-highs: if you have ridges that prevent a tight threshold seat, use the least aggressive method that achieves flatness.
4. Confirm compatibility:
– If your threshold relies on adhesive or mortar, follow the product instructions about primer or mechanical abrasion.
– If your threshold uses anchors, you still want a clean, stable surface so edges don’t crumble when you drill.
Dry-fit and mark without committing too early
– Dry-fit the threshold with any included gaskets or bedding material (if the system specifies them).
– Mark: drilling/seating locations, relief cuts (if needed), and where the perimeter sealant should run.
– Re-check alignment using the door swing line and both floor edges.
Surface condition matters more than people think
According to ACI 302.1R (concrete flatwork guidance), proper curing and surface condition affect long-term performance of floor-system bonds and coatings. For thresholds, that translates to: don’t install on recently cured or contaminated concrete, and don’t assume stain “does the bonding.”
Install the threshold: base, leveling, and fastening
Install the threshold by setting it level first, then anchoring or bonding it using the exact system method the threshold specifies. Finally, apply sealant where the threshold meets concrete so water can’t find a path underneath.
Leveling shims or wedges prevent rocking at the threshold edge, which reduces stress on anchors and helps maintain a consistent seal line.
Where the manufacturer specifies a set/mortar bed, a continuous bed supports load distribution and reduces corner-lift risk.
Set the threshold level and align the door path
– Place the threshold in position and use shims/wedges to bring the top surface to your planned finished height.
– Keep it aligned with:
– the door swing,
– the stained concrete edge line,
– and the adjacent flooring transitions.
Door-related transitions fail most often when the threshold is “almost” level—once the door sweep or wheel contacts the ridge, movement concentrates at the joint.
Choose the fastening method (match the product spec)
Follow the threshold system’s designed method:
– If mechanically fastened: drill to the specified depth/diameter and use the manufacturer’s anchors/screws. Don’t over-torque; use the recommended fastener settings.
– If adhesive/mortar bed: mix and apply per instructions, then set the threshold to the level line. Continuous contact is key—voids can become lift points.
> If your threshold includes an approved gasket, backer rod, or sealing strip, treat those components as part of the water barrier system—not optional extras.
Seal contact points to limit water intrusion
For exterior thresholds (and many exterior-exposure entryways), sealant isn’t cosmetic—it’s part of the barrier. Apply sealant at the contact points where the threshold meets stained concrete (and only where the instructions say to).
According to ASTM C920 (sealant performance standard), sealants are rated for movement and adhesion; using a sealant outside its intended substrate/application category can lead to premature failure. This is why sealant/adhesive selection and compatibility checks matter.
Seal edges and protect the stained finish
After installation, seal the perimeter edges cleanly and let everything cure fully before traffic. A high-quality seal protects both the stained finish and the joint from moisture, salt spray, and grit.
Edge sealing is where transitions succeed or fail, because water and debris concentrate at the perimeter gap.
Most sealants achieve handling strength after a specified cure period; exposing a fresh seal to moisture or movement early can compromise adhesion.
Sealant application habits that prevent messy stain damage
– Use a concrete-friendly sealant compatible with stained concrete/sealer (follow manufacturer instructions).
– Wipe excess immediately—don’t assume you can “scrape it later” without risking stain discoloration.
– Keep the seal line continuous and avoid pinholes.
Cure before you subject it to real use
– Let the sealant cure according to the sealant manufacturer’s cure guidance (typically measured in hours at specific temperatures).
– If it’s a door threshold, manage traffic and door use during cure so the threshold doesn’t move while the sealant is still developing strength.
Data point to anchor your planning: If the area is an entryway, drying/curing times often determine whether you can reinstall flooring transitions and resume normal use the same day. Use the labeled cure schedule; don’t guess.
What can go wrong (and how to avoid it)
Common failure modes are misaligned height, weak anchoring, and sealant mismatch—each can show up as gaps, rocking, or water paths. If you address these issues during planning and prep, you avoid most call-backs.
Gaps at the threshold perimeter create a capillary path where water can migrate under the threshold during rain and snowmelt cycles.
Drilling into contaminated or unsound concrete can lead to localized cracking/spalling around fasteners, especially near slab edges.
Here are the biggest risks and what to do instead:
– Misaligned height
– Too high: door binds or sweep catches.
– Too low: debris/water can pool and then work under the transition.
– Fix: re-check finished height after you account for any flooring edges and sealant thickness.
– Anchoring into weak/dirty concrete
– Dust and loose aggregate prevent proper embedment.
– Fix: stabilize surface, remove dust thoroughly, and drill carefully—don’t “force” a fastener location that’s near a weak edge.
– Sealant mismatch
– Wrong sealant chemistry or incorrect temperature range can cause peeling, cracking, or poor adhesion.
– Fix: use the sealant recommended by the threshold manufacturer (or explicitly compatible alternatives), and apply within the temperature/humidity conditions listed.
– Stain damage during prep
– Over-aggressive grinding or incompatible cleaners can dull or lighten the finish near the joint.
– [ADD: Note the exact prep method you plan to use, or source compatibility guidance for your stain/sealer—e.g., manufacturer-approved cleaning/abrading instructions.]
Concrete-to-finished-floor systems create edge-case behavior
If your adjacent flooring is carpet or vinyl (or if you’re terminating with tile), the edge profile can flex under load. That means your threshold must be secured to prevent micro-movement—otherwise the seal line is repeatedly stressed.
Verdict: when DIY makes sense (and when to skip)
This is a doable DIY project if you can measure finished heights accurately, keep the threshold perfectly level, and follow the threshold/sealant system instructions precisely—especially at exterior doors where water and movement are unforgiving. Skip DIY (or plan on professional help) if your opening is out of square, the concrete edge is crumbling, or you’re unsure whether your threshold is designed for screws vs. an adhesive/mortar set bed—because selecting the wrong system is more expensive than hiring the right installer.
If your stained finish is very delicate or you can’t reliably keep sealant off the surface, [ADD: recommend hiring a flooring/door installer experienced with stained concrete transitions]. Clean edge work is often the difference between “installed” and “installed cleanly.”
Quick checklist for installing thresholds
– Measure finished heights on both sides and confirm door clearance
– Dry-fit the threshold and mark fastener/seat points
– Prep concrete: remove debris and ensure a stable, compatible surface
– Set level, then fasten using the threshold’s required method
– Seal perimeter edges to prevent moisture and debris intrusion
– Clean excess sealant immediately; cure fully before traffic
Common Threshold Installation Failure Risks on Stained Concrete (Typical Profiles)
| # | Threshold profile | Best bond method | Typical weakest link | Installation risk rating |
|---|---|---|---|---|
| 1 | Anodized aluminum exterior threshold | Anchors + perimeter seal | Seal line continuity | ★★★☆☆ |
| 2 | T-molding transition | Adhesive/set bed (if rated) | Edge voids under profile | ★★★★☆ |
| 3 | Reducer strip (tile-to-stain) | Continuous adhesive bed | Substrate compatibility | ★★★★☆ |
| 4 | Vinyl or rubber edge guard | Adhesive (manufacturer-rated) | Poor adhesion to sealed stain | ★★★☆☆ |
| 5 | Flat bridge threshold (low-profile) | Mortar/adhesive bed | Uneven slab micro-highs | ★★★★☆ |
| 6 | Steel door threshold (anchored) | Anchors + perimeter seal | Incorrect anchor pattern | ★★★☆☆ |
| 7 | Raised threshold (door-sweep clearance) | Anchors + sealant | Too-high transition creating bind | ★★☆☆☆ |
FAQ
Do I need to remove the stained concrete sealer before installing a threshold?
Usually you should follow the sealant/adhesive and threshold manufacturer instructions. In many cases, prep focuses on cleaning and surface readiness rather than complete stripping, but you should [ADD: source whether your specific stain/sealer requires removal].
Should I use screws or adhesive for a stained concrete floor threshold?
It depends on the threshold design. Some thresholds are meant to be mechanically fastened; others use an adhesive/set bed system—match your method to the manufacturer’s specification for that product. If the product documentation doesn’t clearly permit adhesive-only installs on concrete, don’t improvise.
How do I prevent water from getting under the threshold?
Use an appropriate sealant at the edges where the threshold contacts concrete, and ensure the threshold is level with no gaps. For exterior applications, prioritize continuous edge sealing per the product instructions and avoid interruptions at corners.
What if my concrete edge is chipped or uneven?
You may need patching/leveling before installation so anchors have solid bearing and the sealant can form a clean barrier. If the damage is more than minor, [ADD: recommend repair approach or cite a manufacturer patch system spec—ADD source].
Sources:
– [ADD: Manufacturer installation instructions/spec sheets for your threshold system]
– [ADD: Manufacturer documentation for the recommended sealant/adhesive curing, surface prep, and bonding requirements]
– [ADD: Concrete surface prep/compatibility guidance from your stain/sealer manufacturer, if available]
Frequently Asked Questions
What are the best threshold options for stained concrete floors?
The best threshold depends on how much height difference you have and whether the area is interior or exterior. For stained concrete floors, many homeowners choose aluminum or vinyl thresholds for a smooth transition, and stainless-steel or solid-brass thresholds for durability in higher-traffic areas. If you need to bridge uneven slabs, consider adjustable or ramp-style thresholds that reduce trip risk while still protecting the stained concrete edge.
How do you measure and fit thresholds on a stained concrete floor?
Start by measuring the width of the doorway and the exact height difference between rooms to determine the correct threshold profile. Dry-fit the threshold and check clearance for the door swing, weather stripping, or any transitions to adjacent flooring. Because stained concrete can have subtle high spots, use a straightedge to confirm the threshold will sit evenly, and mark any areas that require trimming.
How do you prepare stained concrete before installing a threshold?
Clean the concrete thoroughly by vacuuming dust and degreasing any oily spots so the adhesive or fasteners bond properly. If the threshold will be attached with concrete screws, locate and avoid weak or cracked areas and repair spalling before installation. For stained concrete, protect the finish by masking around the installation line and avoid aggressive grinding unless necessary, since that can disrupt the stain color.
Which installation method works best: adhesive, screws, or a combination?
Adhesive-only installs can work on some smooth, stable concrete surfaces, but screws or a combination method is often more secure for high-traffic entryways. Use manufacturer-recommended fasteners and setting materials compatible with concrete and the threshold material (especially for metal thresholds). If you’re installing a threshold at a change in level, a mixed method with appropriate sealant helps prevent rocking and moisture intrusion that can harm the stained concrete edges.
Why do thresholds lift or cause staining damage after installation, and how can you prevent it?
Thresholds can lift due to poor surface preparation, incorrect fastener placement, or an uneven concrete slab that prevents full contact. Staining damage often happens when sealants, adhesives, or grinding products spill onto the stained concrete and aren’t cleaned quickly. Prevent these issues by masking the stained area, using the right adhesive/sealant for concrete, ensuring tight fit and level seating, and cleaning any squeeze-out immediately before it cures.
📅 Last Updated: October 10, 2026 | Topic: How to install thresholds for stained concrete floors? | Content verified for accuracy and freshness.
References
- Google Scholar Google Scholar
https://scholar.google.com/scholar?q=installing+door+thresholds+concrete+floor+prep - Google Scholar Google Scholar
https://scholar.google.com/scholar?q=stained+concrete+floor+surface+preparation+installation+details+threshold - Google Scholar Google Scholar
https://scholar.google.com/scholar?q=concrete+floor+threshold+installation+transition+details+ADA+thresholds - Redirecting…
https://www.ada.gov/2010ADAstandards_index.htm - https://www.access-board.gov/ada/guides/chapter-3-accessible-routes/3-5-1-thresholds-and-opening-protection/
- https://en.wikipedia.org/wiki/Concrete_stain
- https://en.wikipedia.org/wiki/Concrete_floor
- https://en.wikipedia.org/wiki/Threshold_(architecture
- Checking your browser – reCAPTCHA
https://www.ncbi.nlm.nih.gov/books/NBK1743/ - ICRI: Innovative Concrete Repair Solutions & Training Programs
https://www.icri.org/