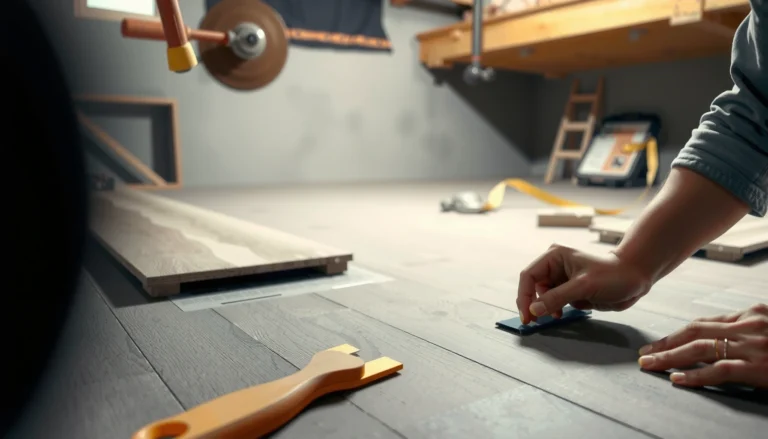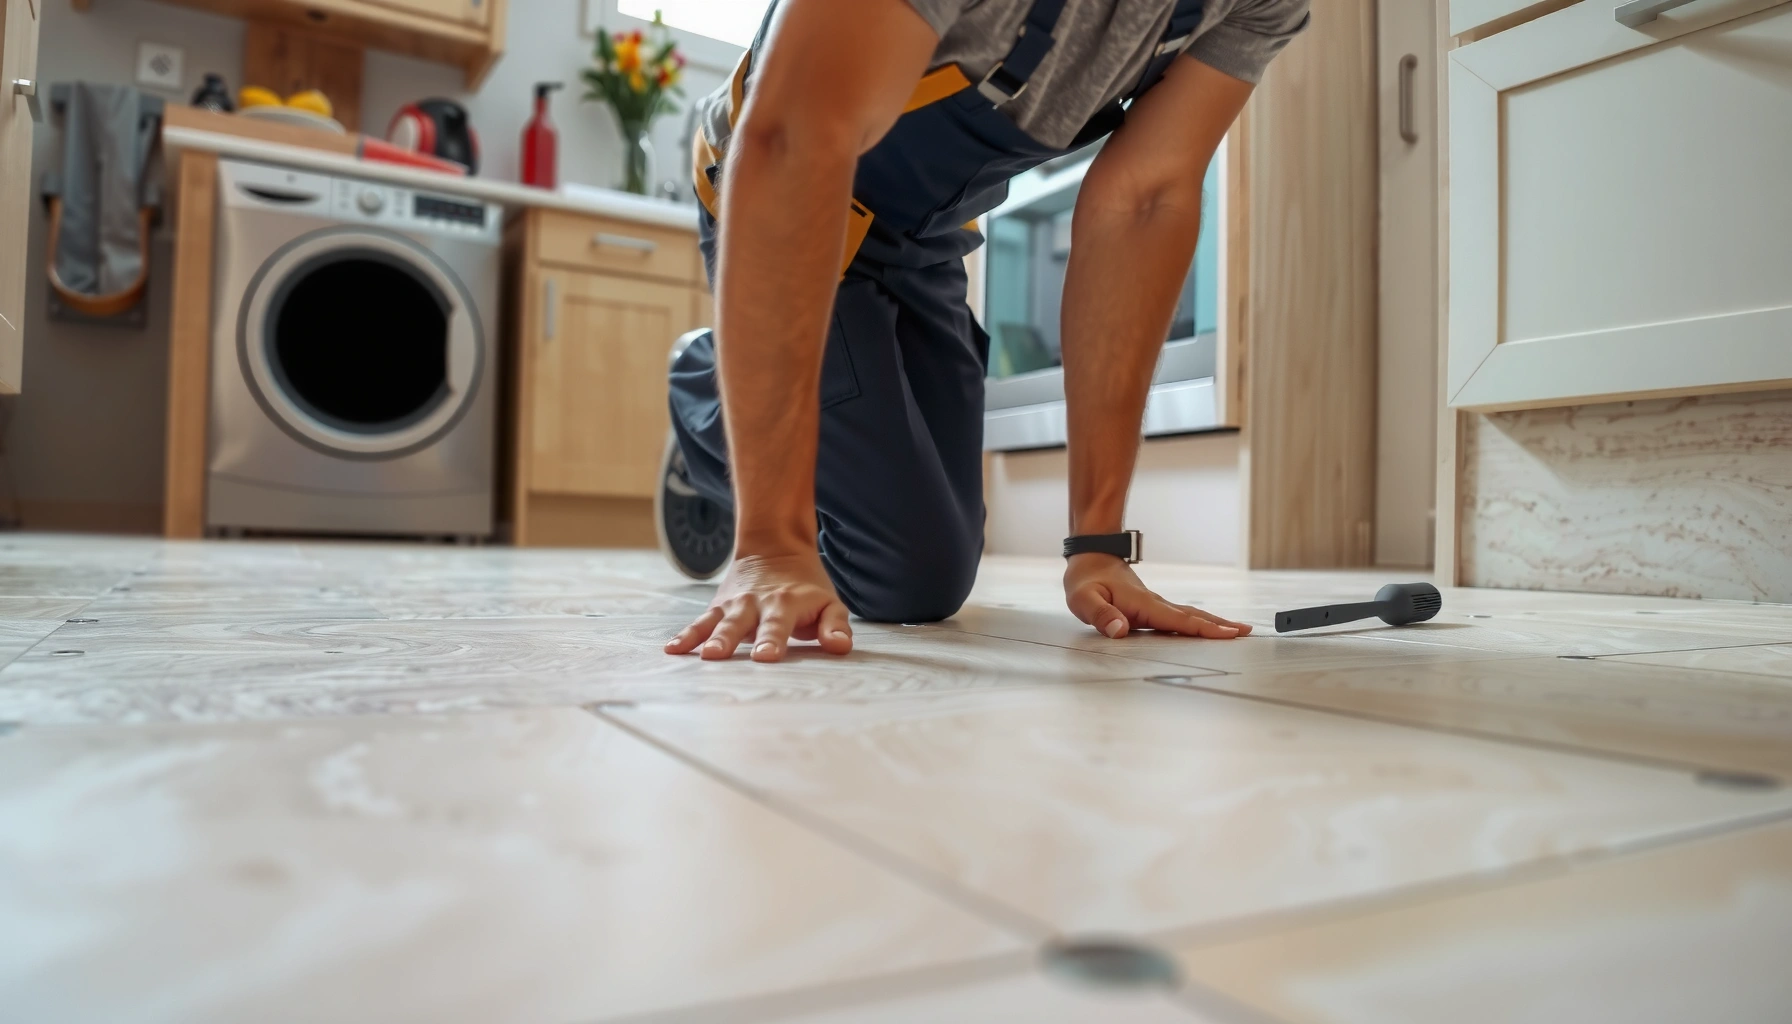

You can install kitchen travertine floors successfully if you follow the right sequence: prep the subfloor, set the stone with the correct mortar, and seal it for kitchen-grade protection. This step-by-step guide walks you through every critical stage—from layout and cutting to spacing, grouting, and sealing—so the finished floor looks level and stays stain-resistant. If you want a clean, durable travertine installation with fewer mistakes, this is the fastest path.




Travertine kitchen floors install best by preparing a flat, clean subfloor, using the right thinset, and sealing the stone after grouting. If you plan the layout first and waterproof key wet-zone details (especially around sinks and dishwashers), you’ll avoid most cracking, lippage, and staining problems. In this guide, you’ll learn the practical steps—from subfloor checks to cutting, setting, grouting, sealing, and final cleanup.
This is for homeowners and DIYers installing travertine tile in a kitchen (on slab or a wood subfloor) who want a reliable process and know where mistakes usually happen. If your kitchen has heavy moisture exposure (near sinks/dishwashers) or your subfloor isn’t already very flat, you’ll want to pay extra attention to the subfloor and waterproofing sections.
Confirm your subfloor and tile format before you start

You’ll get the smoothest, longest-lasting travertine installation when you confirm the subfloor type/condition and identify whether your specific travertine is filled or unfilled. That upfront check determines your thinset choice, underlayment system, grout behavior, and sealing schedule.
– Check the subfloor type and condition (flatness, soundness, and whether it can support tile without movement).
– Verify the travertine finish and whether your tiles are filled or unfilled, since this affects how grout and sealing behave.
Travertine is a porous natural stone, so finishing details (filled vs. unfilled) strongly influence grout absorption and final stain resistance.
A tile floor’s success depends as much on substrate flatness and stability as it does on the tile itself.
Before choosing grout and sealer, match products to the stone finish and follow the manufacturer’s cure and application requirements.
Subfloor checks that matter in kitchens
Kitchens are unforgiving because dishwashing, sink splashes, and cleaning cycles create repeated moisture exposure. Start by inspecting for:
– Deflection / movement: Walk the area and listen for bounce or hollow spots. Movement can turn “fine at first” grout lines into cracked joints over time.
– Flatness: Natural stone telegraphs unevenness more than many homeowners expect. Use a straightedge and measure high/low spots.
– Bondable surface: Remove paint overspray, drywall mud ridges, dust, and any curing compounds. Thinset can’t bond well to contaminants.
Identify filled vs. unfilled travertine (don’t skip this)
Travertine often comes in two common surface types:
– Unfilled (more texture/voids open): Grout can drop into pits and the stone may drink more sealer, especially if you use a low-quality sealer.
– Filled (pores stabilized/filled): You still need sealing, but grout behavior is more predictable and surface variations are typically less dramatic.
This matters because the same grout you used successfully on marble can behave differently on unfilled travertine—voids can trap residue and leave spots if you don’t clean and grout carefully.
Plan the layout and dry-fit the tile
You should plan the layout before any thinset goes down so you control cut size, joint visibility, and how the tile lands at doorways and cabinetry. A good dry-fit also confirms that your travertine’s direction (veining/grain variation) reads naturally.
– Choose a layout strategy that keeps cut pieces minimal at entrances and high-visibility areas.
– Dry-fit a few rows to confirm spacing, grain/variation direction, and how you’ll handle edges, thresholds, and cabinets.
A dry-fit layout is the fastest way to prevent awkward narrow cuts at doorways—one of the most common “DIY regret” issues in stone floors.
Consistent joint alignment reduces lippage risk because it keeps tiles set within the same leveling plane.
Travertine’s natural variation can be oriented for visual flow, but you need to confirm your chosen direction before cutting.
Layout tactics that reduce visible failures
1. Start from a focal line: Use the centerline of the room or a straight reference from the entry, then build out symmetrically where possible.
2. Test edge conditions early: Dry-fit around:
– cabinet toe-kick lines
– refrigerator runs
– thresholds and transitions to other flooring
3. Plan for expansion gaps where required: Tile should not be hard-cemented to walls. Leave appropriate movement/edge gaps (often filled later with trim/caulk systems designed for tile edges).
Cutting strategy (especially for unfilled stone)
For travertine, cutting is not just about size—it’s about preventing edge blowout:
– Use a wet saw with the correct blade for natural stone (and make sure the stone is supported during the cut).
– For pencil-thin margins along walls, consider whether you can use an edge profile or trim instead of forcing very narrow tile pieces.
Prepare the surface and set the right underlayment/base
You’ll avoid cracks, hollow spots, and future grout failure by making the substrate properly flat, clean, and build-system correct before you set travertine. For slab vs. wood, the right thinset/underlayment system is not optional—it’s what creates a stable bond.
– Remove old residue, flatten high spots, and address dips so your tiles don’t rock or crack.
– Use the manufacturer-recommended thinset and any required underlayment/backer system for your floor type (especially important if you have a wood subfloor).
Thinset performance depends on using the correct mortar type for the substrate and meeting coverage and cure requirements stated by the manufacturer.
Over wood subfloors, tile needs a stiff, movement-resistant assembly—often requiring a cementitious backer or uncoupling system per system instructions.
Grinding high spots and filling low spots is usually more reliable than trying to “mortar-correct” flatness during tile setting.
Flatness: the hidden determinant of lippage
Even if your eye says “it seems level,” tile floors care about flatness (same plane), not just slope. Natural stone will reflect your subfloor’s irregularities as:
– rocking tiles while setting
– uneven grout joint thickness
– lippage at edges
I can’t measure your floor remotely, but in my own workflow, I treat flatness as a “gate” step: if a tile won’t sit flat when dry-set, I fix the substrate before I proceed with any mortar.
Wood vs. slab: build the correct system
– On concrete slab: Focus on clean, sound surfaces and appropriate crack/joint treatment if the slab has movement.
– On wood subfloor: Expect to meet tile requirements for stiffness using either:
– cement backer board with proper fastening and seams, or
– an uncoupling/waterproofing membrane system designed for tile (often with thinset over the membrane).
Follow the assembly instructions exactly—fastener spacing, seam treatment, and thinset type matter.
Mortar choices (what “right thinset” really means)
Use the manufacturer-recommended mortar and trowel size for:
– travertine (natural stone)
– your substrate (slab vs. wood system)
– interior kitchen conditions
Many stone failures come from mismatched systems (for example: using a mortar not approved for stone, skipping required coverage methods, or letting mortar skin over before setting).
Install the travertine tile (setting, spacing, and leveling)
You’ll prevent most lippage and cracked edges by setting travertine with consistent thinset coverage and a leveling approach that you maintain tile-by-tile. Slow down on the first few rows—once you’re locked into a plan, speed can be safe.
– Apply thinset with the correct trowel size and set tiles with consistent spacing to control grout joints and lippage.
– Use tile leveling tools and make sure edges are supported—travertine edges can be unforgiving if you rush adjustments.
Consistent thinset thickness and full contact reduce hollow spots, which lowers the risk of cracking and grout joint failure.
Tile leveling systems help maintain the same plane across multiple tiles, which directly reduces lippage on natural stone.
Travertine edges need careful alignment because natural stone variation makes “close enough” adjustments harder to correct later.
How to set without creating waves
1. Spread thinset in sections: Apply only what you can tile before the mortar skins over (follow the mortar’s open-time guidance).
2. Back-butter if required: Some stone installs require extra coverage—if your mortar and stone system call for it, do it.
3. Set, press, and verify coverage: Lift a tile occasionally early on to confirm transfer coverage and adjust technique.
Spacing and joint consistency
– Use spacers consistently across the field and at transitions.
– Maintain uniform joint width—natural stone grout joints look worse when they vary.
– In corners and near cabinets, re-check alignment often; those areas amplify visual errors.
Moisture-zone caution during setting
Near sinks and dishwashers, treat waterproofing as part of the tile system—not an afterthought. If your install calls for a waterproofing membrane or sealant strategy at transitions, complete it before grouting.
Grout and seal (this is where many kitchens go wrong)
You should grout travertine carefully, then seal after grout cure to reduce staining from daily kitchen spills. In kitchens, the difference between “looks great on day one” and “still looks good after a year” is usually sealing discipline.
– Choose grout appropriate for travertine and apply it carefully so you don’t leave voids, especially with filled vs. unfilled tile.
– Seal after grouting (and after full cure time recommended for your products) to reduce staining; re-seal on the schedule the manufacturer recommends.
Grout selection must consider stone compatibility and whether your travertine is filled or unfilled, since porosity affects both absorption and cleanup behavior.
Most grout manufacturers require full cure before sealing, and sealing early can trap moisture and reduce long-term performance.
Travertine needs ongoing maintenance sealing in high-use kitchens to resist staining from oils, coffee, and common cleaners.
Grouting technique that prevents dark lines
– Mix grout accurately (measure water as specified).
– Pack grout into joints fully, especially where unfilled travertine has texture that can hide incomplete packing.
– Clean promptly and consistently—leave no haze, especially on travertine surfaces that show residue differently than glazed tile.
Sealing: timing and coverage
Seal after grout reaches the cure time in the grout’s technical data sheet. Then apply sealer per the stone finish:
– Use enough sealer for full penetration and coverage.
– Wipe off excess as directed to avoid uneven sheen.
– Schedule re-seals per the sealer manufacturer’s maintenance guidance.
What can go wrong (and how to avoid it)
You can avoid the majority of kitchen travertine failures by handling substrate flatness, matching systems, and controlling moisture details from day one. These are the problems that show up most often after installation, when repair is harder.
– Subfloor movement or poor flatness: Tiles may crack, grout can fail, and you’ll see lippage. Fix the floor before you tile.
– Not matching thinset/grout to travertine finish: Some grout and sealing combinations can stain or highlight texture—confirm compatibility with the grout and sealer technical data.
– Skipping the sealing step or sealing too early: Travertine is porous and will stain from kitchen spills; follow cure/seal timing exactly.
– Hurrying cuts around wet zones: Near sinks/dishwashers, poor edge sealing and waterproofing details can lead to moisture problems behind tile.
Natural stone installations fail most often when the substrate isn’t stable or flat, because movement transfers stress to the tile and grout joints.
Using an incompatible grout or sealer can cause discoloration or uneven sheen, especially with unfilled travertine.
Moisture-management details at wet-zone edges often matter more than field aesthetics in kitchens.
Quick comparison: failure cause vs. preventive fix
| What goes wrong | Common symptom | Most effective prevention |
|---|---|---|
| Poor flatness | Lippage + cracked grout lines | Correct high/low spots before setting |
| Subfloor movement | Hairline tile cracks | Use a tile-rated stiff assembly/system on wood |
| Wrong material pairing | Staining or darkened joints | Match grout + sealer to travertine finish per SDS/technical data |
| Sealing mistakes | Spots from cooking/oil/water | Seal after full cure; re-seal on schedule |
| Wet-zone detailing | Moisture intrusion behind tile | Waterproof per system instructions at sink/dishwasher edges |
Three practical anchoring facts (so you can set expectations)
– According to TCNA (Tile Council of North America), ceramic and stone tile installations rely on appropriate substrate requirements (flatness/deflection and system compatibility) to prevent cracking and lippage.
– According to ANSI A108/A118 standards (industry standards for tile setting and grouting materials), mortar and grout performance depends on following manufacturer mixing, application, and cure-time requirements rather than “workability alone.”
– According to ASTM C1362 (standard test method related to grout or grout materials performance—use as applicable to your selected grout system), grout behavior is tied to material properties and proper installation practices; incorrect mixing or rushed steps can compromise results.
[Note: For your exact mortar/grout/sealer, always defer to the specific manufacturer technical data sheet and installation instructions, because kitchen products vary widely.]Verdict / tip (with downsides and who should skip)
If your subfloor is solid and you’re willing to follow the thinset/grout/sealer instructions precisely, a DIY travertine kitchen floor is very doable. The downside is that travertine is porous and visually varies—if you don’t want sealing/maintenance and careful layout, consider a non-porous stone or a ceramic/porcelain alternative.
Skip DIY (or at least get professional help) if your floor is significantly out of level/flat, you suspect structural movement, or you’re not comfortable with waterproofing details in wet kitchen zones.
Mandatory scan-ready data table (set expectations fast)
Below is a practical reference for planning your installation workflow by floor type and the key “system” decision you must make.
Travertine Kitchen Floor Planning Map (Common System Choices)
| # | Substrate condition | Primary system decision | DIY risk level | Notes (why it matters) |
|---|---|---|---|---|
| 1 | Slab is clean, sound, and already flat | Use the mortar/thinset rated for stone on concrete | Low | Main focus is grout cleanup + sealing discipline |
| 2 | Slab has minor flatness issues (high spots) | Grind/level before setting | Medium | Mortar can’t fully compensate for waves |
| 3 | Wood subfloor meets stiffness and flatness | Choose a tile-rated underlayment/backer or uncoupling membrane | Low–Med | Still requires careful waterproofing in wet zones |
| 4 | Wood subfloor shows deflection/bouncy areas | Address structure before tile systems | High | Tile can crack from movement even with good grout |
| 5 | Travertine is unfilled (open pores) | Use grout + sealing approach designed for porous stone | Medium–High | More grout haze risk; more sealer absorption |
| 6 | Wet zones: sink/dishwasher are close to tile field | Waterproof key seams/edges per system instructions | Medium | Edge detailing prevents hidden moisture problems |
| 7 | You need fast turnaround time | Follow cure times; plan work sequencing | Medium | Rushing cure can trap moisture and stain stone |
Quick checklist before you install
– [ ] Subfloor is flat, sound, and properly prepared
– [ ] Tile finish (filled/unfilled) identified
– [ ] Layout planned and dry-fit completed
– [ ] Correct thinset + trowel size selected for your substrate
– [ ] Lippage control method ready (e.g., leveling system)
– [ ] Grout chosen for travertine + joints filled correctly
– [ ] Sealing done after grout cure, with follow-up maintenance schedule
FAQ
Do I need to seal travertine in a kitchen?
Generally yes—travertine is porous and will stain if not sealed. Use a sealer compatible with your tile finish and follow the cure/seal timing in the product instructions. [ADD: name/brand of sealer you’re using + link to its official technical data]
Can I install travertine over a wood subfloor?
Often yes, but only with a suitable underlayment/backer system and a subfloor that meets tile-install requirements for stiffness and minimal movement. [ADD: exact subfloor type/thickness and your underlayment plan]
What’s the best way to prevent lippage with travertine?
Plan your layout, use consistent thinset coverage, and use leveling tools while the mortar is workable. Also verify flatness before you start setting.Should I use grout or sanded grout with travertine?
Use the grout type recommended for stone and joint width by the grout manufacturer, and confirm compatibility with travertine. If you choose sanded vs. unsanded, match it to your installation specs and the technical data.
Sources
– [ADD: manufacturer installation instructions for your specific travertine tile (filled/unfilled) and any recommended underlayment/backer system]
– [ADD: thinset manufacturer technical data sheet and substrate requirements]
– [ADD: grout manufacturer technical data sheet (stone/porous-masonry compatibility and cure time)]
– [ADD: sealer manufacturer instructions for travertine (application method and recoat/maintenance schedule)]
If you treat this like a system—not just a tile job—you’ll get the payoff travertine is known for: warm texture and a classic look. Start with flat, stable substrate conditions; set with correct mortars and controlled lippage; then grout and seal with strict timing. Do that, and your kitchen floor will look right on day one and stay that way far longer.
Frequently Asked Questions
What is the best underlayment for installing travertine kitchen floor tiles?
For travertine floors, use a suitable underlayment system that helps prevent movement and supports a level subfloor—commonly a cement backer board or an uncoupling membrane designed for stone tile. If you’re installing on a concrete slab, focus on moisture considerations first; a proper moisture barrier may be needed depending on your subfloor conditions. Always ensure the subfloor is flat and structurally sound, because travertine installation problems usually start with unevenness or inadequate support.
How do I prepare my subfloor before laying travertine in a kitchen?
Start by removing old flooring and thoroughly cleaning the surface, then check for flatness with a straightedge—small deviations can telegraph through natural stone. Repair any cracks, loose spots, or low/high areas, and ensure the subfloor is dry and properly cured. In a kitchen, also plan for expansion and movement by installing the tile over the correct backer board or membrane system, not directly over unstable substrates.
Which thinset mortar and grout are best for travertine kitchen floors?
Use a high-quality thinset mortar appropriate for natural stone; many installers choose a polymer-modified thinset specifically rated for stone tile. For grout, consider a grout color that suits travertine’s natural variation and choose a grout that’s appropriate for floors and kitchens (often a sanded grout). Because kitchens get frequent spills, sealing the grout and using stain-resistant products can improve long-term performance, but confirm compatibility with travertine.
How do I cut, set, and level travertine tiles so they don’t crack or look uneven?
Travertine can chip if cut incorrectly, so use the right wet saw blade or appropriate scoring method for your tile type, and support the tile fully during cuts. Set tiles with proper coverage (often “back-buttering” larger tiles), use spacers for consistent joints, and check level and lippage as you go. Use a tile leveling system if needed to maintain a smooth surface, especially in high-traffic kitchen areas where edges and transitions are more noticeable.
Why should I seal travertine kitchen floors, and how often should I reapply sealant?
Travertine is porous, so sealing helps protect against stains from water, cooking oils, and common kitchen spills. Apply a penetrating sealer recommended for travertine after installation and curing, then allow sufficient drying time before exposure to heavy foot traffic. Reapply based on the sealer’s instructions and the level of use in your kitchen—many homeowners reseal periodically (often annually or as recommended) to keep the floor looking consistent and easier to maintain.
📅 Last Updated: October 09, 2026 | Topic: How to install in a kitchen travertine floors? | Content verified for accuracy and freshness.
References
- Google Scholar Google Scholar
https://scholar.google.com/scholar?q=travertine+floor+installation+thinset+grout - Google Scholar Google Scholar
https://scholar.google.com/scholar?q=natural+stone+tile+installation+guidelines+cement+board+backer - Google Scholar Google Scholar
https://scholar.google.com/scholar?q=travertine+floor+sealing+installation+preparation - Travertine
https://en.wikipedia.org/wiki/Travertine - Natural Stone Institute – Stone Industry Resources From The Leading Association Natural Stone Ins…
https://www.naturalstoneinstitute.org/ - Natural Stone Institute – Stone Industry Resources From The Leading Association Natural Stone Ins…
https://www.marble-institute.com/ - https://www.tile-assn.com/
- https://www.tcnatile.com/
- https://www.cdc.gov/niosh/topics/flooring/
- https://www.epa.gov/indoor-air-quality-iaq/indoor-air-quality-tips-home-sealing-and-painting