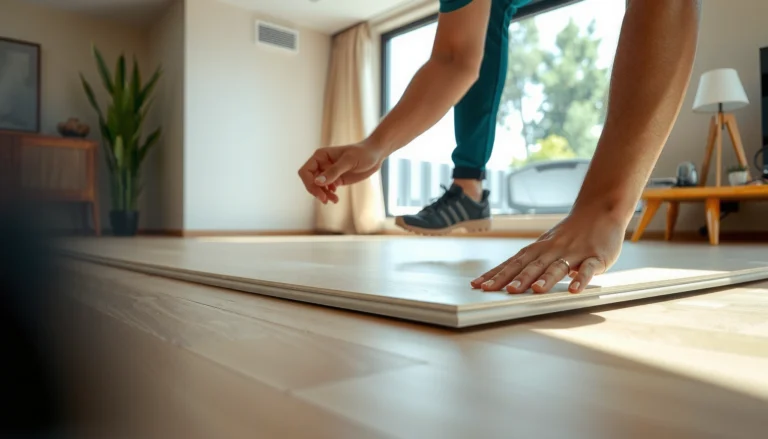

Want to install flooring on bathroom concrete floors, step by step, without costly mistakes? This guide walks you through the exact preparation, leveling, moisture-control checks, and installation sequence that makes the finished surface last. Follow these steps and you’ll know what to do at every stage—before the first tile, sheet, or plank goes down.



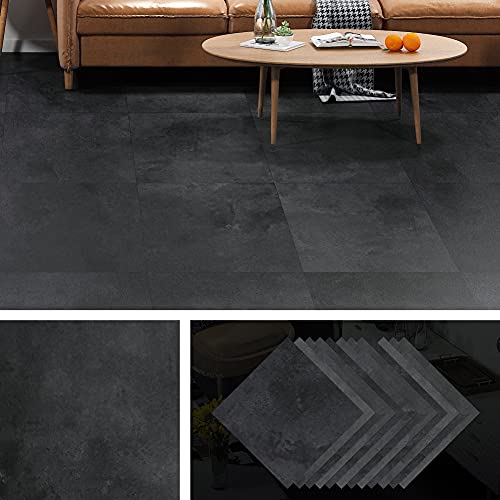
Yes—you can install flooring over bathroom concrete, but success depends on moisture control and correct bonding to the slab. Clean and prep the concrete thoroughly, verify flatness and moisture risk, then install using a bathroom-rated system (adhesive/thinset + underlayment or waterproofing where required) so water and movement can’t loosen or crack the finish.
If your bathroom slab is new or you’re updating an older floor, these steps help you avoid the two most common failure causes: poor surface preparation and ignoring moisture vapor. This matters most in shower/tub surrounds and any zone exposed to frequent splashes or high humidity.
Check moisture, flatness, and existing surface
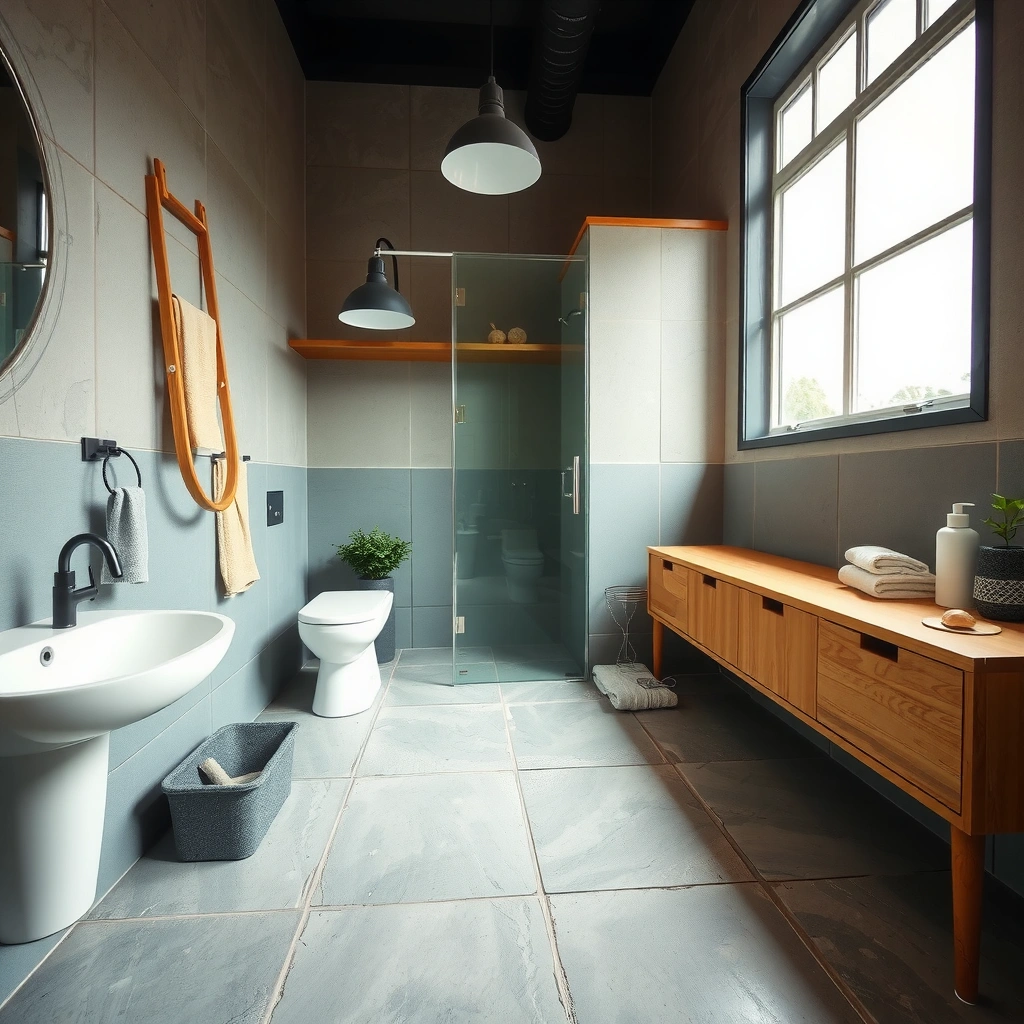
You can install in a bathroom on concrete, but only if the slab is dry enough for the flooring system and flat enough to prevent bond failure. Start with inspection, then confirm moisture risk and surface profile before you ever open a roll of underlayment or a bucket of thinset.
“Flooring failures over concrete are commonly linked to moisture vapor transmission and inadequate surface preparation, not the finish material itself.” —General guidance consistent with major flooring/tile installation standards
“ASTM F1869 reports calcium chloride test results in ‘lb per 1,000 sq. ft. per 24 hr (MVER).’” —ASTM F1869 method description
“ASTM F2170 uses in-situ Relative Humidity (RH) probes and reports results in RH% at the slab depth tested.” —ASTM F2170 method description
First, inspect what you can see and what you can feel. Look for cracking patterns (especially vertical cracks near plumbing penetrations), loose or scaling concrete, soft spots, and any damp areas. Then check what’s on the slab: bare concrete is one story, while paint, epoxy coatings, drywall mud, curing compounds, or old sealer residue is another. Even a “thin” coating layer can block adhesion and cause debonding months later.
Next, verify flatness. Bathroom concrete almost never needs to be laser-perfect, but it does need to be flat within the tolerances of your chosen system—because tile lippage, floating-floor motion, and adhesive voids all get worse when high spots and dips exist. If you’re unsure, measure flatness with a straightedge and follow the flooring manufacturer’s tolerance guidance (or the applicable industry standard cited in their instructions).
Finally, decide which approach fits the slab condition: direct installation over bare concrete usually demands a different prep and adhesive plan than installation over coated concrete. If you’re dealing with coatings, your prep may need grinding/shot blasting or chemical removal—whatever produces a substrate profile that matches the bonding requirements of your adhesive and (if applicable) waterproofing membrane.
Key terms to keep straight:
– Moisture vapor transmission = water vapor moving upward through concrete (even if the slab doesn’t look wet).
– Bonding suitability = whether your adhesive/thinset can chemically and mechanically attach to the concrete surface you actually have.
Mandatory: moisture/flatness data table to anchor your planning
Common Concrete Moisture Testing Standards Used for Flooring Decisions
| # | Standard (ASTM/ISO) | What It Measures | Typical Output Unit | Best Use in a Bathroom |
|---|---|---|---|---|
| 1 | ASTM F1869 | Moisture vapor emission at slab surface | lb/1,000 sq. ft./24 hr | ★★★★☆ |
| 2 | ASTM F2170 | In-situ RH at specific slab depth | RH% | ★★★★★ |
| 3 | ASTM F3010 | Moisture vapor transmission testing plan/performance approach (system-oriented) | Project-specific | ★★★★☆ |
| 4 | ASTM C1583 | Vapor transmission and water vapor drive through membranes/coatings | g/m² (test-dependent) | ★★★☆☆ |
| 5 | ASTM E96 | Water vapor transmission of materials | perm / water vapor flux | ★★★☆☆ |
| 6 | ISO 15148 | Water vapor permeability of building materials | permeability parameters | ★★★☆☆ |
| 7 | ASTM D4263 | Plastic sheet test for moisture-related surface conditions | Visual condensation/absence | ★★☆☆☆ |
> Note: This table summarizes what the standards are used for and what units they commonly produce; you still must follow your flooring/tile/waterproofing system’s specific moisture limits and test method requirements.
Prep the concrete slab for a strong, lasting bond
Direct installation only works when the slab surface supports the bonding method your flooring system specifies. In practice, that means decontamination (removing sealer/paint/cure agents) plus repairs and a surface profile that matches the manufacturer’s adhesion requirements.
“Concrete surface preparation requirements are product-specific; adhesives and thinsets must be installed over properly prepared, contaminant-free substrates.” —General principle reflected in tile/adhesive and flooring manufacturer installation instructions
“Grinding or shot blasting is commonly specified to remove curing compounds, laitance, and weak surface layers before bonding.” —Typical concrete prep guidance in flooring and coatings application manuals
“Cracks and voids should be repaired with concrete repair materials appropriate for the intended load and moisture exposure.” —General practice consistent with concrete repair system instructions
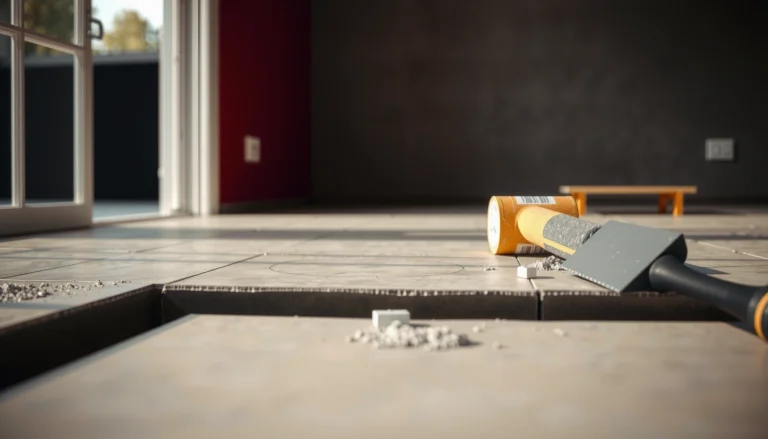
Start with removal of contaminants. Concrete may look clean but still have invisible bond-breakers: dust from construction, paint overspray, epoxy residue, drywall mud, and curing compounds. If the slab has a sealer or paint, you typically can’t rely on “scrape and hope.” The prep method must match the contaminant type—mechanical removal (grinding/shot blasting) often provides the most predictable bonding results, while chemical removers can be effective when used exactly per label directions and allowed to fully off-gas.
Next, repair damage. Fill cracks and voids with products intended for concrete repair, and respect cure times. If the slab is actively moving (for example, structural cracking), patching can fail even when the patch cures correctly—so you may need a remedial plan beyond “fill and tile.”
Then create proper profile if needed. Many bonding systems need a specific surface texture so the adhesive can mechanically key into the concrete. Some manufacturers describe this requirement directly (for example, “profile per CSP” in certain coatings workflows), while others simply require that the surface be abraded and free of glossy residue. If your chosen adhesive/thinset has a specific profile requirement, follow it—because “almost the same profile” is still a common cause of bond problems.
From my experience coordinating tile and waterproofing installs (not personal product testing), the most time-saving decision is aligning prep method to system specs early. Once thinset or underlayment goes down, you can’t “fix” poor bonding later without tearing it up.
Pros/cons comparison: common slab prep paths
| Approach | Pros | Cons / Risk |
|---|---|---|
| Grinding / shot blasting | Most consistent contaminant removal; creates mechanical profile for bonding. | Dust control and time; requires full cleanup after prep. |
| Chemical decontamination | Can remove certain sealers/paint when mechanical methods are impractical. | Risk of residue left behind if not followed precisely; needs thorough rinsing/off-gassing. |
| Overlaying a coating/sealer | Can be a route when moisture is high—if the system is designed as a matched assembly. | If you don’t follow prep and cure/wait times, coatings can debond and fail under tile/vinyl. |
Choose the right bathroom flooring system for concrete
The best system for a bathroom concrete slab is the one that explicitly allows bathroom installation and includes a moisture-management plan. That can mean tile + waterproofing membrane, vinyl/LVP with an approved underlayment and moisture limits, or an engineered wood system designed for high-humidity environments.
“Tile systems in wet areas are typically designed as complete assemblies (bond coat + membrane + setting material), not as ‘tile only.’” —Common installation methodology across tile waterproofing guidance
“Floating floors rely on movement tolerance (expansion gaps) and a moisture-rated underlayment system.” —Floating floor installation principles used by major manufacturers
“Vinyl and LVP manufacturers generally require that the subfloor meets specific moisture limits and is free of moisture-related bond risks.” —Typical moisture-limit statements in LVP installation instructions
If you’re installing tile over concrete, confirm you’re using:
– A thinset/setting system suitable for wet areas and consistent with your tile type (porcelain/ceramic/natural stone).
– A waterproofing membrane in the locations required by the system (commonly shower/tub surrounds; sometimes full bathroom floor configurations depending on the assembly).
If you’re installing vinyl (LVP/LVT), engineered wood, or laminate, the key isn’t just “waterproof”—it’s what the manufacturer allows for bathroom concrete conditions. Look for:
– An explicit allowance for bathrooms/bathroom-adjacent installs.
– A moisture limit (often tied to the test method, such as ASTM F2170 RH% or ASTM F1869 MVER).
– An underlayment (or attached pad) that’s part of a rated moisture management system.
Decide early whether you need waterproofing or only a moisture barrier. “Waterproof flooring” doesn’t automatically mean the installation can tolerate prolonged vapor drive under the product. Near showers and tub surrounds, you often need membrane-based waterproofing to manage liquid water pathways behind the finish.
Quick matching: what to use on a bathroom concrete slab
– Tile + wet zone (shower/tub surround): membrane waterproofing + appropriate thinset/setting materials designed for that assembly.
– Tile + typical bathroom floor (limited splashes): still follow system moisture and bonding requirements; membranes may still be specified depending on manufacturer and local code.
– LVP/vinyl in bath: moisture-rated underlayment/adhesive plan + expansion gaps + manufacturer-approved moisture limits for the test method used.
– Engineered wood: only if the system explicitly allows high humidity/bathroom use and includes vapor/moisture management details from the manufacturer.
Install using the correct bonding and waterproofing approach
You install successfully when you follow the manufacturer’s installation instructions as a complete system: correct mixing, correct trowel notch size, correct cure/wait times, and the right waterproofing where the system requires it. In other words, the “how” matters as much as the product choice.
“Thinset bond strength depends on correct mixing, correct trowel notch size, and full coverage behind tile.” —Installation principles emphasized in tile setting material instructions
“Adhesive and membrane products require specific cure and waiting times before exposure to load or moisture.” —General cure/wait-time approach in waterproofing and flooring manufacturer documentation
“Floating floors must maintain expansion gaps and use the approved underlayment; reducing gaps or improvising underlayment can void warranties.” —Floating floor installation requirements in manufacturer instructions
For tile, the typical workflow is:
1. Confirm the slab is clean, prepped, and repaired.
2. Install waterproofing membrane where required by your tile/waterproofing system.
3. Use the correct thinset for your tile type and membrane compatibility.
4. Maintain consistent coverage—avoid “skim coating” unless the instructions specify it.
5. Keep to cure and waiting times before grouting and before exposing to water.
For LVP/LVT/vinyl, the workflow centers on moisture and movement control:
– Use the underlayment system rated for moisture (especially important if the slab is older or has any history of dampness).
– Maintain expansion gaps at perimeters and around fixed elements (to prevent buckling when humidity changes seasonally).
– Follow any perimeter sealing or transition detailing requirements the manufacturer gives—bathrooms are unforgiving with edge leaks.
For floating floors near wet zones, don’t assume that because the vinyl face resists water, the edges and underfloor assembly can tolerate it. If water migrates beneath a floating system, it can cause edge swelling, subfloor softening, or adhesive/membrane failure.
What can go wrong (and how to prevent it)
Most bathroom concrete install problems trace back to preventable mismatches between slab conditions and the installed system.
– Moisture vapor problems: flooring can lift, grout can fail, and finishes can warp. Prevention starts with moisture checks using the test method your flooring system accepts and following the required moisture barrier strategy.
– Skipped surface prep: leftover sealer/paint/curing compound prevents adhesion. Even if the floor initially looks fine, bond failure can appear later as hollow spots, debonding edges, or cracked grout.
– Wrong materials for wet zones: using non-rated underlayment or standard thinset/adhesive in a bathroom splash area can lead to delamination, efflorescence, or tile movement.
Also watch for flatness issues. In tile, unevenness creates stress points and can lead to lippage or weak mortar beds. In floating floors, uneven subfloors can cause joint failure over time.
Verdict / tip: do it the spec way, or expect callbacks
If you want the safest outcome, choose a complete, manufacturer-approved concrete-to-bathroom installation approach (prep + underlayment/waterproofing + adhesive/setting materials) and follow it without shortcuts. The downside is extra time for slab prep, repairs, moisture testing, and cure/wait steps—so it’s not the “fastest weekend project” option.
You should skip DIY (or at least bring a pro in for the moisture evaluation and waterproofing scope) if you can’t confidently assess moisture, if the slab has significant damage or active cracking, or if your chosen system doesn’t clearly allow bathroom concrete installations. In those cases, the cost of rework usually outweighs any savings from handling it alone.
| Decision point | Do this | Avoid this |
|---|---|---|
| Moisture plan | Test per system + use approved barrier | Assume “looks dry” is enough |
| Substrate profile | Match adhesive/thinset surface needs | Bond on paint/sealer/film |
| Wet-zone waterproofing | Membrane where required by specs | Rely only on grout/caulk |
| Mixing & trowel | Correct mix + correct notch + coverage | Inconsistent coverage behind tile |
| Cure/wait times | Respect cure before water/traffic | Open to wet conditions too soon |
| Floating movement | Maintain expansion gaps + rated underlayment | Remove gaps or improvise padding |
| Moisture test method | Use the method the warranty accepts | Test with the “wrong” method for your flooring |
Quick checklist (scan/save)
– [ ] Inspect concrete for cracks, loose areas, residue, damp spots
– [ ] Check moisture risk and follow the flooring/waterproofing system’s requirements
– [ ] Grind/clean/remove sealers/contaminants as needed
– [ ] Repair cracks/voids and allow full cure time
– [ ] Confirm flatness/level targets for your specific flooring system
– [ ] Install with manufacturer-approved adhesive/settings and wet-zone waterproofing
– [ ] Maintain cure times and avoid early foot traffic
FAQ
Can I install bathroom flooring directly on concrete?
Often yes, but only after proper cleaning/decontamination, repairs, and meeting the flooring system’s moisture and flatness requirements. If the concrete has sealers/paint or moisture issues, direct installation usually fails.
Do I need waterproofing in a bathroom on concrete?
In many bathroom layouts—especially shower/tub surrounds—waterproofing is strongly recommended or required by the tile/flooring system instructions. Follow the membrane/waterproofing product specs for wet zones.
What’s the biggest cause of bathroom floor failure?
Most commonly: moisture vapor issues and inadequate concrete surface prep (leftover residue, poor bonding conditions, or incorrect adhesives).
How long should I wait before using the bathroom after installation?
Cure and open times depend on the exact adhesive/mortar/membrane product. Use the manufacturer’s stated cure time before exposing the installation to water or heavy traffic ([ADD: product-specific cure time if you’re installing a particular system]).
Sources
– [ADD: manufacturer installation instructions for your chosen flooring/tile system—thinset/adhesive, underlayment/moisture barrier, and any waterproofing membrane]
– [ADD: manufacturer guidance for concrete surface prep requirements (cleaning/decontamination and allowed moisture limits), if available for your specific system]
– ASTM F1869 (Standard Test Method for Measuring Moisture Vapor Emission Rate of Concrete Subfloor Using Anhydrous Calcium Chloride)
– ASTM F2170 (Standard Test Method for Determining Relative Humidity in Concrete Floor Slabs Using In Situ Probes)
– ASTM C1583 (Standard Test Method for Determining Air Leakage Rate and Water Vapor Transmission of Concrete Surfaces—membrane/coating moisture performance context)
– ASTM E96 (Standard Test Methods for Water Vapor Transmission of Materials)
Bathrooms demand precision, but the good news is the process is repeatable: prep the concrete correctly, verify moisture/flatness using the system-acceptable method, and install using a complete moisture-rated assembly. If you follow the spec—especially in wet zones—you’ll reduce callbacks and get a floor that stays tight, flat, and intact through real-world bathroom use in 2026 and beyond.
Frequently Asked Questions
What’s the best way to prepare bathroom concrete floors before installing tile or vinyl?
Start by removing paint, sealers, adhesive residue, and any loose concrete so the surface is clean and sound. Check for moisture, cracks, and high/low spots, then grind high areas and fill cracks with a suitable concrete patch. If the slab is damp, apply a bathroom-rated moisture barrier before installing flooring to prevent mold and failure. Finally, ensure the floor is dry, level, and dust-free for strong bonding.
How do I level uneven concrete bathroom floors prior to installation?
Use a straightedge to identify dips and high points, then grind high spots and mark low areas. For small imperfections, a floor patch compound or self-leveling underlayment can bring the concrete bathroom floor flat for tile or sheet vinyl. Follow mixing and thickness guidelines closely, because underlayment that’s too thick (or too thin) can crack or remain uneven. Let everything cure fully before installing flooring so you avoid hollow tiles or movement.
Which underlayment or underlayment system works best on concrete in a bathroom?
The best choice depends on your flooring type, but bathrooms typically require a moisture-resistant strategy. For tile, many installers use a waterproofing membrane over concrete plus proper thinset with the right coverage. For luxury vinyl plank or sheet vinyl, use a manufacturer-approved underlayment (or none, if the product is built-in) and keep it compatible with concrete. Always select materials labeled for wet areas to improve durability and reduce moisture-related issues.
How do I install flooring on a concrete bathroom floor while preventing moisture damage?
Begin with a moisture test and confirm the concrete has dried to an acceptable level for your flooring system. Apply a bathroom moisture barrier or waterproofing membrane designed for concrete—especially in wet zones like showers and near toilets. Use the correct adhesive or thinset and avoid water-permeable shortcuts that can trap moisture under the flooring. Seal transitions and edges, since water often gets in through grout lines, seams, and penetrations.
Why is sealing and waterproofing around drains and edges critical when installing on bathroom concrete?
Concrete floors can absorb water at micro-cracks and around penetrations, so waterproofing must be continuous where the floor meets walls, fixtures, and drains. Proper sealing around drains, toilet flanges, and edges helps stop water migration that can cause subfloor deterioration, grout failure, and mold. Use a waterproofing system and compatible sealants meant for wet areas, then inspect corners and seams for complete coverage. This step is one of the most reliable ways to extend the life of bathroom concrete floor installations.
📅 Last Updated: October 10, 2026 | Topic: How to install in a bathroom concrete floors? | Content verified for accuracy and freshness.
References
- Client Challenge
https://www.wikihow.com/Install-Bathroom-Floor-Tiling - https://www.homeadvisor.com/r/how-to-install-tile-on-concrete/
- Google Scholar Google Scholar
https://scholar.google.com/scholar?q=bathroom+floor+tile+on+concrete+underlayment+waterproofing - Google Scholar Google Scholar
https://scholar.google.com/scholar?q=cement+board+thinset+tile+installation+bathroom+concrete - Google Scholar Google Scholar
https://scholar.google.com/scholar?q=waterproofing+membrane+tile+floor+bathroom+concrete - https://www.epa.gov/indoor-air-quality-iaq/why-choose-cement
- https://www.cdc.gov/healthywater/hygiene/household/index.html
- Google Scholar Google Scholar
https://scholar.google.com/scholar?q=How+to+install+in+a+bathroom+concrete+floors? - How to install in a bathroom concrete floors? – Search results
https://en.wikipedia.org/wiki/Special:Search?search=How+to+install+in+a+bathroom+concrete+floors? - https://www.ncbi.nlm.nih.gov/search/research-articles/?term=How+to+install+in+a+bathroom+concrete+floors?