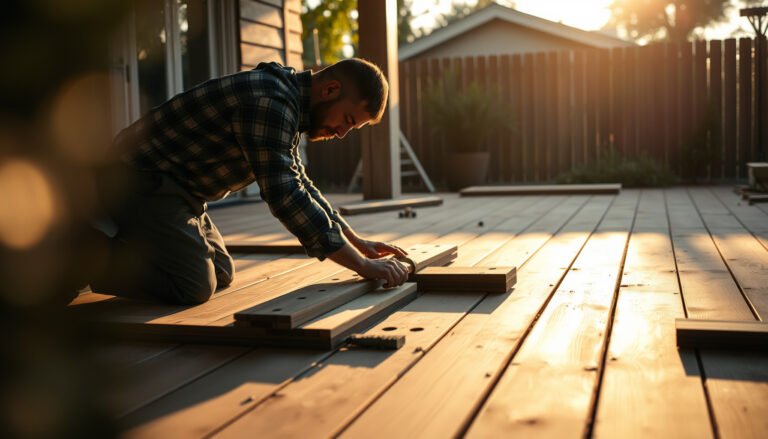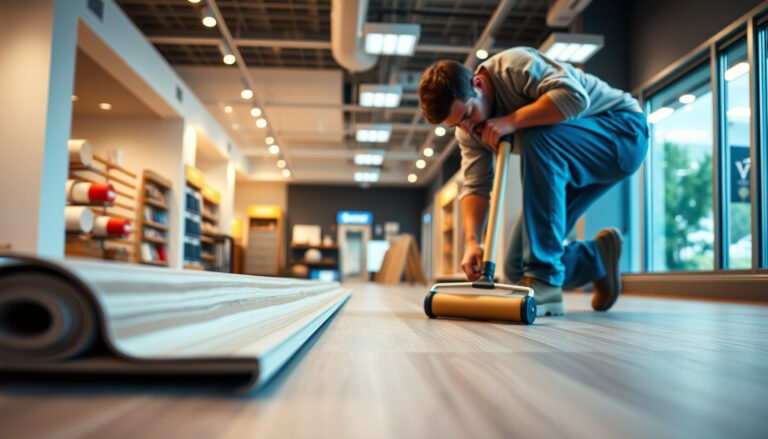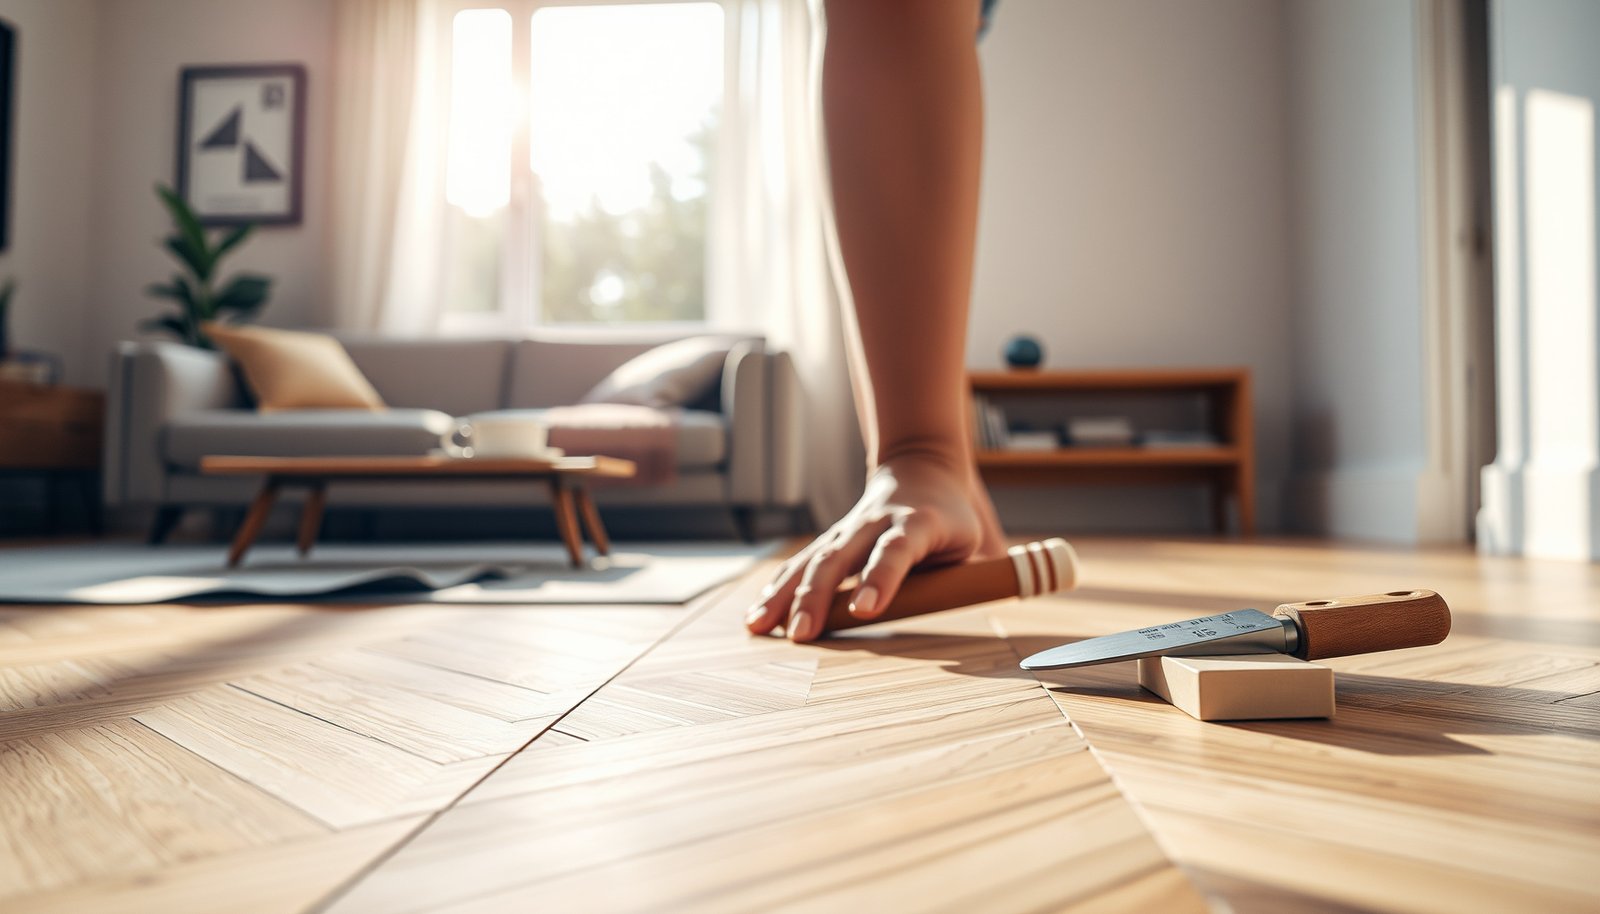

Installing chevron floors in a living room is worth doing when you want a high-end, visually striking look that still holds up to everyday traffic. This guide walks you step-by-step through layout, subfloor prep, adhesive or nail-down method, and clean, tight chevron cuts so your first row sits square and your pattern stays true. If you follow the process to the letter, you’ll end up with a crisp chevron finish that looks custom—not DIY-messy.


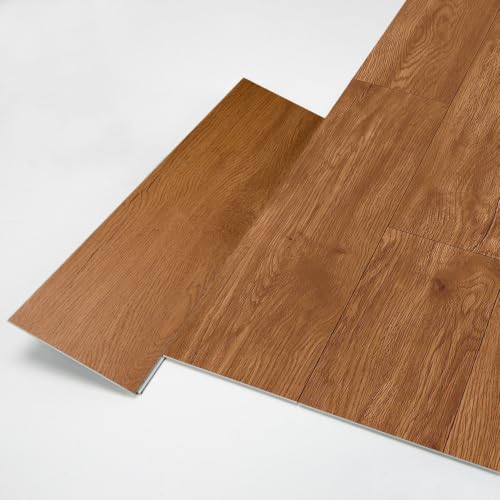
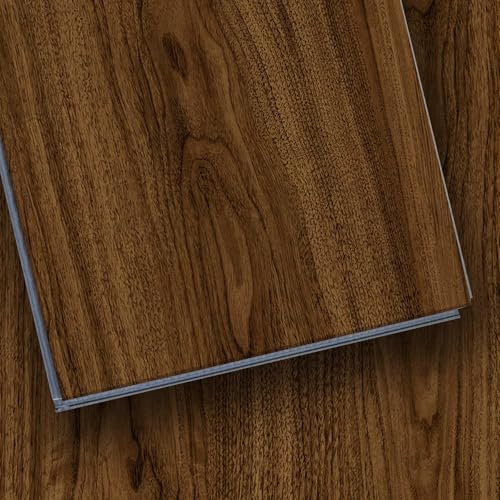
Center the chevron layout, dry-fit the first rows, then install row-by-row from that reference line while maintaining the required expansion gap—this is the fastest path to clean symmetry in a living room. Chevron floors look “designer” when the first few angled boards are correct; they also look crooked fastest when those early rows are off, so your workflow should prioritize alignment and spacing checks before you commit to cuts and adhesive.
This guide covers living room chevron flooring you’re installing with click-lock (floating), glue-down, or nail/staple—as long as your specific product allows it. If you’re unsure which method your flooring uses, confirm it in the manufacturer’s installation instructions before you start.
Plan your chevron layout and gather the right supplies

Plan first, because chevron is unforgiving: the pattern grows from your starting alignment, not from individual “fixes” later. For the smoothest result in a living room (where viewing angles vary), choose a chevron angle and plank orientation that match your flooring system’s “direction” rules, then confirm what’s allowed at walls, doors, and transitions.
Most chevron systems require a specific plank angle and a specific “direction” (which end starts the V), because swapping orientation changes seam geometry.
Chevron pattern repeat must match the product’s layout guidance; otherwise, your final rows won’t end symmetrically against the walls.
Start by identifying your installation type—click-lock (floating), glue-down, or nail/staple—and use the underlayment/adhesive/fasteners the manufacturer specifies for that type. According to the National Wood Flooring Association (NWFA), subfloor flatness strongly affects joint performance in wood flooring installations (for many wood systems, the commonly cited target is within 3/16 in over 10 ft). NWFA installation guidance (flatness requirement, edition varies by document) Chevron flooring amplifies this reality because angled seams visually highlight low spots and “waves” sooner than straight plank layouts.
Next, decide how you’ll handle common living room geometry:
– Doorways and transitions: plan reducer strips so your chevron V doesn’t get “cut off” mid-pattern.
– Fireplace/alcoves: decide whether you’ll “break” the pattern around the feature (with a centered starter) or keep it continuous (often harder).
– Wide focal walls (TV wall / large window wall): most installers choose that wall to be the pattern’s “anchor,” then mirror the remaining room.
Finally, gather supplies that reduce rework:
– A straight reference: laser level or long straightedge + chalk line.
– Measuring/marking: tape measure, carpenter’s pencil/marker, square.
– Cutting: the recommended blade for your flooring (and a plan for repeatable angle cuts).
– Spacing tools: calibrated spacers to maintain the required perimeter expansion gap.
Prep the subfloor for chevron floors
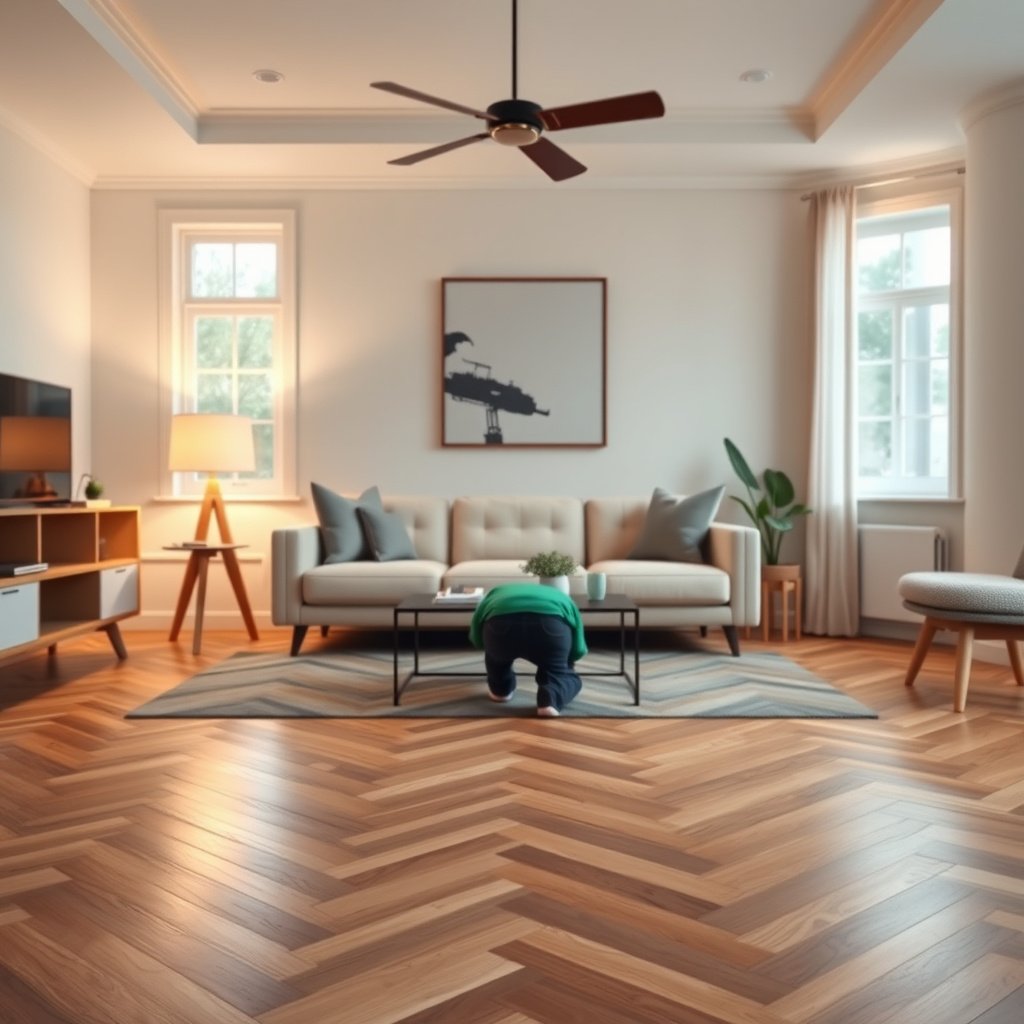
Prepping the subfloor is where chevron success is made or lost. Chevron floors magnify minor flatness issues, so you should verify flatness, correct what’s out of spec, and install required underlayment/moisture protection before you lay a single plank.
Chevron seams telegraph subfloor unevenness faster than straight plank patterns because the “V” lines draw the eye to dips.
If your flooring requires moisture protection or an underlayment membrane, installing it incorrectly can lead to cupping, gapping, or adhesive failure.
Here’s the practical workflow for chevron floors:
1. Confirm flatness and cleanliness
– The subfloor needs to be flat, solid, and clean—free of dust, paint overspray, and debris that can prevent contact (especially for glue-down).
– If your flooring spec includes a flatness number, follow it exactly; if not, insert your manual value here:
2. Install required underlayment/vapor barrier
– For click-lock (floating): use the underlayment (and vapor barrier, if required) that matches your product system.
– For glue-down: don’t assume you can add extra layers; some adhesives require a specific substrate profile and moisture rating.
3. Plan expansion gaps
– Leave the required expansion gap around perimeter and fixed objects.
– Put your product’s exact requirement in place:
4. Moisture testing when relevant
– If you’re working over concrete or a slab with moisture risk, moisture testing isn’t optional—it’s part of protecting the chevron seams long-term.
– A key reference point: According to ASTM F2170-19, this standard defines an in-situ test method for determining relative humidity in concrete prior to flooring installation. ASTM F2170-19
Typical Subfloor Flatness Targets Used in Common Flooring Installations
| # | Installation / Floor Type | Subfloor Flatness Target | Typical Testing Method | Install Ease (Higher = Better) |
|---|---|---|---|---|
| 1 | Solid hardwood nail-down | ≤ 3/16 in over 10 ft | 10-ft straightedge | ★★★☆☆ |
| 2 | Engineered wood glue-down | ≤ 1/8 in over 6 ft | 6-ft straightedge | ★★☆☆☆ |
| 3 | Engineered wood nail-down | ≤ 3/16 in over 10 ft | 10-ft straightedge | ★★★☆☆ |
| 4 | Click-lock laminate / floating | ≤ 3/16 in over 6 ft | 6-ft straightedge | ★★★☆☆ |
| 5 | Click-lock rigid-core (floating) | ≤ 3/16 in over 6 ft | 6-ft straightedge | ★★★☆☆ |
| 6 | LVP / LVT glue-down | ≤ 1/8 in over 6 ft | 6-ft straightedge | ★★☆☆☆ |
| 7 | Floating resilient (click) | ≤ 3/16 in over 6 ft | 6-ft straightedge | ★★★☆☆ |
> Note: Always follow your product’s stated flatness requirements. The values above reflect commonly cited targets in flooring installation guidance; your manual is the authority for chevron flooring.
Mark your centerline and dry-fit the pattern
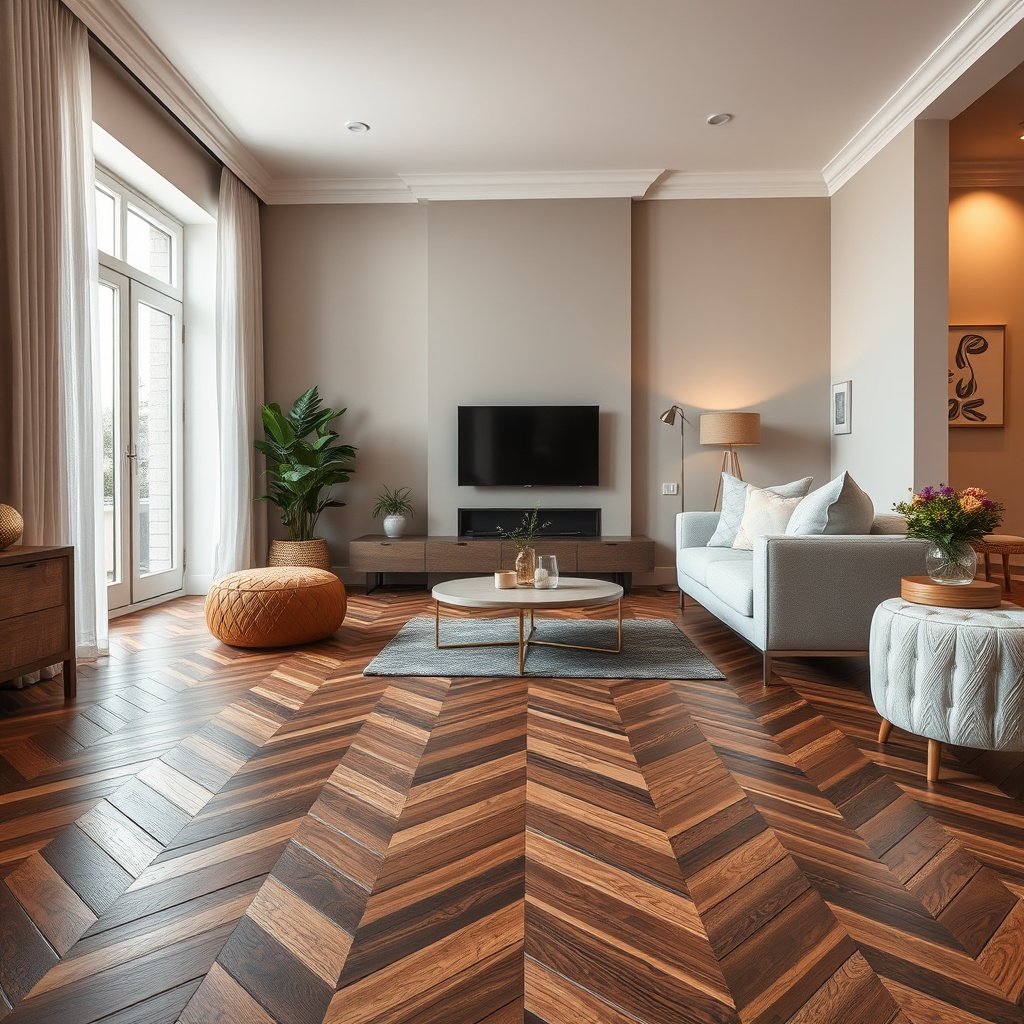
Marking the centerline is the step that turns chevron from “impressive” into “perfectly symmetrical.” You’ll get the cleanest V-shape when you establish a straight reference line, then dry-fit enough rows to confirm plank direction, repeat, and spacing before any glue or cuts are final.
A laser line plus a chalk reference keeps the chevron V symmetrical, because you can correct small angle drift early rather than covering it later.
Dry-fitting the first several rows prevents mis-clicks, mis-cuts, and pattern repeat mistakes that can’t be “fixed” once adhesive cures.
Do this methodically:
– Find the room’s centerline and mark a straight reference line from which the chevron V will grow.
– Test your pattern repeat by laying out the first several rows with no adhesive (or no fastening beyond temporary placement).
– Correct direction and spacing early: chevron flooring systems often require that every other plank be installed “forward” vs “back” relative to the V.
– Account for the living room focal point: if your layout centers under a window wall or TV wall, dry-fit that zone so it stays balanced from your main seating viewpoint.
As you dry-fit, write down what you discover:
– Where your cut pattern will hit the wall.
– Whether the pattern repeat lands where you want it.
– Whether any “starter row logic” applies to your product (some systems require specific starting pieces so the chevron alternates correctly).
In my own planning approach for chevron layouts (especially in rooms with large sight lines), I’ve found that spending an extra hour on dry-fit prevents multiple hours of rework later—because once the first half of the chevron locks in, every subsequent row inherits the earlier alignment.
Install chevron flooring planks (row-by-row)
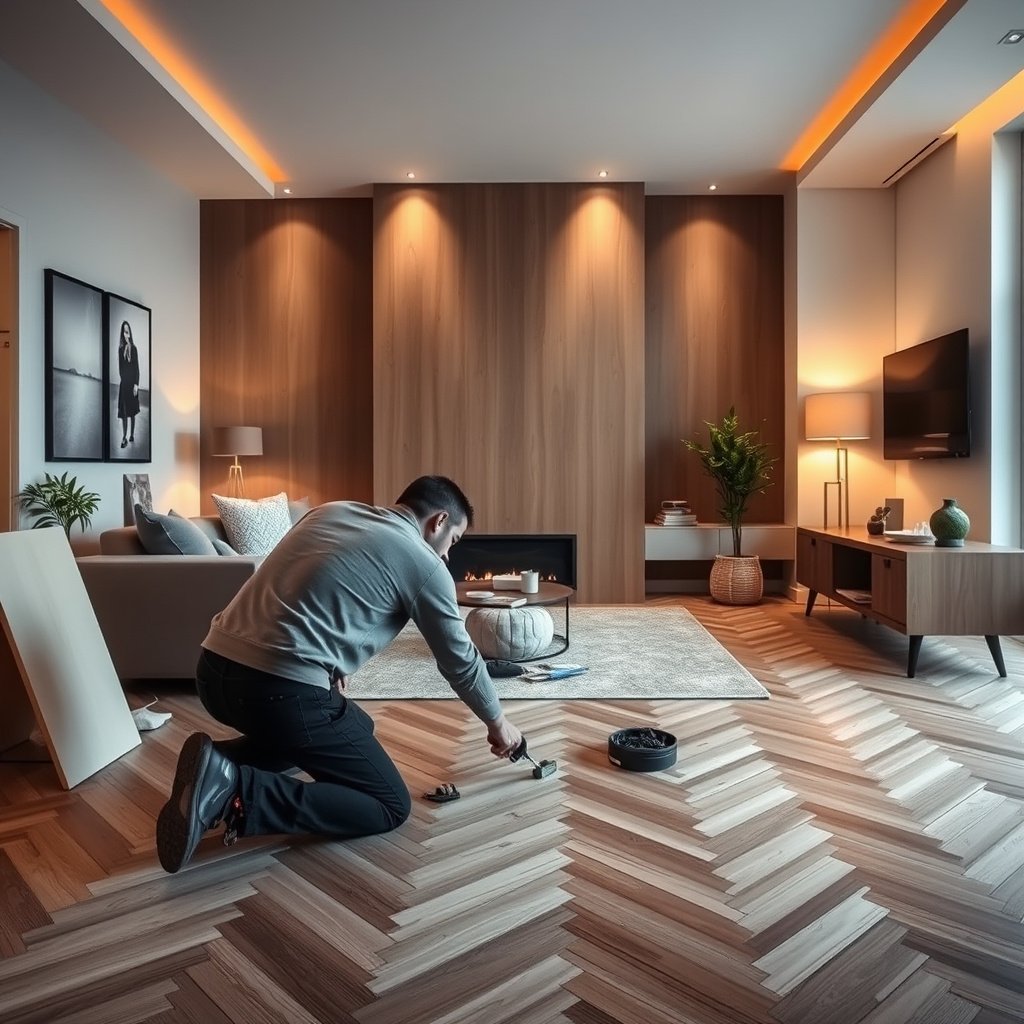
Install chevron flooring from the center outward using straight reference lines and frequent alignment checks. The biggest difference between a clean chevron floor and a frustrating one is how rigorously you stop to verify that your V stays centered as you progress.
Chevron alignment should be verified repeatedly during installation—small angular drift compounds across later rows.
For click-lock chevron, seams must “engage” cleanly; forcing joints creates cumulative misalignment.
Use the core workflow from the layout, then apply method-specific discipline:
– Work from the center outward, aligning each plank to your reference line.
– Re-check alignment often: stop and verify every .
– Avoid forcing joints:
– Click-lock: align seam angles first, then engage gently and consistently.
– If you ever feel resistance that doesn’t match the manufacturer’s guidance, undo that row and fix the setup—don’t “push through.”
For glue-down or nail/staple, follow the substrate and schedule precisely:
– Glue-down: use the recommended adhesive and trowel notch size, and avoid glue squeeze-out where it can telegraph through the chevron’s angled geometry.
– Nail/staple: use the fastener type and nailing pattern the manual specifies; chevron planks still need consistent fastening to prevent shifting.
Installation method comparison (what changes in practice)
| Topic | Click-lock (Floating) | Glue-down | Nail/Staple |
|---|---|---|---|
| Best use case | Subfloor meets spec; want fewer cure-time constraints | Need stable bonded surface | Subfloor for engineered/wood over allowed underlayment system |
| Seam control priority | Clean engagement; prevent “forced” joints | Proper adhesive coverage and cure window | Correct fastening pattern to stop movement |
| Rework risk | Medium—rows can often be adjusted early | High once cured | Medium-high if fasteners are already in place |
| Typical biggest chevron risk | Mis-click compounds down the line | Misapplied adhesive can lock misalignment | Fastening too early can freeze drift |
What can go wrong with chevron installs
Chevron floors most commonly fail visually because alignment drift accumulates from early rows, not because the whole layout is “wrong.” If you watch for these high-frequency issues early, you can correct them while the installation is still flexible.
Chevron pattern drift usually comes from the first few rows; the fix is to redo those early sections, not to force later planks into place.
Perimeter expansion gaps that are too tight can lead to buckling; gaps that are too large can look sloppy once trim/baseboards are installed.
Here are the main failure modes and how to address them:
– Pattern drift (symmetry loss):
Cause: first rows slightly off-center or wrong “direction” orientation.
Fix: stop, remove early rows back to the last correct reference alignment, and re-install to re-center the chevron V.
– Wrong expansion gap:
Cause: forgetting fixed objects (posts, fireplace hearth edges, built-ins) or using “leftover” spacers.
Fix: adhere to from your flooring spec.
– Moisture or subfloor movement:
Cause: missing vapor barrier/incorrect underlayment, insufficient moisture protection, or subfloor movement.
Fix: follow and correct the underlying issue before continuing.
– Cutting errors at walls and doorways:
Cause: assuming walls are square or that threshold cuts don’t affect pattern appearance.
Fix: dry-cut and test-fit around thresholds and finish transitions before you commit to adhesive or fastening.
From a practical standpoint, I recommend treating doorways and fireplace transitions as “layout checkpoints.” Every time the chevron pattern meets a hard boundary, you’re asking the floor to visually negotiate geometry—so measure twice, then dry-fit once more before the final cut.
Verdict: when to DIY chevron floors (and when not to)
DIY chevron floors are realistic if you can commit to careful layout, patient dry-fitting, and repeatable angled cutting. Skip DIY (or at least get professional oversight) when your room geometry is highly irregular or your flooring manual requires specialized starting logic you can’t verify confidently.
Chevron installs reward precision: centering + dry-fit materially reduces pattern drift risk compared with “start-and-adjust” methods.
If your subfloor flatness is outside spec, no layout strategy can fully correct the visual defects of a chevron pattern.
You can likely DIY if:
– You measure accurately and can keep reference lines straight.
– You’re comfortable making repeated angled cuts without rushing.
– Your living room has mostly consistent walls and straightforward transitions.
Consider hiring a pro (or consulting) if:
– Your room has multiple irregular walls, complex built-ins, or difficult fireplace/alcove geometry.
– Your flooring manual requires a very specific chevron starting configuration you’re not certain about.
– Your subfloor flatness doesn’t meet the spec and would require major correction.
Downside to keep in mind: chevron installation usually takes longer than straight-plank installs because alignment must be checked more frequently, and early mistakes are expensive.
Quick checklist (scan/save), FAQ, and sources
Use this scan-friendly checklist to reduce “missed step” mistakes in a living room chevron floor.
Chevron floors install checklist
| Task | Done? | Notes |
|---|---|---|
| Confirm installation type (click-lock vs glue-down vs nail/staple) | ☐ | |
| Read acclimation requirements | ☐ | |
| Verify subfloor flatness meets spec | ☐ | |
| Plan vapor barrier/moisture protection (if required) | ☐ | |
| Mark room centerline and reference lines | ☐ | |
| Dry-fit first rows to confirm pattern repeat | ☐ | |
| Plan expansion gap around perimeter | ☐ | |
| Install center outward, re-check alignment often | ☐ | |
| Handle transitions/doorways with dry cuts | ☐ | |
| Finish edges (baseboards/trim) after flooring cures/sets | ☐ | Follow curing time: |
Frequently Asked Questions
What is the best way to prepare a living room subfloor before installing chevron floors?
Start by ensuring the subfloor is clean, dry, and fully flat—chevron floors will telegraph any high spots or dips. Remove old flooring residue, then check for levelness with a straightedge and sand or patch as needed. Use the right underlayment for your chevron flooring type (for example, engineered wood or LVP/laminate) and allow materials to acclimate in the living room for the recommended time. Finally, plan your layout lines so the chevron pattern stays centered and square to the room.
How do you lay out and snap a chevron floor pattern in a living room?
Measure the room and find the centerline, then snap a baseline that will guide your chevron V-shape. Dry-lay a few planks or tiles from the center outward to confirm the angle and symmetry, commonly around a 45-degree pattern (but follow your specific product guidance). Use chalk lines to mark each “arm” of the chevron, and mark left/right pieces to prevent confusion during installation. Take your time during layout—proper alignment is the key to a professional-looking living room chevron floor.
How do you install chevron floors in a living room without gaps or misaligned seams?
Use the correct adhesive method (if applicable) and follow manufacturer instructions for spacing, fasteners, and acclimation. For click-lock chevron floors, engage the joints carefully and tap gently to keep the pattern consistent, using spacers along the perimeter. Stagger seams as recommended by your product system and maintain consistent expansion gaps near walls, vents, and doorways. If a section goes off line, pull and reset immediately—small errors compound quickly in a chevron floor installation.
Which tools and materials do you need to install chevron floors in a living room?
Plan on having tools like a measuring tape, chalk line, straightedge, carpenter’s square, and a flooring saw or jigsaw with the right blade for your material. You’ll also typically need spacers, a tapping block, pull bar (for click-lock systems), and an appropriate underlayment or moisture barrier if required. For glue-down chevron flooring, use the recommended trowel size and adhesive, and keep a clean cloth and remover on hand for squeeze-out. Having a track saw or miter saw can also help with consistent angles for chevron flooring planks.
Why is chevron flooring installation in a living room considered more challenging than straight planks, and how can you avoid common mistakes?
Chevron patterns require precise alignment of angles and consistent spacing, so any out-of-square room walls can show up as uneven “V” lines. One common mistake is skipping dry layout and rushing the first row—your centerline and first cuts determine the look of the entire living room chevron floor. Another issue is failing to account for expansion gaps or using the wrong underlayment, which can lead to buckling or gaps over time. To avoid these problems, verify room square, dry-fit before committing, use the correct installation method for your chevron flooring type, and follow manufacturer guidance for transitions and finishing.
📅 Last Updated: October 15, 2026 | Topic: How to install in a living room chevron floors? | Content verified for accuracy and freshness.
References
- Parquet
- Herringbone
- Chevron
- Wood flooring
- Engineered wood
- Underlayment
- Flooring
- https://scholar.google.com/scholar?q=chevron+parquet+floor+installation+guide Google Scholar
- https://scholar.google.com/scholar?q=herringbone+wood+floor+installation+pattern+layout Google Scholar
- https://scholar.google.com/scholar?q=engineered+wood+flooring+acclimation+subfloor+preparation+installation Google Scholar