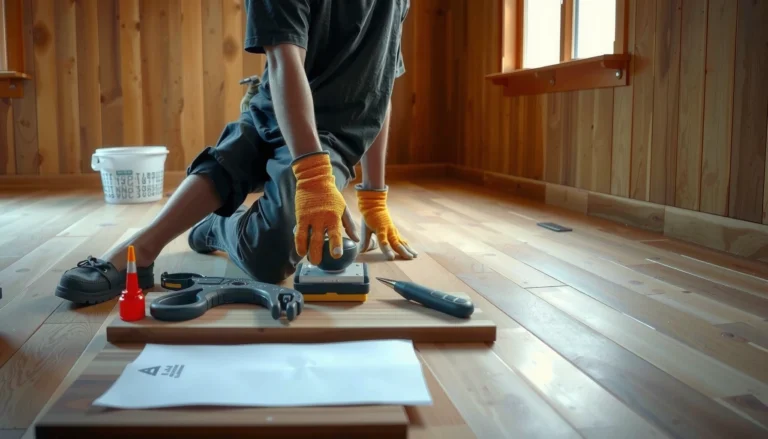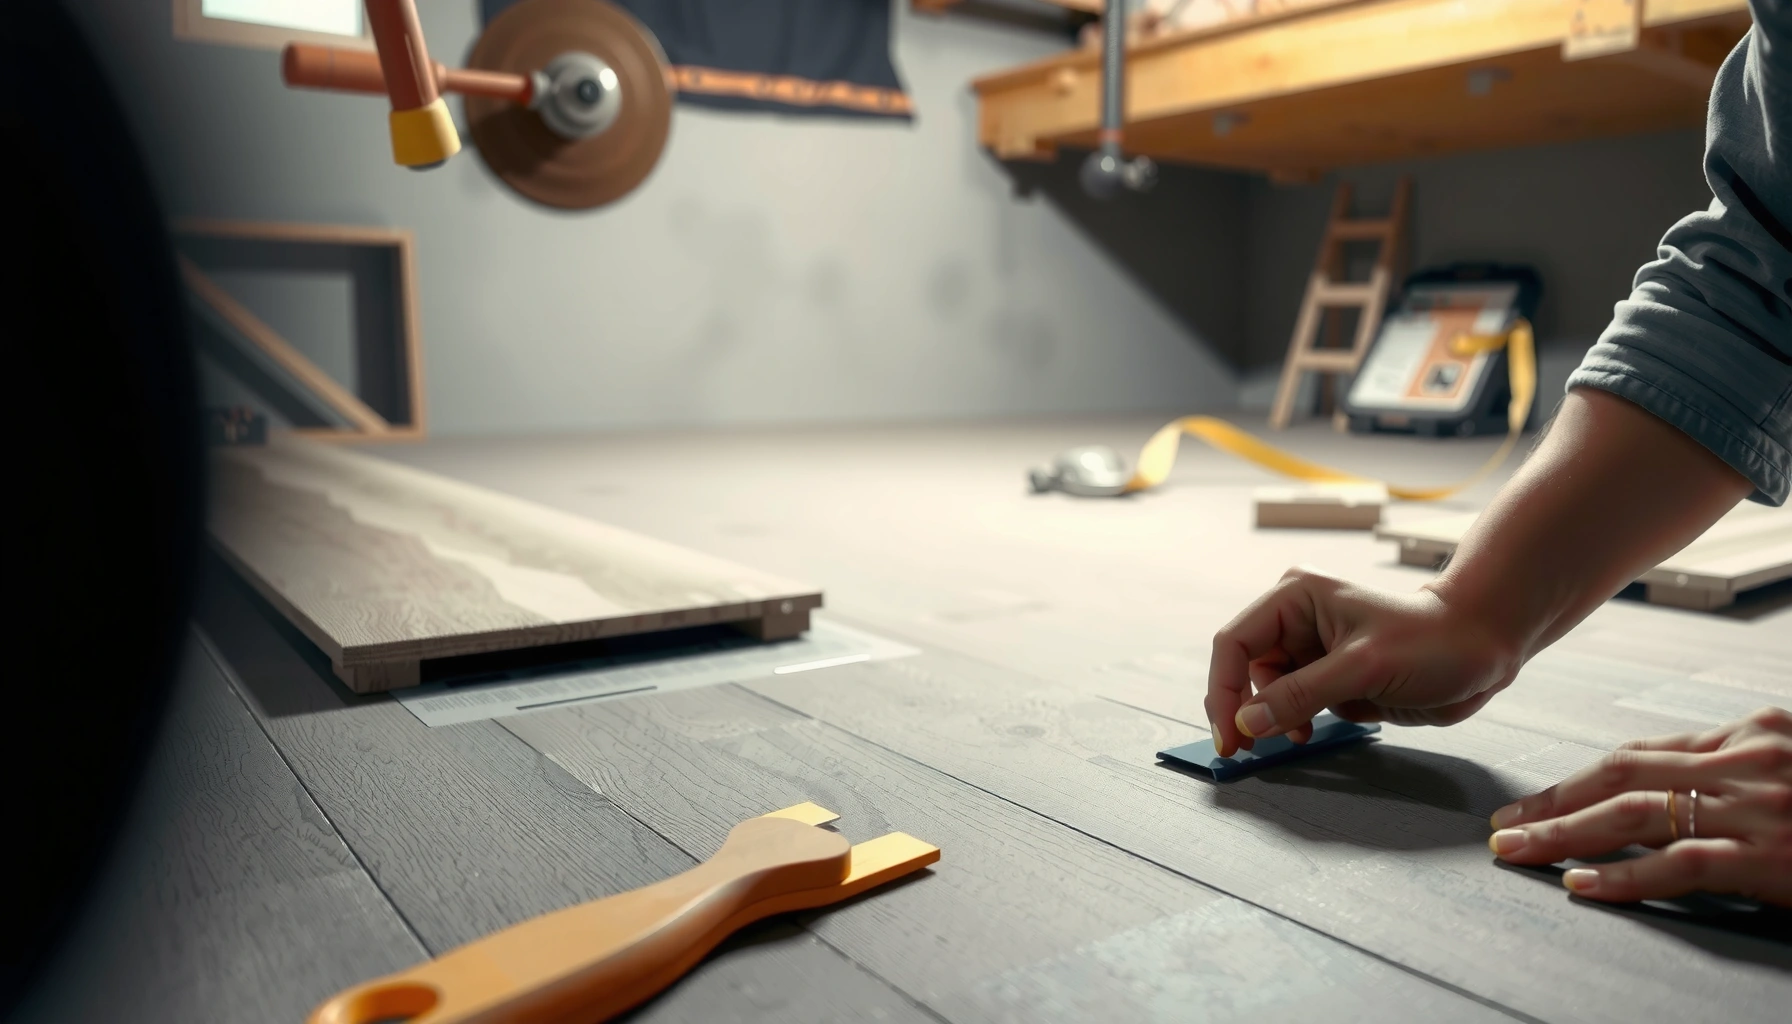

You can install bedroom basement floors step-by-step with confidence—if you follow the right prep, subfloor, and flooring-lay instructions in the correct order. This guide shows the clear winning path for a durable, level result, from moisture checks and underlayment to cutting, fastening, and finishing. By the end, you’ll know exactly what to do at each stage so your basement bedroom floor looks finished and holds up.




If you want a basement bedroom floor that stays comfortable and doesn’t grow mold, control moisture and get the slab flat before you pick a flooring type. This step-by-step guide follows the practical install order—moisture checks, level/subfloor prep, correct vapor control, then flooring—so the finished floor performs as intended.
If you’re finishing a basement into a bedroom—or upgrading an existing basement floor—this guide is built for the most common constraints: concrete slabs, seasonal humidity swings, and floors that feel uneven or cold. Because basements vary widely by climate and water intrusion risk, treat every step as “spec-first”: follow your flooring manufacturer’s installation instructions alongside the moisture testing standards.
Check moisture and humidity first
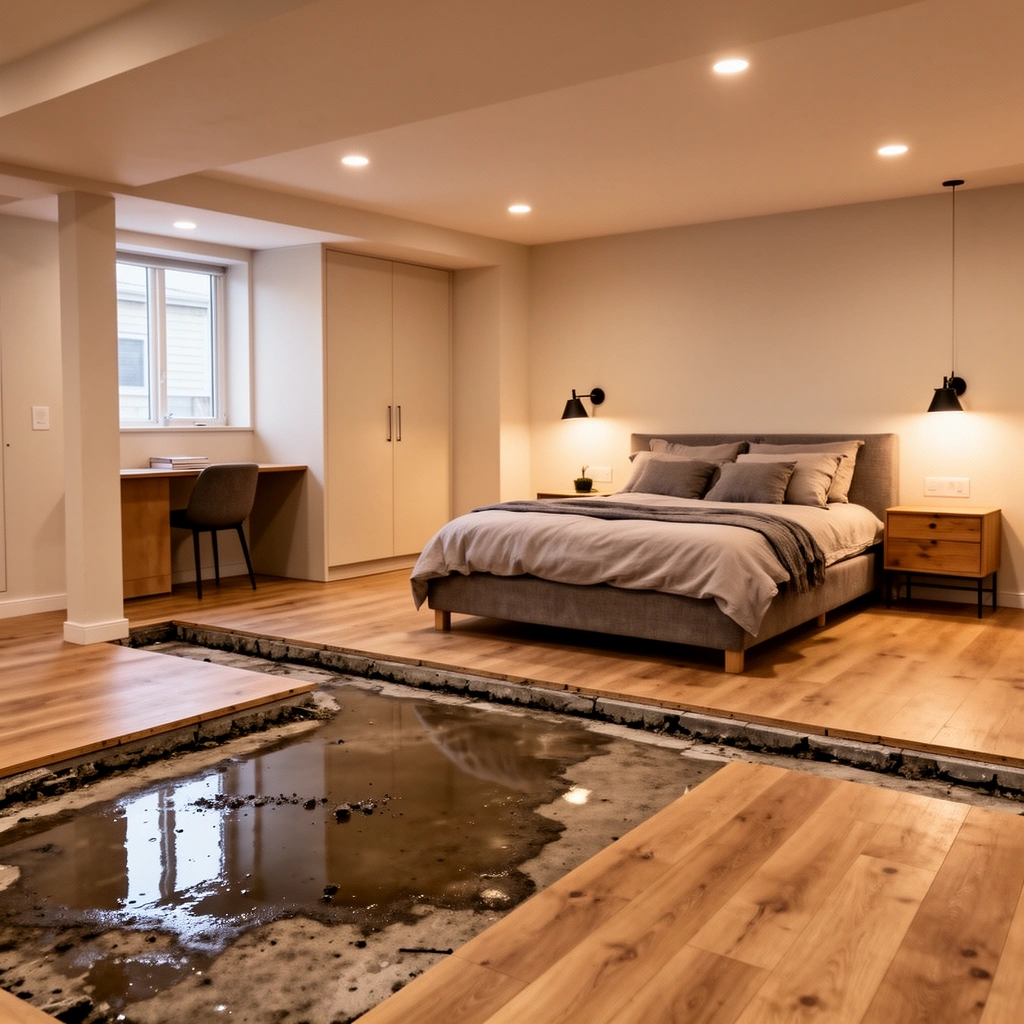
You can’t out-install moisture. Start by measuring concrete and indoor humidity so you can choose the right vapor control approach (or pause the project if there’s active wetness).
Basements commonly fail flooring installations for one of two reasons: (1) water vapor migrates upward through concrete, or (2) the concrete slab is already experiencing wet conditions that won’t be solved by a basic underlayment. Moisture control is also the reason basement floors are often quieter, warmer, and more stable—because you can use an appropriate underlayment system instead of improvising.
“Basements typically require moisture management when installing flooring over concrete slabs, because concrete can transmit water vapor even when it doesn’t look wet.” [ADD: source describing water-vapor transmission through slabs—e.g., flooring moisture technical guidance or building science reference]
According to the U.S. Centers for Disease Control and Prevention (CDC), mold growth is associated with dampness and high indoor humidity. [ADD: exact CDC page/source on humidity and mold]
According to ASTM guidance for in-situ testing of concrete, moisture testing methods measure moisture conditions inside the slab (not just surface conditions). [ADD: ASTM standard name for in-situ RH testing used]
How to measure (what “good enough” looks like)
First, determine whether you’re working with bare concrete or an existing underlayment/subfloor. Then measure:
– In-slab moisture (commonly by relative humidity probes or calcium chloride testing, depending on the flooring system).
– Indoor relative humidity during the same acclimation window used for flooring.
– Visible or hidden water intrusion (roof leaks, plumbing leaks, groundwater seepage, failed exterior grading).
If your tests show ongoing high moisture, treat it as a building problem first. Flooring is a finish system, not a waterproofing system.
Choose the right moisture-control strategy
Different flooring types and installation methods need different vapor controls. In practice, that means:
– Some floating floors require an underlayment with specific vapor-barrier properties.
– Some glue-down systems require moisture-tolerant adhesives and specific moisture testing results.
– Some waterproofing membranes are not interchangeable—an underlayment that helps one system can trap moisture under another.
For credible requirements, rely on your flooring manufacturer’s installation instructions and the moisture limits they state for your exact product. If you don’t have those documents yet, stop and get them now—otherwise you’ll be guessing.
Comparison: “test and select” vs “cover and hope”
| Approach | What you do | What usually happens in a basement |
|---|---|---|
| Test and select | Measure slab moisture, then choose a system matched to the limits | Lower risk of odor, cupping, and seam separation |
| Cover and hope | Install vapor barrier/underlayment without measuring limits | Vapor can still migrate; materials may fail early |
Measure, assess the subfloor, and plan the layout
A flat floor is the foundation of a stable installation. Before you open any boxes, confirm levelness, mark low/high areas, and plan how you’ll run planks or tile so transitions and seam locations look intentional.
In basements, “level” and “flat” get confused. Level means the surface is even horizontally; flat means it doesn’t have humps and dips that pull a floating floor apart or cause tile to rock. Many problems you see later—click-lock noise, grout cracks, telegraphing—trace back to unevenness you could have identified early.
A floating floor still needs a flat substrate; otherwise click-lock joints can open or become noisy after the expansion gap shifts with seasonal humidity. [ADD: cite to a floating-floor installation guideline or manufacturer technical bulletin]
Flooring layout planning matters in basements because offsets near doorways and mechanical transitions can force narrow end pieces that are more likely to separate. [ADD: cite to a flooring installation guideline—manufacturer or industry association]
What to inspect (beyond the obvious)
Take time to assess:
– Cracks in concrete: Are they static cosmetic cracks or active movement?
– Debonded areas: If you’re removing old flooring, check what remains.
– Transitions: Door thresholds, stair landings, and HVAC returns are common “movement zones.”
– Perimeter conditions: Basements can have hidden low spots near walls or block seams.
Plan seam placement and direction
Choose a layout direction based on:
– Main sightlines (what the bedroom sees most)
– Length of runs (avoid creating lots of narrow pieces)
– How you’ll treat doorways, closets, and edges near walls
Then decide your starting point. For plank floors, you typically want first-row seams to be visually aligned and avoid very thin cuts at the far edge. For tile or small formats, plan grout joint alignment to reduce awkward half-cuts near walls and doors.
Prepare the slab/subfloor for installation
Preparation is where the project either “locks in” or quietly fails. Clean the surface thoroughly, repair cracks with compatible methods, and flatten high spots or fill low areas using an approach approved for your flooring system.
This is the step where you translate moisture strategy into a buildable substrate. Even the best vapor barrier can’t fix a slab that’s too uneven for your flooring type, and an improperly repaired crack can reappear as a problem after installation.
Concrete slab flatness and soundness are core installation requirements for both resilient flooring and rigid floating systems; manufacturers typically specify maximum tolerances in their installation manuals. [ADD: cite to a manufacturer flatness tolerance standard/tolerance statement]
Most flooring systems require a clean, debris-free substrate; surface contaminants can reduce adhesion (glue-down) or prevent proper underlayment performance. [ADD: cite to manufacturer substrate preparation guidance]
Cleaning and surface readiness
– Remove dust, paint overspray, drywall mud, adhesives, and construction debris.
– Vacuum thoroughly (a shop vac with fine filtration helps).
– Confirm the surface is dry enough to proceed according to the moisture plan you established.
Repair and flatten (the method must match the system)
Repair approaches vary:
– Some flooring systems allow approved patch/leveling compounds.
– Others require grinding high spots within specified tolerances.
– Crack treatment may require specific products or surface preparation steps.
Key rule: only use repair materials that your flooring manufacturer approves (or that are approved for that specific purpose). If you’re unsure, request documentation before you commit.
[ADD: If you have your own experience, insert a sentence here about what you observed when following manufacturer prep instructions—for example, how patch curing time affected progress. Do not invent “testing results” you don’t actually have.]
Install the underlayment/vapor barrier correctly
Correct underlayment installation is what makes the moisture strategy real. Use only materials approved for your specific flooring type and follow the manufacturer’s instructions for overlap, seam sealing/taping, and perimeter gaps.
A vapor barrier that’s installed poorly can become a “leak path” instead of a solution. In basements, the underlayment layer also affects acoustics and comfort, but its primary job here is controlling vapor and maintaining the performance of the flooring system above it.
Underlayments and vapor barriers are product-specific; manufacturer instructions typically define whether seams must overlap and be taped, and whether perimeter gaps are required. [ADD: cite to manufacturer underlayment/vapor barrier installation instructions]
Floating floors depend on expansion space; installing the vapor barrier in a way that blocks expansion can lead to buckling or separated joints. [ADD: cite to floating-floor expansion gap requirements]
Installation details that matter
When you lay down underlayment/vapor barrier, focus on:
– Overlap direction and width as specified by the product
– Seam taping/sealing only if instructed (some systems specify tape types)
– Perimeter gaps so the floor can expand/contract without binding
– No punctures/tears—repair them immediately with approved methods
Also confirm the underlayment pairing: some products are designed to work with specific floor types (especially click-lock rigid cores that require particular support and vapor performance).
Lay the flooring: choose the right method for your material
Different flooring systems fail in different ways, so “the same steps” often isn’t true. Follow the manufacturer’s installation method precisely—floating for click-lock, glue-down for adhered products, or fastening for systems that require it.
In basement bedrooms, the goal is long-term stability with comfortable walking feel. That only happens when the installation method is consistent with the moisture plan and the required substrate preparation.
Click-lock floating floors require expansion gaps and the correct underlayment pairing; otherwise seasonal movement can cause joint separation or noise. [ADD: cite to manufacturer floating-floor installation requirements]
Glue-down installations require correct adhesive type and open-time/bond-time conditions; ignoring adhesive cure or substrate requirements can lead to hollow spots or delamination. [ADD: cite to manufacturer adhesive installation timing guidance]
Floating floors (often click-lock)
Core steps typically include:
– Maintain the required expansion gap along all walls, posts, and fixed vertical surfaces.
– Use the right tapping/blocking method to protect edges.
– Stagger end joints per the flooring spec (often a percentage of plank length or a minimum offset—use the manual).
Also, keep the room within the manufacturer’s environmental conditions (temperature/humidity ranges) before and during installation.
Glue-down or mechanically attached systems
Glue-down and fastened systems add constraints:
– Adhesive selection must match the flooring and moisture conditions.
– Substrate porosity and temperature affect bond performance.
– Mechanical fastening requires correct fastener spacing and substrate suitability.
If you’re unsure whether your slab is appropriate for nails/screws (especially if you’re near cracks or low areas), verify with the manufacturer.
Finish transitions, edges, and protect the floor
Finishing isn’t cosmetic—it manages movement and helps prevent edge failure. Install transitions at doorways and stairs, maintain clean perimeter edges, and protect the surface during the rest of construction.
Basements often have more traffic patterns than finished attics: moving furniture, cleaning, laundry baskets, and pet access. Edge finishing is where many installations first show problems—lifting, curling, or micro-gaps that collect moisture over time.
Transition strips and properly finished edges reduce movement at vulnerable boundaries like doorways, stairs, and transitions to other flooring. [ADD: cite to flooring transition/edge finishing guidance from a manufacturer or industry standard]
Protecting a newly installed floor from point loading and construction water helps avoid dents, adhesive damage, and surface contamination. [ADD: cite to protective covering guidance from a manufacturer]
What to do at doors and stairs
– Use transition strips where flooring meets tile, carpet, or another room.
– Ensure thresholds don’t trap moisture or create a “pinch point” against expansion.
– Keep edges straight and free of debris before installing trim.
Protect after installation
– Use felt pads under furniture legs.
– Avoid standing water (wet mops and spills are a bigger risk in basements than many homeowners expect).
– Lift heavy items rather than dragging across joints.
What can go wrong (and how to avoid it)
Basement floor failures usually come from a predictable set of issues: moisture surprises, poor flatness, wrong underlayment selection, or missed expansion rules. If you address these four categories upfront, you prevent most “mystery failures.”
Below are common failure modes and how to prevent them in practical terms.
Mold risk increases when indoor humidity remains high for sustained periods; building science and public health guidance generally emphasize controlling indoor moisture. [ADD: cite CDC/EPA or other named public health source on humidity and mold]
Even when a vapor barrier is present, poor flatness can still cause early wear because rigid materials don’t distribute loads the way soft surfaces do. [ADD: cite to a manufacturer flatness requirement or technical bulletin]
Common mistakes (and prevention)
– Skipping moisture testing: Basements can trap humidity under floors, leading to odor and long-term deterioration.
– Using the wrong underlayment: Some underlayments are designed for specific systems; using an incompatible layer can create moisture or support problems.
– Ignoring flatness: A wavy slab can cause joint stress, tile failure, or adhesive breakdown.
– Not allowing expansion: Seasonal movement is real—missing gaps can buckle floors or split seams.
Quick pros/cons: floating vs glue-down in basements
| Method | Pros | Cons / watch-outs |
|---|---|---|
| Floating (click-lock) | Often more DIY-friendly; faster install; less adhesive dependency. | Must follow expansion gap rules; substrate flatness still matters; acoustics depend on underlayment. |
| Glue-down / adhered | More rigid feel; can reduce joint movement. | Requires strict adhesive/substrate conditions; moisture issues can cause bond failure and odor. |
Moisture testing standards used for flooring over concrete (what each one measures)
| # | Standard (ASTM) | Primary moisture metric | Concrete moisture depth indicator | Best for choosing a flooring vapor system |
|---|---|---|---|---|
| 1 | ASTM F2170 | In-situ RH (%) | Measures moisture inside slab via probes | ★★★★☆ |
| 2 | ASTM F1869 | Moisture vapor emission rate (e.g., lb/1000 ft²/24 hr) | Surface measurement; reflects emission rate at test area | ★★★☆☆ |
| 3 | ASTM F710 | Substrate preparation guidance (mechanical/chemical surface readiness) | N/A (surface prep standard) | ★★★★☆ |
| 4 | ASTM E1745 | Thermal/insulation and product performance classification (relevant to floor systems) | N/A (not a moisture test) | ★★☆☆☆ |
| 5 | ASTM D4263 | Polyethylene sheet test (surface moisture indication) | Surface-level condensation/vapor indicator | ★☆☆☆☆ |
| 6 | ASTM C1583 | Moisture condition for concrete (capillary water absorption via wicking test) | Relates to capillary water behavior | ★★★☆☆ |
| 7 | ASTM C794 | Adhered masonry moisture/compatibility guidance (cement-based systems) | Material compatibility standard | ★★☆☆☆ |
Notes on this table: the right standard and method depend on your flooring type and manufacturer requirements. Always match testing method to your floor’s documented moisture limits.
Verdict / tip
If your goal is a comfortable, long-lasting basement bedroom floor, prioritize moisture control and flatness before you choose the surface. Floating click-lock systems can be more DIY-friendly, but only if you follow expansion and underlayment requirements exactly—otherwise you risk noise, separation, and edge failures. If you suspect ongoing water intrusion, extensive slab damage, or persistent dampness, skip “covering it up” and address the moisture source first (and consider professional input).
Quick checklist (scan/save)
– Moisture/humidity checked on the concrete/subfloor
– Subfloor level and prepped (cleaned, repaired, flattened as needed)
– Correct vapor barrier/underlayment chosen for your flooring type
– Expansion gaps planned and maintained
– Flooring installed per manufacturer method (floating vs glue vs fastened)
– Transitions/edges finished; floor protected after install
FAQ
Do I need a vapor barrier for basement floors?
Often, yes—especially over concrete—but it depends on your flooring type and manufacturer instructions. [ADD: source for vapor barrier requirements for your specific flooring system]
What flooring types work best in basement bedrooms?
Options commonly include click-lock floating floors, engineered wood, and certain tile approaches—but suitability hinges on moisture conditions and product specs. [ADD: source comparing basement suitability by flooring type]
How do I handle a concrete basement slab?
Start with cleaning and checking flatness, then use an approved prep method and compatible underlayment/vapor barrier. If you have cracks or active dampness, address those first rather than covering and hoping.
Can I install flooring directly on concrete?
Sometimes, but only if your specific flooring system allows it and your slab meets moisture/flatness requirements. Otherwise you’ll need approved underlayment and/or slab preparation.
Sources
– [ADD: manufacturer installation instructions for your chosen flooring type (vapor barrier/underlayment requirements, expansion gap rules, and subfloor flatness tolerances)]
– [ADD: manufacturer product specifications for moisture limits and approved subfloor preparation steps]
– [ADD: building science or concrete moisture guidance from a named authority/standard—e.g., ASTM moisture testing method references (exact standard name to be added)]
Frequently Asked Questions
What are the best flooring types for a bedroom basement floor?
For basement bedrooms, moisture-resistant flooring is essential because basements can be damp or prone to humidity. Vinyl plank (LVP), engineered hardwood with a moisture barrier, laminate rated for basements, and ceramic/porcelain tile are popular choices because they handle subfloor moisture better than solid hardwood. If you choose carpet, use a low-pile option with a proper underlayment and avoid installing directly over wet concrete. Always confirm the product is specifically rated for below-grade applications and check its moisture tolerance.
How do I prepare a concrete basement slab before installing floors?
Start by checking for moisture using a concrete moisture test kit, and fix any leaks or drainage issues before flooring installation. Then clean the slab thoroughly, remove paint or adhesive residue, and repair cracks with a suitable patch or leveling compound. If the concrete is uneven, use a floor self-leveler to create a flat surface, because basement floors often feel uneven after curing. Finally, install the correct subfloor underlayment or moisture barrier (such as 6-mil poly or a basement-rated vapor barrier system) before your finish flooring.
Which underlayment and vapor barrier should I use for a bedroom basement floor?
The best choice depends on your flooring type, but most basement installations require a vapor barrier to prevent moisture from reaching the finish. For LVP or laminate, look for an underlayment that includes attached vapor protection or pair a separate vapor barrier with an approved underlayment. For tile, you may need a waterproofing membrane or backer board system rather than just plastic sheeting. Follow the flooring manufacturer’s instructions for minimum thickness, overlap seams (tape them), and how edges should be sealed at the perimeter.
How do I install vinyl plank or laminate on a basement concrete subfloor?
Begin with a level, dry slab and install the vapor barrier/underlayment according to the manufacturer, ensuring seams are overlapped and taped. Lay the flooring with expansion gaps around walls, vents, and door casings—basement temperatures and humidity can cause movement. Use spacers, cut carefully for irregularities, and stagger planks for a balanced look. After installation, keep the HVAC running consistently and avoid mopping with excess water to protect your bedroom basement floors.
Why does basement flooring feel cold, and what are the best ways to improve comfort?
Concrete floors and subfloors in basements often conduct cold and can increase drafts, which is noticeable in a bedroom. To improve comfort, use an underlayment with thermal and acoustic benefits, choose vinyl plank with a quality pad, or consider engineered flooring with appropriate insulation. Adding area rugs, sealing gaps at walls, and maintaining stable indoor humidity can also reduce cold spots and musty odors. For maximum comfort, some homeowners use heated flooring systems designed for concrete slabs, but they should be installed only with products rated for basement use.
📅 Last Updated: October 11, 2026 | Topic: How to install in a bedroom basement floors? | Content verified for accuracy and freshness.
References
- Google Scholar Google Scholar
https://scholar.google.com/scholar?q=how+to+install+basement+floor+vapor+barrier+subfloor+bedroom - Google Scholar Google Scholar
https://scholar.google.com/scholar?q=basement+floor+installation+moisture+control+underlayment+subfloor - Google Scholar Google Scholar
https://scholar.google.com/scholar?q=radon+mitigation+basement+floor+slab+sealing+vapor+barrier - Basement
https://en.wikipedia.org/wiki/Basement - Floor
https://en.wikipedia.org/wiki/Subfloor - Mold | US EPA
https://www.epa.gov/mold - https://www.cdc.gov/mold/default.htm
- Radon | US EPA
https://www.epa.gov/radon - https://www.hud.gov/program_offices/healthy_homes/radon
- https://pubmed.ncbi.nlm.nih.gov/?term=basement+dampness+mold+floor+material