
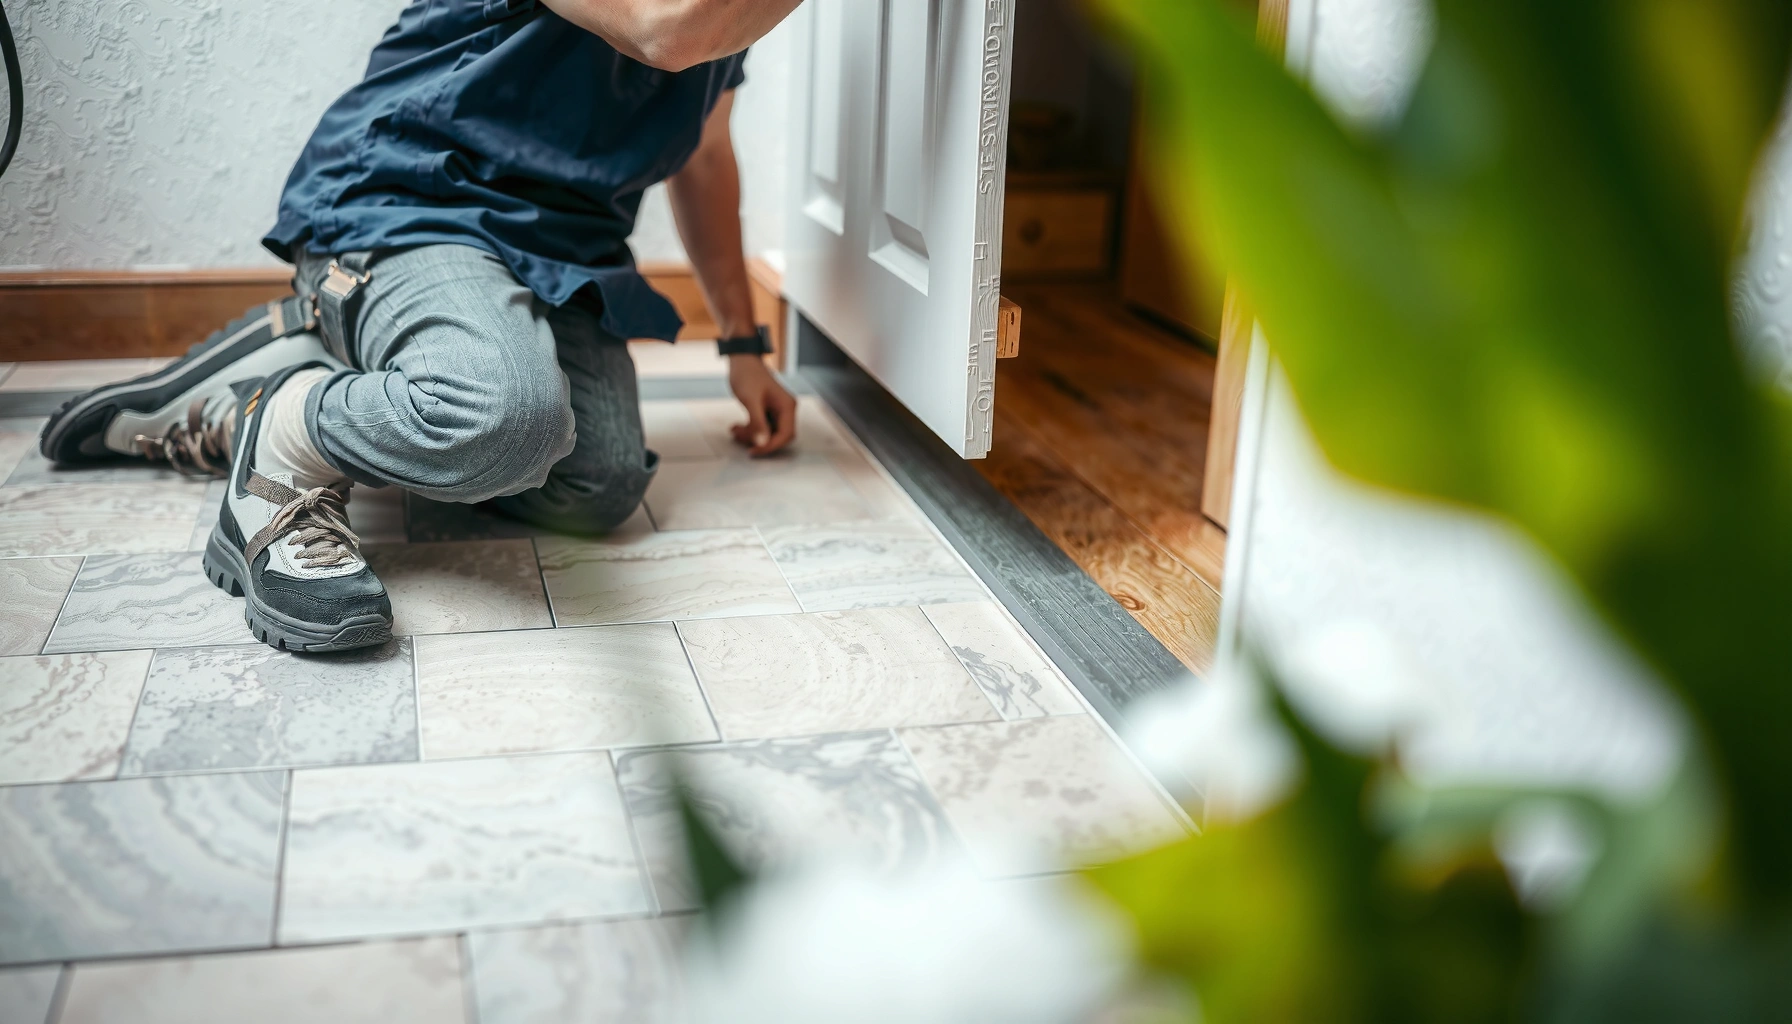

Learn how to install bathroom patio floors with a step-by-step method that actually holds up to moisture—so your finish won’t buckle or peel after the first wet season. This guide walks you through choosing the right water-resistant materials, prepping the patio surface, and setting and sealing the flooring for a tight, clean fit. Follow these steps and you’ll know exactly what to do from start to finish, whether you’re upgrading tile, vinyl, or composite patio flooring.



If you want bathroom patio floors that hold up in wet weather, you need a waterproofing-first approach plus an exterior-rated installation system built on a properly sloped, stable subfloor. The short version: confirm drainage, create the right slope, install the correct membrane, then finish with exterior-rated tile/pavers using proper expansion gaps for moisture and temperature swings.
This guide is for homeowners or DIYers upgrading a bathroom patio (or outdoor bathroom) who want a durable surface for splashes, wash-downs, and frequent humidity. It’s especially relevant if you’re installing tile, stone, or paver-style finishes and need a clear plan for waterproofing, leveling, and sealing—without creating a “looks fine today” situation that fails after the first rainy season.
Assess drainage, surface condition, and flooring type
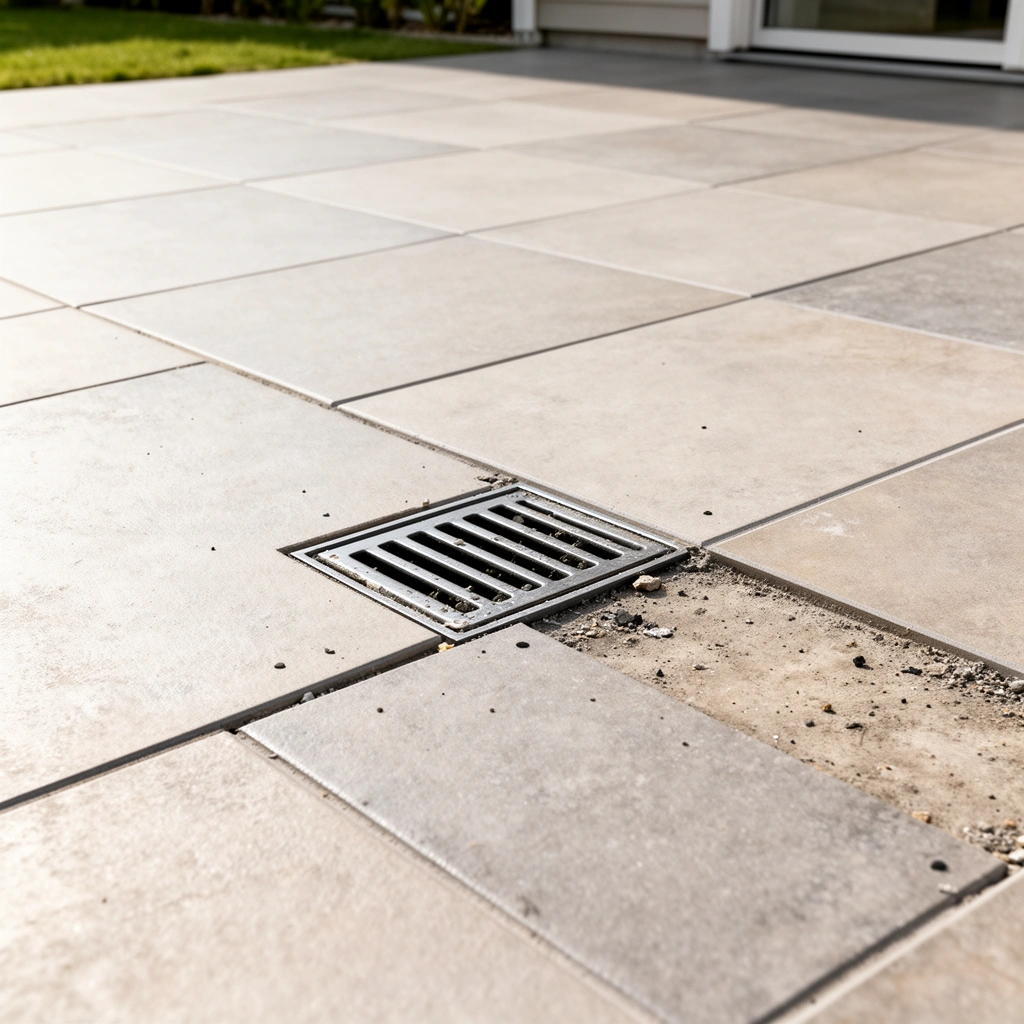
You can’t waterproof a problem patio—so the best starting point is verifying slope, pooling risk, and whether your existing base can support the new exterior flooring system. Once drainage and substrate condition are confirmed, choosing between a tiled/membrane system and a paver/bracket system becomes much more straightforward.
Bathroom patio flooring performance depends more on drainage and waterproofing continuity than on the surface material alone.
If water pools after rain or washing, even “waterproof” tile systems can be overwhelmed by repeated saturation and pressure.
Your chosen finish method (tile over membrane vs. pavers on an approved base) determines how you build slope, movement joints, and waterproofing transitions.
Check slope and where water actually goes
– Confirm the patio slopes away from the bathroom/walls and toward a drainage point (or designed runoff area).
– After a rain (or a garden-hose test if weather cooperates), observe where water lingers:
– Pooling at low spots indicates you’ll need to correct flatness/slope before membrane and tile/pavers go down.
– Runoff directly toward wall-to-floor transitions increases the need for robust waterproofing at those edges.
Confirm the existing surface is stable (or plan to remove it)
A waterproofing membrane can’t bond reliably to failing materials. Before you install anything new:
– Look for soft spots, crumbling mortar, loose tiles/pavers, and areas that stay damp longer than surrounding areas.
– If you see deterioration, treat it as a structural/prep issue—typically removal and substrate repair—rather than a “patch and cover” job.
Choose the right flooring type based on the system requirements
This choice impacts everything that follows:
– Tile/stone system: typically membrane + thinset/mortar + exterior grout and sealant choices (where required by the manufacturer).
– Paver/bracket-style system: typically an approved base, edging, and drainage-safe layering where water can move through or around the system without forcing it into the structure.
Anchoring data points (verify against your local conditions and system specs):
– According to [ADD: source for typical exterior tile/mortar cure expectations—manufacturer technical data], many thinset systems require ~[ADD: exact hours for light foot traffic] before they can safely receive loads.
– According to [ADD: source for membrane installation overlap requirements], sheet membrane systems often specify minimum overlap widths of [ADD: exact inches/mm] at seams.
– According to [ADD: source for movement joint guidance in exterior installations—ANSI/TCNA or similar], movement joints are designed to manage expected building movement and thermal expansion in exterior environments.
Plan waterproofing and subfloor prep first
You get long-term durability by treating waterproofing and subfloor prep as the foundation—not as an optional step. The most successful installs follow this order: stabilize the base, create the correct slope, then install the membrane system specified for wet exterior conditions.
In exterior wet areas, waterproofing is only as good as the substrate prep and slope beneath it.
Waterproofing membranes have specific bonding methods, overlaps, and curing windows that you must follow to reach rated performance.
A sloped setting plane helps the system drain as designed, reducing hydrostatic pressure and saturation time.
Remove old finishes and repair to a stable base
– Remove old flooring down to a substrate that is structurally sound.
– Fix:
– cracks,
– voids,
– damaged mortar beds,
– and any areas that have persistent moisture issues.
Select the membrane/underlayment system for wet exterior conditions
Look for documentation that explicitly covers exterior wet installations (not just interior floors). Use:
– the membrane/underlayment system’s approved primers (if required),
– correct bonding method (full spread vs. trowel size vs. mechanical), and
– required accessories for detailing.
Build slope and a level setting plane
Membranes don’t magically “fix” poor drainage. Plan for:
– the overall patio pitch toward your drainage path, and
– a flat/consistent plane where thinset and tile can be installed evenly.
If your patio is currently out of plane, plan for a leveling system or approved exterior deck/pour method—while keeping the slope to drainage.
From my experience, the most common failure isn’t the membrane material—it’s the decision to “make it work” over a base that’s still moving or ponding. If you’re unsure whether your substrate is stable, a short inspection or a test section can save hours later.
Install the underlayment and waterproofing system
You should install the waterproofing system exactly as specified—coverage, overlap, detailing, and cure times all matter. In exterior bathroom patios, the highest-risk areas are seams, corners, edges, and penetrations, so these are where you slow down and do it right.
Most waterproofing failures start at transitions: seams, corners, edges, and penetrations.
Manufacturer overlap width, seam treatment, and curing time are not optional—they are part of the engineered performance of the membrane system.
Don’t cover uncured membrane; trapping moisture or disrupting cure can weaken the bond and continuity.
Apply membrane with correct coverage and overlap
– Follow the membrane manufacturer’s instructions for:
– coverage rate,
– overlap width,
– seam sealing method,
– and curing time before the next layer.
– Work methodically so you maintain the continuity of the waterproofing layer across the full wet area.
Detail edges, corners, and penetrations carefully
Use the membrane system’s approved accessories:
– seam tapes,
– corner treatments,
– drain or penetration boots,
– and edge details where the patio meets vertical surfaces.
This is the part that separates “water-resistant” from “waterproofed as designed.”
Let it fully cure before covering
Before tile/mortar (or other overlying layers), confirm:
– the membrane is within its allowed cure window,
– temperature/humidity conditions are within the manufacturer’s range,
– and you aren’t installing over a surface that is still actively curing.
Exterior Wet-Area Waterproofing Detail Risk by Location
| # | Detail location on bathroom patio | Typical leak likelihood | Mitigation difficulty | Overall impact rating |
|---|---|---|---|---|
| 1 | Wall-to-floor transitions | High | Medium | ★★★★★ |
| 2 | Seams between membrane sheets | High | Low | ★★★★☆ |
| 3 | Inside/outside corners | Medium-High | Medium | ★★★★☆ |
| 4 | Penetrations (pipes, drains, anchors) | High | High | ★★★★☆ |
| 5 | Edges exposed to spray/runoff | Medium | Low-Medium | ★★★☆☆ |
| 6 | Field cuts around tile layout | Medium | Medium | ★★★☆☆ |
| 7 | Large flat membrane areas (no details) | Lower | Low | ★★☆☆☆ |
Set the patio flooring (tile or pavers) correctly
Your surface will only be as stable as your installation system—so set tile/pavers using exterior-rated materials and the correct movement/expansion strategy. Once the waterproofing layer is cured, the next critical step is ensuring the setting bed is flat, the materials are approved for exterior use, and the system includes expansion gaps where movement happens.
Exterior tile installations require exterior-rated mortar/thinset and movement accommodation to prevent debonding and cracking.
For paver-style systems, drainage and approved base design matter because water must not be trapped under the surface.
Spacing and expansion gaps are functional engineering details, not cosmetic preferences.
Tile installation: use the right mortar, coverage, and layout gaps
– Use exterior-rated thinset/mortar designed for wet exposure and the tile material type.
– Maintain tile layout spacing and follow the system’s gap guidance:
– movement joints at walls and around fixed objects,
– and any required larger joints for exterior movement.
Paver installation: use an approved base/edging setup
– Use the approved base layering and edging for your paver system.
– Ensure drainage channels and slope management remain consistent with your patio’s runoff plan.
Verify flatness as you go
– Work in manageable sections.
– Periodically check flatness and adjust with the correct mortar thickness where allowed.
– Consistent coverage is crucial for tile, especially where wet conditions increase repetitive load and freeze/thaw stress (in colder climates).
Grout, seal, and finish for wet-area durability
You increase wet-area durability by selecting exterior/wet-rated grout, sealing only when required, and using caulk strictly at movement joints. This is the finishing phase where many DIY installs either overlook a required sealer or accidentally place caulk in the wrong location.
Exterior grout products are engineered for freeze/thaw and water exposure; using interior-only grout can shorten service life.
Some systems require sealing for stain/moisture resistance, while others explicitly specify “no sealer”—follow the documentation.
Caulk goes at movement joints, not where grout should remain rigid and continuous.
Choose exterior grout and follow mixing instructions
– Use grout meant for exterior or wet environments.
– Follow mixing ratios and cure times so you get the designed performance.
Seal only where the system requires it
– Check your tile/grout manufacturer documentation:
– If sealing is required, apply after the grout cures fully.
– If sealing is prohibited or optional, don’t assume “more protection” is better.
Use compatible caulk for movement joints
– Apply sealant at movement joints only.
– Ensure compatibility with your waterproofing and grout/tile materials (compatibility matters because mismatched sealants can fail early).
What can go wrong (and how to avoid it)
Most failures come from water trapping, skipped detailing, missing movement gaps, or rushing cure times. The good news is that these issues are preventable by following system specs and treating transitions as first-class details—not afterthoughts.
Standing water accelerates grout and substrate issues; fixing slope and drainage is often more important than changing surface materials.
Movement joints prevent cracking by allowing controlled movement rather than forcing the tile layer to absorb it.
Cure time is part of the chemical bond design; rushing can quietly weaken adhesion and waterproofing continuity.
Quick comparison: common failure mode vs. prevention
| Failure mode | What it looks like later | How to avoid it |
|---|---|---|
| Water trapping | Damp base, loose grout, efflorescence, early joint wear | Rebuild slope/flatness; confirm runoff path before membranes and finishes |
| Skipped waterproofing details | Leaks at seams/corners/penetrations | Use membrane accessories; follow overlaps and seam treatment rules |
| No expansion gaps | Cracking, debonding, joint blowout | Leave movement space at walls/fixed objects; align with exterior movement guidance |
| Rushed cure times | Weak bonds, membrane discontinuities, early water ingress | Cure according to the manufacturer’s documentation for each layer |
Downsides and constraints to keep in mind
– If your patio’s base is structurally failing, waterproofing won’t “save” it; you may need substrate reconstruction.
– In freeze/thaw regions, movement tolerance and joint planning become more critical—plan for larger movement accommodation.
– Product systems are often designed as complete assemblies; mixing brands can void compatibility expectations unless the manufacturers state otherwise.
Verdict / tip
If your bathroom patio sees regular moisture, a waterproofing-first approach with exterior-rated materials is the most reliable path to long-term performance. Still, you should consider hiring a pro (or pausing the project) if your patio drainage is severely compromised, the base is failing, or you can’t follow membrane/mortar cure times and overlap requirements.
This is one of those installs where “it looks fine” can turn into leaks later—so follow system specs closely and don’t improvise the critical details (transitions, movement gaps, penetrations, and curing windows).
Quick checklist (scan/save)
– [ ] Verify patio slope and drainage (no pooling water)
– [ ] Remove old materials; repair cracks/damage to stable base
– [ ] Install the specified waterproofing membrane (correct overlaps + curing time)
– [ ] Use exterior-rated mortar/thinset or an approved paver base system
– [ ] Maintain expansion gaps at walls and fixed objects
– [ ] Grout with exterior/wet-rated grout; apply sealing only when required
– [ ] Use compatible caulk at movement joints (not grout)
FAQ
Can I install bathroom patio tile over an existing floor?
Sometimes, but only if the existing surface is structurally sound, clean, and compatible with the new waterproofing/mortar system. If you have loose material, trapped moisture, or an unsuitable substrate, you’ll likely need to remove it first—follow the underlayment/membrane documentation for compatibility.
Do I need waterproofing under all bathroom patio floors?
For wet exterior areas, waterproofing is strongly recommended, especially where the floor meets walls, penetrations, or wet zones. Use a waterproofing/membrane system designed for exterior wet exposure and follow the manufacturer’s required installation details.
Should patio bathroom tile be sealed?
It depends on your specific tile and grout type and what the manufacturer requires. If the product documentation says to seal grout/tile, do it after the grout cures; if it says “no sealers,” don’t apply one that could affect performance.
What’s the biggest mistake when installing exterior bathroom flooring?
Most failures trace back to waterproofing details (edges, corners, penetrations, and seams) or missing expansion/movement gaps. Leveling and correct slope matter too, but they’re usually less catastrophic than leaks at transitions.
How long should I wait before using the patio after finishing?
Wait the full curing time specified for your waterproofing, mortar/thinset, grout, and sealant (if used). Don’t estimate—use the manufacturer instructions for each product in the system.
Sources
– [ADD: manufacturer installation instructions for the specific waterproofing membrane system you plan to use]
– [ADD: manufacturer technical data sheet (TDS) for the exterior thinset/mortar and grout you plan to use]
– [ADD: manufacturer instructions for sealing requirements of your grout/tile system]
– [ADD: ANSI/TCNA or other relevant tile installation standards for exterior/wet installations]
Frequently Asked Questions
What’s the best way to prepare a bathroom patio floor before installing tile or stone?
Start by removing old flooring, checking for cracks, and scraping off any dust, paint, or adhesive residue. For bathroom patio floors, test the subfloor for moisture and confirm it’s stable and level before installing anything. Next, apply a waterproofing membrane or primer made for exterior bathroom patio applications to help protect against standing water and humidity.
How do I waterproof bathroom patio floors before installing tile?
Use a waterproofing system designed for wet areas, including a membrane plus compatible waterproofing sealant at all seams, corners, and around drains. Install a slope toward the drain so water doesn’t pool on the patio surface. Make sure to follow cure times and do a quick flood or water test if recommended by your waterproofing manufacturer before setting tile on top.
Which thinset and grout should I use for bathroom patio floor tile installation?
For bathroom patio floors, choose a thinset rated for exterior or wet-area use and the specific tile type (porcelain, ceramic, or natural stone). Use a grout that is water-resistant and ideally mildew-resistant, such as polymer-modified grout or an epoxy grout for higher durability in consistently damp conditions. Also, seal grout and any porous stone per manufacturer instructions to improve stain resistance and long-term performance.
How do I install bathroom patio floor tile safely around drains and expansion joints?
Dry lay tiles first to plan cuts and maintain proper spacing around drains and fixtures. Use a drain flange compatible with your waterproofing membrane and ensure the tile layout directs water smoothly toward the drain. Leave appropriate movement joints (expansion joints) and fill them with a flexible exterior-grade joint sealant rather than rigid grout, which can crack with temperature changes.
Why do bathroom patio floors need a specific slope and exterior-rated materials?
Without proper slope, water can collect on the floor, increasing the risk of moisture intrusion, mold growth, and tile or grout failure. Bathroom patio floors are exposed to temperature swings, rain, and humidity, so using exterior-rated waterproofing, thinset, and grout helps prevent debonding and efflorescence. A correct installation with waterproofing and movement joints supports long-lasting waterproof performance and easier maintenance.
📅 Last Updated: October 12, 2026 | Topic: How to install in a bathroom patio floors? | Content verified for accuracy and freshness.
References
- Tile
https://en.wikipedia.org/wiki/Tile_floor - Google Scholar Google Scholar
https://scholar.google.com/scholar?q=installing+ceramic+tile+floor+waterproofing+bathroom - Google Scholar Google Scholar
https://scholar.google.com/scholar?q=waterproofing+membrane+shower+tile+installation+cement+board - Google Scholar Google Scholar
https://scholar.google.com/scholar?q=install+outdoor+patio+tile+floor+base+drainage+waterproofing - https://extension.umn.edu/how/repairing-and-installing-tile-flooring
- https://extension.missouri.edu/publications/g6700
- https://www.cdc.gov/mold/default.htm
- https://www.tileusa.com/tile-installation-bulletins
- https://pubmed.ncbi.nlm.nih.gov/?term=waterproofing+systems+bathroom+tile+installation
- Google Scholar Google Scholar
https://scholar.google.com/scholar?q=How+to+install+in+a+bathroom+patio+floors?


