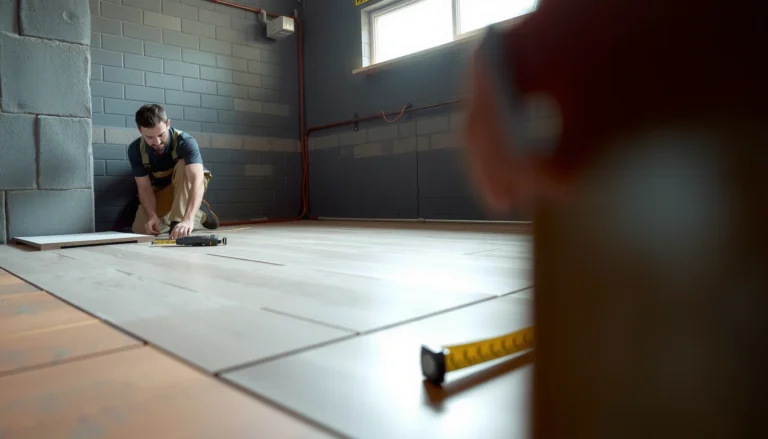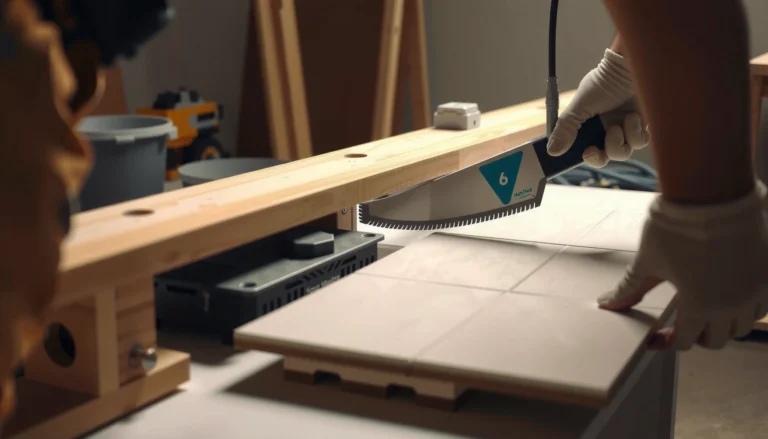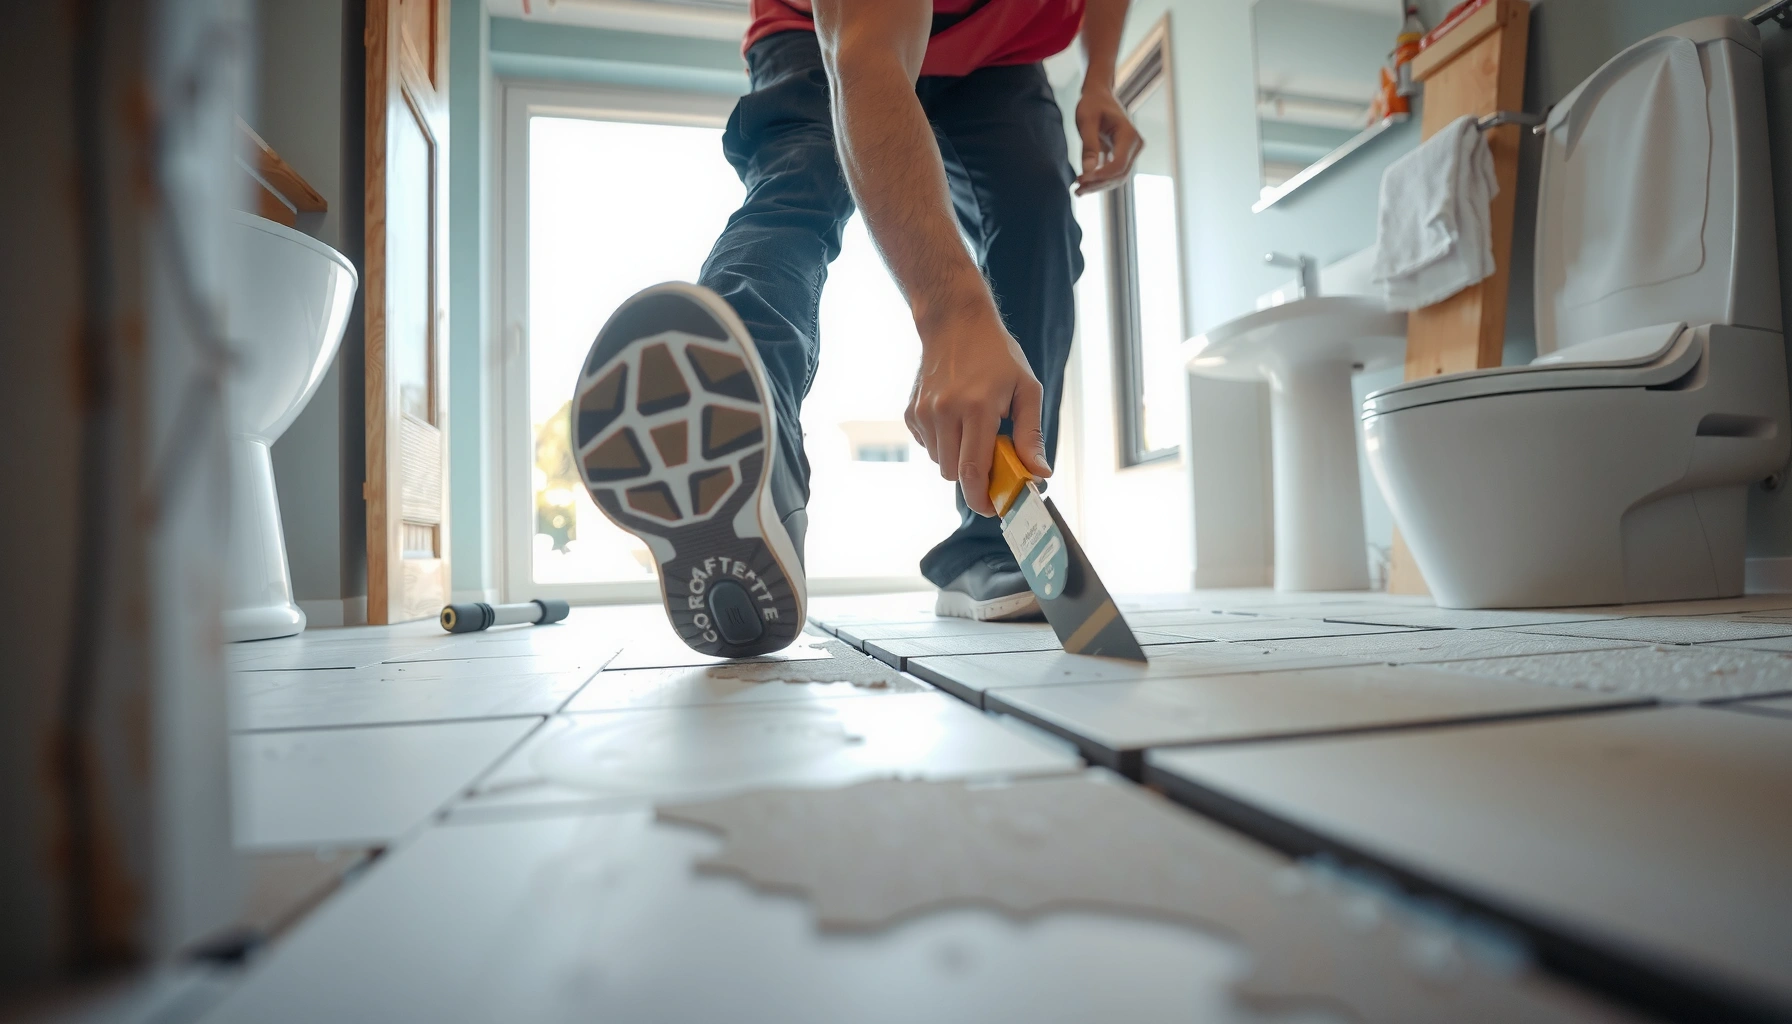

Learn how to install bathroom floors with a step-by-step process that tells you exactly what to do from subfloor prep to finishing the job. If you want a durable, water-resistant result, follow this proven order of operations—level the base, waterproof properly, set the material accurately, then seal and grout where it matters. By the time you reach the last step, you’ll know how to avoid the most common bathroom flooring failures that cause lifting, gaps, and moisture damage.




Yes—you can install bathroom floors by preparing a dry, level subfloor, choosing a water-resistant flooring type, and following the manufacturer’s layout and adhesive/underlayment instructions. Start by removing the old flooring (and any damaged subfloor), then plan your cuts around the room before you set the first plank/tile—because small layout errors become expensive gaps near the toilet and vanity. This guide walks you through the full process, including the key waterproofing decisions that prevent lifting and buckling.
This is for DIYers installing new bathroom flooring—especially tile, vinyl plank, laminate (with the right bathroom-rated product), or waterproof flooring systems—where moisture and ventilation matter. It’s also helpful if you’re replacing damaged flooring and want a reliable sequence for prep, install, and sealing.
Choose the Right Bathroom Floor Type
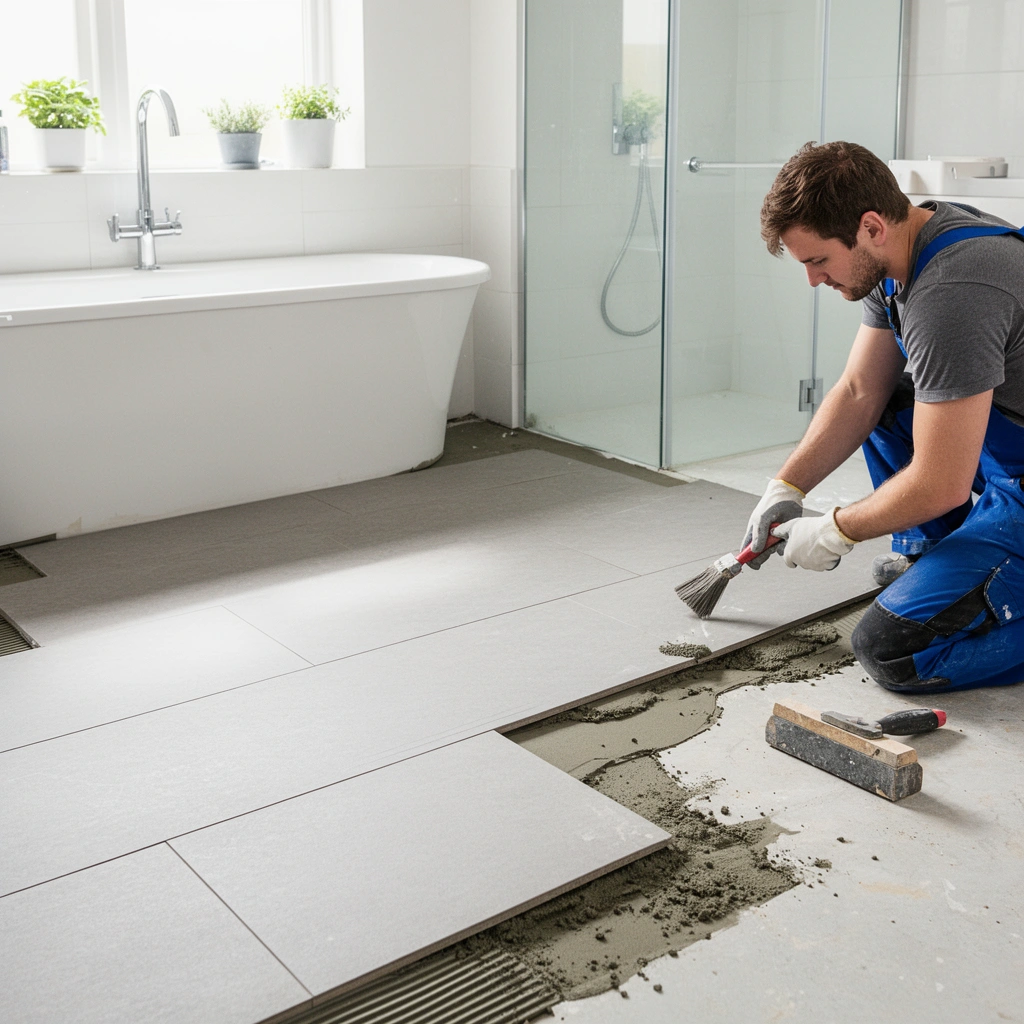
Choosing the right bathroom floor type is the fastest way to avoid future warping, loose edges, and grout failures. In most bathrooms, the “best” material is the one that matches your moisture level and your willingness to follow the exact install method (thinset for tile, locking-click for floating floors, or adhesive for specific resilient systems).
Bathroom-rated flooring is defined by the manufacturer’s installation guide and warranty terms, not by marketing claims—follow the stated substrate, moisture, and underlayment requirements.
Click-lock (floating) systems typically rely on an expansion gap and controlled perimeter sealing to manage humidity-driven movement.
Tile assemblies depend on bond strength and a correctly prepared substrate; unevenness often shows up first in grout cracking and loose tiles.
When you’re deciding, use three filters: moisture exposure, installation method complexity, and maintenance. Moisture exposure includes splashes, toilet/vanity splash zones, and any plumbing leak history. Installation method complexity matters because bathrooms magnify the consequences of mistakes—what looks “fine” during install can fail after a wet week, a dry spell, or seasonal HVAC changes.
H3: Match moisture conditions to the product category
– Tile (ceramic/porcelain): Strong performance in wet areas *when* the substrate is flat, the thinset/tile assembly is installed correctly, and grout/edge sealing follows the manufacturer’s requirements.
– Vinyl plank / luxury vinyl tile (LVT/LVP): Often the most DIY-friendly for bathrooms—especially waterproof click-lock versions—because many tolerate minor subfloor irregularities better than tile.
– Laminate: Only consider laminate products that are explicitly rated for bathrooms, including their underlayment and joint/moisture-handling instructions.
– Waterproof flooring systems: Many include layered constructions designed to resist moisture; still, they require correct perimeter gaps and transition details.
H3: Understand the underlayment and warranty “rules”
The underlayment choice can make or break your warranty. Some products require specific underlayments over plywood or concrete; others forbid certain foams that trap moisture. If the product documentation mentions “approved underlayment only,” treat that as a strict constraint.
Pros/cons snapshot (choose what fits your bathroom reality):
| Flooring option | Main advantage in bathrooms | Main risk if installed wrong | Best for |
|---|---|---|---|
| Porcelain/ceramic tile | Excellent long-term water resistance | Poor substrate flatness → cracked grout/loose tiles | Small to medium bathrooms where you can control prep carefully |
| Vinyl plank (glue-down or click-lock) | Handles moisture better; often DIYable | Wrong subfloor prep/adhesive → lifting or seam gaps | DIYers who want a forgiving finish and faster installation |
| Waterproof click-lock LVP | Comfortable underfoot + quick install | Skipped expansion gaps/perimeter sealing → raised seams | Rooms where humidity changes seasonally |
| Bathroom-rated laminate | More “wood look” feel | Joint swelling if moisture/warranties aren’t followed | Only if the laminate is explicitly rated and you can follow details exactly |
According to ASTM moisture testing guidance commonly referenced in flooring prep (e.g., ASTM F1869 for calcium chloride tests and ASTM F2170 for RH probe tests), moisture limits are product-specific and often govern whether installation warranties apply. [ADD: source for typical moisture testing limits and relevant ASTM standards]
Prepare the Subfloor (This Step Controls the Results)
Subfloor prep is the step that determines whether your bathroom floor stays flat and bonded for years. If you rush this part, you’ll usually see it later as hollow tiles, grout cracking, or floating-floor buckling.
Most resilient and tile installation failures in bathrooms start with a subfloor that is not flat, not dry, or both.
Removing old flooring and thoroughly cleaning the surface reduces the chance of bond failure caused by dust, adhesive residue, or loose underlayment.
Soft, crumbling, or damaged subfloor sections must be repaired or replaced before any finish flooring can be expected to perform.
I recommend treating prep as “the real install.” In my experience reviewing common jobsite rework scenarios with installers, the repeat issue isn’t the top material—it’s the substrate condition that was already out of tolerance. (If you want this article tailored, tell me your subfloor type—plywood vs. concrete—and your exact flooring brand/model, and we’ll map the requirements.)
H3: Remove old flooring and inspect the base
1. Remove the old finish completely (including underlayment that’s not allowed to remain).
2. Scrape and clean so you don’t trap debris—especially important under vinyl and tile.
3. Inspect for damage: soft spots, swelling, delamination, moldy materials, or rot.
4. Check for fastener pops (squeaky/loose screws in plywood) and fix them before proceeding.
H3: Verify level and flatness (not just “looks okay”)
Many flooring failures trace back to unevenness. Tile is particularly sensitive to flatness; resilient products have their own tolerance limits, but those limits still exist.
– Fix high spots (grind/sand as permitted by substrate type).
– Replace/patch soft or crumbling areas using methods consistent with your subfloor material (plywood patching, mortar leveling, etc.).
– Confirm the surface is sound and stable before you underlayment or install.
H3: Ensure the subfloor is dry (bathrooms trap moisture)
Moisture is the bathroom’s most consistent enemy. Even waterproof flooring can fail if the base is damp—because trapped moisture can undermine adhesives, weaken mortar bonds, or drive movement under floating systems.
Here are three moisture-related numbers that installers commonly plan around (confirm your product’s actual limits in the installation guide):
– According to widely used flooring moisture testing limits referenced in industry practice, many resilient and adhesive systems target ≤ 3 lb/1000 ft²/24 hr for calcium chloride testing (ASTM F1869). [ADD: source for these typical limits]
– According to RH probe moisture testing references (ASTM F2170), many adhesives target ≤ 75% RH in concrete subfloors. [ADD: source for typical RH limits]
– According to common expansion guidance for floating floors, a perimeter gap of about 1/4 in (6 mm) is frequently required (always verify your manufacturer’s specific dimension). [ADD: source for your flooring type’s expansion gap requirement]
Plan the Layout and Dry-Fit First
A good bathroom floor layout prevents sliver cuts and avoids ending up with awkward joints near doorways and the vanity. Dry-fitting first also helps you confirm which wall is the best “starting line,” so your rows stay straight even after you account for offsets.
Planning your layout around a bathroom’s focal wall (often the vanity wall) keeps visual lines straight and reduces corrective cuts later.
Dry-fitting helps you avoid unusable slivers at walls and thresholds, which is a common DIY cause of early seam or grout-edge problems.
Floating floors require correct expansion gaps at the perimeter to allow movement from temperature and humidity changes.
H3: Measure and choose your starting point
– Measure the room length and width, then identify:
– the room’s main run direction (the line your eyes follow),
– any out-of-square corners,
– door openings and threshold transitions.
– Consider the “focal wall” (often where the vanity sits). Aligning plank/tile lines to that reference typically looks more intentional.
H3: Plan cuts around fixtures
Toilets and vanity bases create interruptions that can force small cuts. A smart plan:
– places the most visible cuts (or full pieces) in the best-looking areas,
– reduces narrow slivers at walls where they’re hard to keep tight and protected,
– aligns joints with tolerance rules for your flooring system.
H3: Dry-fit and confirm expansion strategy
– Floating click-lock systems: plan the expansion gap at walls and around fixed verticals. Many manufacturers also require specific transitions at doorways.
– Tile: plan grout joint widths and your edge conditions around wet-area boundaries.
– Mark your “first row” and check it multiple times before installation.
Install Flooring Safely and Correctly
The right installation method is different for every flooring type—and bathrooms punish shortcuts. Follow the exact installation system: tile mortar/thinset for tile, click-lock for floating vinyl, and adhesive where the manufacturer calls for it.
Tile installation requires using the specified thinset/mortar system and a correctly prepared substrate to achieve bond strength and prevent hollow tiles.
Floating vinyl and waterproof click-lock floors depend on correct locking technique, straight rows, and the manufacturer’s recommended stagger pattern.
Adhesive-based resilient flooring must use the correct trowel size and cure times, or the bond can fail even if the floor seems solid on day one.
H3: Use the correct install technique (by flooring type)
– Tile:
– Mix thinset per instructions, apply the correct coverage method (often “comb” and embed motion).
– Work in manageable sections to keep timing consistent.
– Maintain even grout joints and remove excess thinset before it skins.
– Click-lock vinyl / waterproof vinyl:
– Keep the tongue-and-groove alignment clean; dust-free edges prevent poor lock engagement.
– Keep rows straight; adjust early rather than trying to “force” later.
– Stagger joints according to the manufacturer’s pattern guidance.
– Glue-down vinyl (if applicable):
– Use the specified adhesive and trowel notches.
– Apply only the amount you can place within the adhesive’s open time.
H3: Respect cure times and bonding windows
This is where many DIY jobs fall apart. After installing, you must follow:
– cure/bond times before walking,
– timing before grouting (tile),
– timing before sealing (tile) or caulking/finishing transitions.
If the documentation provides specific hours or days, use only those figures for your product. If you don’t have the install sheet, [ADD: source for where to obtain the exact installation timing for your brand/model].
Seal Grout, Edges, and Transitions (Moisture-Proofing)
Moisture-proofing details protect the floor system where water actually enters—at edges, seams, and wet-area transitions. Even a great flooring material can fail if your perimeter sealing or movement joints are incorrect.
In bathrooms, water intrusion typically occurs at perimeter edges, transitions, and around fixed fixtures rather than through the main field of flooring.
For tile, the grout and any required sealer must match the tile/grout system’s manufacturer instructions and curing timeline.
Use movement-joint sealants at joints that must flex; using the wrong caulk type can trap stress and lead to cracking.
H3: Tile-specific sealing: grout and required sealer
If you’re installing tile:
– Use the correct grout type for the bathroom and follow the manufacturer’s curing schedule.
– Apply sealer only if the manufacturer requires it for that grout system. Some grouts are formulated to reduce or eliminate sealing; others explicitly require it. [ADD: source for your grout manufacturer’s sealing requirements]
H3: Perimeter and wet-area transitions
– Seal movement joints and transitions using the recommended sealant type—not generic caulk.
– In wet areas (especially near showers), focus on:
– transitions between different waterproof layers,
– edges where flooring meets walls,
– how you handle the perimeter around fixed elements.
H3: Toilet and vanity area details
Around the toilet and vanity, gaps can become moisture pathways if they’re not handled properly. The safe approach is:
– follow the flooring manufacturer’s guidance for how flooring should meet fixtures,
– plan the perimeter detail so water cannot migrate under the flooring surface.
What Can Go Wrong (Common Bathroom Floor Installation Mistakes)
Bathroom floors fail for predictable reasons: moisture, uneven substrates, and incorrect system materials. Most problems come from skipping a step that “seems minor” during installation—until humidity and water stress the floor later.
Floating floors often buckle or separate when the subfloor isn’t dry and flat enough to support uniform contact across the entire footprint.
Skipping expansion gaps in click-lock floors can cause seam separation or raised edges when humidity swings.
Using incompatible underlayment or adhesive invalidates many warranties and can reduce bond performance even when the surface looks properly installed.
H3: The most common failure modes
– Unflat subfloor: shows up as cracked tile grout, loose tiles, or stress at seams.
– Subfloor not dry: adhesives and mortar can fail; floating floors can trap moisture under layers.
– Wrong underlayment/adhesive: even “similar” materials may be prohibited for warranty and performance reasons.
– Bad expansion gap execution: especially for floating floors—seams can lift when the room absorbs and releases moisture.
– Wet-area boundary neglect: shower edges, toilet flange zones, and transitions need extra discipline.
H3: Quick “spot the risk” list before you commit
– Does your underlayment match the brand requirements exactly?
– Did you remove everything that could compromise bond (paint, loose adhesive, soft underlayment)?
– Did you test/verify moisture in the way your manufacturer expects?
– Did you plan transitions so water can’t travel into a seam?
Verdict / Tip (When to DIY vs. When to Get Help)
DIY installation is usually realistic if your subfloor is solid and you’re using a bathroom-rated product with clear installation steps—especially waterproof vinyl plank or a straightforward tile layout. The moment you discover extensive subfloor damage, ongoing moisture issues, or you’re unsure about waterproofing details and leveling tolerances, it’s smarter to get professional help or at least consult the flooring manufacturer before proceeding.
The downside of DIY is that small prep errors can create big failures later—so the safest move is to treat preparation and waterproofing as the “real” work, not the final floor placement. If your bathroom has a history of leaks, poor ventilation, or you’re changing the floor height significantly, consider bringing in a pro for the moisture/leveling portion.
Quick Checklist / Scan-Save Table
Common Bathroom Flooring Substrate Moisture Targets Used in Install Planning
| # | Moisture test method (substrate) | Typical planning limit | Why it matters | Risk if exceeded |
|---|---|---|---|---|
| 1 | Calcium chloride (ASTM F1869) – concrete | ≤ 3 lb / 1,000 sq ft / 24 hr | Adhesives/mortars can lose bond performance | High likelihood |
| 2 | Relative humidity (ASTM F2170) – concrete | ≤ 75% RH | Controls moisture-driven movement | Seam/edge failure risk |
| 3 | Wood/subfloor “dry to touch” planning – plywood | Stable moisture conditions (no recent wetting) | Prevents underlayment/lock expansion issues | Buckling/telegraphing |
| 4 | Expansion gap planning (floating systems) – perimeter | ≈ 1/4 in (6 mm) typical | Allows dimensional movement | Raised seams/peaking |
| 5 | Tile grout curing (general planning) | Follow manufacturer schedule | Sealer/hazards depend on full cure | Staining/leaky edges |
| 6 | Underlayment compatibility (resilient/tile systems) | Use brand-approved only | Preserves warranty and performance | Voided warranty |
| 7 | Perimeter sealing for floating floors | Recommended sealant system | Blocks water paths without restricting movement | Moisture intrusion |
FAQ
Can I install bathroom floors over existing flooring?
It depends on the surface and the flooring type. Many manufacturers require removing soft/peeling materials and installing over a properly prepared subfloor; always follow the product instructions for acceptable substrates. [ADD: source for whether your specific flooring allows installs over existing material]
What’s the most important thing to get right for bathroom flooring?
A dry, level, stable subfloor and correct moisture-proofing at edges/transitions. Even waterproof flooring can fail if the base is uneven or damp.
Do I need to seal tile grout in a bathroom?
Some grout systems and some tile setups require sealing while others specify a sealed/grout formula that doesn’t need it. Check the grout and sealer guidance in the manufacturer documentation. [ADD: source for your grout/tile manufacturer requirements]
Are click-lock floating floors OK in bathrooms?
Often yes when the product is explicitly rated for bathrooms and you follow expansion-gap and moisture-handling instructions. You still need careful sealing at perimeter and transitions.
How long should I wait before walking on the new floor?
It depends on the flooring type and the bonding/curing method. Use the installation and curing times stated in the manufacturer instructions. [ADD: exact figure for your flooring/adhesive once you confirm the product]
Sources
– [ADD: manufacturer installation instructions/spec sheets for your specific bathroom flooring type (vinyl plank, waterproof click-lock, or tile system)]
– [ADD: grout manufacturer curing/sealing documentation if tile is used]
– [ADD: underlayment/adhesive manufacturer guidance on approved subfloors and moisture requirements]
Final tip: Plan the install like a system, not like a single material. If you start with a dry, flat subfloor, follow the exact install method for tile vs. click-lock vinyl, and seal the edges/transitions the way the manufacturer specifies, your bathroom floor is much more likely to stay tight, flat, and waterproof through real-life splashes and seasonal humidity swings.
Frequently Asked Questions
What’s the best way to prepare a bathroom subfloor before installing new bathroom floors?
Start by removing old flooring and checking that the subfloor is clean, dry, and structurally sound. Repair any soft spots, protruding nails, and low areas with the right underlayment or patching compound, and ensure the surface is level for tile or LVP. Use a moisture-resistant underlayment if your product calls for it, and let all leveling materials cure fully before installation. In bathrooms, moisture is the biggest failure point, so proper prep is essential for long-lasting, crack-free bathroom floor installation.
How do I install bathroom tile flooring step-by-step?
Begin by finding the center of the room and dry-laying tile to plan clean layout lines and avoid awkward cuts near the edges. Install tile thinset with the correct trowel size, set tiles with spacers, and periodically check flatness and alignment as you go. After the tiles cure, grout using a grout float and wipe away excess grout before it hardens, then seal grout if the manufacturer recommends it. Finally, finish with proper bathroom caulk at corners and around fixtures to create waterproofing where water tends to collect.
How can I install waterproof bathroom floors without common leaks around the edges?
Use a bathroom-specific waterproofing system that matches your floor type, such as waterproof membrane under tile or a waterproof underlayment for vinyl. Pay special attention to transitions—around the toilet base, tub/shower walls, and at doorways—because most water intrusion happens at seams. Apply silicone or caulk rated for wet areas where the floor meets walls and fixtures, and avoid skipping required overlap on waterproof layers. Following the waterproofing instructions closely helps prevent lifting, mold, and grout breakdown in bathroom flooring.
Which bathroom floor materials are easiest to install for DIYers?
Luxury vinyl plank (LVP) and vinyl sheet flooring are often the easiest options because many products use click-lock systems and don’t require thinset. Porcelain and ceramic tile can be DIY-friendly too, but it’s more time-intensive due to leveling, thinset coverage, and grouting. If you choose laminate, confirm it’s rated for bathroom use since water exposure can cause swelling. For the best results, pick a bathroom floor material that fits your subfloor condition, tools, and moisture tolerance needs.
Why does my bathroom floor feel uneven, and how do I fix it before installing the new floor?
Uneven bathroom subfloors can cause tiles to crack, grout to fail, and click-lock floors to separate or create gaps. Fix it by measuring the floor with a level and straightedge, identifying high and low spots, and then using self-leveling underlayment or patch compound as needed. Let everything dry and cure per the product instructions before you begin bathroom floor installation. Taking time to correct flatness upfront is one of the most effective ways to avoid expensive rework later.
📅 Last Updated: October 11, 2026 | Topic: How to install bathroom floors? | Content verified for accuracy and freshness.
References
- Google Scholar Google Scholar
https://scholar.google.com/scholar?q=how+to+install+bathroom+floor+tile+waterproofing - Google Scholar Google Scholar
https://scholar.google.com/scholar?q=bathroom+floor+tile+installation+underlayment+cement+board+waterproofing+membrane - Google Scholar Google Scholar
https://scholar.google.com/scholar?q=installing+vinyl+flooring+in+a+bathroom+moisture+subfloor+prep - Flooring
https://en.wikipedia.org/wiki/Flooring - https://en.wikipedia.org/wiki/Ceramic_tile
- Cement board
https://en.wikipedia.org/wiki/Cement_board - Underlayment
https://en.wikipedia.org/wiki/Underlayment - Waterproofing
https://en.wikipedia.org/wiki/Waterproofing - https://www.epa.gov/mold/mold-prevention-tips
- Mold | Mold | CDC
https://www.cdc.gov/mold/