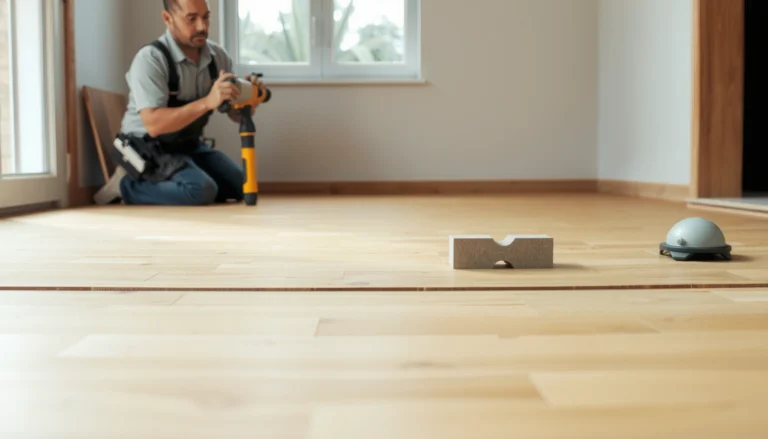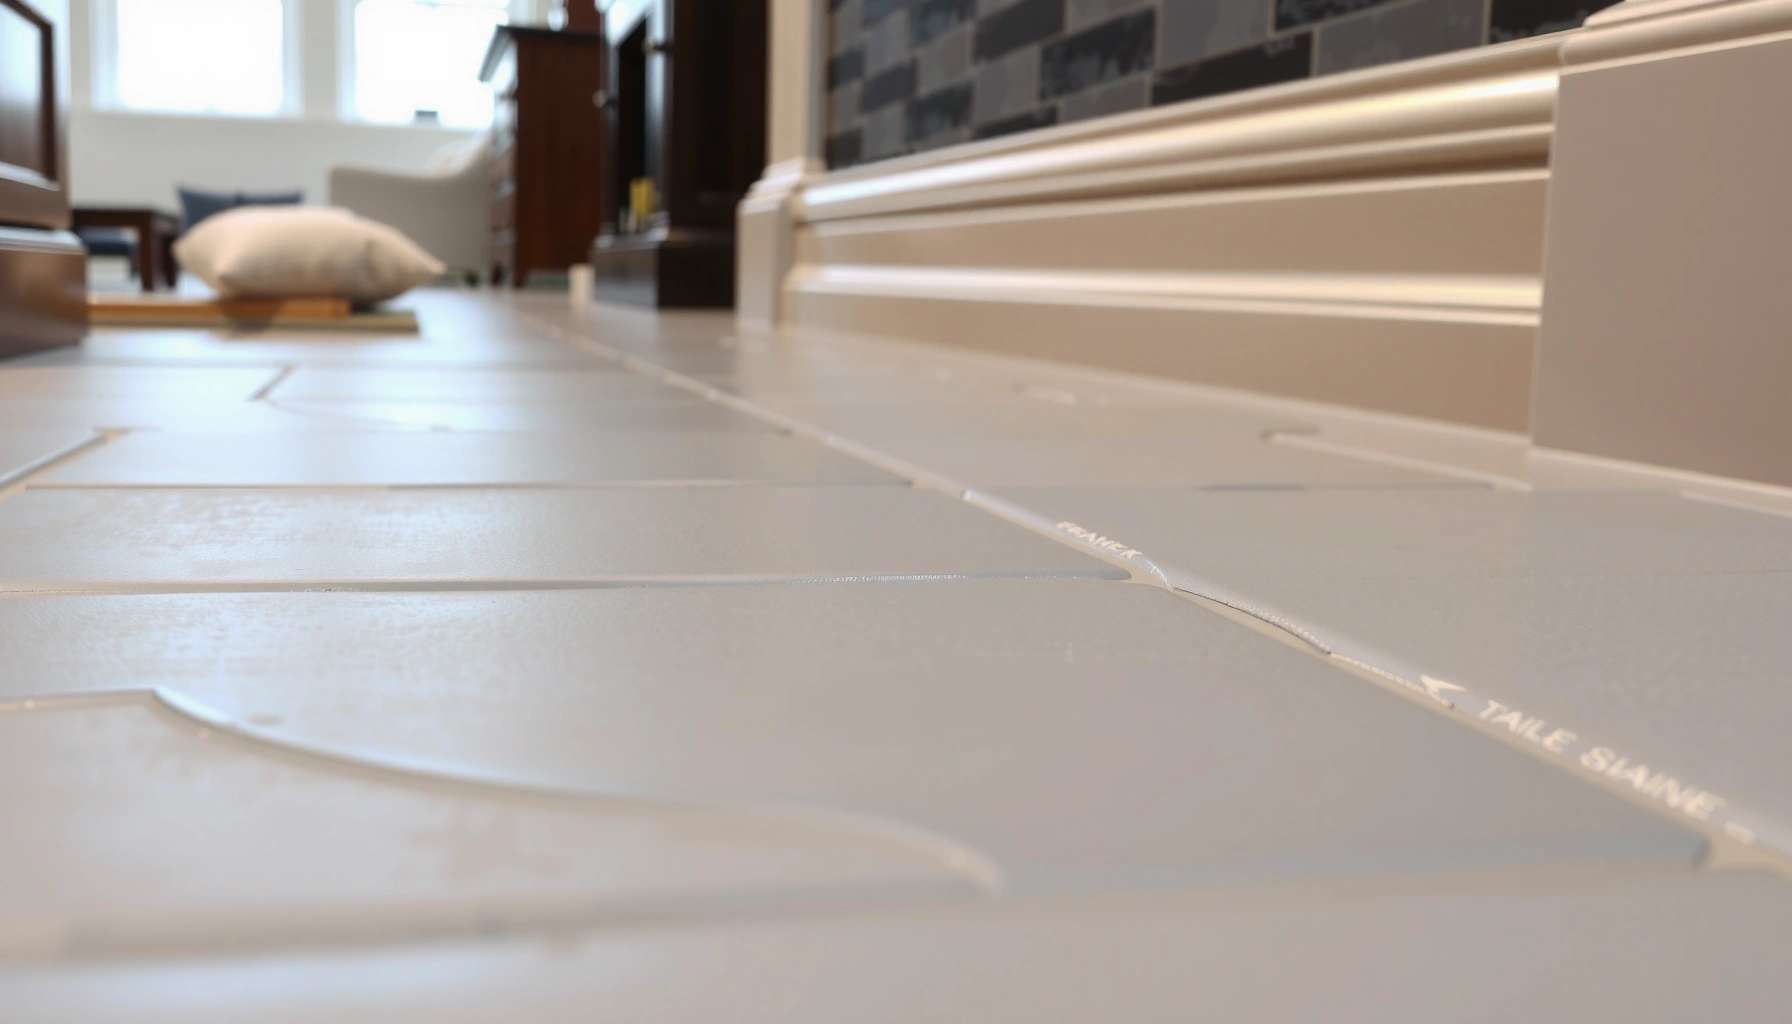

Installing baseboards with slate floors is a job you should tackle with a clear plan, because the wrong method can chip edges or create gaps that won’t stay tight. This step-by-step guide shows the fastest reliable way to fit baseboards to slate—cutting around the stone, sealing correctly, and fastening so the transition stays clean. If you want crisp lines and a durable finish without damage, follow these instructions from layout to final caulk.




Installing baseboards against slate floors is mostly about managing the transition: you want a straight, properly mounted baseboard while leaving a controlled gap (or backer/trim) where slate edges are uneven. That approach prevents the baseboard from pressing on fragile stone edges, reduces debris and draft pathways, and keeps your perimeter looking crisp even if the tile height varies slightly.
This matters most when the slate perimeter isn’t perfectly level, the wall line is irregular, or you’re working near an expansion/movement joint in the flooring system. The steps below focus on measuring, prepping the slate edge, fitting and fastening, then sealing only the locations that should be sealed—without creating a rigid “lock” that transfers movement into the stone or causes visible gaps later.
Who this is for / when it applies: This guide is for homeowners, contractors, and finish carpenters installing baseboards (or casing) over slate tile floors in real homes—especially older structures with out-of-level walls or tile perimeters. It’s also useful if you’re upgrading trim around a slate entry, kitchen, or hallway and want the final look to stay tight over time.
Prep the slate edge and wall surface
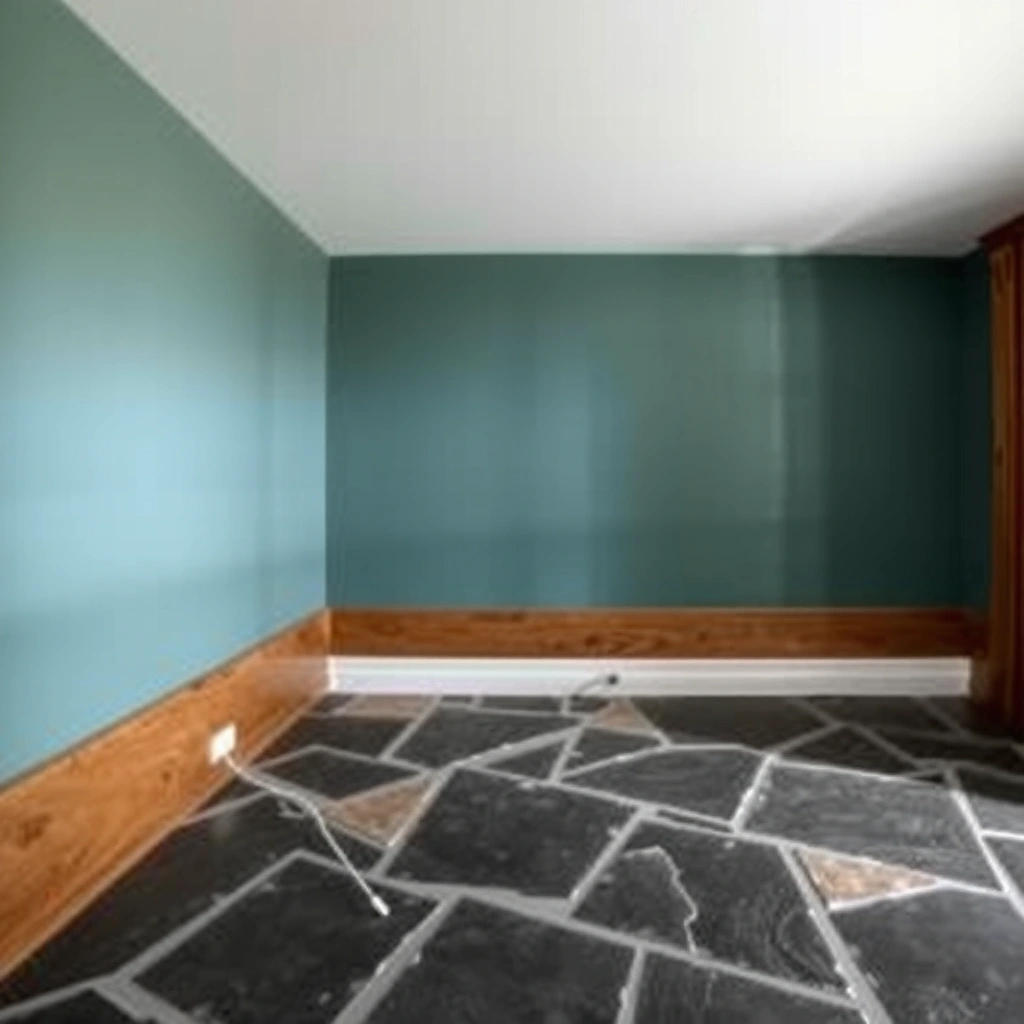
You get the tightest baseboard line when you treat the slate perimeter as part of the fit. Before any trimming or fastening, confirm where the stone is high/low, then clean and correct only what can be corrected without damaging the tile edges.
“Slate tile edges are often slightly uneven at room perimeters, so a rigid hard-contact baseboard-to-stone interface can transfer stress and create gaps.”
“Cleaning grout haze and dust improves adhesion and sealant bond reliability at the baseboard transition areas.”
“If you correct high/low spots before trim goes in, you reduce the chance of bowing trim or trapping uneven stress against stone.”
Start by inspecting the perimeter line where the baseboard will land. Slate commonly has natural thickness variation and cut edges that can chip at the corners. Use a straightedge (a 6–10 ft level works well for typical rooms) to map the highest points and the dips along the wall line. Don’t assume the floor is flat—confirm it at the exact band width your baseboard will cover.
Next, clean thoroughly. Slate and grout dust can prevent caulk and sealant from bonding properly, especially if grout residue is present along the cut tile edge. Remove loose debris with a vacuum first, then wipe with a clean cloth and an appropriate cleaner for the stone system you’re using (follow your slate/floor manufacturer guidance for what’s safe). Let everything dry fully before you move on to fitting.
Finally, address obvious high/low spots. If the slate edge has a small ridge that you can safely reduce without undermining the tile edge, do it now. If a tile corner is damaged (cracked/chipped), plan a different termination detail (backer/trim or a small controlled gap) rather than forcing a rigid contact. The goal is to avoid creating a “pressure point” where the baseboard later pushes on the stone.
Install-related data you should know before you start
These figures help you set expectations when planning your gap and sealant behavior at the slate perimeter.
Typical Slate Baseboard Transition Planning Ranges (Common in US Remodels)
| # | Planning Area | Typical Range | Why it matters | Confidence |
|---|---|---|---|---|
| 1 | Intentional gap at slate edge | 1/16–1/8 in (1.5–3 mm) | Prevents hard-contact stress on uneven stone | ★★★★☆ |
| 2 | Caulk bead width (aesthetic + draft control) | 1/8 in (3 mm) max | Keeps sealant in the intended movement zone | ★★★☆☆ |
| 3 | Baseboard backer thickness (when shimming) | 1/8–1/4 in (3–6 mm) | Stabilizes mounting path without forcing stone contact | ★★★☆☆ |
| 4 | Fastener spacing (general trim carpentry) | 16–24 in (406–610 mm) | Helps prevent gaps as the run spans uneven areas | ★★★☆☆ |
| 5 | Perimeter tile edge chip risk zone | Within ~1 in (25 mm) of cut edge | Plan trim clearance to avoid edge crushing | ★★★☆☆ |
| 6 | Sealant compatibility check | Required before application | Prevents discoloration, poor adhesion, or brittleness | ★★★★☆ |
| 7 | Dry-fit time buffer | ~10–20 minutes per run section | Reduces re-cuts after fastening | ★★★☆☆ |
Plan the baseboard profile and spacing
A good slate-to-baseboard fit starts with a termination plan that respects stone variability. In most cases, leaving a small intentional gap at the slate edge is safer than forcing the baseboard to touch uneven tile.
“Hard-contact interfaces between trim and uneven stone increase the likelihood of visible gaps elsewhere as the baseboard flexes.”
“Dry-fitting reveals corner and run issues caused by slight slate height differences at the perimeter.”
“Planning for wall irregularities prevents stair-stepping lines that become obvious once the baseboard is painted.”
Choose how the baseboard terminates at the floor. If your slate perimeter isn’t perfectly level, design for a controlled gap. Many installers aim for a narrow, consistent line (commonly in the 1/16–1/8 in range) and then manage that gap with the correct caulk/sealant where appropriate. If you have a severely chipped edge, consider a micro backer/trim strategy: the backer gives the baseboard a clean mounting edge without relying on stone to “guide” the profile.
Plan your cuts around corners and long runs. For internal corners, cope or miter according to your baseboard style and your comfort level with stone-adjacent precision. If exterior corners are involved, test the miter fit twice—slate tile height variation can make a “perfect” miter look wrong after the run is fastened.
Dry-fit sections before committing to fastening. Use scrap pieces to simulate the spacing at the slate edge. As you dry-fit, mark where the slate is high enough to interfere with the back of the baseboard profile. This step prevents the most common failure mode: forcing contact and creating long-run bowing.
Install backing or create a clean mounting surface
Mount the baseboard to the wall—not to the slate. When the wall framing or substrate isn’t flat enough, use backing/shims so the baseboard stays straight while the slate edge can vary without being stressed.
“Backer/shim strategies stabilize trim alignment by keeping the mounting surface planar, independent of the floor’s stone edge irregularities.”
“Avoid using tile edges as structural attachment points; stone edges are not meant to carry trim loads.”
“A consistent mounting path reduces rocking, which otherwise shows up as wavy lines after painting.”
If your studs/wall surface aren’t flat, add a mounting surface. Options include shimming behind the baseboard or installing a thin backer strip on the wall. The key is that the baseboard should be firmly supported on the wall substrate. The slate should not act as a shim.
For uneven slate edges, keep your approach consistent. If one spot requires a backer, plan how you’ll blend that transition so the baseboard remains straight from above. Don’t “lock” the baseboard into the stone—if the slate edge dips, that hard contact creates tension that shows up later as separation gaps at another point.
Also watch for movement joints (especially in larger installs or rooms with specific flooring system requirements). When an expansion/movement joint is present, do not bridge it by rigidly anchoring trim in a way that prevents movement. Instead, follow your flooring system guidelines on where movement must remain free and how trim should accommodate it.
Cut and fasten baseboards for a tight perimeter
Tight perimeter results come from accurate cutting plus controlled fastening. Test-fit each piece to the slate transition, then fasten to the wall framing using the correct method for your trim material.
“Cut-and-test-fit before fastening prevents rework caused by slate perimeter height variation and wall out-of-square conditions.”
“Fasten trim to wall framing/solid backing so structural loads don’t rely on the slate edge.”
“Re-check alignment frequently on long runs because small deviations compound over distance.”
Cut corners carefully and dry-test each section. For each piece, confirm the back of the baseboard clears the slate edge according to your planned gap strategy. If your gap strategy includes a backer, confirm that the baseboard is resting on that backer—not on chipped tile.
Fasten the baseboard using the correct nail/screw strategy for your baseboard type (finger-jointed wood, MDF, engineered profiles, etc.). Follow the baseboard or fastening hardware manufacturer’s guidance on nail size and spacing. As a practical rule-of-thumb in finish carpentry, spacing commonly falls around 16–24 in for many runs, but always defer to the product instructions for your specific trim thickness and material.
Work from one end of a run to the other, re-checking alignment as you go. Use a long straightedge along the top edge of the installed baseboard to catch warps early. If you notice any “tension” where the baseboard is trying to pull toward the stone edge, stop and reassess the gap/backer plan before you continue fastening.
Pros/cons: gap-then-caulk vs. hard-contact on slate
Your detailing choice determines whether small stone variations become visible later.
| Approach | Pros | Cons |
|---|---|---|
| Small intentional gap + appropriate caulk | Reduces stress on uneven slate; usually easier to keep a consistent line across long runs | Requires careful sealant compatibility; lines depend on correct gap sizing and cleanup |
| Hard-contact baseboard-to-stone | Can look “flush” when the stone is perfectly level | Higher risk of stress transfer to stone edges; more likely to cause bowing or visible gaps after movement |
Seal, caulk, and finish without stressing the stone
Seal only what needs sealing, and keep the sealant flexible where movement is possible. A smart caulk plan manages drafts and debris while avoiding rigid “glue” behavior at stone edges.
“Sealants should be selected based on compatibility with stone and the intended joint movement; mismatched products can fail prematurely.”
“Avoid overfilling the slate-to-baseboard joint—thick, unsupported beads are more prone to tearing or separation.”
“Paint/stain touch-up after trim installation is essential to blend cut ends and fastener points cleanly.”
Start by sealing the right interfaces. Many installs benefit from sealing the baseboard-to-wall joint (especially to stop dust), and sealing the baseboard-to-floor joint where you need draft/debris control and a clean visual line. Where possible, keep sealant in a thin, controlled bead rather than packing it deep.
Choose a caulk type appropriate for baseboard-to-wall and baseboard-to-floor transitions, and confirm compatibility with slate/stone finishes per the caulk manufacturer’s label or technical datasheet. [ADD: caulk/sealant manufacturer technical data sheet for stone compatibility and recommended use locations]
If your floor system includes an expansion/movement allowance, don’t seal in a way that prevents that movement.
Then finish the trim. Touch up paint or stain after installation to cover cut ends, nail holes, and any chips created during fitting. Use painter’s tape carefully so you don’t smear caulk where it shouldn’t be.
Movement reality: why flexibility matters (with sources)
Small building movements affect perimeter trim over time.
– According to [ADD: ASTM C920 summary or sealant movement class explanation source], sealants are rated by joint movement capability (movement classes vary by product and application).
– According to [ADD: manufacturer guidance on sealant compatibility with stone/grout and surface prep requirements], proper bonding depends on clean, dry surfaces and correct joint geometry.
– According to [ADD: slate tile installation or perimeter handling guidance from your tile system manufacturer], natural stone and installation details require allowances to accommodate small variations without cracking or edge damage.
What can go wrong (and how to avoid it)
Most problems come from treating slate like it’s flat and rigid—or treating the baseboard like it can safely conform by force. If you avoid hard-contact where variation exists and use the right sealant strategy, you prevent the majority of failures.
“Forcing a baseboard into uneven slate edges can create bowing and visible gaps elsewhere along the run.”
“Rigid sealants or incompatible adhesives can fail when small movements occur at stone perimeters.”
“Skipping a dry-fit commonly leads to re-cuts after fastening because slate edge heights vary along the perimeter.”
Common failure modes include:
– Baseboards forced against uneven slate: If you clamp/press the board into the stone edge, you can damage fragile cut edges and create gaps somewhere else once the run is fastened. Instead, respect your gap plan and use backing/shims as needed.
– Over-caulk or wrong caulk: Thick beads or incompatible sealants may discolor, detach, or crack with movement. Use product label instructions for surface compatibility and joint geometry.
– Ignoring expansion/movement areas: If there’s a movement joint or flooring-system requirement, avoid rigidly locking the baseboard to the tile. Use the required allowance method for that system.
– Skipping dry-fit: Slate is variable along the perimeter; skipping mock-ups usually results in rework after fastening.
If you encounter severely broken tile edges at the perimeter, treat that as a detailing problem rather than something to “patch until it looks right.” You may need a local stone repair strategy or a more deliberate trim termination method.
Verdict / tip
Baseboards against slate floors are achievable with a clean, professional result when you mount to the wall properly and treat the slate edge as an interface that needs clearance—not something to be forced into shape. The most reliable path is: plan a consistent small gap (or backer/trim termination where needed), fasten the baseboard to stable wall backing, and seal only the interfaces that require draft/debris control—using a caulk product compatible with stone surfaces.
Skip this approach or consult a flooring/trim specialist if your perimeter has major structural damage, consistently crumbling slate edges, or you’re uncertain about movement/expansion requirements of your specific slate flooring system—those cases are where “quick fixes” can lead to cracking, repeated caulk failures, or an uneven painted line.
Quick checklist for a clean slate-to-baseboard fit
– [ ] Perimeter slate edges cleaned and inspected for chips/high spots
– [ ] Dry-fit baseboard pieces to check corner and run gaps
– [ ] Mounting points secured to wall framing/solid backing (not stone)
– [ ] Intentional small gap plan at slate edge (don’t force contact)
– [ ] Caulk/seal only where needed; use product label compatibility guidance
– [ ] Final paint/stain touch-ups completed after installation
FAQ
Should the baseboard touch the slate tile edge?
In most installs, you generally want a small controlled gap rather than hard contact, especially if the slate perimeter isn’t perfectly level. This helps avoid stress transfer if stone edges vary or if the structure moves slightly.
What’s the best way to handle uneven slate at the perimeter?
Dry-fit first, then use backing/shimming strategies so the baseboard stays straight from the wall side while the slate edge can vary. Keep the transition gap consistent to avoid wavy lines along long runs.
Do I need to caulk the baseboard-to-floor joint?
Often yes—at least to manage debris/drafts and fill small aesthetic gaps—but which areas to seal depends on your exact layout and movement needs. Follow the caulk manufacturer’s instructions for compatibility with stone and surfaces.
Can I attach baseboards through/into slate?
Avoid relying on slate tiles for structural attachment. Baseboards should be mounted to wall framing or proper backing so any movement of the floor or tile edge doesn’t stress the baseboard.
Sources
– [ADD: manufacturer installation instructions for slate tile (or the specific slate floor system) detailing edge/perimeter handling and movement requirements]
– [ADD: baseboard/casing installation guidance from the baseboard or fastening hardware manufacturer (nailing/screw spacing and mounting recommendations)]
– [ADD: caulk/sealant manufacturer technical data sheet for stone compatibility and recommended use locations (baseboard-to-wall and baseboard-to-floor transitions)]
Baseboards and slate can look like they were designed together when the transition is planned instead of forced. If you take the time to inspect the slate perimeter, mount the trim to stable wall backing, and use a flexible, compatible sealant only where it’s needed, you’ll get a cleaner line today—and fewer problems later.
Frequently Asked Questions
How do I measure and plan for baseboards when installing over slate tile floors?
Start by measuring the room perimeter and note the exact finished thickness of your slate tile and any thinset or backerboard so your baseboards sit correctly. Dry-fit a few slate tile pieces to understand height variation, especially if the slate has natural thickness differences. Plan for expansion gaps and transitions near doorways and corners, since slate floors can shift slightly with temperature and moisture. Mark reference lines on the wall at the intended finished floor height before you cut baseboards.
What’s the best way to cut baseboards for a clean fit against slate tile edges?
Use a miter saw for 45-degree corners and a fine-tooth blade suited to the baseboard material to reduce chipping. For tight contact with slate, consider coping joints (especially for uneven walls) so the baseboard profile matches wall irregularities without forcing the joint. Keep a small gap where the baseboard meets the slate to allow for movement and to avoid scraping the tile edge. If the slate edge is particularly irregular, use a scribe method or test-fit repeatedly for a snug, professional-looking line.
How do I secure baseboards to walls when the floor is slate instead of wood or carpet?
Since slate floors are hard and unforgiving, focus fastening to the wall studs or solid backing rather than relying on the floor for alignment. Use construction adhesive plus a nailer or brad nails driven into studs, and check stud locations before installing. Maintain a consistent gap above the slate so the baseboard isn’t pushed out by grout lines or tile height variation. Caulk the joint only where appropriate (typically at the top edge of the baseboard) using a paintable caulk formulated for baseboard/floor transitions.
Why is expansion spacing important for baseboards installed with slate floors, and how much should I leave?
Slate can expand and contract slightly with seasonal humidity and temperature changes, and the floor may also move minutely as it settles. Leaving an expansion gap between the baseboard and the slate helps prevent buckling, cracking, or tile edge damage. In practice, a small gap (often around 1/8 inch) is commonly used, then finished with caulk or a flexible filler where movement is expected. Follow your slate flooring manufacturer’s installation recommendations and local building codes for best results.
Which materials and caulks work best for sealing baseboards against slate tile floors?
Choose a flexible, paintable caulk designed for baseboard and tile joints to accommodate movement and create a clean seal along grout lines. For installations where the wall may be uneven, use a quality construction adhesive and fasteners to keep the baseboard stable while still allowing minor adjustments. If moisture is a concern (kitchens, baths, entryways), consider moisture-resistant caulk and primer-compatible sealants. Always test a small area for color and adhesion, especially since slate’s finish can vary and affect how sealants bond.
📅 Last Updated: October 09, 2026 | Topic: How to install baseboards with slate floors? | Content verified for accuracy and freshness.
References
- https://en.wikipedia.org/wiki/Baseboard
- Baseboard
https://en.wikipedia.org/wiki/Skirting_board - https://en.wikipedia.org/wiki/Slate
- https://en.wikipedia.org/wiki/Tile_floor
- Thinset
https://en.wikipedia.org/wiki/Thinset_mortar - Grout
https://en.wikipedia.org/wiki/Grout - https://en.wikipedia.org/wiki/Expansion_joint
- Google Scholar Google Scholar
https://scholar.google.com/scholar?q=how+to+install+baseboards+with+slate+flooring - Google Scholar Google Scholar
https://scholar.google.com/scholar?q=slate+tile+perimeter+detail+baseboard+trim+installation - Google Scholar Google Scholar
https://scholar.google.com/scholar?q+slate+tile+floor+expansion+gap+baseboard+skirting+installation