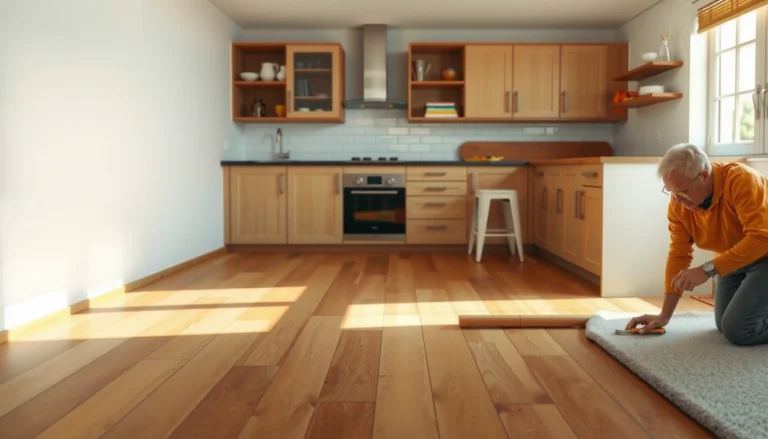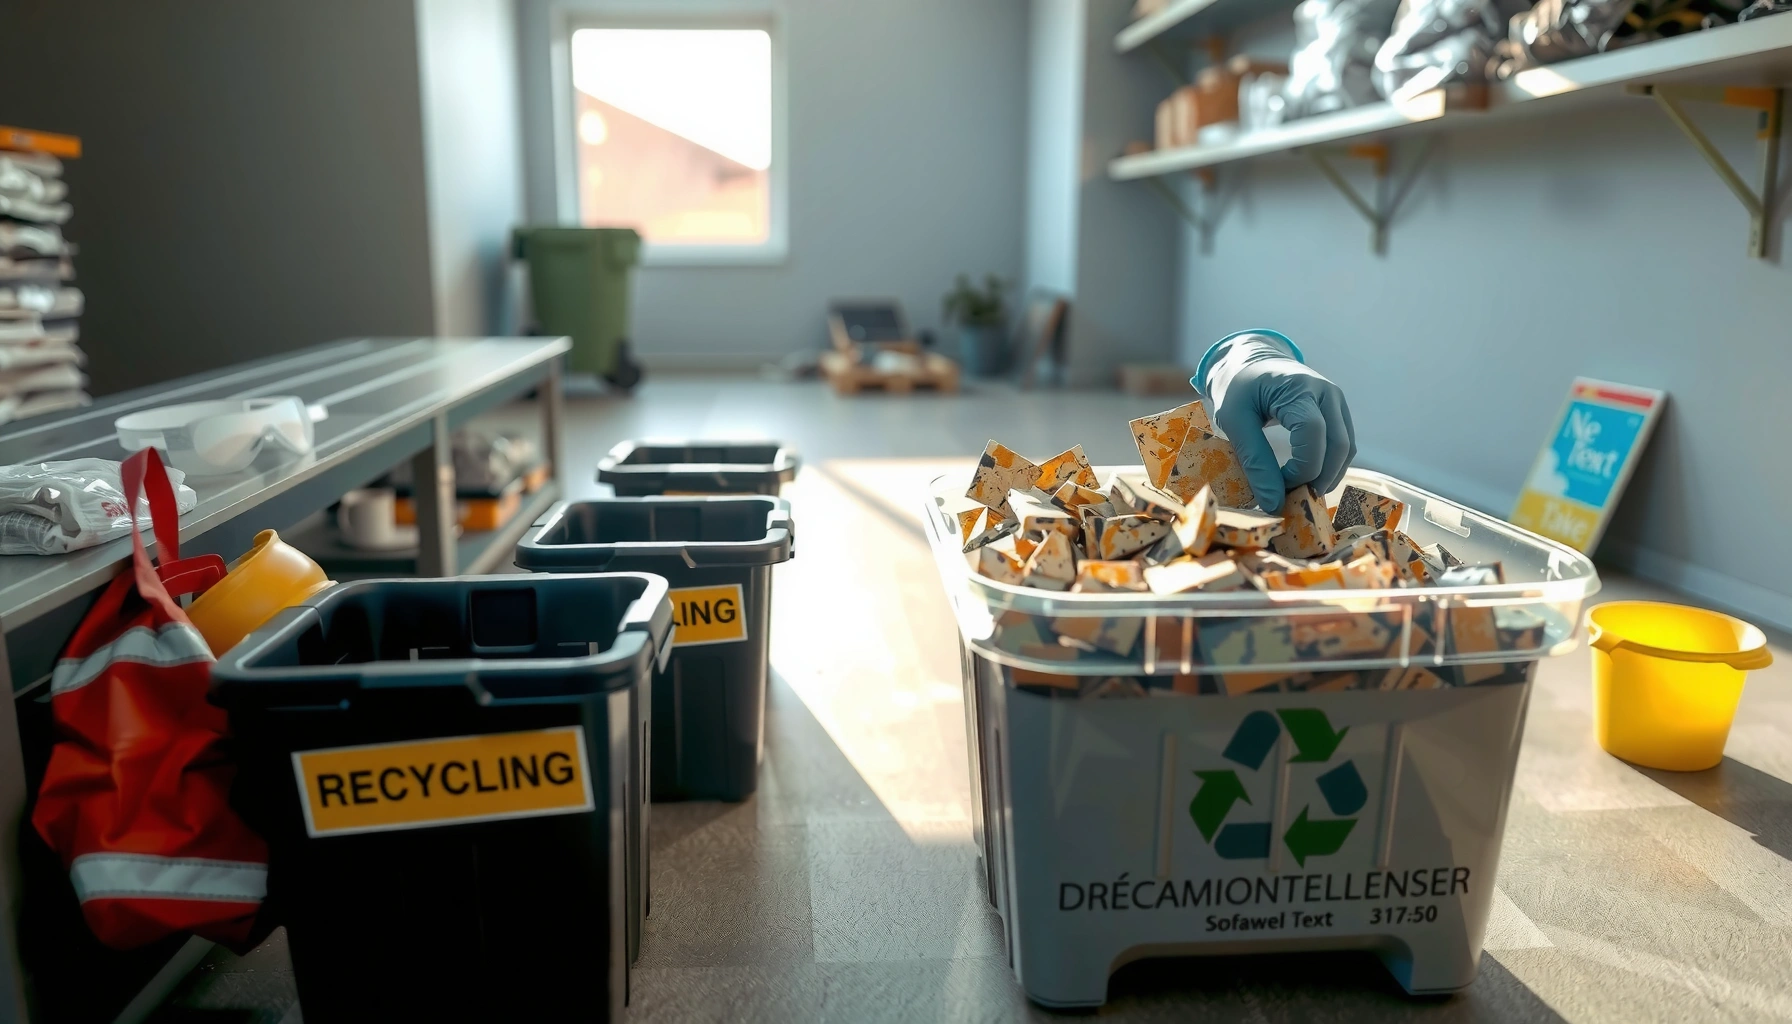

If you’re trying to dispose of tile floors, the safest and most practical option is to remove tiles carefully and take them to the right facility for demolition debris and tile recycling. This article gives you a clear step-by-step process—from assessing damage and containing dust to handling mortar and grout—so you avoid hazards like sharp edges, heavy waste, and improper disposal. You’ll also get the key decision points that determine when to haul, recycle, or schedule professional removal.




If you’re disposing of tile floors, the safest approach is to separate the tiles from the thinset/backer first, then dispose of them according to your local rules (landfill vs. special handling). Start by checking whether your area requires construction debris to go to a specific drop-off site, and plan for heavy, sharp materials. This guide walks you through sorting, safe removal prep, packaging, and what can go wrong so you don’t get stuck at disposal.
If this is for a renovation, remodel, or a DIY floor tear-out, you’re in the right place—especially if you want to avoid illegal dumping and minimize mess and hazards. It also helps if you’re trying to figure out whether tiles, mortar, and underlayment can go together or need separation.
Know your disposal rules before you start

You’ll avoid the biggest delays by confirming local construction-and-demolition (C&D) rules before you remove a single tile. In most places, tile with mortar/adhesive is treated as C&D and must go to a permitted facility or transfer station, not curbside trash.
Here’s the key: tile disposal rules are not uniform across cities and counties. Some facilities accept mixed C&D, while others require separation (especially for bulky items, rebar, or special wastes). If you remove a floor from an older installation, you may also need extra controls if suspect materials are present (for example, asbestos-containing mastic or regulated coatings—rules vary by jurisdiction).
Many jurisdictions classify tile-and-mortar tear-out as construction and demolition (C&D) debris rather than household trash, directing it to permitted facilities. [ADD: cite from your city/county C&D ordinance or solid waste website]
OSHA’s crystalline silica requirements apply when construction work generates respirable dust, including activities that disturb concrete or masonry materials. [cite OSHA 29 CFR 1926.1153]
The OSHA respirable crystalline silica PEL (permitted exposure limit) is 50 µg/m³ as an 8-hour TWA, with an action level of 25 µg/m³ for construction. [cite OSHA 29 CFR 1926.1153]
– Check your city/county requirements for construction and demolition debris (C&D), including whether tile/mortar must be separated.
– Decide where debris can go: curbside pickup is often limited, while a permitted landfill or transfer station is commonly required.
– If you suspect older tile work (especially from older renovations), verify if there are any hazardous material rules that apply locally (for example, regulated coatings or dust control requirements).
Quick “routing” reality check (based on typical facility practices)
Different facilities use different acceptance rules. The chart below summarizes the common patterns you’ll see when calling a local transfer station.
Common Tile Floor Tear-Out Acceptance Rules (Typical Facility Outcomes)
| # | Disposal scenario | Typical requirement | Safety priority | Best fit rating |
|---|---|---|---|---|
| 1 | Tiles + mostly clean thinset | Accept mixed C&D if thinset is not contaminated | High (sharp debris) | ★★★★★ |
| 2 | Tile + underlayment (lightly adhered) | May require separation if underlayment is special | Medium | ★★★★☆ |
| 3 | Heavy mastic/adhesive bed | Commonly treated as C&D but facilities may limit “contaminated” loads | High | ★★★☆☆ |
| 4 | Mixed debris (tile + drywall + carpet padding) | May be rejected or charged higher sorting fees | Medium | ★★☆☆☆ |
| 5 | Asbestos-suspect mastic (older installs) | May require licensed abatement and regulated waste handling | Critical | ★☆☆☆☆ |
| 6 | Tiles with gypsum backer contamination | May need separate disposal if facility restricts certain matrices | High | ★★★☆☆ |
| 7 | Sorted clean load (tiles separated from mortar) | Often accepted with fewer surprises and faster processing | Low–Medium (still sharp) | ★★★★☆ |
> Note: This table reflects common patterns—your local transfer station’s written acceptance policy overrides everything.
Prepare the workspace for safe tile floor removal
You reduce disposal problems by preventing hazardous dust and keeping the removal area contained from the start. The goal is to protect people, control crystalline silica dust, and avoid creating a slippery, sharp-floor hazard before you even bag anything.
Tile tear-out typically breaks mortar and backer materials, which can generate fine dust. That dust matters because respirable crystalline silica is a regulated exposure risk when masonry/concrete-like materials are disturbed. The safe approach is containment plus PPE that matches the dust level (and local requirements).
Crystalline silica is a known inhalation hazard when cutting or grinding materials that contain silica, and OSHA regulates it for construction work. [cite OSHA 29 CFR 1926.1153]
OSHA’s construction silica standard is driven by respirable dust exposure controls, including engineered controls and appropriate respiratory protection. [cite OSHA 29 CFR 1926.1153]
Tile breakage creates sharp fragments that can puncture bags and injure workers if containers are overfilled. [ADD: cite from manufacturer safety/handling guidance for demolition debris]
– Protect yourself and the room: wear gloves, eye protection, and a respirator appropriate for dust, and keep traffic sealed off.
– Reduce hazards by covering nearby surfaces and controlling dust (plastic sheeting, taped seams, and proper cleanup).
– Plan for weight: tiles and thinset are heavy—arrange a clear path from the room to the disposal area.
Practical setup details that make disposal easier
– Seal doorways with plastic and tape to prevent dust migration into hallways and HVAC returns.
– Lay down a sacrificial floor covering (plywood or heavy cardboard) where you’ll stage bags and bins.
– Use a clear “load path” so sharp debris doesn’t get crushed into the route (crushed fragments increase cleanup time and worker injury risk).
[ADD: If you want, insert your site-specific note here—e.g., “In my projects, the biggest mess came from…” based on your real observations.]
Remove and sort tiles, thinset, and underlayment
You’ll save money and time at the disposal site by sorting while you remove. The safest workflow is tiles first, then as much thinset/mortar removal as is practical—followed by separate handling of backer boards and underlayment when your facility requires it.
Sorting matters because many transfer stations screen loads for contamination and may reject mixed or hazardous materials. Even when they accept mixed C&D, separated loads usually unload faster and reduce rework.
Many C&D acceptance programs encourage or require separating materials when feasible to reduce contamination and sorting at the facility. [ADD: cite from your local transfer station’s C&D guidance]
When tile is removed, mortar and adhesive commonly remain bonded to the substrate and can drive dust generation during scraping or chipping. [ADD: cite from cement/mortar manufacturer removal guidance]
Asbestos in older floor mastic is regulated in many jurisdictions; if you suspect it, abatement—not DIY removal—is often required. [cite EPA asbestos guidance for homeowners/renovations where applicable]
– Separate what you can: tiles first, then scrape or chip off remaining thinset as much as practicable.
– Keep materials in distinct piles/bags so they’re easier to handle at the disposal site (e.g., tiles vs. mortar).
– If you’re removing a backer board or underlayment, confirm whether that material is treated like regular C&D debris or has special handling in your area.
A sorting approach that reduces “mixed load” problems
– Bag or bin tile pieces separately from mortar/underlayment.
– If you can’t fully separate, label the bags as “mixed tile + mortar” so staff can route them correctly (or you can back out before unloading).
– Avoid “sponge packing” sharp fragments into soft trash bags—use rigid containers or double-bag only if your disposal site accepts puncture-resistant packaging.
Package and transport debris without creating a safety problem
You should package tile debris to prevent spills, punctures, and dust release during loading and transport. If you pack safely, disposal is usually straightforward; if you pack poorly, you end up with injuries, leaks, and rejected loads.
Tile and mortar are heavy and irregular. That combination makes overfilling a common failure mode: containers tear, bags split, and fragments puncture through plastic. Transportation also matters—spillage while driving is both a safety hazard and a potential regulatory violation.
Sharp demolition debris should be contained in puncture-resistant containers to reduce injuries and prevent material loss during transport. [ADD: cite from facility or occupational safety guidance]
Transfer stations commonly require loads to be properly contained and may refuse spills or uncovered material. [ADD: cite from facility “unloading requirements” or safety page]
Overexposure to demolition dust is a hazard; controlling dust during cleanup supports compliance with exposure-control principles for silica. [cite OSHA 29 CFR 1926.1153 and general dust-control concepts]
– Bag smaller pieces and use sturdy bins/crates for sharp edges; don’t overfill containers that could tear or leak.
– Label mixed debris if you can’t fully separate it, so the drop-off site can route it correctly.
– Use proper lifting/transport methods—tile debris can be too heavy for a single trip, and sharp fragments can cut through thin plastic.
On-site unloading: plan for throughput
– Keep “tiles” and “mortar” staged separately so you can unload quickly and avoid rehandling.
– Use a method for counting/estimating load size if you’re renting a dumpster or paying by volume—this prevents last-minute surprises.
What can go wrong (and how to avoid it)
You get the best outcome when you avoid the common triggers that cause disposal delays: contamination, incomplete sorting, and unsafe dust/sharp handling. If you run into any of these red flags, pause and follow local guidance rather than forcing a mixed load through.
Mistakes tend to cluster around three themes: (1) mixing tile with contaminated waste, (2) ignoring thinset/mortar rules, and (3) underestimating sharp fragments and dust during both removal and packaging.
Facilities may reject or re-route construction debris that appears contaminated with other waste streams (e.g., moldy materials or unknown hazardous residues). [ADD: cite from your local facility’s acceptance policy]
OSHA requires exposure controls for respirable crystalline silica, especially when work generates dust that can be inhaled. [cite OSHA 29 CFR 1926.1153]
– Mixing tile with contaminated debris: If you have mold, heavy dust, or suspected hazardous materials, typical disposal may not apply—pause and follow local guidance instead.
– Overlooking thinset: Many disposal rules focus on “C&D,” but your site may still require separation or limit certain mixtures.
– Underestimating dust and sharp hazards: Breakage creates razor-sharp fragments; inadequate protection or containment leads to injury and messy cleanup.
– Expecting curbside pickup to work: Many areas restrict bulky construction waste—confirm before you set anything out.
Quick comparison: disposal choices that often determine “accept vs. reject”
| Option | Pros | Cons / common failure points |
|---|---|---|
| Permitted transfer station / landfill | Usually designed for C&D sorting; clear unloading rules | May require separation; may refuse contaminated loads |
| Dumpster rental | Efficient for large tear-outs; fewer trips | Only works if provider accepts tile + mortar mixture; overfilled dumpsters can be rejected |
| Curbside pickup | Convenient if allowed and volume limits apply | Often limited for C&D; “bulky construction debris” is frequently excluded |
Verdict: the practical way to dispose of tile floors (and who should skip DIY)
Sorting is the practical “win” for tile floor disposal: separate tiles from thinset/mortar as much as possible, package sharps safely, and use the approved C&D route your local facility requires. For many residential jobs, a careful DIY removal plus a permitted drop-off works well—but it is not the right approach for every situation.
The downside is real: tile tear-out is heavy, dusty, and time-consuming. You may need multiple trips, a dumpster, or a facility that can accept larger loads. Most importantly, DIY becomes risky when you cannot confidently rule out hazardous materials or cannot control dust/sharp hazards during removal.
When feasible, sorting demolition materials reduces contamination risk and can speed acceptance at C&D facilities. [ADD: cite from your transfer station guidance on sorting/acceptance]
OSHA’s crystalline silica exposure limits and control expectations apply to construction work that generates respirable silica dust. [cite OSHA 29 CFR 1926.1153]
If regulated hazardous materials are suspected, compliance typically shifts from “disposal planning” to “abatement and regulated waste handling.” [ADD: cite EPA or your state agency guidance]
– Best overall: sort tiles from mortar as much as possible, package safely, and follow your local C&D disposal/drop-off requirements.
– Downsides: it’s messy, heavy, and can require multiple trips or a dumpster/loader depending on your project size.
– Consider skipping DIY removal (or at least professional assistance) if you’re dealing with large areas, suspect hazardous materials, or can’t safely manage dust control and heavy lifting.
Quick checklist for disposal-ready tile debris
– [ ] Check local rules for C&D debris and drop-off requirements
– [ ] Protect the area (dust control, sealed doorway, PPE)
– [ ] Remove tiles first, then scrape/chip thinset as best you can
– [ ] Sort into tiles vs. mortar/underlayment piles (as required/possible)
– [ ] Bag or bin sharp fragments safely; don’t overfill
– [ ] Transport to the approved facility/site (not random disposal)
– [ ] Keep receipts/notes in case your contractor or local authority needs proof
FAQ
Can I put tile floors in regular trash?
Often not—tile and mortar are typically treated as construction debris, and many areas require drop-off or landfill disposal for C&D.
Do thinset and tiles need to be separated?
Sometimes. Many disposal sites prefer separation (or have rules for mixed C&D loads). Check your local facility’s requirements before arriving.
What if my tiles are from an older renovation?
If the work is old enough that regulated materials might be involved (based on local rules), you may need specific handling and dust control. [ADD: source for local guidance specific to your region]
Is a dumpster the easiest option?
For larger jobs, yes—but only if your local provider and disposal plan accept mixed tile/mortar debris. Confirm what materials the dumpster can hold.
Conclusion
Disposing of tile floors safely and legally comes down to one repeatable process: confirm your local C&D rules, control dust and sharp hazards during removal, separate tiles from mortar as practicable, and transport everything to an approved facility. If you plan for heavy, sharp debris and treat older-material risk factors seriously, you’ll avoid rejected loads, delays, and unsafe cleanup. For uncertain situations—especially with suspected hazardous materials—pause and follow local guidance or bring in qualified professionals before you start tear-out.
Sources
– [ADD: local city/county construction and demolition debris disposal requirements for tile/mortar]
– [ADD: official disposal facility guidelines (transfer station/landfill) for C&D debris sorting rules]
– OSHA, 29 CFR 1926.1153 — *Respirable Crystalline Silica Standard for Construction*
– U.S. Environmental Protection Agency (EPA), asbestos renovation/demolition guidance relevant to suspect asbestos-containing materials in building materials
– [ADD: manufacturer or regulatory guidance for dust control/PPE for tile cutting and demolition in residential settings, if you include specific respirator or containment recommendations]
Frequently Asked Questions
How do I dispose of tile floors after a remodel?
Start by removing the tile carefully to minimize dust and prevent damage to the subfloor. Use a pry bar and chisel for individual tiles, then scrape up thinset or mortar residue as much as possible. Collect debris in sturdy contractor bags, and dispose of it at a local landfill or transfer station that accepts construction and demolition (C&D) waste. Always check your city’s rules for tile disposal and whether you need a C&D permit or separate drop-off category.
What’s the best way to dispose of broken ceramic or porcelain tile?
Wrap broken tile in thick plastic (or place it in sealed contractor bags) to control dust during transport. For large amounts, rent a dumpster that specifically accepts masonry/C&D debris, and keep sharp pieces from tearing through the bags. If the tile contains hazardous contaminants (less common but possible), contact your local waste authority for testing or special handling guidance. When in doubt, ask the disposal facility what they accept and whether they require separation from other construction materials.
Why can’t I throw tile floors in regular household trash?
Tile is considered construction and demolition waste because it’s generated from home renovation projects, not normal household cleanup. Many municipalities restrict dumping C&D debris in standard trash bins due to landfill sorting rules, volume limits, and safety concerns from sharp edges. Using the correct disposal method helps you avoid fines and ensures the waste is handled according to local environmental requirements. Check your local sanitation website or call the department to confirm acceptable disposal routes.
How do I dispose of tile floor thinset and mortar safely?
Thinset and mortar should be scraped up as completely as practical before bagging, since loose residue increases volume and can complicate disposal. Wear protective gear—gloves, eye protection, and a dust mask or respirator—because dry mortar dust can be harmful. Bag the debris in labeled contractor bags and keep it covered during transport to prevent dust release. Some facilities may accept it with other C&D waste, but if your mortar includes special additives or unknown materials, confirm requirements with the disposal site.
Which options are best for recycling tile floors?
Recycling is often limited for ceramic or porcelain tile, but some facilities and contractors accept clean, sorted tile for reuse or processing. If your tile is removed intact, consider donating it through local salvage organizations or reusing it in non-critical areas like sheds or garden projects. For mixed debris or broken tile, recycling may not be cost-effective, so a dumpster or C&D drop-off is typically the best practical route. Call local recycling centers and demolition salvage yards to ask what types of flooring they accept and whether they require separation by material.
📅 Last Updated: October 08, 2026 | Topic: How to dispose of tile floors? | Content verified for accuracy and freshness.
References
- https://www.epa.gov/asbestos/asbestos-building-materials
- https://www.epa.gov/asbestos/asbestos-non-friable-materials
- https://www.epa.gov/smm/construction-demolition-materials
- Asbestos – Overview | Occupational Safety and Health Administration
https://www.osha.gov/asbestos - https://www.cdc.gov/asbestos/default.html
- https://www.cdc.gov/niosh/topics/asbestos/
- Construction waste
https://en.wikipedia.org/wiki/Construction_and_demolition_waste - Google Scholar Google Scholar
https://scholar.google.com/scholar?q=disposal+of+ceramic+tile+floor+waste - Google Scholar Google Scholar
https://scholar.google.com/scholar?q=asbestos+floor+tile+removal+disposal+guidance - Google Scholar Google Scholar
https://scholar.google.com/scholar?q=construction+demolition+debris+disposal+guidelines+tile