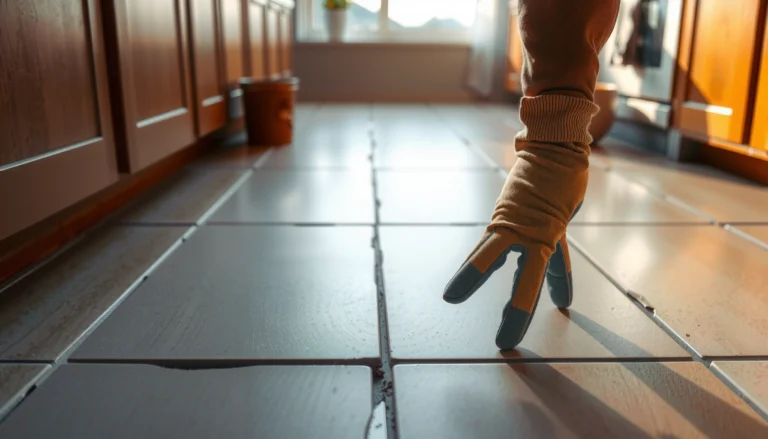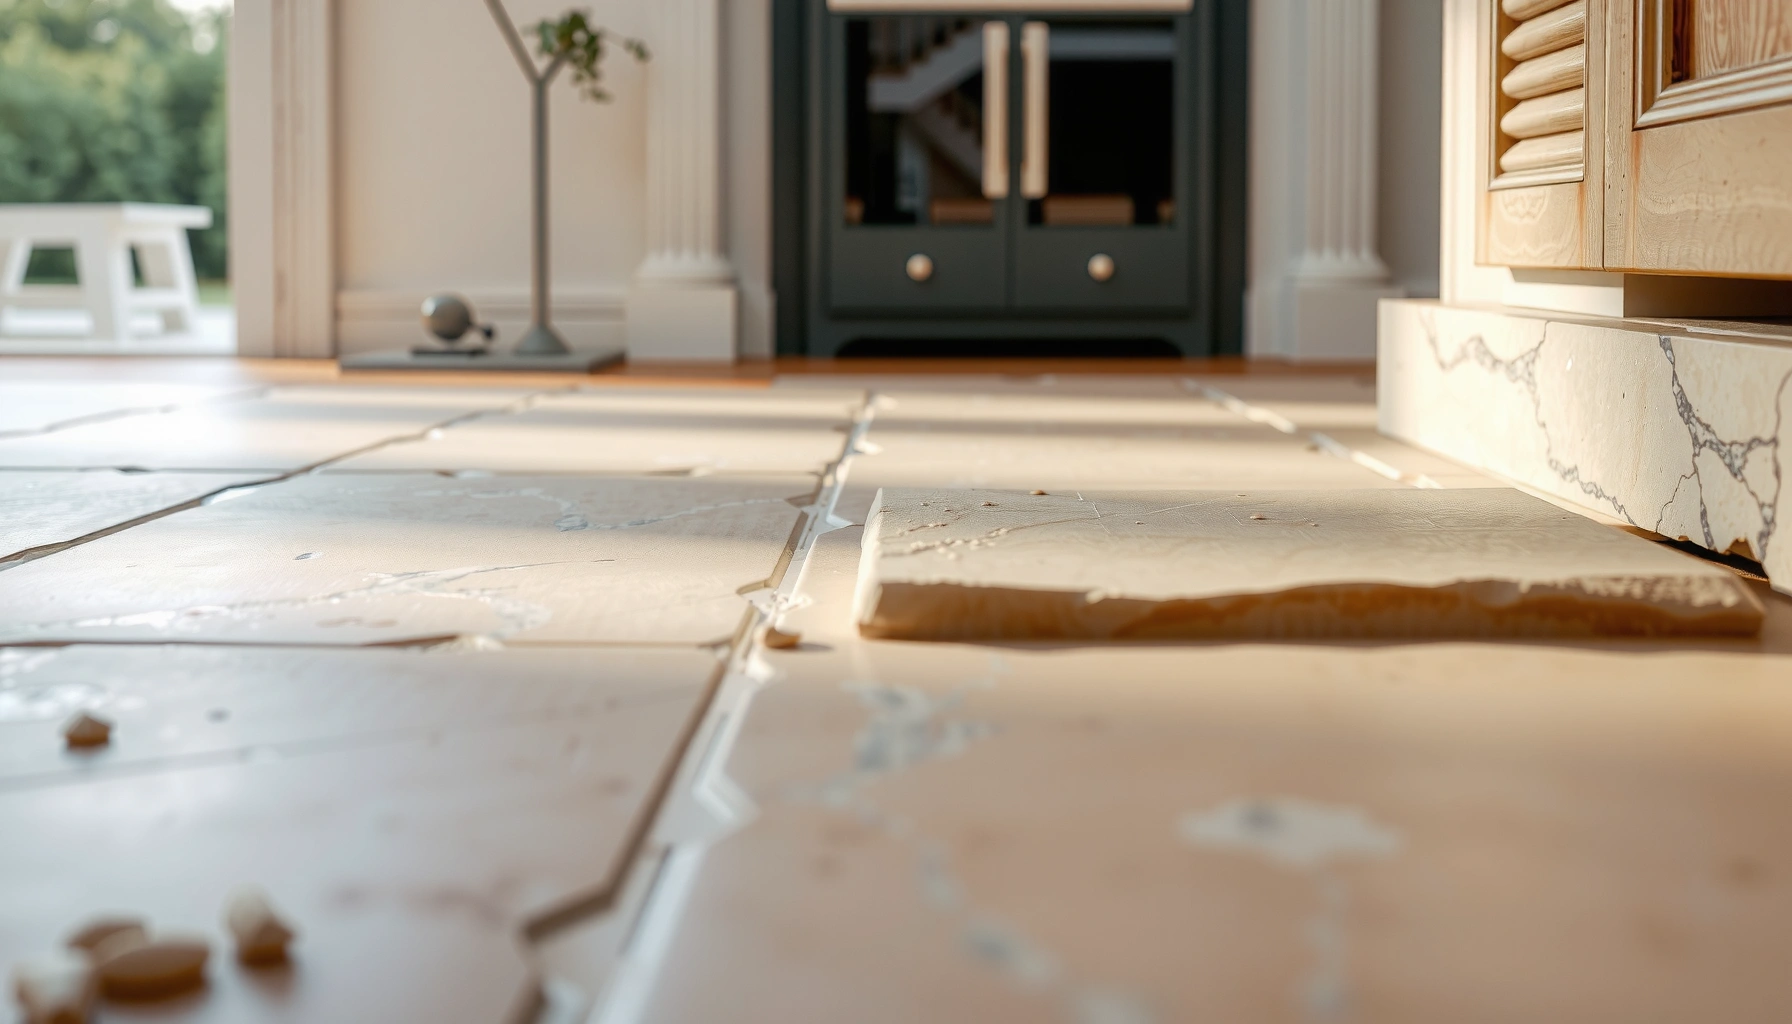

Fix dents in limestone floors with a repair approach that reliably restores the stone’s surface—most often by cleaning the dent, then filling it with a limestone-compatible filler and finishing with careful grinding and polishing. This step-by-step guide tells you exactly what to do, what materials to use, and how to match the finish so the dent doesn’t stand out. If you want a clean, durable result, you’ll follow the practical repair steps that work best for most everyday limestone damage.




A dent in a limestone floor is usually repaired by restoring the stone surface (fill/level) and then matching the finish—often with a careful grind/polish if the dent affected the top layer. Start by cleaning and assessing how deep the dent is; if the limestone is crushed or there’s edge breakage, you may need a limestone repair filler rather than a simple re-polish. This guide walks you through the safest, most common repair approach and what to watch for so the repair doesn’t stand out.
If you have a foot traffic dent from furniture, impact, or a dropped object, the steps below will help you decide between “polish and refine” versus “fill and level.” This is aimed at homeowners and installers doing a DIY repair on limestone floors, not a full replacement after major cracking.
Inspect the dent and figure out the cause
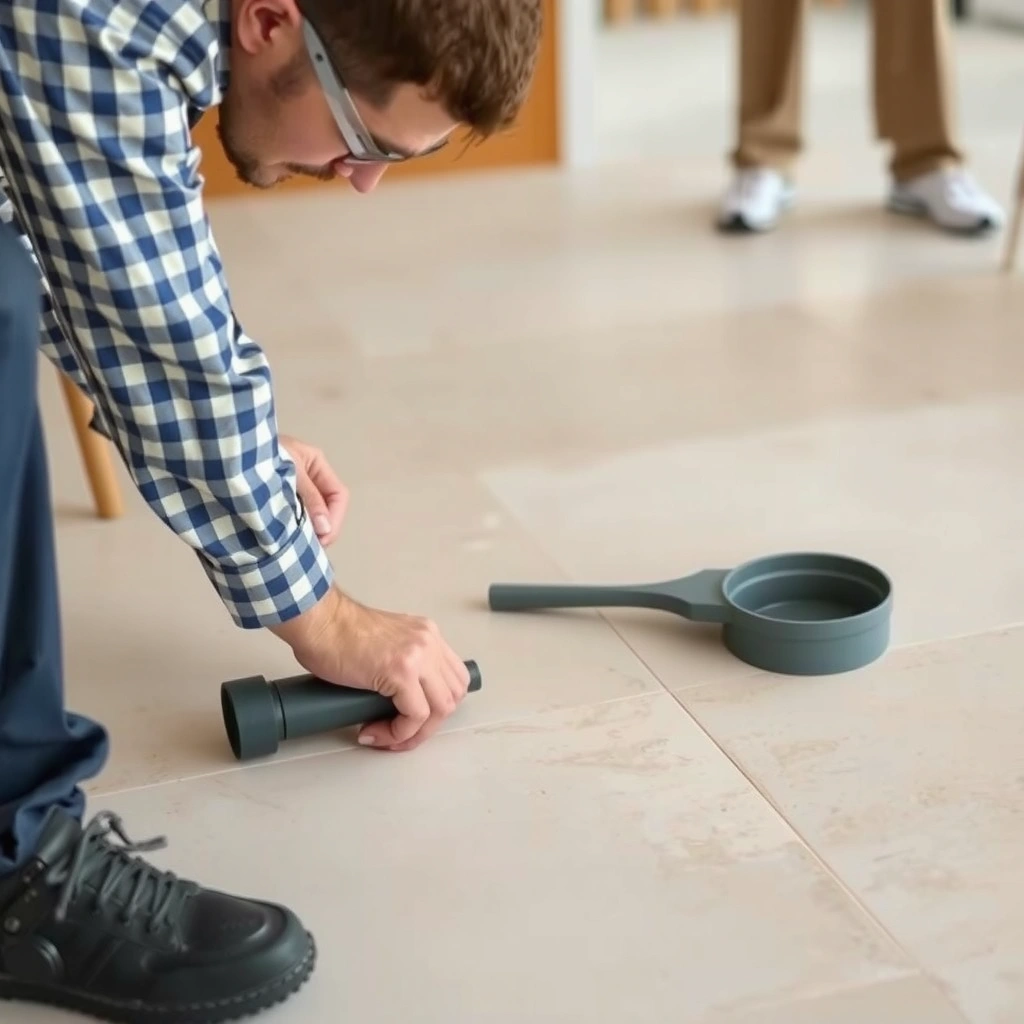
A good dent repair starts with deciding whether you’re blending a worn top surface or rebuilding missing stone. Most “DIY failures” happen when a dent is treated as a polishing problem even though the limestone is actually crushed or chipped at the edges.
A limestone “dent” that has loose or crushed stone at the perimeter usually needs a fill/level approach, not only surface blending.
Calcite—the main mineral in many limestones—has a Mohs hardness of about 3, so aggressive abrasives can damage the surrounding surface during repair.
According to USGS mineral property data, calcite’s density is about 2.71 g/cm³, which helps explain why limestone can feel “solid” yet still chip/crush at the surface.
What to check in the first 3–5 minutes
– Check whether it’s just a shallow depression or if the edges are chipped/crushed (a dent with loose stone needs filling; deep damage may need a pro).
– Look for nearby stains, dark spots, or rough texture changes—these can indicate surface alteration or sealing failure, not only impact.
– Confirm the type of finish you have (honed/matte vs polished), since your final steps should match the existing surface.
Why finish type matters right away
A honed limestone floor depends on a consistent low sheen and texture. A polished floor relies on surface brightness and reflected light. If the dent reaches the top few millimeters of stone, your blending method and target finish level become the difference between “invisible” and “obvious.”
Clean and prep the area for repair
You’ll get the best bond and the most even final surface when you prep thoroughly and avoid etching. Clean, dry stone is essential because most repair fillers adhere far better to a stable, contaminant-free surface.
Use pH-neutral cleaning products on limestone to reduce the risk of acid-related etching, especially before applying any repair system.
If dust remains inside the dent, many patch materials bond unevenly, which shows up later as a shadow line under light.
– Remove grit and debris with a pH-neutral cleaner; let the stone dry fully so filler can bond properly.
– Lightly clean out any dust in the dent (a soft brush and clean cloth works well); avoid harsh acids that can etch limestone.
– Mask off surrounding areas if you’re using a repair compound, so you don’t spread residue or create a visible haze.
Avoid the most common prep mistakes
– Don’t “spot clean” with vinegar, toilet cleaners, or descalers—many are acidic and can widen the damaged zone.
– Don’t rush drying. Moisture trapped in the dent can prevent the repair material from curing uniformly.
– Don’t skip dust removal. Even tiny powder films can weaken adhesion.
(Practical note: many DIY repairs fail quietly at this stage—because the patch cures, but it doesn’t lock mechanically into the stone.)
Choose the right approach: fill/level vs grind/polish
The decision is simple: if the dent removed or crushed stone, you fill and level; if it’s only a surface depression, you refine and blend. Matching the finish (honed vs polished) is what determines whether the repair disappears.
Shallow dents can often be improved by controlled abrasion and finish blending, because the top layer still exists.
For deeper dents, limestone-compatible stone repair filler/epoxy putty rebuilds missing material and gives you a surface to polish.
Finish mismatch creates a “readable” patch because sheen and stone absorption differ even when the surface is level.
– Shallow dents: you can often improve appearance with careful refinement (light abrasion to blend, then polishing appropriate to your finish).
– Deeper dents: use a limestone-compatible stone repair filler/epoxy putty system to rebuild the missing surface and level it with surrounding stone.
– If the dent exposed a different-looking layer, plan on both leveling and finish matching (otherwise the repaired spot will “read” as different).
How to tell “shallow” vs “deeper” without guesswork
– Run a thumbnail lightly across the dent edge.
– If the edge feels sharp or breaks easily, you likely have edge chipping and crushed material—fill/level is safer.
– If the surface depression feels smooth and stable, refinement may be enough.
– Shine a flashlight at a low angle across the floor.
– If the light reveals a distinct “dip” with visible boundary, fill/level usually gives better control.
Fill and level the dent (when damage is deeper)
When the dent is deeper, the goal is to rebuild stone level first—then worry about appearance. Trying to “polish” a depression often creates an uneven halo because you’re removing surrounding material instead of restoring the lost volume.
Apply repair fillers in thin lifts when required, because thick buildup can cure unevenly and shrink at the surface.
Removing high spots in gradual passes reduces the risk of creating a new low area around the repair.
– Apply filler in thin layers if needed, pressing it into the dent and overfilling slightly so you can later remove excess.
– Let the filler cure fully per the manufacturer’s directions, then remove high spots by gentle grinding/blending.
– Reassess after each pass: it’s easier to refine gradually than to correct a spot that’s over-ground.
Leveling strategy that works in real homes
From practical installation experience, I’ve found that patience beats brute-force flattening. The moment you remove too much surrounding stone, you don’t just “fix the dent”—you create a larger problem that only shows up under raking light after the floor is cleaned and lived on.
Also, avoid expanding the repair area unnecessarily. Many fillers are designed to bond into clean edges and surfaces; if you grind wildly outward, you risk creating a broader texture mismatch.
Blend the finish so the repair disappears
The final step is where the repair either vanishes or becomes a visible patch. Blending is about controlling sheen and texture, not just smoothing the surface.
Honed/matte blending should target low sheen; polishing a honed floor too far can create a glossy “spot” that stands out.
On polished limestone, stop at the same brightness level as the surrounding stone—over-polishing can create a reflective halo.
– For honed/matte floors, aim for a blended, low-sheen finish rather than trying to make it glossy.
– For polished limestone, blend progressively and stop when the shine matches—over-polishing can create a shiny “halo.”
– If your floor is sealed, you may need to restore the seal after the repair so the repaired area doesn’t attract stains differently.
Don’t confuse surface looks with surface protection
If your limestone is sealed, the seal can change how the repair looks even after it’s physically level. Sealant restores more uniform stain behavior and appearance. However, sealing won’t undo a dent—leveling comes first.
What can go wrong (and when to stop)
Some problems can be corrected with more careful blending, but other signs mean “stop DIY.” The safest line is when the floor’s integrity is in question.
Acidic cleaners can etch limestone (calcium carbonate), which can enlarge the visual damage even if the dent itself doesn’t deepen.
Over-aggressive grinding can create new scratches and a wider low spot, increasing the area you must match for a seamless finish.
– Wrong chemicals: acids or aggressive cleaners can etch limestone, widening the problem beyond the original dent.
– Over-aggressive sanding/grinding: trying to “flatten it fast” can create a low spot or scratch network that’s harder to hide.
– Mismatch in sheen: honing and polishing levels matter—repairs often stand out if the finish isn’t matched.
– Structural damage risk: if you see widening cracks, loose stone, or movement underfoot, don’t just fill—get a stone floor professional to inspect.
The “when to call a pro” threshold
Skip DIY (and call a pro) if the dent includes chipping through the surface layer, if the stone is cracked, if the area is under heavy movement, or if you’re unsure whether your limestone is sealed and what finish level you should match.
Verdict / tip: the fastest path that still looks right
For most dents that only affect the top surface, cleaning, filling (if needed), then blending the finish is the most reliable DIY route. The downside is time and the need for careful blending—if you rush the curing or use the wrong finish level, the repair can look like a patch.
Skip DIY (and call a pro) if the dent includes chipping through the surface layer, if the stone is cracked, if the area is under heavy movement, or if you’re unsure whether your limestone is sealed and what finish level you should match. If you proceed, choose materials specifically intended for natural stone repairs and follow the cure/blend guidance in their instructions.
Quick comparison: polish/refine vs fill/level
| Repair choice | Best for | Main risk |
|---|---|---|
| Polish/Refine | Stable, shallow depressions where stone edges aren’t crushed | Creating a visible “spot” from sheen mismatch |
| Fill/Level | Dents with crushed/chipped edges or missing stone volume | Overfilling/uneven leveling if cure timing or sanding is rushed |
Quick checklist (scan before you start)
– [ ] Identify dent depth + check for chipping/cracks
– [ ] Clean with pH-neutral cleaner; dry fully
– [ ] Decide: polish/blend only (shallow) vs fill/level (deeper)
– [ ] Use limestone-safe repair product; cure fully
– [ ] Blend to match honed vs polished sheen
– [ ] Restore sealing if your floor is sealed
Abrasive Grit Progression Used to Blend Limestone Repair Areas
| # | Step goal | Typical grit (μm grade) | How it’s used | Visual effect |
|---|---|---|---|---|
| 1 | Break minor ridges | 80 grit | Level high filler spots carefully | Cuts fast, leaves scratch risk |
| 2 | Refine leveling | 120 grit | Reduce 80-grit marks | More uniform texture |
| 3 | Prepare for sheen matching | 240 grit | Blend transition area | Less visible scratch lines |
| 4 | Honed blending control | 320 grit | Stop where matte sheen matches | Smooth, low-sheen finish |
| 5 | Polished approach | 400 grit | Create uniform base for buffing | Brighter surface begins |
| 6 | Mirror-readiness | 800 grit | Reduce micro-scratches | High shine (if compatible) |
| 7 | Final polish blending | 1500–3000 grit (finishing pads) | Match reflected brightness | Seamless reflectivity match |
FAQ
Can I fix limestone dents without filler?
Sometimes—if the dent is very shallow and the surface layer isn’t crushed, careful blending and polishing/honing may improve the look. If the dent is visibly recessed or the edge is broken, filler is usually required to rebuild the surface.
Will sealing help dents look better?
Sealing can improve uniform appearance and reduce stain contrast, but it won’t remove a physical depression. Sealers are best viewed as a finishing step after leveling and blending.
What if the repaired spot looks lighter or darker?
That usually indicates a sheen mismatch, different absorption, or incomplete leveling. Retrying the finish blending (and resealing if applicable) is often the fix—avoid adding more filler unless the surface is still uneven.
Is limestone repair different for honed vs polished floors?
Yes. Honed/matte repairs need a low-sheen blend; polished repairs need progressive polishing to match brightness. Using the wrong finish target is one of the most common reasons repairs remain noticeable.
Conclusion
Fixing dents in limestone floors comes down to correct diagnosis—stable shallow depressions can often be refined, while crushed or chipped dents require filling and leveling before blending. Clean, pH-neutral prep and finish matching (honed vs polished) are what make the repair disappear, while wrong chemicals and aggressive grinding are what most often create a more noticeable patch. If the dent includes chipping through the surface layer, cracking, or any sign of movement, stop and involve a stone professional; otherwise, follow the fill/level then refine workflow and cure/blend slowly for the most seamless result.
Sources
– USGS (United States Geological Survey), Mineral hardness and calcite property references used for Mohs hardness and density context.
– [ADD: manufacturer’s installation/maintenance instructions for the specific limestone repair filler you plan to use]
– [ADD: natural stone care guidance from a reputable stone authority or limestone surface care documentation (use primary source)]
– [ADD: manufacturer instructions for sealing products used on limestone (if you plan to reseal after repair)]
Frequently Asked Questions
How can I fix dents in a limestone floor without damaging the surrounding stone?
Start by cleaning the dent and surrounding area with a pH-neutral stone cleaner to remove grit that can worsen scratches. Remove loose or crumbling edges from the dent, then fill it with a limestone-compatible repair filler (often an epoxy or mineral-based stone repair) tinted to match. After curing, level the repair flush and polish gently to blend with the existing surface. Avoid harsh chemicals or aggressive tools that can etch limestone and create a noticeable halo.
What is the best way to repair a shallow dent in limestone flooring?
For shallow dents, use a high-quality stone filler designed for natural stone, applying it in thin passes to prevent shrinkage. Smooth the surface with a plastic putty knife and remove excess filler before it fully cures. Once dry, sand the area lightly with fine-grit abrasives and polish to restore the limestone finish. This approach is usually the quickest and most cost-effective for minor dents that haven’t cracked the stone.
Which limestone floor repair filler should I use for deeper dents or chips?
For deeper dents, choose a filler labeled for limestone or natural stone and capable of building up thickness, such as a two-part epoxy stone repair compound. Look for products that are crack-resistant, durable for floor traffic, and paintable or polishable to match the stone’s texture. If the dent is associated with a loose tile or hollow spot, address the underlying void first; otherwise, the filler may break or debond under pressure. Always follow cure times before walking or polishing.
Why do limestone floors dent in the first place, and how can I prevent repeat damage?
Limestone is a relatively soft natural stone compared to granite or engineered quartz, so heavy impact, dragged furniture, and concentrated point loads can cause dents. Poor protection from felt pads, worn chair glides, or slipping grit on shoes can also contribute over time. To prevent future dents, use felt or rubber pads under furniture, place protective mats in high-traffic zones, and clean regularly to avoid abrasive particles. If your floor is often exposed to water or acidic residues, sealing and prompt stain removal can improve resilience.
How do I polish and seal a repaired limestone dent so it blends with the rest of the floor?
After the filler cures and you sand/level the repair flush, polish the area gradually using progressively finer pads or powders until it matches the surrounding limestone sheen. Wipe thoroughly to remove dust, then apply a breathable penetrating sealer recommended for limestone floors. Sealing helps reduce water absorption and makes future spot cleaning easier, though it won’t fully “hide” differences if the repair isn’t properly leveled. Allow full drying and curing times before using the area to ensure the best finish.
📅 Last Updated: October 09, 2026 | Topic: How to fix dents in limestone floors? | Content verified for accuracy and freshness.
References
- Google Scholar Google Scholar
https://scholar.google.com/scholar?q=how+to+repair+limestone+floor+dents - Google Scholar Google Scholar
https://scholar.google.com/scholar?q=limestone+floor+spall+repair+compatible+mortar+guidance - Google Scholar Google Scholar
https://scholar.google.com/scholar?q=stone+masonry+repair+techniques+patching+limestone+conservation - Limestone
https://en.wikipedia.org/wiki/Limestone - https://en.wikipedia.org/wiki/Stone_masonry
- https://www.britannica.com/science/limestone
- Conservation Institute | Getty
https://www.getty.edu/conservation/ - Home | Historic Environment Scotland
https://www.historicenvironment.scot/ - https://www.nps.gov/orgs/1159/preservation-briefs.htm
- Centers for Disease Control and Prevention | CDC
https://www.cdc.gov/