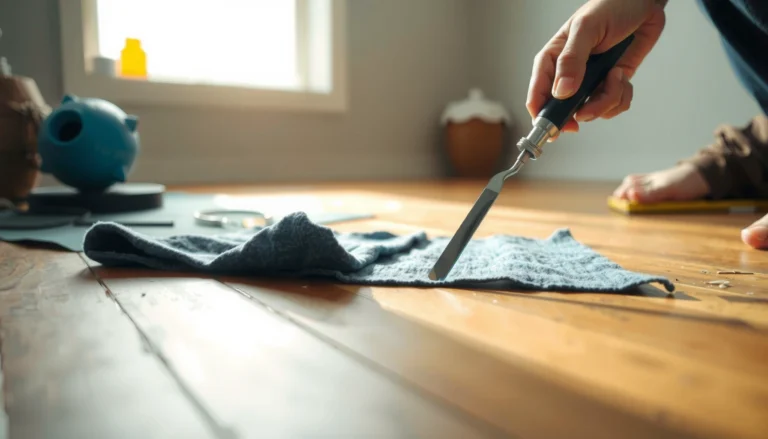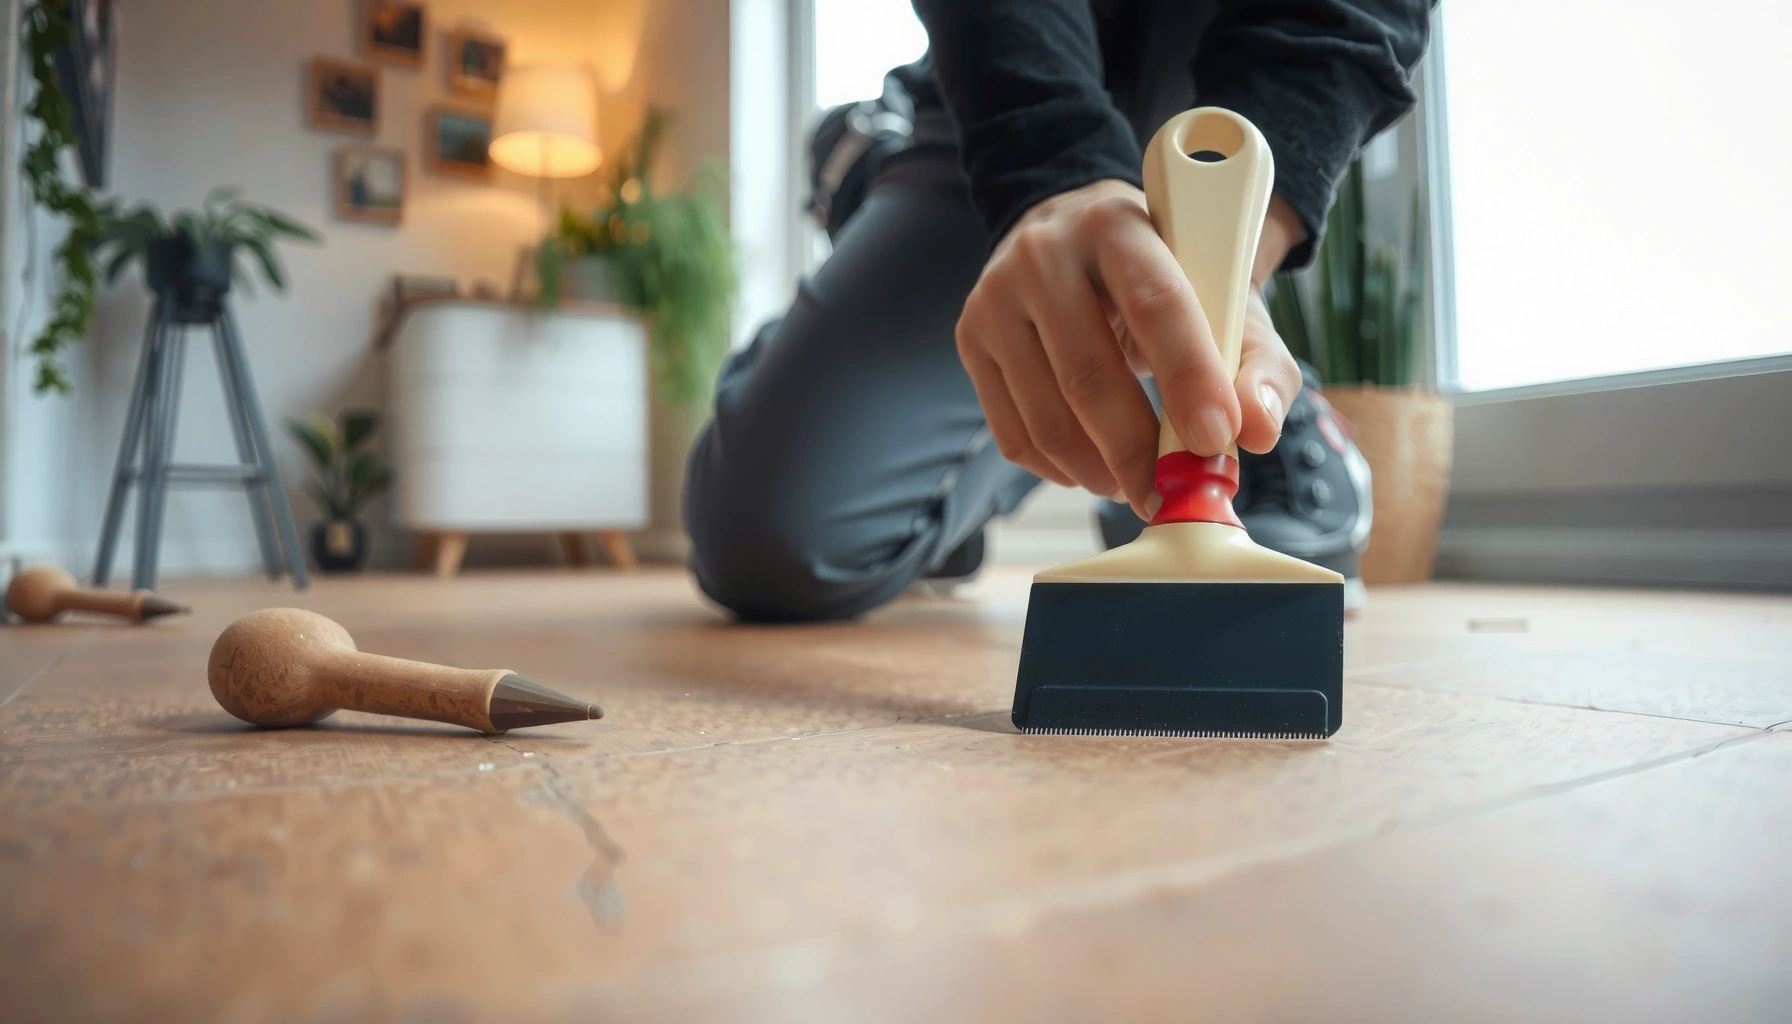

Cracks in cork floors are fixable, and the right repair plan is clear: fill, level, seal, and match the finish. This step-by-step guide walks you through how to repair cork floor cracks depending on whether they’re hairline splits or deeper separations. You’ll finish with a surface that’s smooth underfoot and properly protected against moisture and further damage.




If your cork floor has cracks, the right fix depends on the cause: dryness/movement calls for environment control and selective repair, while damaged planks require board-level action. Start by checking moisture and identifying whether the crack is “wide/through” or just a finish crack, then clean, stabilize, and use a cork-compatible filler/sealant matched to your crack type.
Cracks in cork flooring are common—but they’re not all the same problem. This guide is written for homeowners and facility managers maintaining cork floors in residential or light-commercial settings, especially where floors feel slightly “lively” due to humidity swings or a floating (click-lock) construction. If the cracking is localized and the surrounding planks remain flat, you can often do a durable DIY repair. If you see widespread separation, ongoing lifting, or persistent gaps after stabilization, you’ll want professional inspection or plank replacement.
Check the Cause Before You Repair
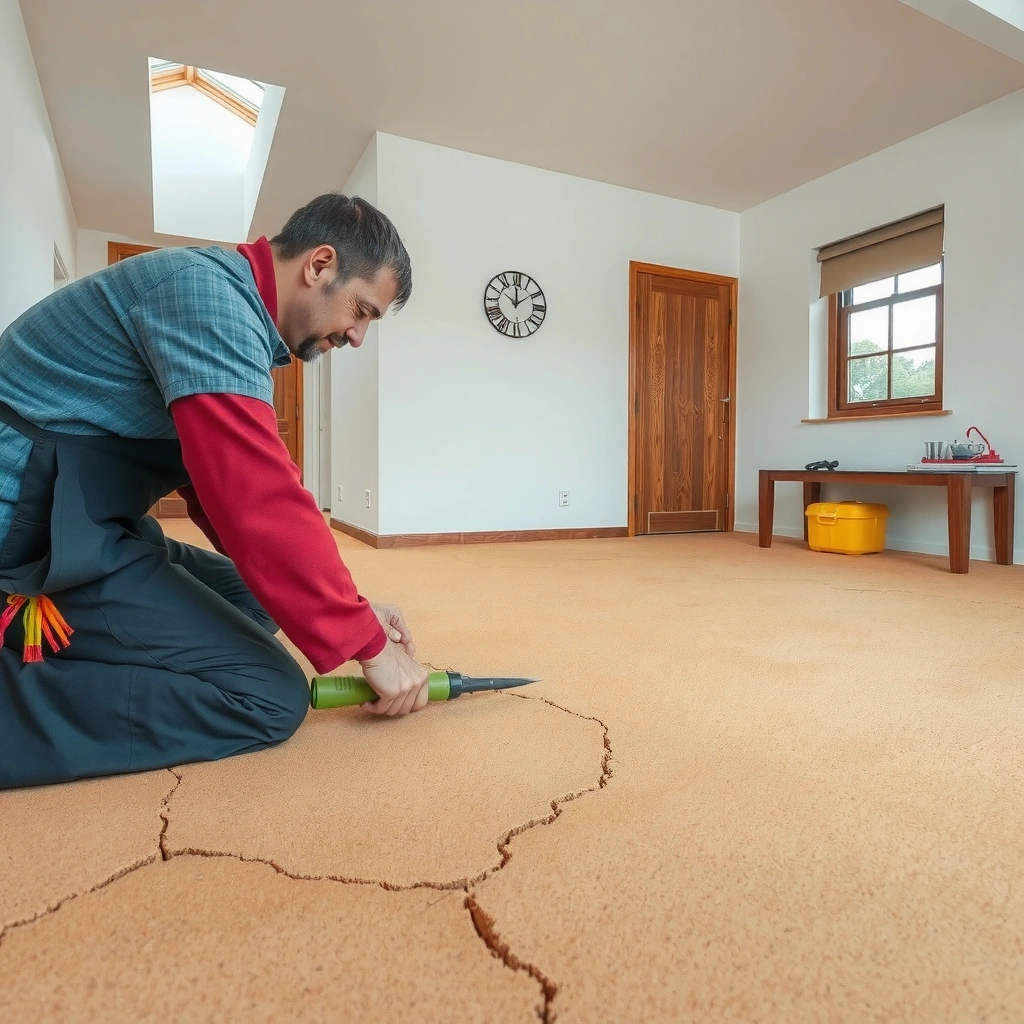
Cracks usually reappear when the underlying cause (humidity, subfloor movement, or failed plank connection) isn’t corrected. Before you open any crack filler, you’ll get the best result by diagnosing location patterns and current indoor conditions.
Most cork “crack repairs” succeed only after you stabilize indoor relative humidity; otherwise, the floor continues to move and reopen the same seam or split.
Cracks that concentrate near edges and baseboards often align with expansion gaps and moisture-driven dimensional change rather than a localized manufacturing defect.
When the crack is actually seam separation (gap between planks), filling alone can be a temporary patch if the tongue-and-groove connection is failing.
Look for patterns and likely sources
A simple location check can save you from over-repairing.
– Cracks near edges/baseboards: Often point to expansion/seasonal movement issues. Cork is dimensionally responsive; when it can’t expand/contract freely (or dries too fast), you can see finish cracking, seam strain, or slight plank separation at the perimeter.
– Cracks in the middle of rooms: More often suggest subfloor flatness problems (high/low spots) or a construction issue affecting panel support.
– Cracks that trace movement paths: If you notice a “network” of cracks that correlate with traffic lines or chair legs, that can indicate localized flexing—especially for floating (click-lock) floors.
Verify conditions with humidity measurements
Cork flooring changes with moisture, so guessing is risky. Measure and stabilize the environment before filling.
According to the National Wood Flooring Association (NWFA), indoor relative humidity is commonly maintained around 35%–55% for wood flooring stability (industry guidance varies by region and product).
Also, many flooring maintenance plans use a target of keeping temperature and humidity steady rather than frequently swinging—because repeated expansion/contraction fatigues joints and finishes.
In practice, you should:
1. Use a hygrometer (humidity meter) to record indoor RH for several days (not just one reading).
2. If RH is consistently too low, focus on gradual humidification. If RH is too high, use dehumidification and stop any moisture sources.
3. Confirm that the cork floor isn’t sitting above a damp subfloor or experiencing direct moisture exposure (e.g., humid crawlspaces or leaks).
Identify the damage type (this decides the filler)
Different “cracks” need different repair materials and approaches:
– Hairline finish cracks: Surface splitting in the topcoat/finish layer; the underlying plank is usually stable.
– Separation at seams: A narrow crack that widens where two planks meet—often associated with floating floors or failed joint integrity.
– Broken/delaminated cork: Cracking where cork itself is damaged (not just finish). This may require board repair beyond filler.
From my maintenance experience, the most common DIY misstep is treating seam separation like a simple surface crack. If the joint is moving, many fillers can hold visually at first—then pop or re-crack as the floor cycles again.
Prepare the Crack and Surface
Good adhesion starts with clean, properly prepped surfaces—especially on cork where dust and loose finish can prevent bonding. Preparation also makes color-matched repairs look more uniform.
Filler and sealant bond best when the crack is free of dust, wax, and loose finish; debris forces weak adhesion that fails quickly.
Lightly sanding glossy or peeling topcoats improves mechanical grip, but avoid aggressive sanding that thins cork or removes too much of the surrounding finish.
Masking intact cork near the repair prevents smear marks that are difficult to remove without re-finishing.
Clean thoroughly (no shortcuts)
– Vacuum the entire crack line and surrounding area.
– Use a soft brush or compressed air to remove grit trapped in the split.
– Wipe with the manufacturer-recommended cleaner (or a clean, barely-damp cloth if the topcoat system allows it). Avoid soaking the area—cork is moisture-sensitive.
Light sanding and dust removal (only as needed)
If the topcoat is glossy, cracked, or poorly bonded:
– Use fine-grit sandpaper (commonly 220–320 grit for gentle scuffing) to dull the surface around the crack.
– Wipe away sanding dust completely with a vacuum and clean cloth.
Do not over-sand if you have thin, delicate cork layers or a finish system you’re unsure about. When in doubt, follow your floor’s repair/prep instructions.
Mask before you apply a color-matched compound
If you’re using a repair wax or cork repair putty:
– Apply painter’s tape on both sides of the crack to keep surrounding cork clean.
– Pull tape carefully after the filler stage (timing depends on the product’s “tacky” window).
Fix Hairline Cracks (Finish/Surface-Level)
For hairline splits confined to the surface finish, the goal is to fill, cure, and then protect with the right topcoat. With stable conditions, this is often the most DIY-friendly repair type.
Finish-level crack repairs are typically effective when the plank is firmly attached and the crack doesn’t keep widening over subsequent humidity cycles.
Color-matched repair waxes and cork-compatible fillers can blend more naturally into cork topcoats than generic wood putty.
After curing, re-sealing the repair area helps reduce future moisture ingress and restores uniform wear resistance.
Step-by-step: hairline crack repair
1. Choose the right filler: Use a cork-compatible repair compound/putty or color-matched repair wax only if compatible with your floor’s topcoat system, as specified by your cork manufacturer.
2. Work the filler in: Press compound into the crack using a plastic putty knife or applicator. Overfill slightly.
3. Level and remove excess: Scrape flush with a plastic scraper while minimizing smears.
4. Cure fully: Don’t foot-traffic the area until the product’s cure time completes. (Follow your manufacturer’s stated cure and recoat windows.)
5. Seal/protect: Apply the recommended cork floor finish/sealer to the repaired zone so it matches the surrounding sheen and provides moisture protection.
Repair Wider Gaps and Seams
When cracks are actually seam gaps, you must address movement and joint integrity—or the gap often returns. This section covers both floating (click-lock) and other movement-prone constructions.
If the “crack” is a seam gap caused by separation, filler alone usually doesn’t stop dimensional movement.
For floating cork floors, correcting humidity and checking subfloor flatness can be as important as the sealant used.
Minor seam separation: stabilize, then use the approved system
For small separations where planks remain flat:
– Stabilize indoor RH first (again, the exact target depends on your product and region).
– Use the manufacturer-approved joint filler/adhesive system for your cork construction (floating vs. glued-down).
– Only apply compatible adhesives—some cork topcoats or finishes can be damaged by incorrect solvents.
If planks are lifted or the joint has failed
If you see:
– visible plank rocking,
– lifting edges,
– recurring gaps that reopen quickly,
– tongue-and-groove connection failure,
…then replacement is usually more durable than patching with filler. In those cases, a sealant can fill the symptom, but the underlying mechanical connection needs restoration.
Prevent Cracks From Coming Back
Prevention is mostly about controlling environmental swings and minimizing floor flex. A stable indoor climate plus gentle use patterns dramatically reduces recurrence.
Sudden humidity swings are a major trigger for widening gaps and re-cracking; steady RH control is often the difference between a one-time repair and a repeating problem.
Wet mopping and prolonged dampness around edges can drive cork movement and accelerate finish failure, especially at seams.
Keep humidity stable and avoid moisture spikes
– Maintain indoor RH in the recommended range for your flooring system (commonly 35%–55% for wood flooring guidance; cork manufacturers may specify their own target).
– Avoid “dry-out” events (winter heater blasts) and “soak” events (steam mops, excessive water, wet mopping).
Reduce mechanical stress
– Use felt pads on furniture; avoid hard, sliding impacts.
– Don’t drag appliances across the surface.
– Ensure rugs are not trapping moisture underneath or causing localized compressions.
Confirm expansion space at perimeter
Baseboards and transitions should allow the cork floor to move. If a perimeter is blocked (e.g., caulked tight against the floor where movement is required), movement stress can show up as seam separation and finish cracking.
What Can Go Wrong (Common Mistakes & Limits)
Even correct product choice can fail if prep or root cause isn’t addressed. Here are the most frequent reasons repairs don’t last.
Repairs that fail quickly are often “adhesion failures” caused by dust, wax, or uncured material—not just the wrong filler.
Sealing over an unresolved moisture/movement problem can trap stress, pushing the crack into adjacent areas.
Common DIY mistakes
– Filling over loose debris: Dust and old residue prevent bonding; repairs pop out or re-crack.
– Skipping cure time: Many fillers appear set before they fully develop strength.
– Using incompatible materials: Non-cork-compatible compounds can discolor, stay brittle, or not bond to the existing finish.
– Sealing without stabilization: If humidity is unstable, the floor will keep cycling and reopen the repaired line.
Limits: when DIY is likely temporary
Skip “filler-first” approaches if:
– the cork floor is actively lifting,
– you find soft/mushy areas (possible moisture exposure),
– multiple boards separate within weeks,
– cracks keep widening even after humidity stabilization.
In these cases, replacing affected boards (and investigating subfloor condition/flatness) is usually the more honest path.
Verdict / Tip: Repair vs. Replace (When to Stop DIY)
A DIY crack repair is often worth it for hairline finish splits or small, stable seam imperfections—especially when the rest of the cork floor stays flat and the environment is controlled. Stop DIY and plan deeper investigation (or replacement) if joints keep reopening, movement is ongoing, or the cork itself is damaged rather than just the surface finish.
A “good repair” holds visually and structurally across humidity cycles; if the crack returns, it usually means the root cause wasn’t corrected.
For floating cork floors, persistent seam gaps after stabilization often indicate joint failure or inadequate subfloor support rather than a superficial defect.
Downsides to acknowledge: filler-based repairs can be less invisible over time than board replacement, especially on high-traffic areas or floors with pronounced sheen differences. If your cork floor is older, heavily worn, or you’re unsure whether it’s floating vs. glued-down, the safest next step is to follow your manufacturer’s repair guidance before buying materials.
Quick Checklist (Scan & Save)
Cork Crack Width Triage (DIY Decision Guide)
| # | Crack Category | Estimated Width | Primary Cause Likelihood | Typical Repair Path | DIY Fit |
|---|---|---|---|---|---|
| 1 | Finish Hairline Split | 0–0.2 mm | Finish stress | Cork-compatible filler + re-seal | ★ ★ ★ ★ ☆ |
| 2 | Localized Seam Strain | 0.2–0.5 mm | Joint stress (often humidity) | Stabilize RH + manufacturer seam system | ★ ★ ★ ☆ ☆ |
| 3 | Visible Gap at Multiple Planks | 0.5–1.0 mm | Joint separation / subfloor flatness | Check flatness + replace affected boards if needed | ★ ★ ☆ ☆ ☆ |
| 4 | Through Split / Plank Damage | 1.0–2.0 mm | Cork breakage | Board repair or replacement (varies by product) | ★ ☆ ☆ ☆ ☆ |
| 5 | Perimeter Crack Expansion | 0.2–1.5 mm (edge) | Expansion gap restriction | Verify perimeter clearance + targeted repair | ★ ★ ☆ ☆ ☆ |
| 6 | Recurring Open/Close Seasonal Gap | ~0.3–1.0 mm (cycles) | Humidity cycling | Environmental control + seam stabilization | ★ ★ ★ ☆ ☆ |
| 7 | Soft Spots Near Crack | Any visible split | Moisture intrusion | Stop DIY; inspect for moisture + replacement as required | ★ ☆ ☆ ☆ ☆ |
- [ ] Identify crack type: hairline surface vs. seam gap vs. broken cork
- [ ] Check subfloor/flatness and look for recurring movement patterns
- [ ] Stabilize humidity; avoid wet mopping near seams/edges
- [ ] Clean crack fully; remove dust and loose finish
- [ ] Use only manufacturer-recommended filler/sealant for cork
- [ ] Cure fully before foot traffic; protect the area until finished