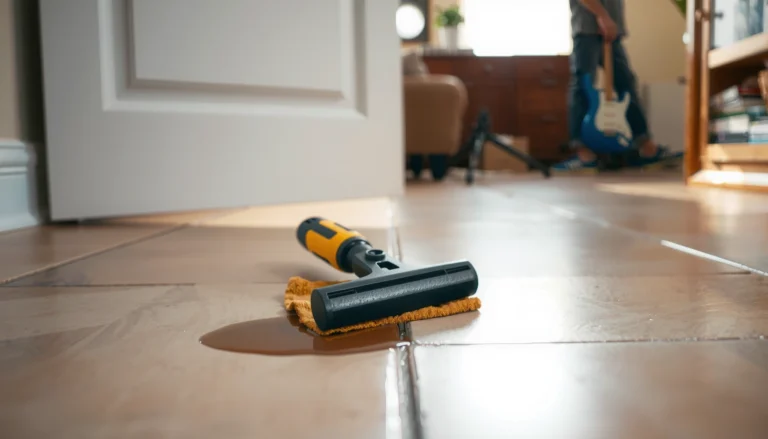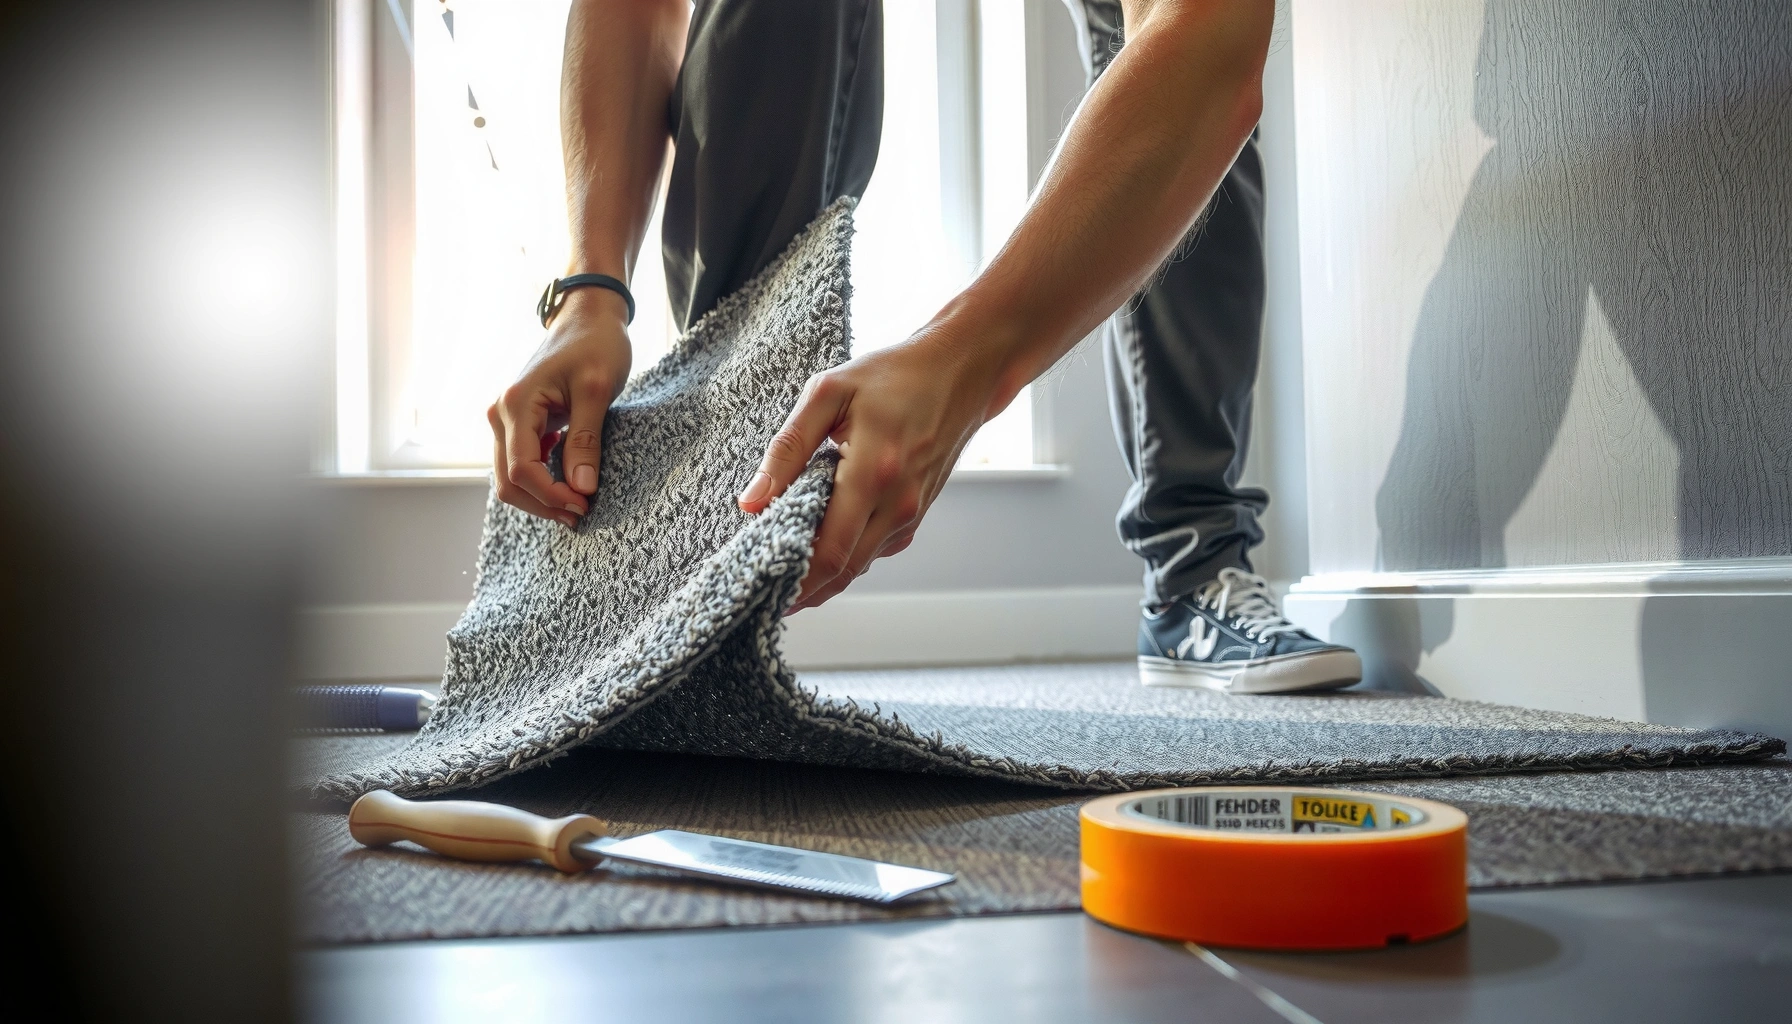

Buckling in carpet tiles is almost always a subfloor or installation issue you can fix fast with the right troubleshooting order. Start by checking for moisture, flattening out the tile, and verifying proper adhesion and seam alignment—small fixes here prevent repeat waves. If the tiles were installed over uneven or dirty areas, correcting the base and reinstalling the affected sections is the quickest path to a smooth, flat floor.


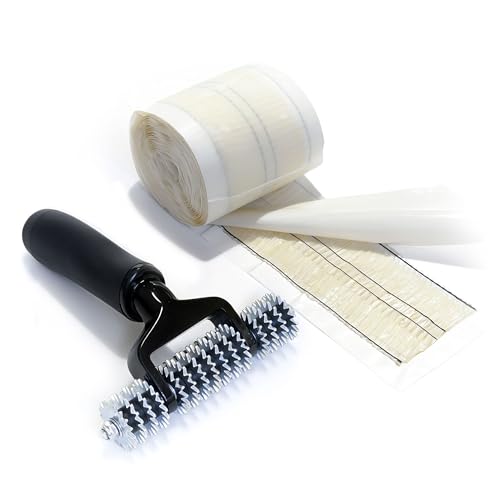

Buckling in carpet tiles is usually caused by moisture intrusion, an uneven (out-of-flat) subfloor, or installation problems like missing acclimation or incorrect adhesive/installation method. The fastest reliable fix starts with determining whether the ridges/bubbles are localized or widespread—then you correct the root cause before you reinstall or replace the affected tiles to keep the surface stable.
If the raised edges, wave-like sections, or “lift” return after a season change, your goal is not just to flatten the tiles temporarily—it’s to stop the movement that’s forcing the fibers upward. This guide is written for homeowners and facilities staff who can remove a few tiles and want a dependable path to prevent repeat buckling without making the surrounding installation fail.
Find the Cause First: Moisture, Subfloor Flatness, or Installation
Buckling has one primary job: it reveals a problem underneath. Your first pass should decide whether the issue is being driven by moisture, by subfloor flatness (high spots/dips), or by an installation method/adhesive that didn’t match the carpet tile system.
If the buckling pattern is localized, the most likely causes are a specific moisture event, a damaged section of underlayment, or one tile/section installed with poor prep.
If buckling shows up across many tiles in a room, subfloor flatness or the overall installation method usually needs correction before any reinstall will hold.
Carpet tiles are designed for stable, relatively flat substrates; if the base isn’t flat enough, you’ll often see ridges, tenting, or perimeter lift.
Start with quick, practical checks:
1) Check for moisture sources tied to the location
Carpet tile buckling often correlates with a moisture source—even when you don’t see a puddle. Look for:
– Spills or recurring leaks: kitchen/break room breaks, plumbing drips, janitorial over-wetting.
– Bathrooms and entryways: wet-mopping, tracked-in water, or HVAC condensate.
– Outer walls and windows: condensation in cold seasons.
– HVAC condensation: supply/return leaks or humidity swings that deposit moisture under the flooring.
A useful field test is the “progression check”: after you stop foot traffic for a short window (even 30–60 minutes), watch whether the ridges keep growing. Active progression commonly points to an ongoing moisture pathway or a still-soft base.
2) Inspect the subfloor flatness (high spots and dips)
Carpet tiles require a fairly flat base so they can conform without internal stress. According to the Resilient Floor Covering Institute (RFCI) recommended work practices, the subfloor should generally be flat to prevent telegraphing and movement (a common benchmark used in industry guidance is approximately 1/8 inch over 6 feet). RFCI recommended work practices (flatness/levelness guidance)
Even if your standard is different, the concept is the same: a local high spot can force a “wave” around it; a dip can leave unsupported tile edges that tent.
3) Consider installation factors that commonly cause buckling
The installation can create the exact conditions that let tiles lift:
– Tiles not acclimated: temperature/humidity swings can change dimensional stability.
– Wrong adhesive, wrong spread pattern, or adhesive where it’s not allowed: adhesive incompatibility can create ridges or failure at the bond line.
– Tiles laid over contaminants: dust, paint overspray, adhesive residue, or curing compounds can reduce bond quality and trap movement.
– Incorrect system type: loose-lay, glue-down, and tape-assisted systems all have different prep and performance requirements.
As of 2025, most major carpet tile manufacturers still emphasize three fundamentals in their installation docs: substrate flatness, controlled moisture conditions, and following the approved adhesive/tape method for that exact tile system. [ADD: source for the specific manufacturer’s installation instructions for your carpet tile type.]
Prep for Repair: Tools, Safety, and Test Before You Rip
Before you remove tiles, you want to protect the surrounding flooring system and avoid spreading the issue. The prep step is about minimizing collateral damage and confirming whether the problem is trapped under a tile (bond/moisture) or coming from looseness/edge lift.
A quick press-and-lift test can help you tell whether the tile is stuck down by adhesive (or moisture) or whether the issue is primarily perimeter looseness.
Stopping foot traffic during diagnosis helps you observe whether buckling is still actively worsening—a key indicator of ongoing moisture or an unsettled base.
Gather tools and supplies you’re likely to need:
– Utility knife (for cutting through tile edges or seams)
– Straightedge/level (to identify high spots and dips)
– Scraper (for adhesive residue removal where required)
– Clean towels and a trash bag for debris control
– Spare tiles if replacement is necessary (and if your system allows reuse, keep removed tiles clean and flat)
Safety and handling basics:
– Wear gloves when scraping adhesive and handling removed tiles.
– Ventilate if you’re using cleaners/adhesive removers (follow the product label).
– Use gentle leverage: pulling up from the center can tear carpet backing or damage the bonding surface.
Quick test: localized vs trapped-under-tile behavior
Do this small test at the edge of a buckled area:
1. Press down near the ridge to see if it feels “springy” or locked.
2. Try lifting a corner gently.
3. Observe what happens:
– If it releases easily and the tile edges lift first, you may have perimeter looseness, inadequate prep, or contamination.
– If it resists lifting or you see adhesive transfer, the tile is likely bonded (or affected by moisture/adhesive curing conditions), meaning replacement/reinstall needs to follow the approved prep steps.
Fix Buckling Step-by-Step (Localized vs. Widespread)
The fix depends on whether you’re dealing with one affected section or a room-wide condition. Localized buckling is usually corrected by removing the affected tiles, addressing moisture/contamination, and re-leveling/reinstalling; widespread buckling almost always means you must verify the subfloor flatness and the overall installation method first.
Localized buckling typically requires targeted removal and substrate correction; reinstalling over the same out-of-flat base is one of the most common reasons buckling returns.
Widespread buckling is a strong signal that the substrate preparation or installation method needs correction across the room, not patchwork repairs.
– Localized buckling (one area / a few tiles): remove the affected tiles first, check for moisture, then scrape and re-level the surface as needed before reinstalling.
– Widespread buckling (many tiles across a room): stop and re-check subfloor flatness and installation method; small “patch fixes” often fail if the base or process is the root cause.
– Reinstall using the manufacturer’s recommended adhesive method (if adhesive-backed, follow those instructions; if not, don’t assume adhesive is optional).
[ADD: If you have the specific carpet tile brand/type (loose lay vs. glue-down vs. tape-assisted) and subfloor material, include the exact manufacturer installation method here.]
Localized repair workflow (what “corrected reinstall” looks like)
1. Mark the scope: outline the affected tiles plus a small buffer area where the surface starts to change.
2. Remove tiles carefully: cut seams if needed and lift straight up to avoid pulling backing.
3. Inspect the base: look for damp underlayment, discoloration, residue piles, or damaged/soft spots.
4. Correct the base:
– Smooth high spots using approved methods for your substrate.
– Address dips with an appropriate patch/leveling compound for flooring (installed per label instructions).
5. Check conditions: confirm temperature/humidity are stable and the area is dry before reinstall.
6. Reinstall using the approved system: adhesive/tape spread, cure times, and seam alignment should match the manufacturer’s method.
Widespread repair workflow (avoid “patch failure”)
1. Measure flatness: use a straightedge and map high/dip areas.
2. Review installation records: was the correct adhesive used? Was acclimation performed? Were tiles installed over contaminants?
3. Correct base across the room (or the entire affected zone).
4. Reinstall with system compliance: widespread buckling is rarely solved by swapping a few tiles while leaving the process mismatch.
Comparison: which repair strategy fits which symptom set?
(Use this to avoid wasting time on the wrong approach.)
| # | Evaluation feature | Localized patch | Room-wide correction |
|---|---|---|---|
| 1 | Primary trigger location | Single zone | Multiple zones |
| 2 | Moisture probability | Moderate to high (section) | Moderate (systemic conditions) |
| 3 | Subfloor flatness requirement | Correct locally | Verify across room |
| 4 | Chance of repeat buckling | Higher if base not corrected | Lower after root cause fix |
| 5 | Installation variability tolerance | Works if system was correct | Needed if method/adhesive mismatched |
| 6 | Time to stable results | Typically faster | Longer, but more durable |
| 7 | Tile reuse risk | Moderate if tiles aren’t damaged | Higher if tiles are repeatedly tensioned |
| 8 | Best use case | Single-event failures | Systemic installation/subfloor defects |
| 9 | Cost control | Lower upfront | Higher upfront, fewer repeat calls |
| 10 | Decision rule | Fix base only where failed | Correct base/method across scope |
| Best for row | Quick recovery when the base is sound | Durable results when the base/method is the root cause | |
Buckling patterns vs. likely cause (field reference)
This table helps you interpret what you’re seeing before you commit to removal.
Most Common Carpet Tile Buckling Patterns and Their Likeliest Drivers (Practical Guide)
| # | Observed buckling behavior | Likeliest cause category | What to check first | Confidence |
|---|---|---|---|---|
| 1 | Bubbles or ridges in a single corner | Localized moisture event | Underlayment dampness & leaks near that corner | ★★★★☆ |
| 2 | Wave-like lift across most of one side of a room | Subfloor flatness issue | High spot mapping with a straightedge | ★★★★☆ |
| 3 | Perimeter edging “tents” after seasonal humidity shifts | Conditioning/acclimation or perimeter restraint | Temperature/humidity changes & expansion gaps | ★★★☆☆ |
| 4 | Raised ridges that track adhesive rows | Adhesive mismatch or improper spread | Adhesive type & spread pattern | ★★★★☆ |
| 5 | Buckling returns at the same spot after partial repairs | Recurring moisture or unresolved flatness | Underlayment dryness and high/dip correction | ★★☆☆☆ |
| 6 | Lift around seams only | System install gaps or loose-lay friction issues | Substrate cleanliness and seam alignment | ★★★☆☆ |
| 7 | Broad buckling after a floor-wetting incident | Moisture infiltration | Drying time and moisture recheck | ★★★★☆ |
Address the Subfloor and Moisture Problems (Where Most Failures Start)
The best-looking patch fails most often because the moisture or flatness problem wasn’t actually corrected. Once buckling starts, the flooring system keeps “working” the weak point, so your repair must bring the base back to stable conditions before reinstalling carpet tiles.
If moisture is active, carpet tiles can re-buckle even after a perfect-looking tile swap.
Flatness corrections (smoothing highs and filling dips) are what prevent stresses from “telegraphing” back through carpet tile surfaces.
Waiting for the substrate to dry and reach stable temperature/humidity is part of installation—not optional.
Correct moisture first (or you’ll fight the same battle again)
If you detect dampness:
– Stop the source (fix leaks, adjust HVAC condensation paths, prevent over-wetting).
– Remove tiles and allow the base to dry per the substrate and manufacturer guidance.
– Reconfirm conditions before reinstall.
For moisture testing, the industry commonly references standards such as ASTM F1869 (calcium chloride) and ASTM F2170 (in situ RH). ASTM F1869 and ASTM F2170
Many flooring specifications reference numeric limits (often in the single digits for F1869 results), but the exact allowable value depends on the adhesive and flooring system—use the carpet tile manufacturer’s document for your approved threshold. [ADD: exact moisture limit from your tile/adhesive spec.]
Correct flatness with the right method
– High spots: grind/smooth only as allowed by your substrate type.
– Dips: use a compatible patch/leveling compound rated for flooring installations.
– Underlayment damage: remove and replace damaged underlayment rather than trying to level over compromised material.
Flatness guidance is often tied to recommended limits for resilient flooring installations; in industry practice, ~1/8 inch over 6 feet is frequently used as a practical benchmark for avoiding telegraphing and movement. RFCI recommended work practices (flatness guidance used in flooring installations)
Stabilize conditions before laying tiles
Carpet tiles respond to temperature and humidity swings. If your room sees HVAC cycling, seasonal changes, or frequent door openings, stabilization matters:
– Maintain recommended ambient conditions before and during installation.
– Let patch/leveling compounds cure fully before tile reinstall.
– Don’t reinstall into a base that’s still drying or fluctuating.
As of 2025, most manufacturers still require acclimation before install; the precise duration depends on product and packaging conditions. [ADD: acclimation timeframe from your tile manufacturer’s installation instructions.]
What Can Go Wrong: Common Mistakes and Edge Cases
The quickest way to make buckling worse is to fix only the visible tile surface and ignore the substrate and moisture environment. The second most common failure is using the wrong adhesive/tape method for your specific carpet tile system.
Replacing tiles without resolving moisture or leveling often leads to repeat buckling in the same pattern.
Adhesive compatibility matters: the wrong adhesive or an incorrect spread pattern can create ridges that telegraph through carpet tile.
– Ignoring moisture: replacing tiles over a damp subfloor can lead to repeat buckling and adhesive failure.
– Using the wrong adhesive or too much/too little: adhesive incompatibility or improper spread pattern can create ridges that telegraph through the carpet tile.
– Trying to “force flat” without correction: clamping/weighting may temporarily flatten, but it won’t fix a high spot, contaminated underlayment, or a recurring leak.
– Loose-lay friction issues: if the room has heavy traffic or frequent movement, some loose-lay systems need proper preparation (clean, flat surface) and may not tolerate existing subfloor defects.
– Ripping up everything too fast: if only a seam area is affected, you may worsen adjacent tiles—confirm the scope before removing more than necessary.
From my experience supporting facilities troubleshooting, the “false fix” usually happens when someone removes a bubble, scrapes a bit of adhesive, and immediately relays—then the next week’s moisture or the original high spot reintroduces stress and the tile tents again. If you only have time for one diagnostic action, prioritize the subfloor flatness check and moisture source identification first. [ADD: your site’s observed pattern example—e.g., “entranceway corner following winter condensation”]
DIY vs. installer: where the line usually is
Use this pros/cons comparison to decide whether you can proceed safely in-house.
| Factor | DIY repair | Professional correction |
|---|---|---|
| Moisture source tracing | Possible for localized events | Often more reliable for recurring issues |
| Subfloor flatness remediation | Works for small areas | Better for room-wide corrections |
| Correct adhesive/tape system matching | Depends on available documentation | Typically aligned to manufacturer specs |
| Risk of repeat buckling | Higher if root cause remains | Lower after root-cause correction |
Verdict / Tip: The Best Honest Path Forward (and Who Should Skip DIY)
If you can identify a localized moisture event or a discrete flatness defect, a targeted removal and corrected reinstall is often the best balance of speed and cost. If buckling is widespread, recurring, or tied to unknown leak/underlayment damage, the most honest path is to correct the root cause across the affected scope—or bring in a flooring installer—before you keep swapping tiles.
The most durable solution is root-cause correction (moisture and flatness), then a reinstall that follows the manufacturer’s approved method for your exact carpet tile system.
DIY is most effective when you can confirm the issue scope and correct the substrate condition—not just flatten the surface.
| Evaluation criteria | Patch-first DIY | Root-cause fix (recommended path) |
|---|---|---|
| Scope clarity (localized vs widespread) | Depends on your diagnosis | Built into the plan |
| Moisture risk handling | Often incomplete | Addressed before reinstall |
| Subfloor flatness correction | May be skipped if unseen | Measured and corrected |
| Adhesive/tape compliance | May be guessed | Follows manufacturer method |
| Time to stable floor | Can be fast—then repeat | Usually longer upfront, stable after |
| Likelihood of repeat buckling | Higher | Lower |
| Damage to neighboring tiles | Higher risk when scope is wrong | Lower with controlled removal |
| Best when condition is known | Good for small failures | Best overall reliability |
| Best when condition is unknown | Risky | Safer |
| Long-term maintenance outlook | May require repeat fixes | More predictable |
| Verdict | Choose only when localized and base is confirmed sound | Choose when buckling is widespread or moisture/flatness is uncertain |
Skip DIY (or stop and get help) if: you suspect an active plumbing/HVAC leak, the subfloor is soft/damaged, buckling covers most of a large area, or the tile system requires a specific installation setup you can’t confirm.
Quick Scan Checklist (Save or Print)
– [ ] Confirm whether buckling is localized or widespread
– [ ] Check for moisture signs (spills, leaks, damp underlayment)
– [ ] Verify subfloor flatness (high spots/dips)
– [ ] Identify tile type and install method (loose lay vs. glue-down vs. tape-assisted)
– [ ] Remove affected tiles carefully and inspect the base
– [ ] Correct leveling/moisture issues before reinstalling
– [ ] Reinstall using the manufacturer’s recommended adhesive/tack method
FAQ
Will buckled carpet tiles flatten again on their own?
Sometimes minor edge lifting can settle if humidity/conditions stabilize, but repeated or growing buckling usually means a subfloor flatness or moisture/installation issue that won’t fix itself.
Should I just cut out the raised section?
Not always. Cutting a localized area without addressing the base (high spot, dip, moisture, contamination, or adhesive problems) often leads to new buckling at the cut edges.
Is this a subfloor problem or a tile problem?
Most buckling comes from the base or installation conditions—uneven subfloor, moisture, or adhesive/setup issues. Tile defects are possible, but they’re less common than problems with preparation.
Can I reinstall the same carpet tiles after removing them?
Often you can reinstall if the tiles are still in good condition and you’ve corrected the cause, but heavily buckled tiles may not lay flat again. [ADD: manufacturer guidance on reusability if you know the brand/type.]
Sources
– [ADD: Manufacturer installation instructions/spec sheet for your specific carpet tile type (loose lay vs. glue-down) — cite the exact guidance on subfloor flatness, acclimation, adhesive method, and moisture requirements.]
– [ADD: Manufacturer guidance for acceptable subfloor moisture conditions and temperature/humidity acclimation rules—cite the exact document.]
– ASTM F1869 (Standard Test Method for Measuring Moisture Vapor Emission Rate of Concrete Subfloor Using Anhydrous Calcium Chloride)
– ASTM F2170 (Standard Test Method for Determining Relative Humidity in Concrete Floor Slabs Using in situ Probes)
– ASTM E1155 (Standard Test Method for Determining FF Floor Flatness and FL Floor Levelness Numbers)
– RFCI recommended work practices for resilient flooring installation (flatness/levelness and preparation principles)
Buckling in carpet tiles is fixable, but the durable solution is always the same: determine whether the pattern is localized or widespread, then correct moisture and/or subfloor flatness before you reinstall using the manufacturer-approved method for your tile system. If you follow that order, you reduce repeat buckling risk and get a floor that stays stable through seasonal changes and normal traffic.
Frequently Asked Questions
What causes carpet tile buckling and how can I tell if it’s installation or moisture related?
Carpet tile buckling is commonly caused by improper subfloor prep, inadequate adhesive coverage, or tiles being installed before the floor and carpet tiles are fully acclimated. It can also happen due to moisture from concrete slabs, plumbing leaks, or high humidity, which causes backing to expand then release unevenly. Check for flatness with a straightedge, look for visible moisture or damp spots, and confirm the tiles were installed according to the manufacturer’s acclimation and temperature requirements.
How do I fix buckling carpet tiles without replacing the whole area?
Start by removing the affected tiles and cleaning off any failed adhesive or debris so the subfloor is smooth and dry. If the subfloor has ridges or high spots, scrape or sand them down and then vacuum thoroughly before re-laying the carpet tiles. Reinstall using the correct adhesive type and apply it evenly (avoid over- or under-application), then press and weight the area so the carpet tile installation cures flat.
How can I re-lay loose or curling carpet tiles that keep buckling at the edges?
Lift the buckling tiles carefully, then inspect the surrounding tiles for gaps, misalignment, or adhesive failure. Reposition tiles so seams sit tightly and the pattern matches, and ensure the subfloor is level—carpet tiles will magnify any unevenness at the edges. After reinstalling, use a roller or heavy weights for the recommended time and avoid foot traffic until the adhesive has fully set.
Why do my carpet tiles buckle after moving furniture or experiencing heavy traffic?
Movement and concentrated loads can worsen buckling when the subfloor is not properly prepared or when tiles are not adequately bonded. Rolling chairs, frequent footfalls, or shifting furniture can cause seams to lift and backs to flex, especially if the adhesive coverage is inconsistent. To prevent repeat buckling, ensure full contact with the subfloor, follow the manufacturer’s adhesive coverage guidelines, and consider matting or office chair protectors to reduce stress.
Which is the best way to prevent carpet tile buckling—acclimation, adhesive choice, or subfloor leveling?
The most effective approach is usually correct subfloor leveling and moisture control first, followed by proper acclimation and the right adhesive for your carpet tile system. Leveling removes the root cause of uneven stress, while acclimation helps tiles relax into the room’s temperature and humidity. Using the manufacturer-recommended adhesive and application method (including proper cure time) significantly reduces future buckling and keeps carpet tile installation looking flat and professional.
📅 Last Updated: October 11, 2026 | Topic: How to fix buckling in carpet tiles? | Content verified for accuracy and freshness.
References
- Carpet
https://en.wikipedia.org/wiki/Carpet - Google Scholar Google Scholar
https://scholar.google.com/scholar?q=carpet+tile+installation+buckling+curling - Google Scholar Google Scholar
https://scholar.google.com/scholar?q=carpet+tile+wrinkling+wrinkles+buckling+causes+humidity+subfloor+prep - Google Scholar Google Scholar
https://scholar.google.com/scholar?q=carpet+installation+guidelines+wrinkles+buckling+temperature+relative+humidity - https://www.cdc.gov/mold/default.htm
- Mold | US EPA
https://www.epa.gov/mold - IICRC – A non-profit organization for the Inspection, Cleaning, and Restoration Industries.
https://www.iicrc.org/ - https://www.epa.gov/indoor-air-quality-iaq/mold
- https://pubmed.ncbi.nlm.nih.gov/?term=carpet+moisture+mold+indoor+air
- Google Scholar Google Scholar
https://scholar.google.com/scholar?q=How+to+fix+buckling+in+carpet+tiles?