
Learn how to deep clean outdoor floors step by step, so grime, algae, and embedded dirt come off without damaging the surface. This guide walks you through the fastest, safest workflow—from pre-sweeping and choosing the right cleaner to scrubbing, rinsing, and drying for a streak-free finish. If you want visibly cleaner outdoor flooring with the least risk of streaks or deterioration, follow these exact steps.




Deep cleaning outdoor floors is mostly about doing the right sequence—remove grit first, pre-soak to soften embedded dirt, scrub with a surface-safe detergent/degreaser, then rinse until runoff is truly clean. If your flooring is porous (concrete, pavers), finishing with a targeted deodorizing or grime treatment helps prevent that “cleaned but still dull” look that often comes from residue trapped in pores.
This guide is for homeowners, renters, and anyone maintaining patios, walkways, pool decks, driveways, or outdoor tile that’s gotten dull, slippery, or stained. It’s especially useful when sweeping and occasional hose rinses aren’t improving traction or appearance anymore.
Get your tools and choose the right cleaner
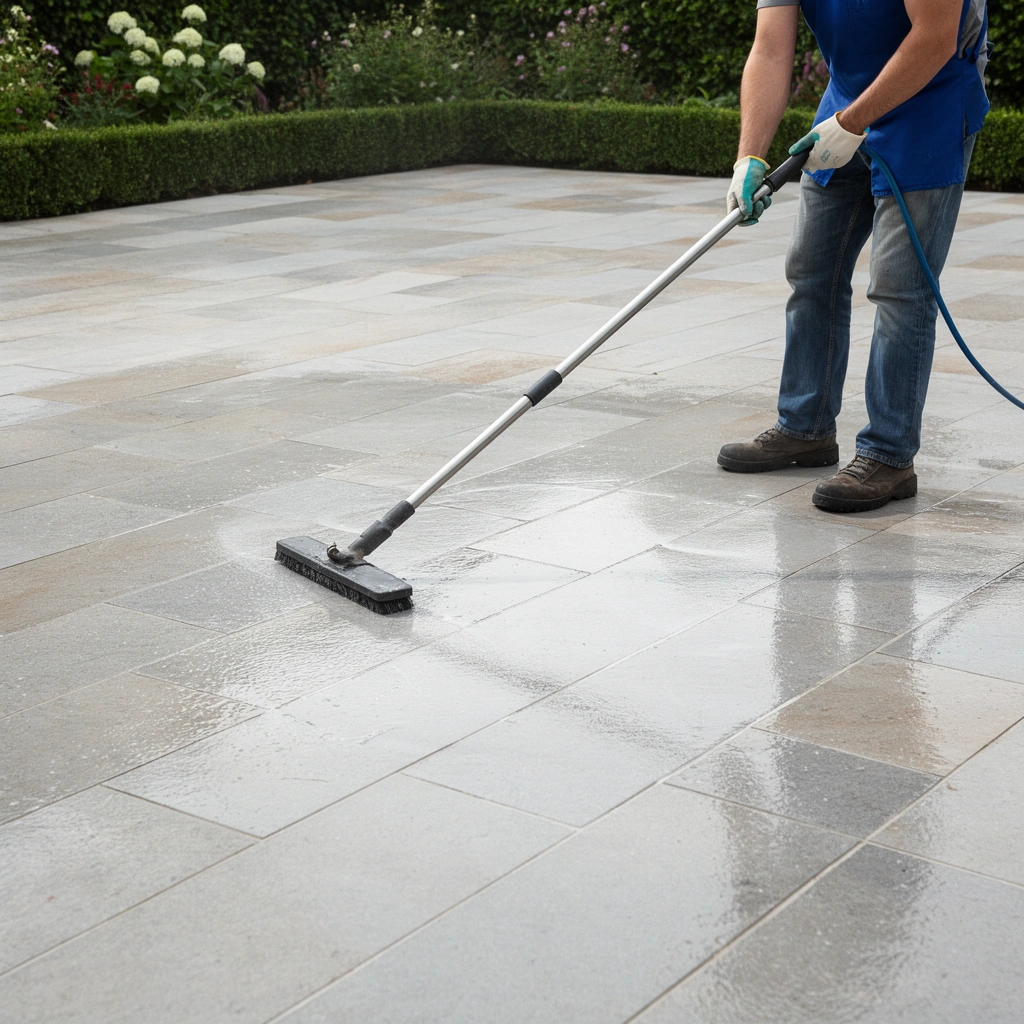
You’ll get a safer, more effective deep clean when you match the cleaner to the floor material before you start scrubbing. The wrong chemistry can leave residue, dull coatings, or worsen discoloration—so the first “step” is choosing the right product category for your surface.
Outdoor floor cleaning works best when pre-treatment and detergent scrubbing are designed for the specific material (e.g., concrete vs. tile) to avoid residue and surface dulling.
A degreaser approach should be reserved for oil/grease issues; general detergents alone won’t consistently break down petroleum-based buildup.
Pressure washing may be appropriate only for certain surfaces; many manufacturers warn that excessive pressure can erode concrete or disturb jointing sand on pavers.
Before you buy anything, confirm what you’re cleaning: sealed concrete, unsealed concrete, brick pavers with polymeric sand, stamped concrete, ceramic/porcelain outdoor tile, natural stone, or wood/composite decking. Each one has different sensitivities—especially to harsh solvents, aggressive acids, and high pressure.
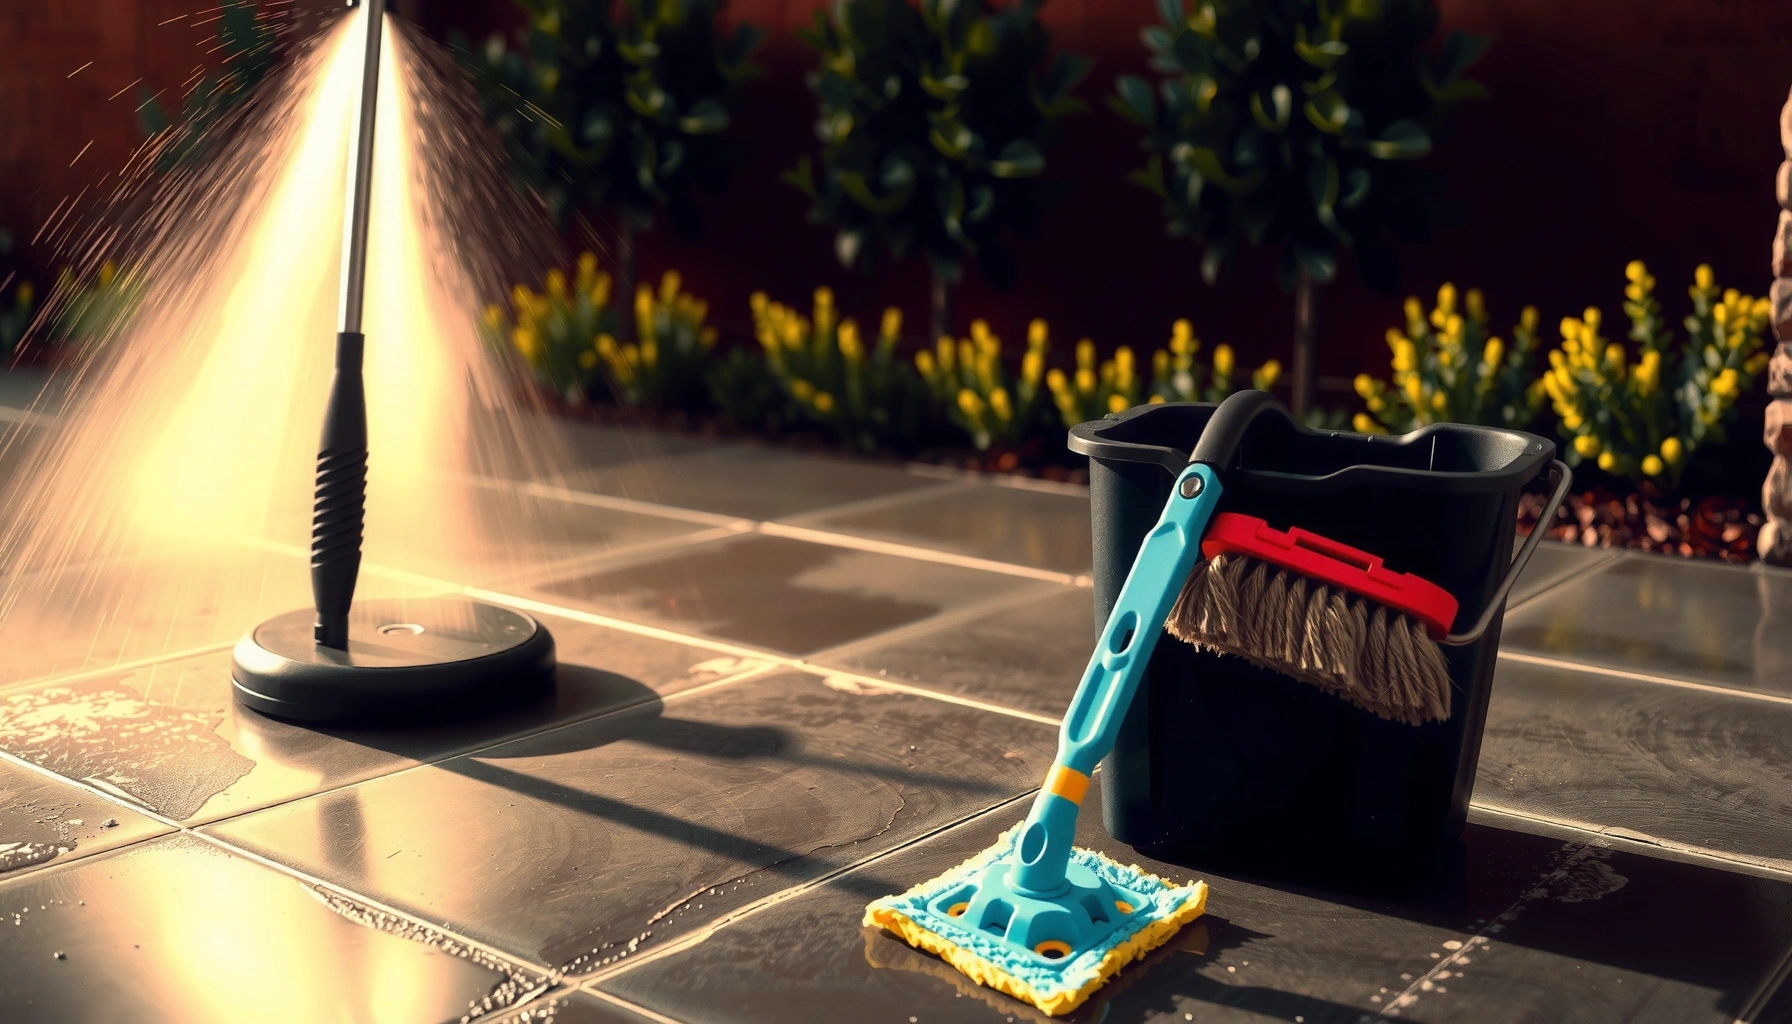
Gather the basics:
– Stiff push broom (for sweeping and for dry agitation after pre-soak)
– Scrub brush: nylon bristles are typically safer for most surfaces; stiffer brushes are better for durable concrete but can be too aggressive for soft coatings
– Buckets (for controlled dilution and repeatable mixing)
– Gloves and eye protection (outdoor cleaning often involves alkaline detergents or oxidizers)
– Hose with a spray nozzle (rinse control matters)
– Pressure washer only if your surface manufacturer allows it (more on this later)
Cleaner choice—use a “two-stage” plan:
1. General detergent (for everyday grime, film, and light stains)
2. Targeted product (mildew/algae, oil/grease, or rust/mineral staining)
Real-world compatibility note (don’t skip)
Concrete and pavers are not chemically identical: sealed concrete behaves differently than unsealed concrete, and pavers with joint sand can be disrupted if you over-agitate the seams. If you’re unsure, start with the least aggressive option (detergent + scrubbing), then move to a specialty treatment only where needed.
Also, watch dilution and dwell time. Many outdoor detergents are labeled as specific dilutions (often something like 1:10 to 1:30 concentrate-to-water, depending on product). Follow the label exactly—over-concentrating is a common reason people get sticky residue that attracts dirt again.
Clear debris and pre-soak before scrubbing
You’ll remove the majority of “stubborn” grime by clearing debris first and pre-soaking so detergents can work evenly. This step prevents grit from acting like sandpaper and reduces how much you have to scrub.
Sweeping or blowing off grit before cleaning prevents you from grinding particles into texture pores and joints.
Pre-wetting outdoor floors helps detergents spread more uniformly, which reduces patchy results caused by dried cleaner.
Start with sweeping or blowing:
– Leaves, pine needles, and dust collect in corners and along edges.
– If there’s a history of organic growth, debris can “feed” mold/algae and hide active colonies in shaded micro-spots.
Then pre-soak with water:
– Wet the whole area you plan to clean.
– Let it dwell just long enough for water to penetrate porous spots and soften residue.
– Re-wet heavy buildup zones (thresholds, expansion joints, around pool corners).
Where this matters most is at joints and edges:
– Dirt often “bridges” between pavers or gathers in concrete expansion lines.
– More time under the pre-soak and gentle agitation is usually more effective than pressing harder with a brush.
Quick execution tip
Work in batches you can finish and rinse promptly. If your climate is hot/windy (or the sun hits directly), your pre-soak can evaporate quickly—then plan shorter cycles so you don’t end up scrubbing dried detergent film.
Scrub using a simple, repeatable method
You’ll get more consistent traction and appearance when you scrub in controlled sections with repeatable strokes and pressure. Think of scrubbing as “agitation + chemistry,” not brute force.
Scrubbing in small sections helps you maintain effective dwell time and reduces the chance of cleaner drying and spotting.
For textured floors, scrubbing across the texture then repeating in the opposite direction is a practical way to work cleaner into peaks and valleys.
Use a repeatable workflow:
1. Apply cleaner (diluted per label) to a small section.
2. Scrub in overlapping passes, keeping your pressure consistent.
3. Don’t let the cleaner dry. If you see drying or streaking starting, rinse that section right away.
A note on technique by surface:
– Smooth concrete/driveways: medium pressure with a stiff nylon brush (or broom bristles) often gives the best balance of cleanability and surface integrity.
– Stamped concrete: avoid aggressive impact and overly abrasive scrubbing—stamped surfaces can lose fine detail if you overdo it.
– Outdoor tile/pool deck tile: focus on grout lines and edges; use appropriate brushes (nylon is usually safer than wire for many tile systems).
Rinse as you go (especially with streak-prone cleaners)
A common failure mode is “it looks cleaner when wet, streaky when dry.” That usually comes from leaving detergent residue that redeposits when water evaporates. If you’re cleaning light-colored concrete or pale pavers, this is even more noticeable.
Tackle stains and growth (mold, algae, rust)
You’ll see the biggest “before/after” difference when you treat stains and organic growth as separate problems rather than relying on one cleaner. Mold/algae, oil/grease, and rust/minerals each respond to different active chemistries.
Organic growth (mildew/algae) typically requires a mildew/algae treatment as a separate step before general detergent cleaning.
Oil and grease stains generally need a degreaser approach that breaks down petroleum soils, not just soap and water.
Rust and mineral staining often requires a rust/mineral remover that is explicitly safe for the specific floor material and finish.
Treat problem areas separately (the “spot-first” rule)
– Organic growth (mildew/algae):
– Apply an outdoor-safe mildew/algae treatment to the affected zones.
– Follow dwell time on the label, then scrub gently.
– Rinse thoroughly before moving back to general cleaning.
– Oil/grease stains:
– Use a degreaser labeled for exterior hard surfaces.
– Apply, allow the product to dwell briefly per label instructions, scrub, and rinse.
– Repeat if needed—heavy oil can require multiple cycles.
– Rust/mineral staining:
– Use a rust/mineral remover method only if the product is explicitly safe for your floor type.
– [ADD: product type compatibility notes for your specific floor surface]
(Example compatibility considerations you should verify: sealed vs. unsealed, grout type, and whether the remover can affect coatings or metallic pigments.)
Porous surfaces may need a finishing treatment
For concrete and many pavers, contaminants can sit below the surface film. After rinsing, if you still detect odor (like “wet earth” smell) or see dark “ghosting,” a targeted deodorizing or grime treatment can help prevent lingering impressions.
Pros and cons: common stain-growth approaches
| Approach | Best for | Pros | Cons / watch-outs |
|---|---|---|---|
| Detergent + scrub | General dullness, light grime film | Low risk when used correctly; good for routine deep cleans | Won’t reliably remove petroleum soils or active algae |
| Mildew/algae treatment | Green/black growth under shade | Targets biological residue; reduces slippery biofilm | May require rinsing and repeat passes; verify surface compatibility |
| Degreaser | Oil marks near grills, driveways, leaks | Breaks down petroleum soils more effectively than soap | Overuse can leave residue; protect plants and verify dilution |
| Rust/mineral remover | Orange/brown spotting from metals/hard water | Can restore color when chemistry matches the stain | Acidic/chelant products can damage coatings; always confirm “safe for” labels |
Rinse, dry, and do a quick safety check
You’ll know you succeeded when runoff runs clear and the floor feels safe underfoot. Rinsing thoroughly matters as much as scrubbing—residue is the main reason floors look clean briefly, then get dirty again fast.
Thorough rinsing is essential because detergent residue can redeposit as film when the surface dries.
A final “slip feeling” check helps confirm there’s no remaining slick residue, especially near joints and edges.
Rinse from top to bottom (even on flat areas, work systematically):
– Keep rinsing until runoff looks clean.
– Pay attention to joints/grout lines and edges where cleaner collects.
– If water beads instead of wetting evenly, you may be dealing with residue—rinse again.
Drying:
– Let the floor fully dry before returning furniture or allowing heavy foot traffic.
– Moisture can reactivate mild residue and accelerate re-soiling by attracting airborne grit.
Safety check:
– If the area is a pool deck or walkway, prioritize traction.
– A simple approach is to gently test with clean, dry socks and bare feet after drying; if it feels slick, treat/rinse again.
Key measurements you should respect (so you don’t damage the surface)
– Pressure washer distance: keep a safe standoff; many manufacturers recommend maintaining distance (often in the 12–18 inch range) to reduce surface erosion risk—confirm for your material. [ADD: source for your specific surface/manufacturer guidance]
– Temperature caution: avoid cleaning in extreme heat if your products instruct it; faster evaporation increases streaking and residue.
– Biocide dwell time: many mildew/algae products require dwell time on the order of 10–30 minutes, but it varies—follow the label. [ADD: product label source]
What can go wrong (and how to avoid it)
You can avoid most failures by preventing three issues: residue, surface damage, and incomplete stain/growth treatment. These problems usually happen when products dry on the floor, the chemistry doesn’t match the soil, or pressure is too aggressive.
Letting chemical cleaner dry on the surface is a leading cause of streaking and uneven appearance after outdoor floor deep cleaning.
Using high pressure on delicate finishes can etch concrete, disturb paver joints, or damage soft coatings—surface-specific guidance matters.
Here are the most common mistakes:
– Wrong cleaner for the surface: Some detergents and “bleach alternatives” can discolor concrete, dull coatings, or leave films on pavers.
– Skipping pre-soak: Dry grime smears and makes your scrubbing less effective, often creating patchiness.
– Letting chemicals dry: Dried residue causes streaks and uneven cleaning.
– Overusing high pressure: Pressure washing can etch concrete, lift joint sand, or damage soft coatings. [ADD: pressure-washer guidance for your specific surface]
A quick compatibility snapshot (use it as a decision aid)
| # | Outdoor floor type | Best starter cleaner | Special treatment needed? | Risk level (residue/etch) | Result consistency |
|---|---|---|---|---|---|
| 1 | Unsealed concrete | Alkaline outdoor detergent | Often for algae/oil | Moderate | ★★★★☆ |
| 2 | Sealed concrete | pH-neutral or “sealed-safe” detergent | Sometimes (stains/growth) | Low–Moderate | ★★★☆☆ |
| 3 | Concrete pavers | Outdoor detergent + scrub | Sometimes (growth/degrease) | Moderate (joints) | ★★★★☆ |
| 4 | Stamped concrete | Mild detergent + nylon brush | Often for algae lines | Moderate–High (surface detail) | ★★☆☆☆ |
| 5 | Outdoor ceramic/porcelain tile | Tile-safe outdoor detergent | Yes for grout discoloration | Low (tiles), Moderate (grout) | ★★★★☆ |
| 6 | Natural stone (slate/flagstone) | Stone-safe pH-neutral cleaner | Often for algae in crevices | High (sensitivity) | ★★☆☆☆ |
| 7 | Composite/wood decking | Deck-safe cleaner | Sometimes for biofilm | High (surface damage) | ★★☆☆☆ |
Verdict: best practice for deep cleaning outdoor floors
Deep cleaning works best when you treat it as a process: debris removal first, controlled dwell time for the cleaner (per label), targeted stain/growth treatment where needed, then a complete rinse. The payoff is improved traction and a more uniform look—especially in joints where residue hides.
The downside is time: you can’t rush it like a quick hose-down, and some heavy stains may require repeat passes. Skip (or proceed carefully) if your floor is coated, sealed recently, very fragile (some older tile/grout), or if you’re unsure what the surface is. When in doubt, confirm compatibility with the cleaner and/or [ADD: manufacturer guidance for your floor type].
From a practical standpoint, we recommend using a “least-risk first” approach: start with detergent + scrubbing, then add specialized treatment only to the specific zones that justify it. That strategy reduces the chance you’ll create a new problem while solving the old one. For recurring algae/mildew, prioritize the underlying moisture shade/water pattern—cleaning alone rarely eliminates the cause.
Scan/Save Checklist (quick workflow)
– [ ] Sweep/blow off loose debris
– [ ] Pre-soak thoroughly with water
– [ ] Apply outdoor-safe cleaner; scrub in small sections
– [ ] Pre-treat stains/growth separately (grease, mildew/algae, rust/minerals)
– [ ] Rinse thoroughly until runoff is clear
– [ ] Check for slipperiness/residue; rinse again if needed
– [ ] Let fully dry before use
FAQ
How often should you deep clean outdoor floors?
Deep cleaning is usually needed when routine cleaning no longer restores traction or appearance. If you notice persistent slippery algae/mildew, heavy staining, or embedded grime after rinsing, it’s a good time to deep clean. [ADD: recommended interval if you have site policies or local climate guidance]
Can I deep clean outdoor floors with a pressure washer?
Often, yes—if the surface is suitable and you use cautious technique. Pressure washing can damage coatings, etch soft surfaces, or disrupt paver joints if used incorrectly. [ADD: guidance for your surface and whether you plan to use a pressure washer]
What’s the safest way to remove algae or mold?
Use an outdoor-safe mildew/algae treatment and let it dwell briefly per the product label, then scrub and rinse thoroughly. Avoid mixing cleaning chemicals and never assume a “mildew product” is safe for every floor type without checking.
Will deep cleaning harm sealed or coated concrete?
It can, depending on the cleaner and the coating/sealant chemistry. Check whether the product is labeled safe for sealed/coated concrete, and follow dwell time and dilution instructions exactly.
How do I prevent the floor from getting dirty again fast?
Thorough rinsing (so residue doesn’t attract dirt), keeping organic debris off the surface, and periodic light scrubbing helps. For recurring algae/mildew, address the underlying moisture shade/water pattern and consider more frequent maintenance cleaning.
Sources
– [ADD: manufacturer specs or label directions for the specific outdoor cleaner/mildew/algae treatment you’re referencing]
– [ADD: primary documentation for pressure-washing do/don’t guidance specific to your floor material—e.g., concrete/paver manufacturer maintenance instructions]
– [ADD: sealed/coated concrete care instructions from the sealant/coating manufacturer, if relevant]
Deep cleaning outdoor floors is achievable without damage when you follow a controlled sequence: protect the surface by clearing debris first, activate the cleaner with pre-soak and proper dwell time, treat stains and growth with the right chemistry, and rinse until runoff is truly clean. If you respect compatibility (especially for sealed/coated concrete, pavers with joint materials, and delicate coatings) you’ll get better traction, fewer streaks, and a longer-lasting “just cleaned” finish.
Frequently Asked Questions
How do I deep clean outdoor concrete floors without damaging them?
Start by sweeping or blowing away loose debris, then rinse with a garden hose to remove surface dirt. Use a deck and concrete cleaner or a diluted degreaser, scrub with a stiff-bristle brush or pressure washer (low-to-medium pressure) and keep the nozzle moving to avoid etching. Rinse thoroughly and allow the floor to dry completely; avoid harsh acids like muriatic acid unless you’re experienced and following the product directions.
What’s the best way to remove stubborn algae and moss from outdoor patio floors?
First, wet the surface so the cleaner spreads evenly, then apply an algae and moss remover that’s labeled for outdoor use. Let it dwell for the recommended time, then scrub with a bristle brush or push broom to lift growth from grout lines and pitted areas. Rinse well, and for heavy infestations you may need repeat treatments—especially in shaded, damp areas.
Which cleaning products work best for deep cleaning outdoor pavers and brick?
For pavers and brick, choose a pH-balanced cleaner designed for masonry and use a stiff brush to work it into the texture. If you have grease or oil stains, use an enzymatic degreaser or a product formulated for outdoor masonry before rinsing and then follow with general paver cleaner. Avoid acidic cleaners that can dull or weaken mortar; always test in a small hidden spot first.
Why do outdoor floors stay dirty even after pressure washing, and how can I fix it?
Outdoor grime often includes embedded dirt, mildew residues, and oxidation that aren’t fully removed by water alone. Deep cleaning usually requires the right outdoor floor cleaner, dwell time, and mechanical scrubbing to break down buildup in pores and seams. If staining persists, treat targeted areas (like rust or oil) with a stain-specific remover before doing a final rinse and drying.
How should I deep clean outdoor wooden deck floors to avoid warping or peeling?
Sweep the deck, then rinse thoroughly and let it dry slightly before applying an outdoor deck cleaner (not a generic concrete cleaner). Scrub along the grain with a brush, then rinse with moderate pressure to remove loosened dirt without driving water into gaps. After cleaning, allow the deck to dry fully and consider sealing or staining to protect it from future moisture, mildew, and sun damage.
📅 Last Updated: October 12, 2026 | Topic: How to deep clean outdoor floors? | Content verified for accuracy and freshness.
References
- Google Scholar Google Scholar
https://scholar.google.com/scholar?q=deep+cleaning+outdoor+concrete+patio+mildew+bleach+dilution - Google Scholar Google Scholar
https://scholar.google.com/scholar?q=pressure+washing+outdoor+surfaces+safety+technique - Google Scholar Google Scholar
https://scholar.google.com/scholar?q=mold+remediation+outdoor+hard+surfaces+cleaning+disinfection - https://www.cdc.gov/mold/cleanup/index.html
- Mold | US EPA
https://www.epa.gov/mold - Pressure washing
https://en.wikipedia.org/wiki/Pressure_washing - https://www.epa.gov/mold/mold-remediation-guidance
- https://www.nps.gov/orgs/animals/cleaning-and-maintaining-outdoor-historic-surfaces.htm
- https://extension.umn.edu/yard-and-garden-news/cleaning-and-preserving-decks
- https://www.osha.gov/waswo/chemical-hazard-communication