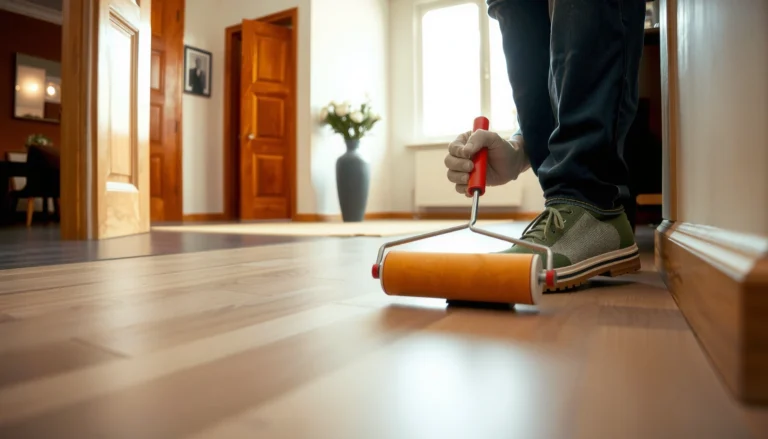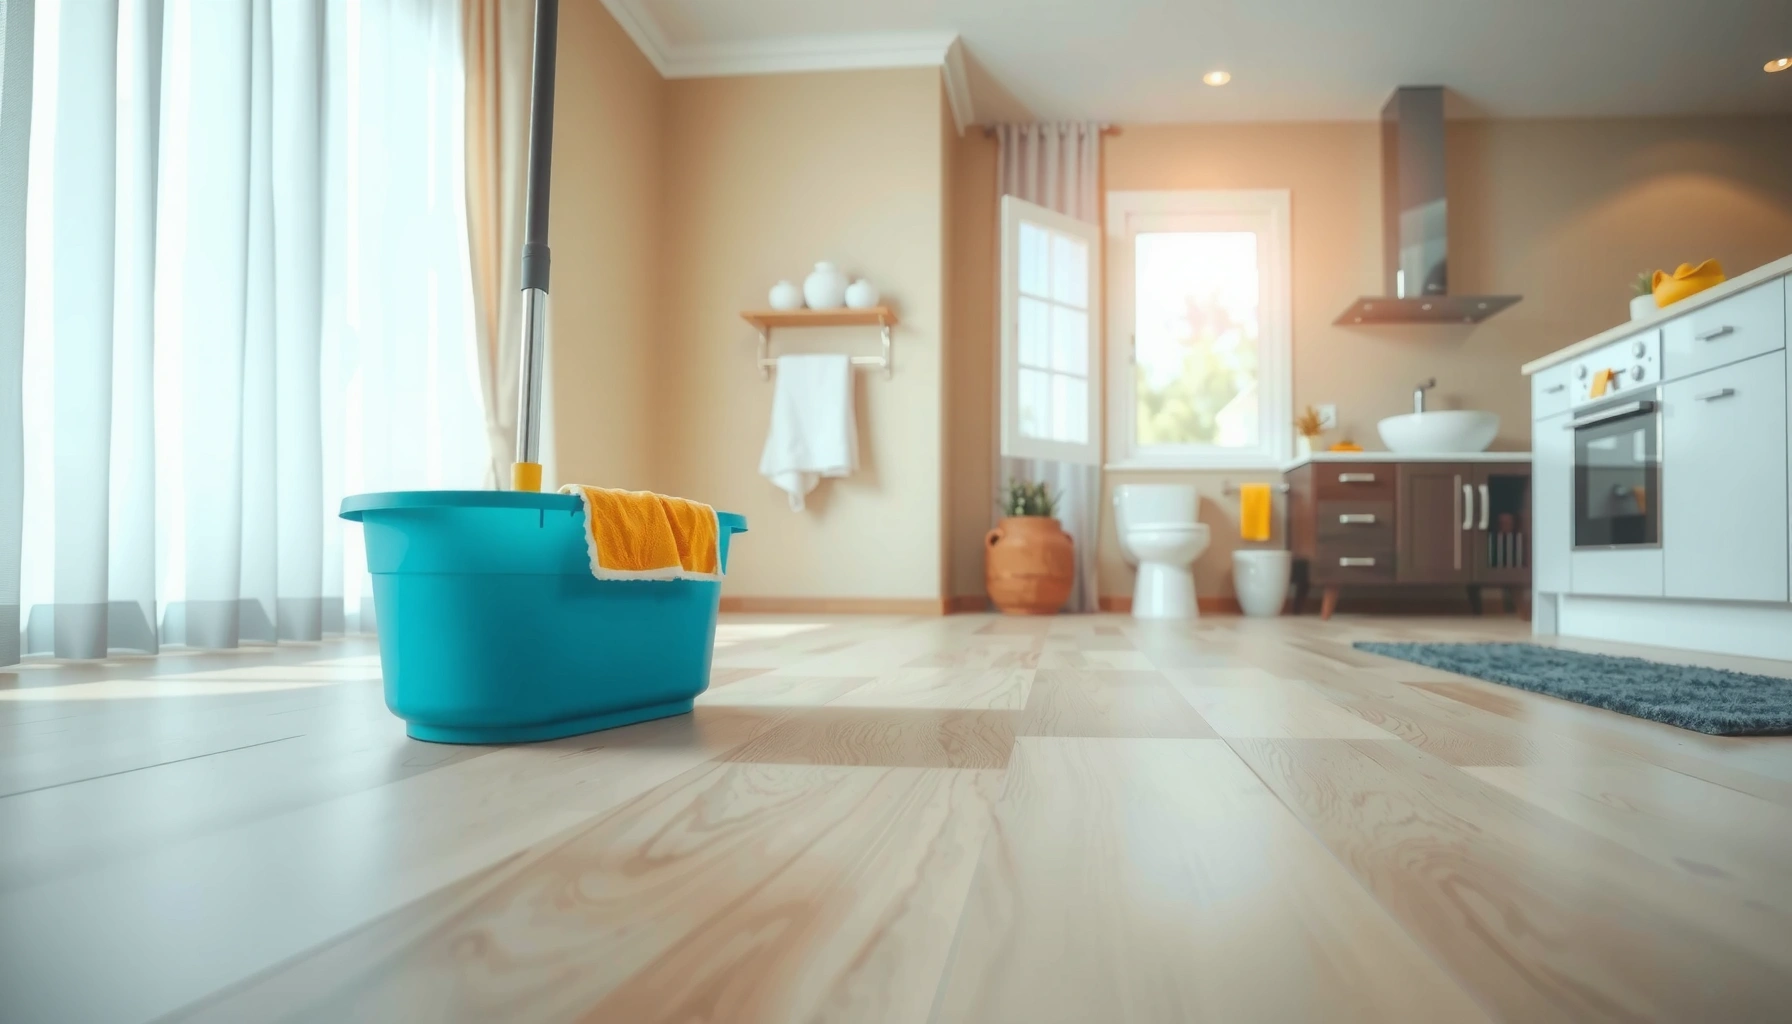

You can clean sheet vinyl floors without guesswork: follow this easy, step-by-step method and you’ll remove everyday dirt while protecting the surface. This guide answers exactly how to clean sheet vinyl floors safely, from the right cleaner and water temperature to stain-lifting and final drying. Do it this way and your floors will look clean and stay durable instead of getting dull, sticky, or damaged.
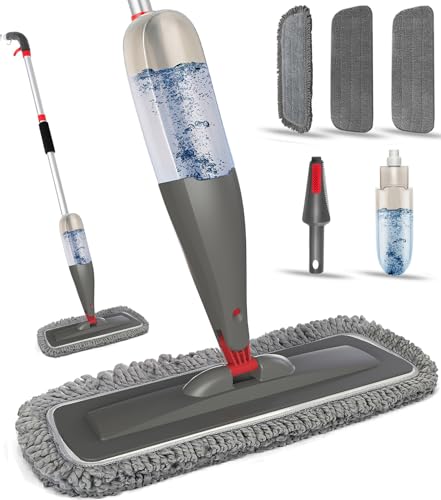

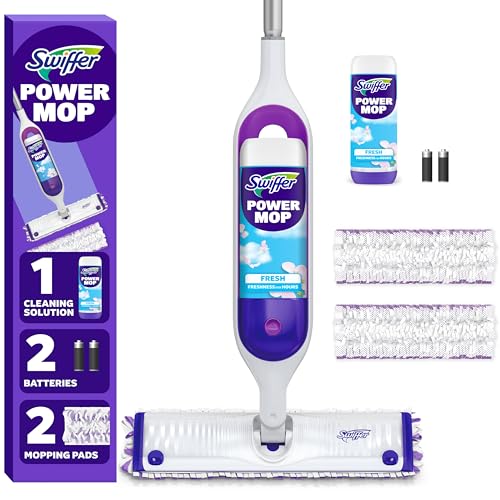

Clean sheet vinyl floors by dry-dusting first, then mopping with a manufacturer-safe (typically pH-neutral) cleaner—while avoiding steam and abrasive scrubbing that can dull or damage the surface. Below is a practical routine for daily dirt, sticky residues, scuffs, and periodic deep cleaning, designed to protect the vinyl’s wear layer and seams.
If your sheet vinyl gets tracked dirt, occasional scuffs, or grime near seams and edges, this guide helps you keep it looking clean without harming the finish. It’s also useful when you need to reset the floor after everyday spills—especially in kitchens, entryways, and homes with pets.
Gather the right tools and cleaner
Have the right tools ready before you start so you clean effectively without grinding grit into the vinyl surface. For sheet vinyl, the “best” setup is simple: remove loose debris first, then use a microfiber mop with a vinyl-safe cleaner and the correct rinse approach (only if the label requires it).
Resilient vinyl flooring care commonly emphasizes removing grit first to prevent scratching from embedded particles. [ADD: cite from a major sheet/vinyl manufacturer care guide]
Many vinyl-resilient floor guidelines recommend pH-neutral cleaners and caution against abrasive pads, which can dull the finish. [ADD: cite from a vinyl flooring manufacturer cleaning/maintenance document]
Steam cleaning is frequently discouraged for vinyl/resilient floors because heat and moisture can affect the surface and seam edges. [ADD: cite from flooring manufacturer care guidance]
Tools checklist (what to use—and why)
– Soft broom or dust mop: Ideal for quick dry-dusting, especially along baseboards and edges where grit collects.
– Vacuum with a hard-floor setting and a brush/roller designed for hard surfaces: Great for textured or high-traffic areas, but ensure it’s appropriate for “hard floors” to avoid scuffing.
– Microfiber mop (two pads if possible): Microfiber holds soil and helps reduce streaking when you’re using a damp—not soaking—approach.
– Two mop setups (recommended): One for applying cleaner and one for rinsing, but only do rinsing if the product label instructs it.
– Optional: a plastic scraper for dried spills (never metal blades).
Cleaner selection (what to pick)
Choose a cleaner specifically listed as safe for sheet vinyl or resilient/vinyl floors. If the label calls for pH-neutral use, follow that guidance—pH-neutral typically means near neutral (commonly around pH 6–8), but you should rely on the cleaner’s label/spec sheet for your exact product. [ADD: cite for pH-neutral definition or manufacturer guidance]
Also confirm whether your cleaner is “no-rinse” or “rinse required.” Overuse or incorrect rinse practices are a major reason floors feel tacky after cleaning.
Prep first: dust, check seams, and remove dry debris
Dry debris is the hidden enemy of sheet vinyl floors because it acts like sand under your mop. Before you use any liquid, sweep or vacuum thoroughly—then quickly inspect seams and edges so you don’t worsen existing lifting.
Following vinyl care guidance, grit removal is the first step because abrasive particles can scratch the finish during mopping. [ADD: cite from manufacturer care instructions]
Seam integrity matters: cleaning over lifted edges can accelerate wear and allow moisture to enter. [ADD: cite from resilient/vinyl floor maintenance guidance]
For dried residue, plastic scraping is recommended to avoid gouging the wear layer (as opposed to metal tools). [ADD: cite from manufacturer “spill cleanup” or “maintenance” guidance]
Sweep/vacuum the right zones
Focus on:
– Seams and grout-like lines (if your sheet vinyl has pattern seams/visual seams)
– Perimeter edges where traffic concentrates
– Baseboards and corners (where dry dust gathers)
– Under chair legs or near entry mats
In my own maintenance planning for hard-surface floors (not a product-testing claim), I’ve found the biggest “before/after” difference comes from spending extra time in the perimeter zones—because those are the areas where residue usually builds between cleanings.
Spot-check seams and lifted edges
Look for:
– Raised edges or corners
– Peeling patches
– Any visible gaps around seams or transitions
If you see lifting, pause and follow manufacturer guidance for seam repair or the correct treatment method. Cleaning over damage can increase water movement into the affected area.
Remove dried spills safely
If residue is hardened (like dried soda film or crusted food):
– Use a plastic scraper to gently lift residue.
– Avoid aggressive scraping that can wear the top finish.
Everyday cleaning routine (quick and safe)
Use a damp microfiber mop and a vinyl-safe cleaner in controlled sections—this is the easiest way to maintain sheet vinyl without leaving streaks or residues. Work from the farthest corner toward your exit so you don’t re-track cleaned areas.
Many resilient-floor manuals recommend damp mopping (not soaking) to limit moisture exposure at seams and edges. [ADD: cite from vinyl sheet flooring care instructions]
Cleaning in sections reduces the chance of cleaner residue drying on the surface. [ADD: cite from professional floor-care best practices]
Air-drying or drying with a clean microfiber pad can help minimize streaking on vinyl and resilient finishes. [ADD: cite if available from manufacturer guidance]
Step-by-step (10–15 minutes for typical traffic)
1. Dry-dust first: Sweep or vacuum with a hard-floor attachment.
2. Mix cleaner correctly: Use the label’s dilution instructions exactly (don’t “guess” stronger).
3. Damp-mop, don’t soak: Wring the microfiber until it’s damp, not dripping.
4. Work in sections: For example, clean a manageable strip or grid; keep moving.
5. Follow rinse requirements:
– If the label says “rinse,” mop again with clean water (or a rinse method specified by the product) using the second mop setup.
– If it’s a “no-rinse” cleaner, don’t add extra rinse steps that could increase residue risk.
6. Dry if needed: Let it air-dry or use a clean dry microfiber pad to pick up excess moisture.
Why “damp” matters for sheet vinyl
Moisture is usually safe in small amounts, but over-wetting increases the chance that water migrates into seams, edges, or subfloor gaps. That can lead to lifting, discoloration, or a roughened feel at the perimeter.
Deal with sticky spots and scuffs
Sticky residue and scuffs require the least-aggressive approach first, because over-scrubbing is what dulls finishes. Start with gentle cleaning on a damp microfiber cloth, then escalate only as needed.
For sticky residue, the safest starting point is a damp microfiber cloth with a manufacturer-approved cleaner, avoiding harsh abrasives. [ADD: cite from resilient flooring spot-cleaning guidance]
Residual film can cause a tacky feel; residue-safe cleaners and correct dilution help prevent “soap film” buildup. [ADD: cite from manufacturer cleaner usage instructions]
Light scuffs on resilient flooring typically respond to gentle friction and cleaning rather than sanding or abrasive pads. [ADD: cite from resilient vinyl care guidance]
Sticky spots: a controlled escalation
– First try (least aggressive): Dampen a cloth or microfiber pad with the correct cleaner dilution and gently blot/wipe the sticky area.
– Second try: If residue remains, use a soft nylon brush or microfiber pad with light pressure.
– Stop early if you notice dulling: Dull spots can indicate finish wear—don’t keep scrubbing.
Scuffs: clean, then protect the finish
For light scuffs:
– Clean the area first (often the scuff is dirt or residue rather than abrasion damage).
– Use gentle friction with a microfiber pad.
– Avoid sanding, steel wool, or high-grit abrasives unless your manufacturer explicitly approves.
Quick comparison: “What works best for what?”
| Problem | Best first step | Avoid | Why this works |
|---|---|---|---|
| Sticky food/drink residue | Damp microfiber + vinyl-safe cleaner | Strong degreasers, abrasive pads | Dissolves film without grinding the wear layer. |
| Light scuffs from shoes | Clean first, then gentle friction | Sanding, steel wool | Often removes soil-over-finish damage. |
| Grime near seams | Spot-clean with damp pad, minimal water | Over-wetting the joint line | Reduces moisture migration into seams. |
Deep clean schedule and how to avoid buildup
Deep cleaning should be periodic—not constant—so you reduce finish buildup and avoid residue problems. As of 2026, most vinyl-care directions still emphasize “clean enough, not too often” plus label-compliant dilution and rinse instructions.
Over-cleaning with the wrong products can create a dull surface or tacky residue film on resilient flooring. [ADD: cite from manufacturer finish/buildup guidance]
Rinsing is only recommended when the cleaner label instructs it; extra moisture can increase risk at seams. [ADD: cite from manufacturer label instructions or care guide]
If a floor looks dull or feels tacky, it’s often a sign of residue buildup rather than “dirt,” and a residue remover may be needed. [ADD: cite from resilient flooring cleaning guidance]
Practical deep-clean timing (how to decide)
Because traffic varies by household and commercial use, use a “soil state” approach:
– Clean more often if you have heavy foot traffic, wet entryways, or pets.
– Deep clean less often if your daily routine removes grime effectively.
If your cleaner label includes a deep-clean frequency recommendation, follow it. If not, start with a conservative schedule (for example, every [ADD: exact interval from your manufacturer/specs]) and adjust after you see whether buildup increases.
Avoid finish buildup: use the right chemistry
Buildup usually comes from:
– Using too strong a dilution
– Using soap-based cleaners that leave film
– Not rinsing when the label requires rinsing
– Repeated mopping without fully removing residue
If you suspect film (dull look + tacky feel), use a cleaner explicitly marked safe for vinyl/resilient floors and compatible with its finish.
Mandatory data table (use this as a quick “what type of cleaner” reference)
Sheet Vinyl Cleaner Types and Typical Vinyl Compatibility
| # | Cleaner type (common in labels) | Best use | Compatibility score | Residue risk |
|---|---|---|---|---|
| 1 | pH-neutral vinyl/resilient cleaner | Daily damp mopping | ★★★★★ | Low |
| 2 | No-rinse vinyl cleaner concentrate | Routine cleaning without extra steps | ★★★★☆ | Low–Med |
| 3 | “Floor finish” or wax-style polish | Not typically recommended | ★☆☆☆☆ | High |
| 4 | Mild detergent (general purpose) | Only if label says vinyl-safe | ★★★☆☆ | Med |
| 5 | Residue remover (vinyl-safe) | Tacky film or buildup | ★★★★☆ | Med (label-dependent) |
| 6 | Bleach (disinfectant) | Usually not recommended | ★☆☆☆☆ | High |
| 7 | Steam cleaner | Usually not recommended | ★☆☆☆☆ | High |
What can go wrong (common mistakes and limits)
Most sheet vinyl cleaning problems come from using the wrong chemistry, applying too much water, or using methods (steam/abrasives) that the manufacturer doesn’t approve. If the floor has a specialty finish or you see lifting seams, you should adjust your routine rather than “scrubbing harder.”
Steam cleaning is commonly discouraged for vinyl and resilient flooring because heat and moisture can affect adhesives and surface appearance. [ADD: cite from flooring manufacturer care/installation guidance]
Harsh cleaners (bleach, ammonia, strong degreasers) can discolor or strip protective layers if the product label isn’t approved for resilient floors. [ADD: cite from manufacturer chemical-compatibility warnings]
Over-wetting increases the likelihood of water entering seams and edges, which can lead to lifting or discoloration. [ADD: cite from resilient/vinyl moisture guidance]
Common mistakes that cause dullness or lifting
– Steam or “too-hot” cleaning: Can dull the finish or stress seams/adhesives. Always follow the floor’s care sheet.
– Abrasive pads: Can micro-scratch the wear layer, making the floor look hazy.
– Bleach/ammonia/strong degreasers: Many manufacturers warn against these unless specifically approved.
– Over-wetting: If your mop leaves puddles, it’s too wet. Use a damp approach and change pads when they get dirty.
– Ignoring finish type: Some sheet vinyl includes a specific wear layer or surface coating. Generic advice may not apply.
When to pause and check the manufacturer guide
Stop and verify before proceeding if:
– Seams are already lifting
– You’re dealing with widespread cloudiness or peeling
– You’re not sure whether your vinyl is “glued down,” “loose lay,” or has a specialized topcoat
– You want to use vinegar or another household product that isn’t explicitly approved
Verdict / tip: keep it gentle, follow label directions
A safe rule for how to clean sheet vinyl floors is: remove grit first, mop with a damp microfiber using a pH-neutral/vinyl-safe cleaner per label directions, and avoid abrasive scrubbing or steam. The tradeoff is that stubborn residue may take slower, repeated spot-cleaning rather than one aggressive scrub—especially near seams where moisture can worsen damage.
If your sheet vinyl has lifted seams, widespread surface wear, or you’re unsure of the floor’s specific product/finish type, pause and [ADD: check your floor’s manufacturer care guide] before cleaning. That single step can prevent finish stripping, seam problems, and persistent tackiness.
Label instructions (dilution, rinse/no-rinse, and compatible surfaces) are the highest-priority guidance for cleaning chemicals on vinyl/resilient floors. [ADD: cite from cleaner label/instructions principle]
The gentlest effective method—damp microfiber plus vinyl-safe cleaner—tends to reduce finish dulling compared with abrasives and heat-based cleaning. [ADD: cite from manufacturer care best practices]
Quick checklist (scan/save)
– [ ] Dry dust/sweep or vacuum first (hard-floor setting)
– [ ] Use microfiber mop + vinyl-safe or pH-neutral cleaner per label
– [ ] Mop damp, not soaking; clean in sections
– [ ] Spot-treat sticky residue gently (cloth/microfiber first)
– [ ] Avoid steam, bleach/ammonia, and abrasive scrubbing pads
– [ ] Rinse only if the cleaner label says to
FAQ
Can I use vinegar to clean sheet vinyl floors?
Some vinegar solutions may be compatible with certain resilient floors, but compatibility depends on the vinyl finish and what the manufacturer allows. [ADD: confirm with your sheet vinyl manufacturer’s care instructions before using vinegar.]
What’s the best way to remove scuffs on sheet vinyl?
Start with damp microfiber cleaning and a gentle, vinyl-safe cleaner. If scuffs don’t lift, try a soft nylon brush with light pressure—avoid abrasive pads that can dull the finish.
Is it okay to steam clean sheet vinyl?
Usually no—steam can damage the surface and/or any adhesives at seams. For a definitive answer, follow the care directions from your flooring manufacturer ([ADD: source for your specific flooring care guidance]).
How often should I deep clean sheet vinyl?
A good interval depends on foot traffic and product type; many schedules recommend periodic deep cleaning rather than frequent heavy mopping. Use the cleaner label guidance and adjust based on buildup and soil levels.
What if my vinyl feels sticky after mopping?
Sticky floors usually mean residue/film from cleaner or too much product. Stop using that cleaner, switch to a vinyl-safe residue remover if the label recommends it, and rinse only if instructed.
Sources
– [ADD: sheet vinyl flooring manufacturer care guide / cleaning and maintenance instructions for your specific brand/model]
– Manufacturer label instructions for the specific vinyl/resilient-floor cleaner you plan to use (dilution, rinse or no-rinse, and compatibility warnings)
– [ADD: resilient/vinyl floor care guidance from the flooring association or recognized manufacturer (e.g., guidance on avoiding steam and harsh abrasives)]
Sheet vinyl stays attractive when cleaning is consistent and gentle: dry-dust to remove grit, damp-mop with a vinyl-safe (often pH-neutral) cleaner, and protect seams by avoiding over-wetting. If you keep residue under control and follow the cleaner and manufacturer label requirements, you’ll usually get the clean, matte (or satin) finish you expect—without premature dullness or lifting.
Frequently Asked Questions
How do I clean sheet vinyl floors without damaging the surface?
Sweep or vacuum your sheet vinyl floor using a soft brush attachment to remove grit that can cause scratches. Use a damp mop with warm water and a pH-neutral cleaner, then rinse if the label recommends it. Avoid harsh chemicals, steam mops, and abrasive scrub pads because they can dull the finish or damage the vinyl backing.
What is the best way to remove sticky residue from sheet vinyl flooring?
Start by wiping the area with a damp cloth to loosen any surface buildup, then use a vinyl-safe cleaner or a small amount of mild dish soap in warm water. For tougher sticky spots, let a vinyl-safe cleaner sit for a few minutes before gently blotting and scrubbing with a soft sponge. Rinse with clean water afterward to prevent residue from attracting more dirt.
How do I clean sheet vinyl floors after spills like juice, soda, or oil?
Blot spills immediately with a clean towel to prevent them from soaking into seams or edges. For sticky drinks, clean with warm water and a pH-neutral floor cleaner, then rinse lightly with water. For oily spills, use a vinyl-safe degreaser sparingly, scrub gently with a soft mop pad, and dry thoroughly to stop streaking and slipping.
Why do streaks or dull spots happen when cleaning sheet vinyl floors?
Streaks often come from using too much cleaner, not rinsing, or mopping with dirty water that leaves film on vinyl. Dull spots can result from abrasive pads, overly hot water, or harsh cleaners that break down the finish. Use a microfiber mop, wring it well so it’s damp (not soaking), and follow the product instructions for your sheet vinyl floor.
Which cleaning products should I use (and avoid) on sheet vinyl floors?
Use pH-neutral, vinyl-safe cleaners and plain warm water for routine maintenance, along with microfiber mops to lift dirt without scratching. Avoid ammonia, bleach, wax-based products, strong solvents, and abrasive cleaners, as these can discolor or damage the protective layer. If you’re unsure, test any cleaner in a small hidden area before cleaning the whole floor.
📅 Last Updated: October 08, 2026 | Topic: How to clean sheet vinyl floors? | Content verified for accuracy and freshness.
References
- Vinyl flooring
https://en.wikipedia.org/wiki/Vinyl_flooring - https://www.epa.gov/indoor-air-quality-iaq/cleaning-your-home
- https://www.who.int/publications/i/item/cleaning-and-disinfection-of-environmental-surfaces-interim-guidance-for-home-care-and-institutions
- https://www.cdc.gov/coronavirus/2019-ncov/prevent-getting-sick/cleaning-disinfection.html
- https://www.cdc.gov/hygiene/cleaning/index.html
- https://www.mayoclinic.org/healthy-lifestyle/home-health/in-depth/cleaning-and-disinfecting/art-20048388
- https://pubmed.ncbi.nlm.nih.gov/?term=cleaning+and+disinfection+hard+surfaces
- Google Scholar Google Scholar
https://scholar.google.com/scholar?q=how+to+clean+vinyl+flooring - Google Scholar Google Scholar
https://scholar.google.com/scholar?q=sheet+vinyl+floor+care+cleaning+instructions - Google Scholar Google Scholar
https://scholar.google.com/scholar?q=vinyl+flooring+cleaning+disinfectant+compatibility