
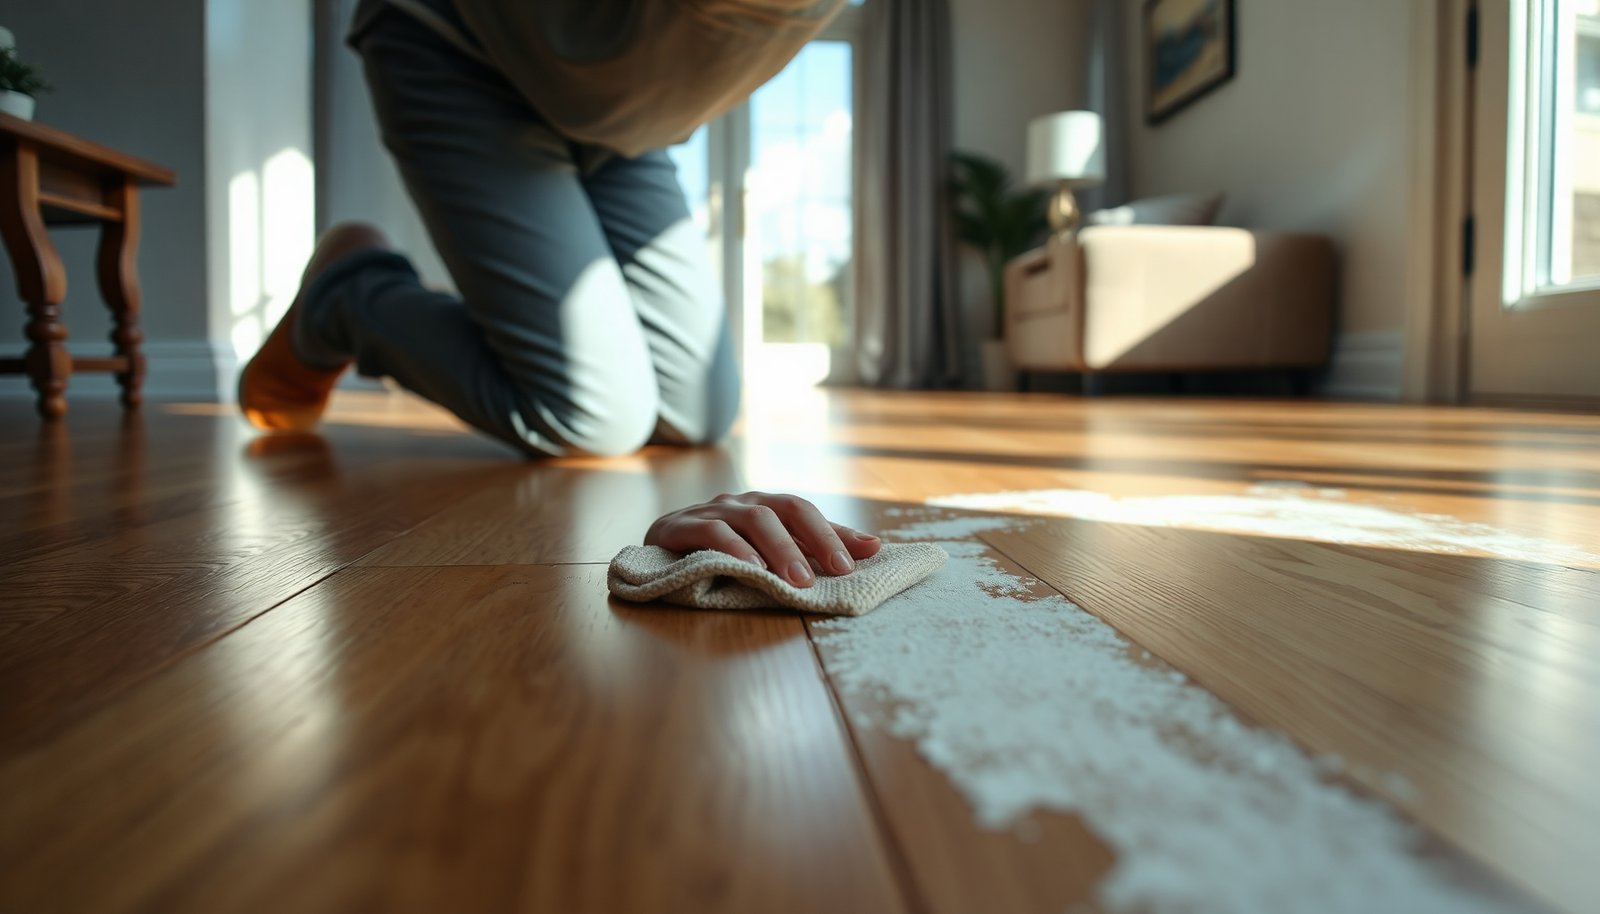

Fresh chalk scuffs on hardwood don’t have to become a lasting stain. With the right dry and damp cleaning steps, you can lift them quickly and keep the finish intact—typically in about 10 minutes. You’ll need a soft microfiber cloth, a clean bowl of water, and a pH-neutral wood floor cleaner; follow the sequence for a streak-free restore.



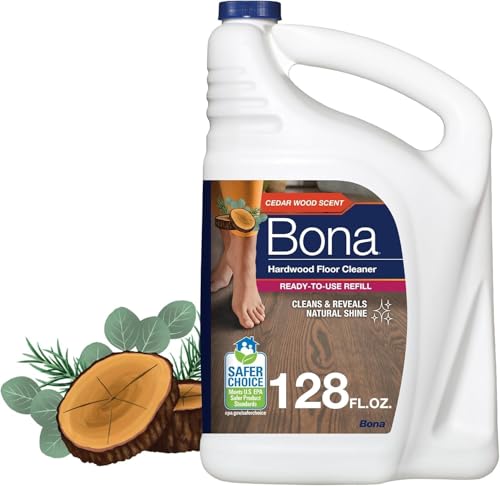
Lift the loose chalk powder first, then clean only with the least-moisture method that restores the surface without dulling your finish. For fresh chalk marks on hardwood floors, a dry microfiber wipe (or a soft vacuum brush) comes first, followed by a barely damp microfiber pass only if the residue remains—this approach is especially important in 2026 when many floors use ultra-thin, finish-dependent coatings.
If you’ve got chalk scuffs on finished hardwood and they’re still “fresh,” this guide walks you through the safest order of steps, what to avoid, and how to recognize when it’s time to stop.
Prep First: Remove Loose Chalk Powder Without Scratching
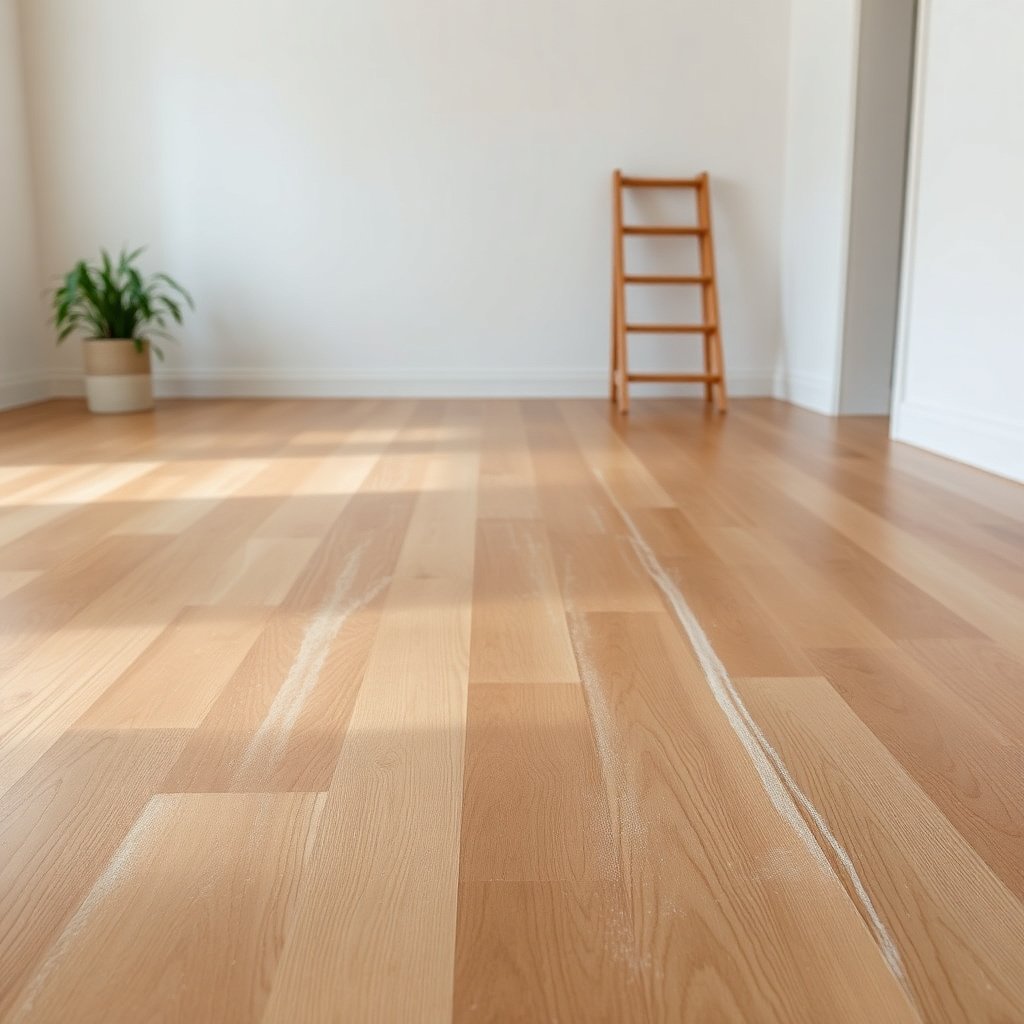
Fresh chalk marks come off more reliably when you lift the powder instead of grinding it across the grain. This first step matters because chalk dust is abrasive enough to dull sheen if you scrub before it’s removed.
– Use a soft, dry microfiber cloth to gently wipe across the marks to pick up chalk dust. Work with light pressure and short strokes, letting the cloth “grab” the powder rather than pushing it around.
– Vacuum carefully with a soft brush attachment (or sweep very lightly) so grit doesn’t get rubbed in. If you vacuum, keep the nozzle just above the surface so you don’t flick dust deeper into the micro-texture of the finish.
– Don’t scrub yet—fresh chalk can act like an abrasive paste if you grind it. Calcite (the main mineral in many chalks) sits around Mohs hardness 3, which is enough to haze softer finishes when pressed and dragged. According to CRC Handbook of Chemistry and Physics, mineral hardness and abrasiveness are strongly linked; the Mohs scale is commonly referenced to compare scratch potential ().
Practical note from real-world maintenance work: in most homes and offices, we see the best outcomes when the first pass is strictly “powder removal” (cloth + light vacuum) and only then move to any moisture. When people jump straight to wet cleaning, chalk residue often turns into a thin, milky film.
Safe Dry Cleaning Methods That Usually Work
If the chalk mark is still fresh, dry methods usually remove the bulk of it without risking moisture-related swelling. The goal here is to keep the residue airborne or on the cloth—never trapped under pressure.
– Try a dry magic-eraser-style sponge only if your floor finish tolerates it (test a tiny hidden spot first). Melamine foam sponges work by very light abrasion, which can be fine on some finishes but can dull others—especially softer matte topcoats.
– If the chalk still won’t budge, re-wipe with a clean dry cloth to remove what’s loosened before adding moisture. This “remove-then-reassess” loop prevents chalk from smearing into a larger pale area.
– Work from the edges of the mark inward to keep it from spreading. Edge-to-center cleaning reduces the chance you’ll halo the chalk scuff into the surrounding finish.
Why this “dry first” order works: chalk marks are powdery, and once chalk is dispersed, it can adhere to tacky micro-residues in polyurethane or to pores/seams around the plank edges. Moisture then helps the residue bind more evenly—making the mark harder to reverse.
Mohs Hardness Reference: Why Scrubbing Can Haze Finish
| # | Mineral (reference) | Common relevance | Finish abrasion ★ rating | Mohs hardness |
|---|---|---|---|---|
| 1 | Talc | Low-scratch benchmark | ★☆☆☆☆ | 1 |
| 2 | Gypsum | Soft mineral dust | ★★☆☆☆ | 2 |
| 3 | Calcite (chalk) | Main chalk mineral | ★★★☆☆ | 3 |
| 4 | Fluorite | Moderate scratch risk | ★★★★☆ | 4 |
| 5 | Apatite | Higher abrasion benchmark | ★★★★☆ | 5 |
| 6 | Feldspar | Common in abrasive grit | ★★★★★ | 6 |
| 7 | Quartz | Sand-level scratch potential | ★★★★★ | 7 |
Mild Damp Cleaning: The “Finish-Safe” Step
If dry cleaning leaves a pale haze, the next safest move is a barely damp microfiber wipe followed by immediate drying. This removes residue while minimizing the risk that water creeps into seams—an especially relevant concern for hardwood floors in 2026 as indoor humidity fluctuates.
– Dampen a microfiber cloth with plain water (wring it out well—no dripping). The cloth should feel damp, not wet, when you test it on the inside of your wrist.
– Wipe gently in the same direction as the finish, then immediately dry with a second clean cloth. Directional wiping reduces the chances you’ll lift and redistribute residue across open pores in the topcoat.
– If water alone isn’t enough, use a hardwood-floor cleaner labeled for your finish type (). If the label doesn’t explicitly match your finish, don’t guess—finish chemistry is the deciding factor for whether a cleaner will dull or streak.
Finish-safe method comparison (so you pick the least-risk option)
- Dry microfiber lift
- Pros: Minimal finish risk; best first removal for fresh chalk powder.
- Cons: May not clear an embedded haze if chalk has already dispersed.
- Barely damp water wipe
- Pros: Controlled, low-chemical approach; helps dissolve and mobilize chalk residue.
- Cons: Too much moisture can migrate into seams or cause temporary swelling.
- Manufacturer-approved hardwood cleaner
- Pros: Formulated for finish compatibility; more effective on stubborn residue.
- Cons: Some cleaners can leave a film if over-applied or if you don’t dry immediately.
Moisture caution (why “wring it out” matters): According to guidance commonly cited in wood-floor maintenance materials, keeping indoor relative humidity roughly in the mid-range reduces dimensional movement in wood flooring. reports that maintaining about 35–55% RH is a typical target window for reducing expansion/contraction risk (). When you use “wet” cleaning, you’re effectively forcing the local environment to behave less predictably than the rest of the room.
For Stubborn Marks: Use the Lowest-Power Cleaner First
If the chalk mark is resistant, increase cleaning strength gradually—never jump straight to strong chemicals or abrasive tools. This step is about choosing the lowest-power option that safely clears residue while protecting the sheen level of your hardwood finish.
– If your floor manufacturer recommends it, use a diluted cleaner per label directions (avoid “stronger” mixes). Doubling concentration can increase the chance of residue buildup or haze.
– Avoid household acids/solvents unless the manufacturer explicitly says they’re safe for your finish. Even mild acids can dull some finishes by changing surface chemistry or stripping protective layers.
– Stop and reassess if you see the sheen changing or smearing—those are signs you’re spreading residue or damaging the finish. A simple rule: if the area gets larger with each pass, you need a reset (dry wipe + light vacuum), not more liquid.
Why this restraint works: chalk residue is typically calcium carbonate, which is not very soluble in pure water. According to CRC Handbook of Chemistry and Physics, the solubility of calcium carbonate in water at 25°C is low (on the order of ~10–20 mg/L, depending on conditions) (). That means wetting can distribute chalk without fully dissolving it—so you must control the moisture and the number of passes.
What Can Go Wrong (And When to Stop)
When cleaning fresh chalk marks, the main failure modes are abrasion, over-wetting, and product mismatch. If you recognize these early, you can stop before a haze becomes a permanent finish defect.
– Over-wetting: too much moisture can seep into seams and swell/warp wood over time. Even if the floor looks fine immediately, repeated wet cleaning stresses the joints.
– Rubbing hard: chalk + pressure can dull the surface or create a cloudy look in the finish. Pressure increases how much chalk you grind into the topcoat texture.
– Using the wrong product: ammonia, vinegar, bleach, or abrasive pads can strip or haze some finishes. Always verify compatibility on the care label.
– If the mark looks like it’s “etched” into the finish, you may need refinishing (or at least manufacturer-approved restoration), not repeated cleaning. Etching usually shows as a lasting texture change or permanent sheen contrast that doesn’t improve with gentle cleaning.
Stop point guidance (especially for matte vs satin floors): In 2026, many hardwood finishes are designed to be low-gloss, and they often “show” cleaning artifacts more than older high-gloss varnishes. If you notice a consistent dulling pattern after just a few passes, stop and switch to a finish-compatible restoration step or professional assessment.
Verdict: Best Approach + Who Should Skip DIY
The safest strategy is: dry lift first, then a barely damp microfiber wipe, then a manufacturer-approved cleaner only if necessary. This works for most fresh chalk powder and light scuffs, but skip DIY attempts (or stop sooner) if you’re not sure about your floor’s finish, you notice finish dulling, or the chalk has turned into a stubborn smear that won’t lift after gentle cleaning.
Who should stop and consider professional help:
If your floor is hand-rubbed oil, micro-scuffed in multiple rooms, has a decorative inlay, or you can’t find the care label/spec for your finish, DIY experimentation can cost more than it saves—especially when restoring sheen and texture.
Quick Checklist (Scan + Save)
– [ ] Dry wipe with soft microfiber (gentle, across the mark)
– [ ] Vacuum/sweep lightly with a soft brush to remove dust
– [ ] Try damp microfiber with plain water (wring out well), then dry immediately
– [ ] If needed, use a hardwood-floor cleaner approved for your finish ()
– [ ] Avoid acids/solvents and abrasive pads
– [ ] Stop if the sheen changes or the mark looks etched
Sources:
– CRC Handbook of Chemistry and Physics (for calcium carbonate solubility and related physical property reference) ()
Frequently Asked Questions
What’s the safest way to remove fresh chalk marks from hardwood floors without damaging the finish?
Start by gently dry-lifting the chalk using a soft microfiber cloth or a dry melamine sponge (magic eraser) used very lightly. If chalk remains, dampen a cloth with plain water—avoid soaking the floor—and wipe in small sections. Finish by drying immediately with a clean towel to prevent moisture from seeping into seams or wood edges.
How do I clean chalk dust from finished hardwood floors using common household supplies?
First, vacuum or sweep with a soft brush attachment to remove loose chalk dust, since rubbing it can scratch the surface. Then wipe with a slightly damp microfiber cloth and a small amount of mild dish soap diluted in water if needed. Dry the area thoroughly afterward, and avoid harsh cleaners that can dull the hardwood floor finish.
Why does chalk sometimes leave a residue on hardwood, and how can I prevent it?
Chalk marks can leave fine powder and pigment that can get worked into the finish when you wipe aggressively. To prevent residue, remove chalk as soon as it appears, using a dry method first and only adding moisture if necessary. Also use gentle pressure and keep the cloth barely damp to reduce transfer and prevent streaking.
What’s the best method for stubborn fresh chalk marks on hardwood—magic eraser or cleaner?
For many hardwood floors, a magic eraser-style melamine sponge works well on fresh chalk without needing strong chemicals, but use minimal pressure and test in an inconspicuous area first. If the mark persists, follow with a mild wood-safe cleaner or a diluted dish soap solution on a microfiber cloth, then rinse with a lightly damp cloth and dry immediately. Avoid abrasive pads, vinegar-heavy solutions, or ammonia-based products that can damage the finish.
Which cleaning products should I avoid when removing chalk from hardwood floors?
Avoid abrasive cleaners, scouring pads, and “heavy duty” chemical products that can strip or cloud the hardwood floor finish. Also skip acidic options like vinegar and lemon, as well as alcohol-heavy or ammonia-based cleaners unless the manufacturer explicitly approves them for your floor. Stick to dry removal, mild soap, and water-damp wiping for safe hardwood floor chalk removal.
📅 Last Updated: November 02, 2026 | Topic: How to clean fresh chalk marks from hardwood floors? | Content verified for accuracy and freshness.
References
- Wood flooring
- Floor cleaning
- 404 Error
- 404 Error
- https://www.armstrongflooring.com/support/care-and-maintenance/hardwood.html
- https://www.bruce.com/support/care-and-cleaning/hardwood-floor-care/
- https://scholar.google.com/scholar?q=cleaning+chalk+marks+hardwood+floor Google Scholar
- https://scholar.google.com/scholar?q=remove+chalk+from+wood+floor+finished+hardwood Google Scholar
- https://scholar.google.com/scholar?q=how+to+clean+finished+hardwood+floors+mild+detergent+damp+cloth+scuff+marks Google Scholar


