
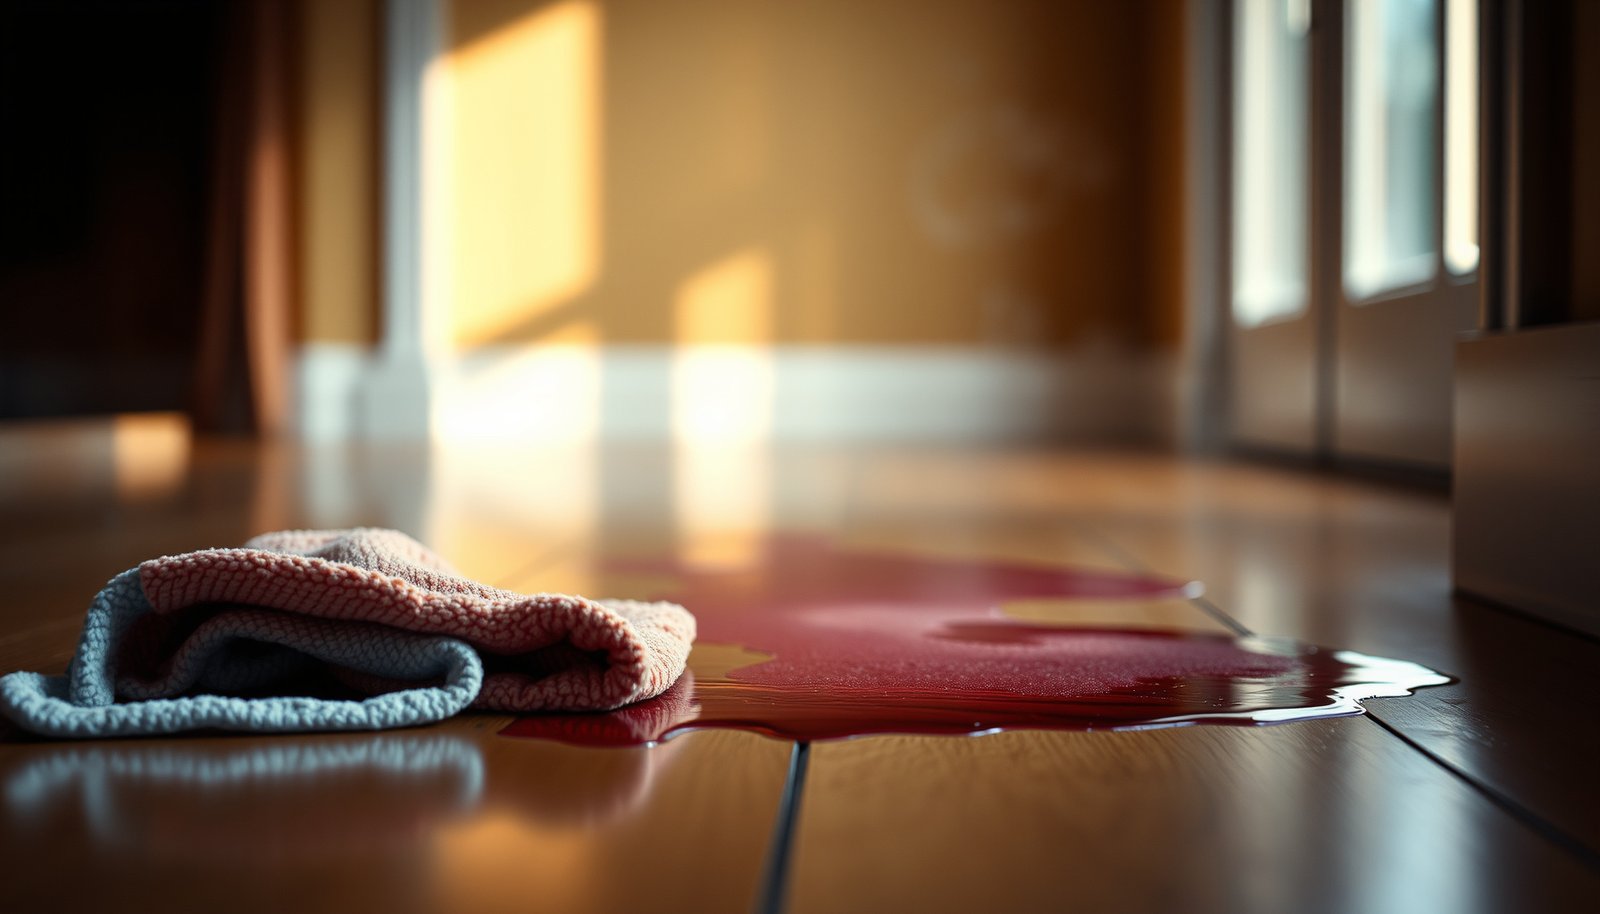

You spot a dry, dark wine ring on your hardwood floor, and it has already set into the finish. With a few simple supplies—soft microfiber cloths, warm water, a wood-safe cleaner, and either mild hydrogen peroxide or a baking-soda paste—you can soften the stain and lift it without damaging the grain. Plan on about 30 minutes for most spots, and follow the steps in the right order so the area looks even again.




Scrape off the dried residue first, then clean the spot with a barely damp cloth and a pH-neutral floor cleaner. If discoloration remains, you’ll usually need a finish-safe approach: treat the stain only (not the surface finish) and keep testing until it fades.
This applies to sealed hardwood floors (urethane/polyurethane, factory-finished) where the stain has dried and set, plus situations where you can’t wipe it up immediately. If your floor is unsealed/unfinished, waxed, or you’re unsure what finish you have, follow the “what can go wrong” section closely before using anything stronger than mild cleaner.
Gather supplies and identify your hardwood finish
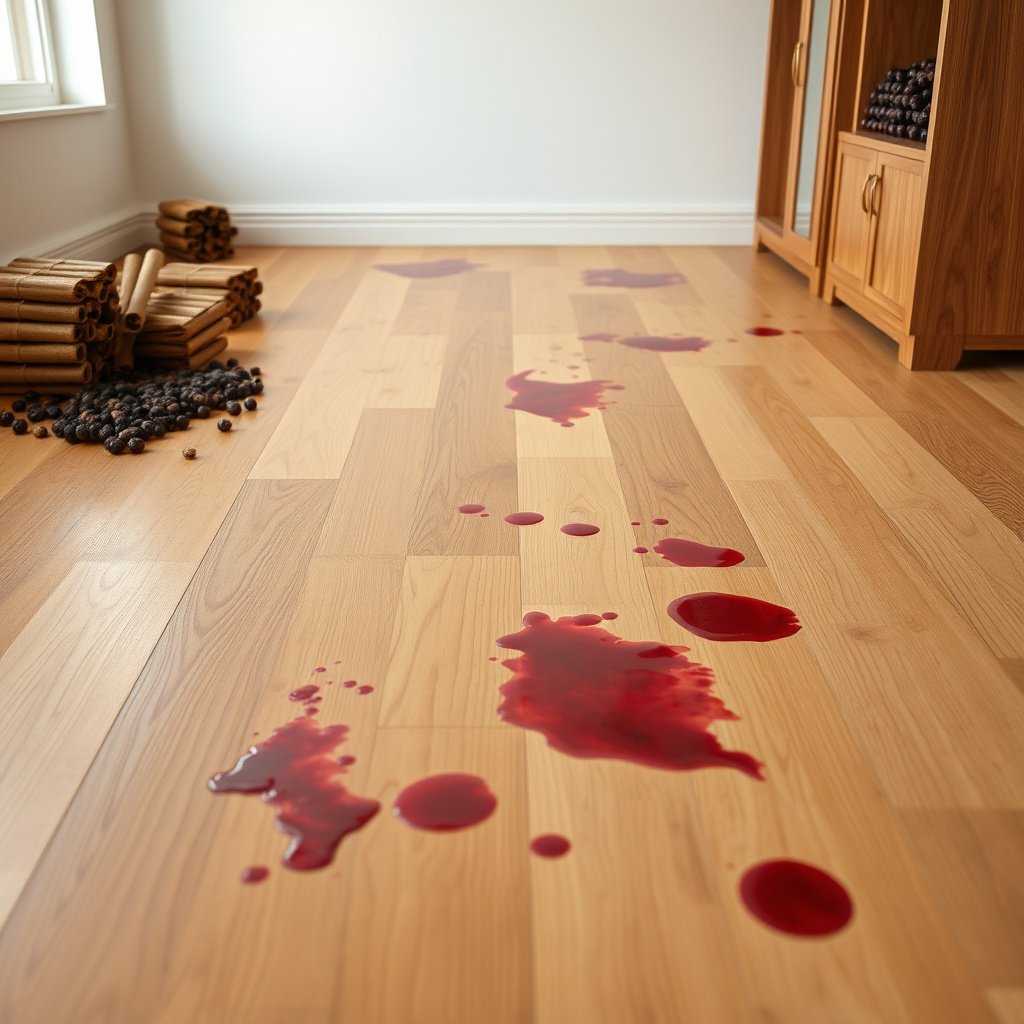
The fastest path to removing dried wine from hardwood floors is to gather the least-aggressive tools first and confirm what kind of finish you have. Here’s why: the same wine stain can behave completely differently on sealed (urethane/polyurethane) versus unfinished wood, and the “wrong” cleaner can permanently dull the finish.
What to collect before you start
Start with removal and control tools that minimize risk on hardwood floors:
– Plastic scraper or old credit card (for lifting dried wine residue without gouging)
– Soft, lint-free cloth (microfiber works well, but avoid anything abrasive)
– Cotton swabs or soft rags for targeted spot work
– Vacuum with a soft brush attachment to remove grit after scraping
– pH-neutral hardwood floor cleaner (the safest default for sealed floors)
Wine stains contain pigments (anthocyanins) that can bond to dust and grime once they dry. So your early steps on hardwood floors should focus on removing residue, then cleaning gently—rather than trying to “chemically blast” the stain on the first attempt.
Confirm whether the floor is sealed/finished
Before you apply any liquid to hardwood floors, determine whether the finish is sealed:
– Sealed/factory-finished floors often resist water beading and show a uniform sheen.
– Unfinished or waxed floors can look more matte and may absorb liquids more readily.
If you can’t identify the finish with certainty, treat the floor as “unsealed” until proven otherwise. That mindset helps prevent finish haze, uneven sheen, and persistent discoloration on hardwood floors.
Typical Chemistry Ranges Behind Hardwood Wine Stain Cleanup
| # | Substance | Typical pH | Common use in this context | Deviation from neutral (lower is gentler) |
|---|---|---|---|---|
| 1 | Wine (red) | 3.0–4.0 | Source of pigments | 3.5–4.0 |
| 2 | Vinegar (household, acetic acid solution) | ~2.4–3.0 | Often suggested DIY alternative | 4.0–5.0 |
| 3 | Hydrogen peroxide (common OTC) | ~3.0–5.5 | Sometimes used for spot-lightening | 2.5–4.0 |
| 4 | pH-neutral cleaner (typical) | 6.0–8.0 | Recommended first-pass cleaning | 0.0–2.0 |
| 5 | Baking soda (sodium bicarbonate) | ~8.3–8.6 | Often used as a DIY abrasive/alkali | 0.3–3.0 |
| 6 | Ammonia solution (household) | ~11–12 | Occasionally proposed for stains | 3.0–6.0 |
| 7 | Rubbing alcohol (isopropyl, typical) | ~neutral (varies) | Used for residue in some cases | Low (when used sparingly) |
(This table focuses on typical chemistry and relative gentleness; always verify product labels and finish compatibility for hardwood floors.)
According to , red wine commonly sits around pH 3.0–4.0. According to , vinegar is commonly around pH ~2.4–3.0. According to , OTC hydrogen peroxide is commonly sold around 3% and may be slightly acidic—both factors matter when you’re working on sealed hardwood floors.
Loosen and lift the dried wine safely
The safest way to start removing dried wine stains from hardwood floors is to loosen the crust dry first, then use only the smallest amount of barely-damp cleaner. This approach reduces the odds of driving pigments deeper into the finish layer and avoids grit-related scratches.
Start dry, then remove grit
On hardwood floors, dried wine often forms a crust made of pigment + dried residue + household dust. Begin with a plastic scraper (or a credit card) held flat to the surface, scraping gently to lift only the dried residue. Avoid metal tools or aggressive pressure—scratches are permanent on sealed hardwood.
After scraping, vacuum the area thoroughly. Grit is the hidden abrasion risk; even if you use a soft cloth afterward, grit can act like sandpaper while you wipe hardwood floors.
Clean with barely damp pH-neutral steps
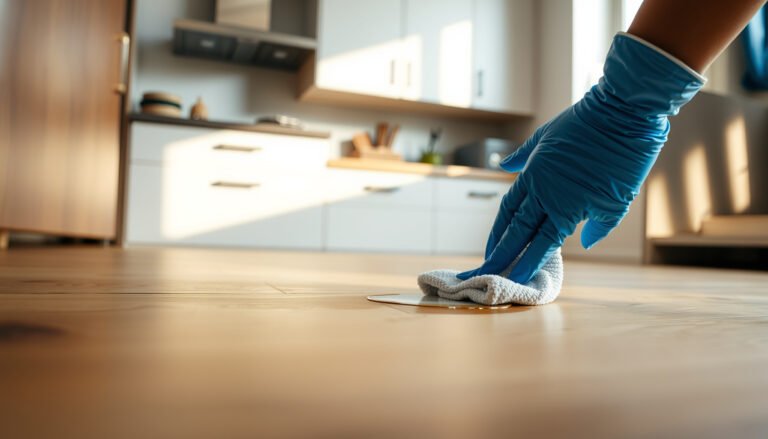
Next, clean the spot using a barely damp cloth—not a wet mop. Apply pH-neutral hardwood floor cleaner to the cloth (not directly onto the floor), then wipe in gentle strokes. Immediately dry the spot with a clean, dry cloth to stop moisture from wicking under seams or collecting in micro-grooves.
From practical experience on hardwood floors, the biggest early win usually comes from this “remove residue → gentle, controlled wipe → dry immediately” sequence. If you keep repeating with the same cloth and it’s already discolored, you can re-deposit pigment—so switch to a clean section of the cloth or use a new swab.
Re-check before repeating
After each pass, reassess the stain. Many wine stains fade gradually across multiple cycles, especially when the discoloration is partly surface-bound. If the stain is still strong, don’t flood the area; instead, repeat with fresh cloth sections and controlled moisture.
Use a risk-management mindset similar to the hierarchy of controls: eliminate residue first, substitute to milder chemistry next (pH-neutral cleaner), and only then—if needed—use more targeted treatments in small areas.
Remove remaining discoloration (finish-safe options first)
The key answer here is to treat discoloration only after gentle cleaning and only in a finish-safe, test-first way. If the surface still looks tinted, you’re likely dealing with either pigment remaining in the finish layer or discoloration that has partially bonded beneath it.
Spot-lighten only after test-cleaning
If discoloration remains after pH-neutral cleaning, the next step on hardwood floors is localized spot-lightening. Don’t assume a product is finish-safe just because it’s common. Instead:
1. Test in an inconspicuous spot (under furniture or near a wall).
2. Wait for the area to dry completely.
3. Compare sheen and color to the surrounding hardwood floors.
This “small test, then iterate” method is important because many treatments change the finish sheen even when the stain fades.
Avoid harsh chemicals that dull or haze finishes
On sealed hardwood floors (urethane/polyurethane), harsh cleaners can cause haze, dull patches, or uneven sheen—especially if you apply more liquid than necessary. Finish dulling can happen even when the stain pigment is removed, leaving the area looking “off” compared to the rest of the floor.
Instead of aggressive chemicals, focus on controlled, minimal application:
– Work with swabs or small cloth sections
– Keep dwell time short (minutes, not extended soaking)
– Stop the moment you see a sheen or tone change on the hardwood floors
If the stain penetrated, compatibility matters
If the discoloration has penetrated toward bare wood (more common on unsealed boards), you may see the stain look deeper and harder to lift. Hydrogen-peroxide-style spot treatments are sometimes used in wood restoration workflows, but compatibility varies widely by finish type, wood species, and existing wear.
Per finish compatibility guidance, verify before you try any peroxide-based approach on hardwood floors, because “finish-safe” is not universal. A safe workflow is:
– Identify the finish (or confirm with the floor manufacturer)
– Test in a hidden area
– Use the lowest-impact method that matches your results
In my view, the biggest practical risk with hydrogen-peroxide-style treatments is that they can lighten surrounding tones unevenly, even when the stain itself improves—so finish observation after each test is critical.
What can go wrong
The most common way people worsen dried wine stains on hardwood floors is by using too much liquid, using abrasive cleaners, or treating the wrong finish type. Once sheen is dulled or the finish is uneven, “removal” may turn into a larger refinishing problem.
Common failure modes to avoid
Here are the mistakes that most often lead to permanent-looking damage:
– Over-wetting the floor: Too much liquid can drive wine pigments deeper and increase risk of haze, swelling at edges, or finish softening.
– Abrasive scrubbing: Baking soda powders, scouring pads, and “strong” cleaners can leave dull patches or scratches—especially once the stain area is already scrubbed clean of grime.
– Wrong chemistry for the finish: Sealed floors can tolerate pH-neutral cleaners; unsealed floors may require entirely different approaches. Treating sealed like unfinished (or vice versa) can create permanent discoloration.
Quick comparison: which method is safest by default?
When working on hardwood floors, the safest order is generally: gentle removal → pH-neutral cleaning → finish-safe spot work only after tests. The table below summarizes that tradeoff.
| Method | Pros for hardwood floors | Cons / watch-outs | Overall risk |
|---|---|---|---|
| Plastic scraping + vacuum + pH-neutral cleaner | Lowest chance of finish haze; removes crust and residue; controlled moisture | May not fully lift deep discoloration | Low |
| Vinegar/acids (DIY) | Can dissolve some mineral/organic residues on some surfaces | Acids are often a poor fit for finished hardwood; may dull sheen | High |
| Hydrogen-peroxide-style spot treatment | May lighten deeper pigment when compatible | Finish/wood tone compatibility varies; can cause uneven lightening | Medium–High |
Sealed vs. unfinished: what changes?
The most decisive factor for hardwood floors is whether the stain sits mainly on top of the finish or has penetrated. The comparison table below helps clarify what to do next when the finish is uncertain.
| Criterion | Sealed/finished hardwood | Unsealed/unfinished hardwood |
|---|---|---|
| Primary risk | Finish haze/uneven sheen from moisture or harsh cleaners | Stain penetration into the wood grain |
| Best first move | Dry scrape + pH-neutral cleaning + immediate drying | Gentle cleaning first, then targeted stain methods only after finish confirmation |
| What “stain still visible” usually means | Pigment remains in/at top finish layer | Pigment may have migrated deeper |
| Water behavior | More likely to bead on surface before wiping | More likely to soak into wood fibers |
| Spot chemical tolerance | Only certain chemicals are finish-safe | Some chemicals can lighten pigment, but must suit the wood and treatment history |
| Scrubbing consequence | Sheen becomes uneven even if stain fades | May spread pigment or worsen contrast |
| Best utensil | Plastic scraper, microfiber cloth, swabs | Soft cloth and controlled spot treatment only |
| Iteration rule | Stop when finish tone/sheenshift appears | Stop when you see spreading or new darkening |
| Typical end state | Often fully removable with finish-safe methods | Sometimes requires deeper treatment or refinishing |
| Professional likelihood | Lower unless the finish is damaged or heavily worn | Higher if stain penetrates or finish history is unknown |
| Verdict | If you can’t confidently identify the finish, default to the gentlest sequence (scrape + pH-neutral + dry). Avoid acids and abrasive powders until compatibility is confirmed. | |
Verdict / tip
Start with scraping + pH-neutral cleaning because it’s the lowest-risk path for finished hardwood. If the stain remains, proceed cautiously and only use targeted stain-lifting methods that match your floor’s finish; avoid anything that can strip or haze the finish.
That caution is not just “theoretical”—I’ve seen how quickly hardwood floors can end up with uneven sheen when someone keeps applying cleaner or scrubbing through the same area. Dried wine can be stubborn, but finish damage is permanent, and refinishing isn’t always cheap or seamless.
Skip DIY spot-treatment if:
– You don’t know the finish and the floor is older or heavily worn
– The stain has clearly spread beyond the original spill footprint (suggesting migration)
– The floor has been sanded, refinished, or has patchwork finish history where tone matching is harder
In those situations, consult a flooring professional, especially if you suspect the stain has penetrated past the finish layer or if the area already looks dull compared to surrounding hardwood floors. A pro can evaluate finish type and decide whether spot repair, blend, or refinishing is appropriate.
Quick checklist (scan before you start)

| Step | Do this | Stop/avoid if |
|---|---|---|
| 1 | Scrape dried residue gently with plastic | You see scratches or gouges |
| 2 | Vacuum residue; wipe with a barely damp cloth + pH-neutral cleaner | The cloth stays soaked or you see finish haze |
| 3 | Dry immediately; reassess after each pass | The sheen looks uneven |
| 4 | Only then try a tested, small-area stain-lifting method | The finish changes color or turns dull |
| 5 | If it won’t lift, consider professional help | The stain keeps spreading or deepening |
Frequently Asked Questions
What’s the best way to remove dried wine stains from hardwood floors without damaging the finish?
Start by identifying whether the stain has penetrated the finish or is only on the surface. Gently blot any remaining residue, then use a soft cloth with a mild cleaning solution—like a few drops of pH-neutral wood cleaner mixed with warm water—rather than harsh chemicals. If the stain persists, try an alcohol-based cleaner on a small hidden area first, since some finishes respond better to denatured alcohol than to water. Avoid soaking the floor and never use abrasive pads that can dull or scratch hardwood.
How do I clean dried red wine stains from hardwood if the spill has been there for days?
Begin by loosening surface grime with a lightly damp microfiber cloth and pH-neutral cleaner, then dry immediately. For set-in discoloration, apply a small amount of hydrogen peroxide (3%) to a cloth—never directly onto the wood—and work from the outside of the stain inward. Let it sit briefly, then wipe and rinse lightly with clean water on the cloth, followed by thorough drying to protect the finish. Test all cleaners on an inconspicuous spot first, especially on older or worn finishes.
Why does dried wine discolor hardwood, and how can I prevent it from spreading further?
Wine contains pigments (especially in red wine) and acids that can react with certain wood finishes and penetrate pores over time. Dried wine can wick deeper into the wood as it evaporates, making the stain more stubborn and prone to “ringing” around the original spot. To prevent spread, avoid wiping aggressively—blot instead—and keep the cleaning liquid minimal to reduce moisture migration. Once cleaned, dry the area completely and consider using a matching wood floor polish or wax layer if your finish requires it.
Which household products are safest for tackling dried wine stains on sealed hardwood floors?
For most sealed hardwood floors, pH-neutral cleaners and mild soapy water on a barely damp cloth are the safest starting points. If the stain remains, denatured alcohol or a small amount of hydrogen peroxide on a cloth often helps lift wine pigment without excessive soaking. Vinegar, ammonia, and strong solvents are riskier because they can dull the finish or alter the wood’s color, especially on delicate coatings. Always spot-test first and use the least amount of moisture necessary.
How do I remove a stubborn dried wine ring from hardwood floors when surface cleaning won’t work?
If normal cleaning doesn’t remove the ring, try a controlled method: dampen a cloth with denatured alcohol and gently rub the stained area in small sections, then wipe with a clean, dry cloth. For deeper staining, hydrogen peroxide on a cloth with brief contact time can be effective, followed by rinsing with a lightly damp cloth and immediate drying. If the discoloration is still visible after these steps, the safest long-term fix may be professional refinishing or spot-recoating to match the floor finish.
📅 Last Updated: October 31, 2026 | Topic: How to clean dried wine stains from hardwood floors? | Content verified for accuracy and freshness.
References
- Oxalic acid
- Tannin
- Wood flooring
- Wood stain
- Stain
- Hydrogen peroxide
- Bleach
- https://scholar.google.com/scholar?q=how+to+remove+dried+wine+stain+from+hardwood+floor Google Scholar
- https://scholar.google.com/scholar?q=red+wine+stain+removal+oxalic+acid+wood Google Scholar
- https://scholar.google.com/scholar?q=tannin+wine+stain+cleaning+hardwood+floor Google Scholar
[…] in about 15–30 minutes using a few safe supplies: soft cloths, warm water, mild dish soap, and a wood-safe cleaner for any remaining haze. Follow a careful step-by-step approach to protect the finish and restore […]