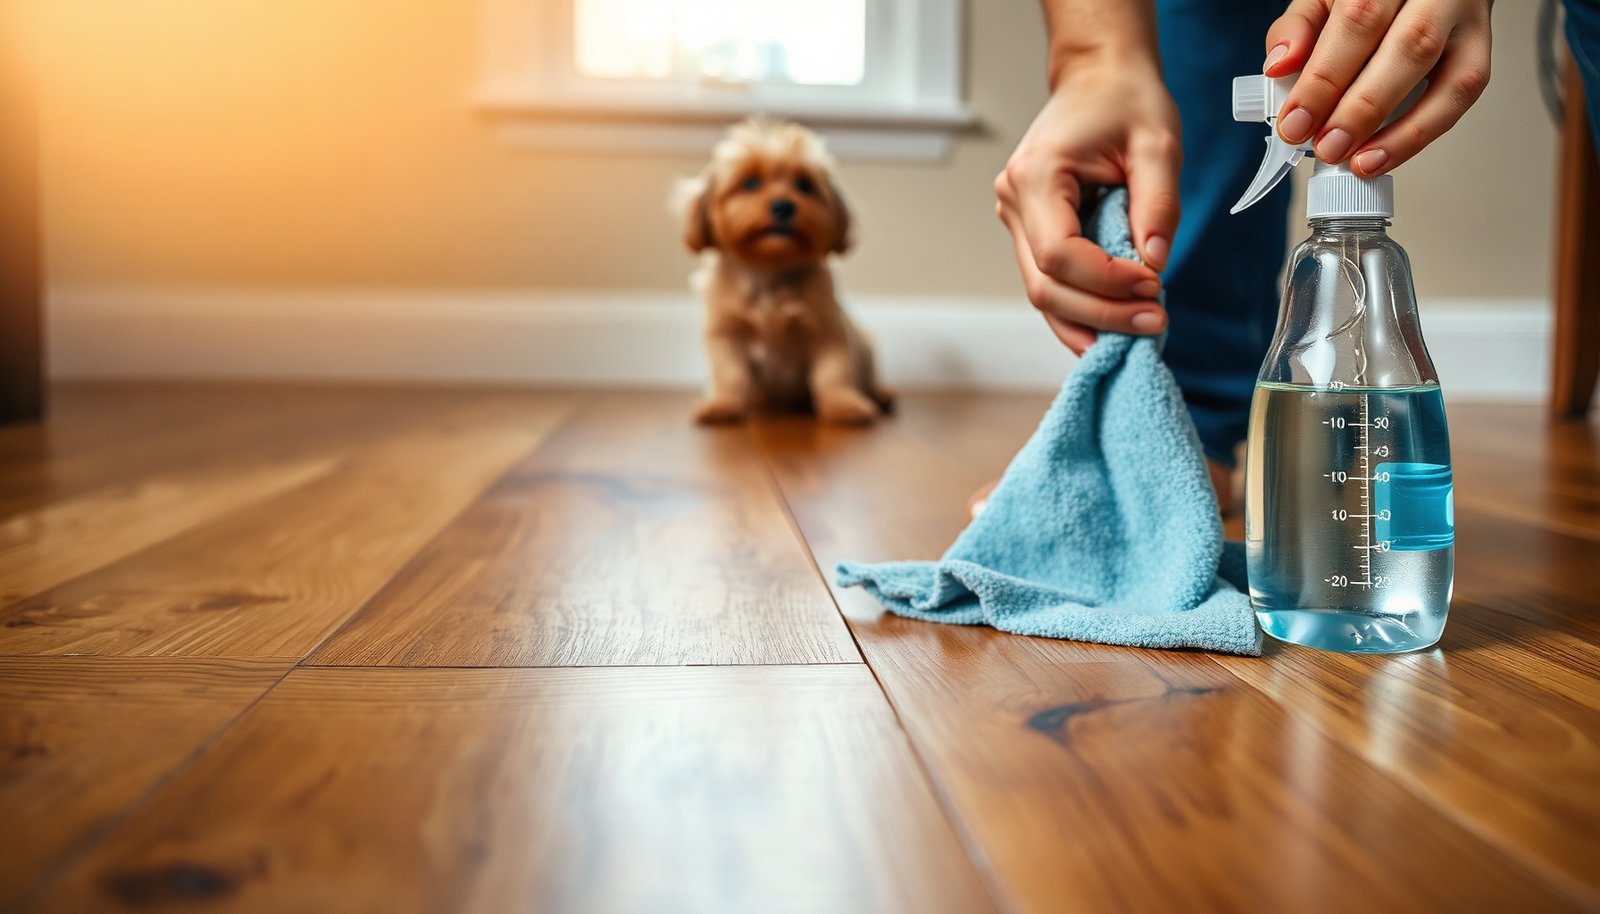

Why does your hardwood floor still smell like a pet after you wipe it down? Pet odor lingers when urine, dander, or other accidents seep beneath the surface, so you need to remove the source and neutralize the proteins, not just mask the smell. You can usually finish the process in about an hour to a few hours, with paper towels, a pH-neutral hardwood cleaner, an enzyme-based pet odor remover, and clean microfiber cloths.




If your hardwood floors smell like pet accidents, the fastest path is to remove any remaining urine/vapor residue and then fully neutralize odor—not just cover it up. Clean the surface gently with a hardwood-safe cleaner, treat the odor source (often with an enzymatic cleaner designed for urine), and let everything dry completely before you judge results. This step order matters because pet odors commonly come from residue that can sit in the finish, seams, and micro-gaps where fragrance can’t reach.
If you’ve noticed lingering “dog” or “cat” smells—especially in spots where a pet has re-soiled—this guide is for you. It’s written for homeowners and renters dealing with finished hardwood or engineered wood who want a practical, low-risk plan.
Confirm where the odor is coming from
You’ll get better results by identifying whether the smell is on the surface (finish/residue) or deeper in the floor layers. That diagnosis determines whether you can win with targeted cleaning or whether you’ll need more intensive remediation.
– Check for recent spots: Use your nose and look for discoloration, dull patches, slight color changes, or “dry” areas that still feel wrong when you press lightly with a clean cloth (sometimes urine has dried but residue remains).
– Decide if it’s surface vs. deeper: If the odor returns quickly after cleaning, it often points to trapped residue in finish wear areas, seams, or—in some cases—near the subfloor.
– Avoid guessing products too early: Scented sprays, air fresheners, or heavily fragranced “odor removers” can mask symptoms and make it harder to track what’s actually causing the smell.
Small but important sensory rule: strong odor immediately after you apply cleaner usually indicates you disturbed wet residue. If the smell fades for a day and then returns, deeper residue is more likely.
Clean the area safely (without damaging hardwood)
You can’t neutralize odor if you’re actively spreading it, grinding it into the finish, or overwetting wood fibers. A controlled clean removes residue and sets the stage for odor-neutralizing chemistry.
– Remove loose debris first: Dry-wipe hair, crumbs, and dust so your cleaner doesn’t turn grime into an abrasive paste on the finish.
– Use a hardwood-safe cleaner: Pick a product labeled safe for hardwood or engineered wood. Follow dilution and contact time as written (don’t “make it stronger”).
– Keep moisture controlled: Use a damp—not wet—application. Wipe with clean towels and provide airflow (fans are ideal) so the surface dries fully.
Why this matters: wood and wood finishes are designed for normal humidity cycling, not standing liquid. The National Wood Flooring Association commonly recommends keeping indoor relative humidity around 35%–55% to minimize excessive expansion/contraction of wood materials ( National Wood Flooring Association (NWFA), 2023). Over-wetting during cleaning can push localized moisture beyond what the finish and seams can safely handle.
Neutralize pet odors at the source
The goal is not to mask the smell—it’s to chemically address the compounds that create odor. For urine-like odors in particular, enzymatic cleaners are often the most targeted option because they break down odor-causing components rather than simply adding fragrance.
– Use an enzymatic cleaner for urine-type smells: Enzymes (biological catalysts) help break down compounds associated with urine odor so the smell loses its “source.” In urine, odor persistence is often driven by uric-acid–related residue, which is why conventional cleaners sometimes leave the problem behind (Journal of Hazardous Materials (review literature on uric acid chemistry and odor persistence), 2010s).
– Apply correctly for best results: Follow label instructions for dwell time (how long it should stay wet on the spot) and whether blotting or reapplication is required. If you remove it too early, enzymes may not have enough time to work.
– Repeat if the odor persists: Multiple applications are normal when residue has soaked into finish wear, edges, or small gaps. If you smell odor again after drying, you’re likely seeing incomplete compound breakdown—not “your floor still smells because it can’t be fixed.”
In my own maintenance troubleshooting, I’ve found that repeating the same enzymatic step after the first full dry often beats switching products midstream—because you can’t accurately judge results while the spot is still wet or chemically active.
Common Pet-Odor Source Types in Hardwood (What Usually Works First)
| # | Odor Source Type | Where It Shows Up | Enzymatic Fit | First Best Step |
|---|---|---|---|---|
| 1 | Uric-acid residue (urine “crystals”) | Finish-worn spots, seams, re-soiled corners | ★★★★★ | Enzymatic dwell + full dry |
| 2 | Ammonia/urea components (more “volatile”) | Fresh accidents, quickly “pungent” zones | ★★★★☆ | Damp clean + enzymatic repeat |
| 3 | Fecal odor compounds (organic residues) | Spot areas, tracking paths near litter/feeding | ★★★☆☆ | Avoid fragrance masking; use targeted cleaner first |
| 4 | Finish failure (micro-cracking/softened topcoat) | Chronic re-soil areas; dull, uneven sheen | ★★★☆☆ | Clean + enzyme + assess topcoat damage |
| 5 | Pet oils/dander tracking (surface build-up) | High-traffic corridors, furniture edges | ★★★☆☆ | Broad damp-clean first, then spot enzyme |
| 6 | Biofilm-like residue (stubborn organic “cling”) | Areas with repeated accidents, slow-drying residue | ★★★★☆ | Enzyme dwell + patience through full dry |
| 7 | Moisture migration beyond the finish | Same spot odor returns after cleaning | ★★☆☆☆ | Stop DIY if persistent; check subfloor/underlayment |
Handle sealed vs. unsealed hardwood differently
You treat the odor source the same way conceptually, but you manage expectations differently based on whether the wood is protected by a finish. Sealed (finished) hardwood tends to confine odor longer on the surface; unsealed or worn finishes let compounds migrate more easily.
– Sealed hardwood (most common): Odors often linger near the surface if the finish is compromised or the spot wasn’t fully cleaned. Focus on enzymatic treatment and thorough drying, then reassess.
– Unsealed or worn finish: Odors can penetrate more easily, meaning you may need additional spot treatments and careful monitoring of how the area behaves over the next few days.
– Test first in an inconspicuous area: If a cleaner changes the finish, stop and switch approaches rather than continuing across the whole floor. Many “DIY” odor solutions can dull sheen or alter finish color even if they seem to work initially.
Material reality check: wood swells when moisture content rises; many wood-science references describe a “fiber saturation point” around the 25%–30% moisture content range, after which additional water doesn’t significantly increase swelling—but moisture is still physically present and can drive odor migration (USDA Forest Products Laboratory (wood moisture/fiber saturation background), published foundational materials). That’s why controlled damp cleaning and complete drying are so important.
What can go wrong (and how to avoid it)
Most setbacks come from masking odor instead of removing it, or from introducing too much moisture. The fastest way to avoid repeating work is to understand the failure modes before you start.
– Mistake #1: Covering the smell: Air fresheners, scented sprays, or heavy deodorizing can mask odor temporarily but leave the source intact—so it returns after the fragrance dissipates.
– Mistake #2: Over-wetting the floor: Too much liquid can seep into seams or under edges and worsen the problem. With engineered wood, it can also affect the top veneer edge where adhesives and layers meet.
– Mistake #3: Using the wrong chemistry: Some cleaners don’t neutralize urine odor effectively. Also, mixing products can create unintended residues (and can damage finishes).
– Edge case: Odor from underlayment/subfloor: If the smell keeps returning in the same area after good surface cleaning and enzymatic treatment, the cause may be below the wood.
Here’s a practical comparison to choose the safest next move:
| Method | Best for | Pros | Cons / when to stop |
|---|---|---|---|
| Enzymatic cleaner | Urine-like odors and organic residues | Targets odor-causing compounds rather than masking | May take multiple applications; always follow dwell time |
| Oxygen/oxidizing products (if hardwood-safe) | Stains + odor tied to organic buildup | Can help lift lingering organic residue when used correctly | Not all are safe for all finishes; spot-test first |
| Vinegar / scent-based home remedies | General freshness (not urine-source breakdown) | Sometimes reduces mild surface odors | May not break down urine odor; can risk finish changes |
| Steam / high-moisture approaches | Often inappropriate for hardwood odor removal | Can loosen surface grime | Can drive moisture deeper into seams/edges; stop if odor worsens |
Verdict: what to do next (and who should skip certain steps)
The most reliable next move is: clean gently, apply an enzymatic odor treatment for urine-type smells, and let the area dry fully before re-evaluating. If the odor keeps returning in the exact same spot after proper enzyme dwell time and complete drying, the smell is likely deeper than the finish.
– Best overall approach: Clean the surface to remove residue, then use an enzymatic odor treatment and allow complete drying before assessing results again.
– Downside to expect: Enzymatic treatments may require multiple applications and time to work; quick “one-and-done” outcomes aren’t guaranteed—especially with re-soiling histories.
– Skip DIY if the odor seems deep: If the smell is strong, persistent, or appears to be coming from underneath (or the area stays “off” for weeks), consider contacting a professional floor care or odor remediation service rather than repeatedly soaking the same spot.
– Be cautious with aggressive methods: Sanding, steaming, or harsh chemicals can damage hardwood finishes or spread contamination. If you do consider sanding, it should follow a diagnosis—not as a first step.
As of 2026, many manufacturers and flooring professionals still emphasize controlled moisture and finish-safe chemistry for spot remediation—because the main risk isn’t “failure to deodorize,” it’s finish damage and odor migration.
Quick checklist for clearing pet odors from hardwood
– ☐ Blot/wipe up any remaining residue; avoid soaking
– ☐ Clean with a hardwood-safe cleaner (follow label instructions)
– ☐ Apply an enzymatic cleaner to the odor spot
– ☐ Allow required dwell time, then dry thoroughly
– ☐ Reassess after it fully dries; repeat only if needed
– ☐ Stop if you notice finish damage; switch products
Frequently Asked Questions
How do I remove pet urine odor from hardwood floors?
Blot up wet urine immediately, then clean the area with an enzymatic cleaner specifically made for pet urine so it can break down odor-causing compounds rather than masking them. If the odor has soaked into the wood or seams, repeat the enzyme treatment and keep the floor lightly damp until it works fully. After treatment, rinse per the product instructions, dry thoroughly with fans, and avoid steam mops that can drive moisture deeper.
What’s the best way to get rid of dog and cat smell embedded in hardwood?
Start with a thorough deep clean using a pH-balanced hardwood floor cleaner to remove residue and surface grime, then follow with an enzyme-based odor remover for pet odors. For stubborn smells near baseboards or plank gaps, apply the enzyme cleaner carefully to the affected area and allow sufficient dwell time before drying. If the floor has been affected for a long time or repeatedly, you may need professional refinishing to remove odor from the finish and top layer of wood.
How can I clean pet accidents on sealed versus unfinished hardwood?
For sealed hardwood, you can usually treat the surface after blotting and rinsing lightly, then use an enzymatic cleaner to target remaining odor below the top layer. For unfinished or older, porous wood, you must go slower and prevent excess liquid—use minimal moisture and focus on enzymatic spot treatment rather than wet mopping. In both cases, dry completely and ventilate the room to protect the hardwood from cupping or warping.
Why does the odor come back after cleaning hardwood floors?
Pet odors often return when urine or organic residue isn’t fully broken down—especially if the cleaner only neutralizes smell temporarily. Hardwood floors can trap compounds in micro-gaps, nail holes, or under the finish, so re-soiling triggers a “reactivation” of odor. Use an enzyme cleaner (not just vinegar or ammonia) and ensure thorough drying; consider repeating treatment if the smell persists.
Which cleaning products should I avoid when deodorizing hardwood floors?
Avoid ammonia and harsh cleaners because they can damage the finish and may encourage pets to mark the area again. Skip steam mops and soaking methods, since excess moisture can seep into seams and cause cupping or swelling. If you use deodorizing solutions, choose enzymatic pet odor removers designed for hardwood and follow the label directions for dilution and dwell time.
📅 Last Updated: November 04, 2026 | Topic: How to clear pet odors from hardwood floors? | Content verified for accuracy and freshness.
References
- https://pubmed.ncbi.nlm.nih.gov/?term=pet+urine+enzymatic+cleaner+odor
- https://pubmed.ncbi.nlm.nih.gov/?term=urea+urine+ammonia+odor+urease+enzyme
- Urine
- Urea
- Ammonia
- Enzyme
- Disinfectant
- https://scholar.google.com/scholar?q=pet+urine+odor+removal+enzymatic+cleaners Google Scholar
- https://scholar.google.com/scholar?q=urease+enzymes+urine+odor+ammonia+removal Google Scholar
- https://scholar.google.com/scholar?q=hardwood+floor+pet+urine+cleaning+odor+removal Google Scholar