
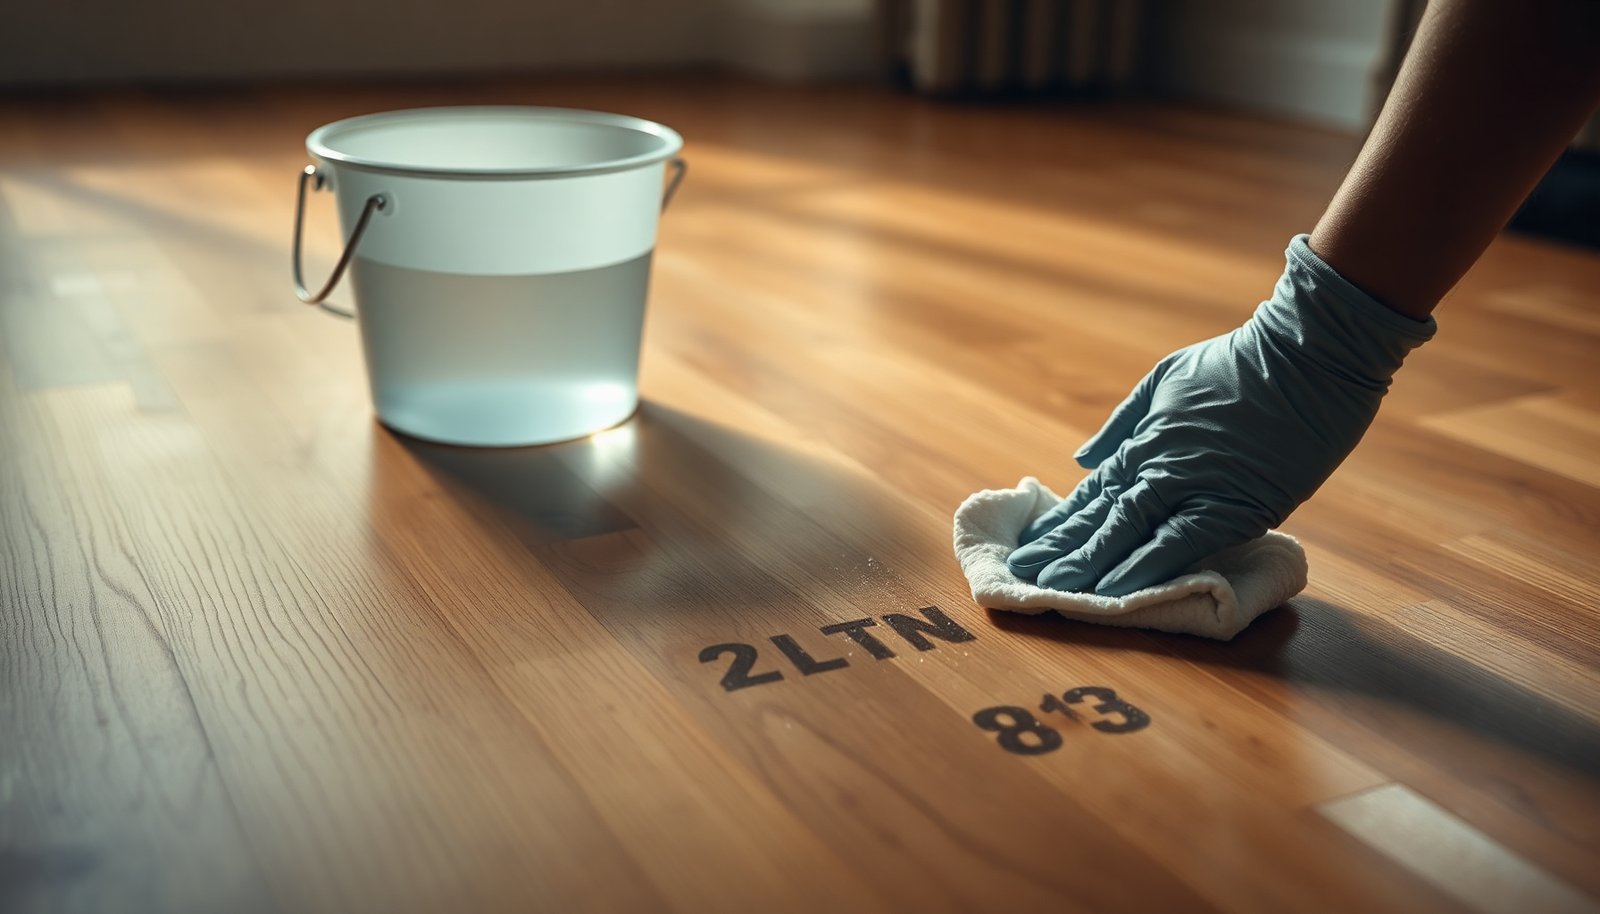

You can restore your hardwood floor to a clean, even finish by safely removing tire marks without leaving dull spots or haze. In the next few steps, you’ll learn what to have on hand, which cleaning method to use based on how deep the marks are, and how to avoid common damage from harsh chemicals and abrasive scrubbing. Start now, and you’ll be able to tackle the job with control and confidence.




Lift loose rubber first with a dry microfiber, then clean the spot with a barely-damp neutral cleaner; if black marks remain, try a very gentle solvent-free option (like lightly used melamine) before you ever use rubbing alcohol. This method keeps moisture controlled, avoids finish stripping, and escalates only when surface transfer won’t lift—an approach that works for many sealed hardwood floors in 2026.
If you’re dealing with tire scuffs, rubber transfer, or carbon smudges from wheels, boots, or carts, the “safe” path is mostly about restraint: minimize water, avoid aggressive scrubbing, and test any stronger chemistry in a hidden spot first. Hardwood finishes vary a lot—polyurethane and other sealed systems generally tolerate mild, neutral cleaning when you wipe up immediately, while unfinished, oiled, or heavily waxed floors can be permanently dulled by the same steps.
This guide is for homeowners and facility managers trying to restore spot appearance without dulling sheen or risking swelling at seams. It’s especially relevant when the tire mark is a surface scuff rather than ground-in damage, and when you want a repeatable workflow that you can document for maintenance—useful if your building has warranties or floor-care protocols.
Check your hardwood finish before you clean
You can only clean tire marks “safely” if you know whether your hardwood is sealed or porous, because solvent strength and moisture tolerance directly affect finish longevity. The safest default is a dry wipe + barely-damp neutral cleaner, then escalation only after hidden-area testing.
What finish tells you (sealed vs. unfinished)
A quick visual check often answers most of the question:
– Sealed hardwood (common in modern homes): polyurethane or similar film-forming finishes look glossier or more uniform and resist water beading.
– Unfinished/oiled/waxed: the surface typically looks matte, feels more absorbent, and can darken when it gets wet.
In my own routine for floor maintenance, I treat “finish unknown” as a reason to slow down: I start with the least aggressive step and only move up the ladder if the mark visibly lifts.
If finish is unknown, test the ladder
If you can’t confirm the finish type (or you’re in a multi-unit building where floors came from different installers), you should:
1. Start with dry microfiber wipe + neutral cleaner on the spot.
2. If residue remains, test melamine in a hidden corner.
3. If needed, spot-test rubbing alcohol only after the first two steps fail.
Finish-specific warranty note (important)
If your floor was refinished recently, maintenance guidance is often time-sensitive and finish-chemistry-specific. Follow the finisher’s warranty/maintenance instructions for spot cleaning: . As of 2026, many warranties also require using “approved” cleaners and documenting cleaning methods.
Supplies you’ll need for safely cleaning tire marks
You don’t need a deep-clean arsenal—what matters is having the right tools to limit moisture and control abrasiveness. Gather supplies that let you wipe, rinse (with clean water), and dry immediately.
Core kit for most sealed hardwood floors
– Microfiber cloths (at least 2—one for cleaner, one for clean-water wipe)
– A clean soft sponge or mop cloth (for controlled application, not soaking)
– A bucket for mixing cleaner/water
– A pH-neutral hardwood floor cleaner (or a very mild dish soap solution)
Optional tools for stubborn scuffs
– Melamine foam pad (“magic eraser”) used very lightly and minimally damp
– Rubbing alcohol for spot-testing only (apply to cloth, not directly to the floor)
Drying tools you’ll thank yourself for
– Paper towels or extra microfiber cloths
– A fan or increased airflow if your room is humid
Standing moisture is the main way spot cleaning becomes permanent damage. With hardwood, “safe” usually means “clean and immediately remove residual liquid.”
Safe first-pass cleaning for light tire marks
For light tire scuffs and surface transfer, the safest first-pass is dry removal, then a barely-damp neutral clean with an immediate clean-water wipe and thorough drying. This sequence reduces the risk of dull spots, haze, and edge swelling.
Step 1: Lift loose rubber dry (don’t smear)
Gently wipe with a dry microfiber cloth to pick up any loose rubber, tar-like residue, or black surface transfer. This prevents grit from dragging across the finish and increasing the scuff footprint.
Step 2: Controlled damp clean (one “wet” moment, not a soak)
– Lightly dampen the cloth with pH-neutral cleaner
– Wipe with the grain
– Immediately wipe again using a cloth dampened with clean water (to remove cleaner residue)
– Dry thoroughly with a dry microfiber
Why this matters (moisture and wood movement)
Wood is dimensionally sensitive to moisture changes. According to the USDA Forest Products Laboratory, Wood Handbook, wood’s dimensional change accelerates as moisture conditions approach and exceed the fiber saturation range (commonly around ~30% moisture content for wood), rather than staying near “dry” conditions. Practically, that’s why you avoid leaving any puddles or prolonged wet dwell time during spot cleaning in 2026.
How to remove stubborn tire marks without damaging wood
If a black tire mark doesn’t lift after the neutral cleaner pass, escalation should be gentle and ordered: solvent-free melamine first, alcohol last. This protects the finish while still tackling marks that are more carbonized or embedded in the surface layer.
Use melamine next (solvent-free, but mildly abrasive)
Try a melamine “eraser” only after you’ve done the initial neutral clean:
– Lightly dampen the pad (you want minimal moisture)
– Test in a hidden corner
– Use short, gentle passes
– Immediately wipe residue away with a clean, damp cloth, then dry
Melamine works because its micro-abrasive structure mechanically lifts residue. The tradeoff is that it can change sheen if overused, especially on gloss finishes.
Escalate to rubbing alcohol only when needed
If marks still remain, do a spot-test with rubbing alcohol:
– Apply alcohol to the cloth, not the floor
– Wipe briefly
– Follow immediately with a clean-water wipe
– Dry thoroughly
Rubbing alcohol guidance is often based on disinfection best practices. According to the Centers for Disease Control and Prevention (CDC), 70% isopropyl alcohol (or ethanol) is commonly used for effective disinfection of many hard surfaces. On hardwood, the key difference is that you’re not disinfecting—you’re trying to lift carbon/rubber residue without damaging a finish. That’s why it stays a last-resort spot test.
Don’t chase perfection with repeated scrubbing
If you don’t see improvement after a careful, limited number of attempts, stop. Aggressive friction can dull polyurethane or create sheen differences that are hard to “undo” without refinishing.
What can go wrong (and when to stop)
Many cleaning failures come from treating hardwood like tile: too much water, too aggressive scrubbing, or harsh chemistry that attacks the finish film. If you see finish changes during testing, stop immediately and switch strategies.
The most common ways damage happens
– Soaking or prolonged moisture: water can reach seams, swell edges, and eventually lead to gapping. Even if the floor doesn’t cup immediately, repeated wet dwell time can accumulate issues.
– Harsh cleaners and abrasives: bleach, ammonia, strong degreasers, and abrasive powders can alter sheen, discolor wood, or strip/soften protective layers.
– Scrubbing through the finish: if the tire mark is actually a scratch or gouge, polishing attempts won’t restore surface integrity.
A dimensional-change reality check
According to the USDA Forest Products Laboratory, Wood Handbook, dimensional change depends on moisture content, with typical tangential shrinkage often around ~0.2–0.3% per 1% moisture content change (and radial shrinkage often lower). Even though you’re not soaking the floor, trapped moisture from repeated wet wiping can still drive small expansions and contractions over time.
When to stop and change course
Stop if you notice:
– Finish lifting or wrinkling
– Rapid dulling around the test spot
– Color shift or bleeding into the mark
– Increased haze after melamine or alcohol
If your floor is unfinished, heavily waxed, or you don’t know the coating, pause and choose gentlest-only care (or call a pro). Compatibility warnings should come from finish/wax/coating documentation: .
Finish-Friendly Options for Tire Scuff Removal on Sealed Hardwood (General Chemical Guidance, 2026)
| # | Method | What it targets | Typical chemistry / labeling | Finish risk |
|---|---|---|---|---|
| 1 | Dry microfiber lift | Loose rubber / surface transfer | No additives (mechanical removal) | ★★★★★ |
| 2 | pH-neutral hardwood cleaner | Tar/carbon residue film | Neutral surfactants (label typically ~pH 7–8) | ★★★★★ |
| 3 | Very mild diluted dish soap | Light smudging left after lift | Surfactants; avoid degreasers | ★★★★☆ |
| 4 | Melamine foam (light use) | Ground-in surface scuffs | Solvent-free micro-abrasive polymer | ★★★★☆ |
| 5 | 70% isopropyl alcohol spot test | Hard carbon/rubber tint | Isopropanol ~70% (common disinfectant concentration) | ★★☆☆☆ |
| 6 | Mineral spirits (avoid unless approved) | Oil-based residue | Hydrocarbon solvent blend | ★☆☆☆☆ |
| 7 | Bleach / oxidizers (do not use) | Never needed for scuffs | Oxidizing chemicals (finish-disruptive) | ☆☆☆☆☆ |
Verdict: safest approach, downsides, and who should skip
For most sealed hardwood floors, the safest order is: dry wipe → neutral cleaner (barely damp) → melamine test → rubbing alcohol spot-test (only if needed). The downside is that some tire marks are actually ground-in rubber/carbon, and finish texture changes (sheen/spot dulling) can still happen—even when you escalate correctly, especially on glossy finishes.
Skip the DIY route if the tire mark penetrates through the finish, the wood looks scratched/open, you observe finish change during melamine or alcohol testing, or your floor warranty/finisher explicitly restricts spot chemistry. In those cases, professional refinement (or localized re-coating) is often the only way to restore a uniform sheen without compounding damage.
Quick comparison: which method to try first?
Below is a practical “decision lens” that’s easy to apply on-site during routine maintenance.
| Approach | Pros | Cons |
|---|---|---|
| Dry wipe + neutral cleaner | Low risk; removes most surface transfer; minimizes haze when used with immediate drying | Doesn’t reliably remove carbonized marks embedded deeper than the surface film |
| Melamine test (light, short passes) | Solvent-free; effective on many surface scuffs; typically avoids finish stripping | Can create subtle sheen differences if overused on glossy polyurethane |
| Rubbing alcohol spot-test | Can lift stubborn discoloration when carbon/tar resists other options | Higher finish risk; requires strict hidden testing + clean-water follow-up |
| Heat (steam mop) | None for this task | High risk: moisture + heat can damage many hardwood finishes and worsen seams/joints |
Quick checklist (scan/save):
| Step | Do | Don’t |
|---|---|---|
| 1 | Dry wipe with microfiber first | Scrub dry with a rough pad (smears residue) |
| 2 | Use neutral cleaner on a barely-damp cloth | Soak the area or leave it wet |
| 3 | Test melamine gently in a hidden spot | Press hard or keep rubbing until it “gets better” |
| 4 | Spot-test rubbing alcohol only if needed | Apply solvents directly to the floor |
| 5 | Wipe clean, then dry fully | Assume “it’ll air out” |
Sources
– Centers for Disease Control and Prevention (CDC) — alcohol concentration guidance for disinfection
– USDA Forest Products Laboratory, Wood Handbook — moisture, dimensional change, and fiber saturation concepts
Hardwood tire marks can be removed safely when you control moisture, avoid abrasive scrubbing, and escalate only after careful spot-testing. If you’re unsure about your floor’s finish, start with the dry wipe + neutral cleaner method, try melamine very gently if needed, and use rubbing alcohol only as a last resort after testing—then stop immediately if you see dulling or lifting.
Frequently Asked Questions
What’s the safest way to remove black tire marks from hardwood floors without damaging the finish?
Start by dry-brushing or vacuuming loose residue so you don’t grind it into the wood grain. Use a cleaner that’s safe for hardwood—typically a pH-neutral floor cleaner—applied with a soft microfiber cloth. If staining remains, spot-treat with a small amount of rubbing alcohol on a cloth (test in an inconspicuous area first) and wipe immediately, then dry thoroughly.
How do I remove rubber tire scuff marks from hardwood if the marks are fresh?
For fresh tire marks, blot and wipe with a damp microfiber cloth using warm water and a few drops of pH-neutral cleaner. Avoid scrubbing aggressively—hard pressure can dull the polyurethane or varnish and spread the black streaks. After lifting the residue, dry the area completely to prevent water-related hazing.
How can I clean tire tracks from sealed hardwood floors without leaving streaks or discoloration?
Work methodically: apply cleaner to the cloth rather than pouring it onto the floor, and wipe in the direction of the wood grain. For stubborn tire tracks, use a “light spot clean” approach—try rubbing alcohol on a small section first, then follow up with a damp wipe and dry. Finish by buffing gently with a clean, dry microfiber towel to reduce streaking.
Which household products are best for lifting tire residue from hardwood floors?
The safest starting points are pH-neutral hardwood floor cleaners and warm water applied sparingly with a microfiber cloth. For black rubber smudges, isopropyl rubbing alcohol can be effective for spot treatment, but always test first to ensure it won’t cloud the finish. Avoid harsh degreasers, strong solvents, or abrasive pads, since they can strip the protective coating and make stains worse.
Why do tire marks stain hardwood, and how do I prevent permanent damage?
Tire rubber can contain dyes and oils that penetrate the finish or smear into the pores of the wood, especially when the floor is textured or older. The faster you remove the residue—using gentle cleaning and immediate drying—the less likely it is to become a permanent discoloration. To prevent recurrence, place rugs or protective mats under vehicles and avoid dragging or rolling items directly across hardwood.
📅 Last Updated: November 02, 2026 | Topic: How to safely clean tire marks from hardwood floors? | Content verified for accuracy and freshness.
References
- Wood flooring
- https://www.osha.gov/hazard-communication
- Safer Choice | US EPA
- Cleaning and Custodial Services and Your Safety | Cleaning & Custodial | CDC
- 404 Error
- https://www.armstrongflooring.com/support/how-to-clean.html
- https://scholar.google.com/scholar?q=how+to+remove+tire+marks+from+hardwood+floors Google Scholar
- https://scholar.google.com/scholar?q=remove+rubber+scuff+marks+from+wood+flooring Google Scholar
- https://scholar.google.com/scholar?q=cleaning+finished+hardwood+floors+recommended+chemicals+and+methods Google Scholar
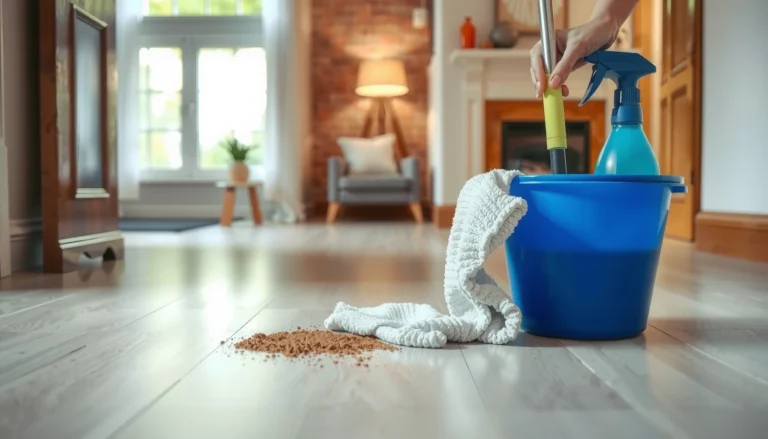
[…] a slightly damp microfiber mop or cloth with a pH-neutral hardwood floor cleaner, then dry immediately with a clean, dry cloth to prevent water spots. For stubborn marks, dampen a […]