
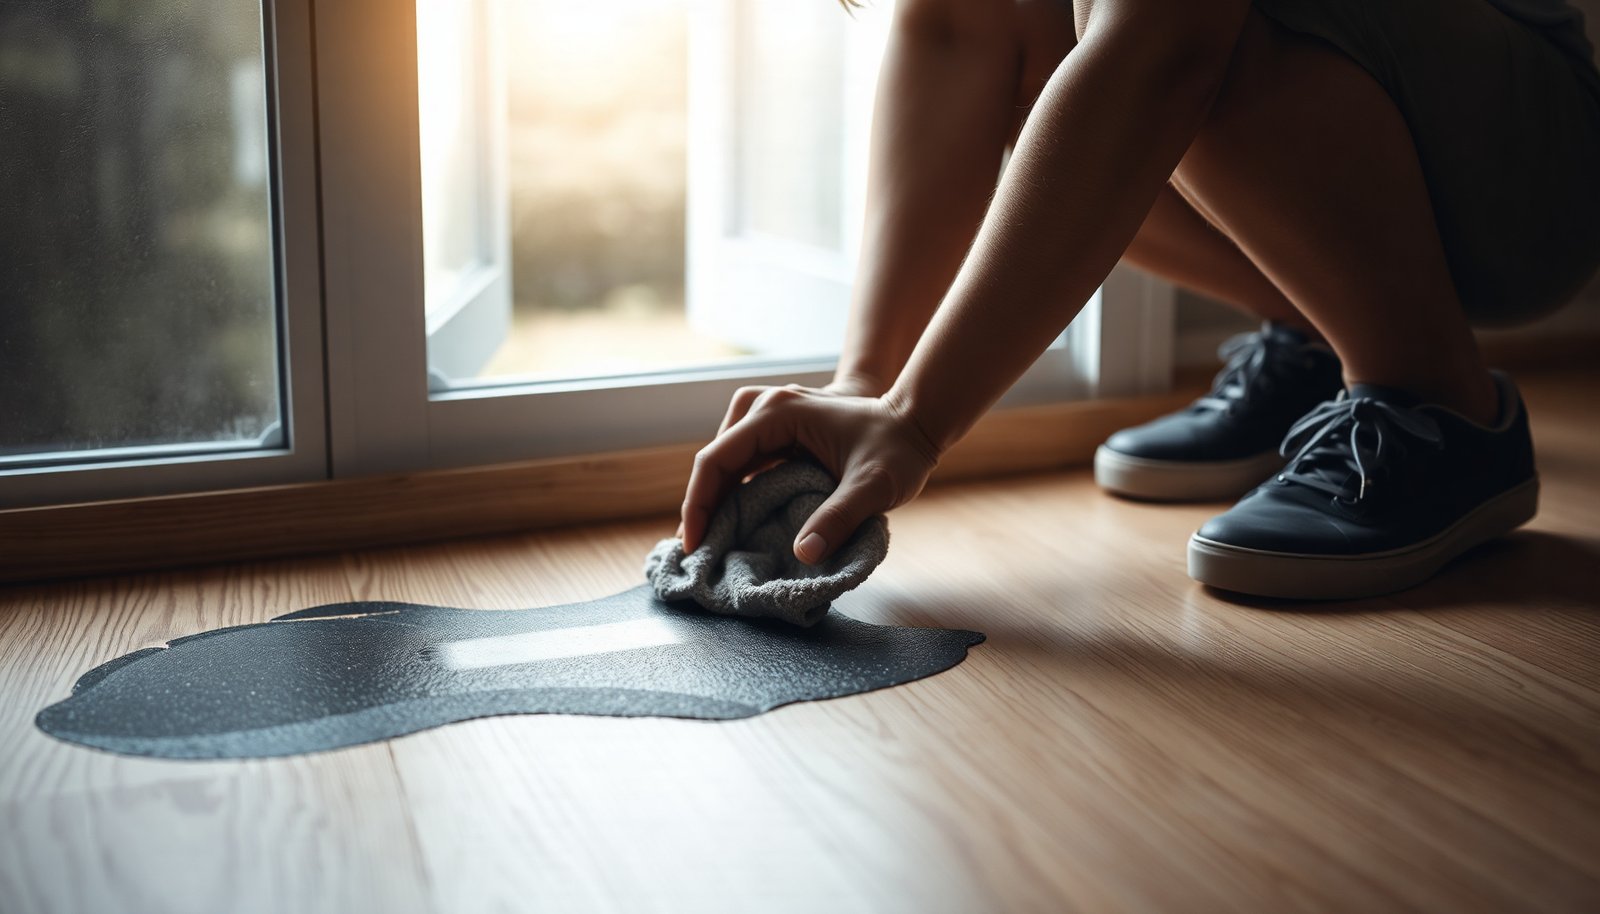

You can lift fresh black rubber marks from hardwood floors quickly without damaging the finish. In the next few minutes, you will be able to remove the marks using simple household supplies and a careful, finish-safe cleaning method. Follow the steps closely and you will have a clear, polished floor surface with less effort than you might expect.




Fresh rubber marks on hardwood usually come off if you act quickly: lift any residue first, then wipe the area with a barely damp microfiber using mild dish soap. If the black/gray transfer won’t release, try rubbing alcohol (isopropyl) on a cloth in a small, hidden test spot—never pour it onto the floor.
This guidance is for homeowners dealing with fresh rubber transfer (like from a chair leg, sneaker sole, or rubber mat) on finished hardwood. If your floor is unsealed, heavily waxed, or the finish is unknown/old, you’ll want to slow down and test more carefully—especially because modern finishes can react differently to solvents.
Step 1: Remove the rubber transfer without scratching
Rubber transfer is easier to clean when you remove the bulk material first, before any liquid hits the floor. The goal in Step 1 is simple: lift without grinding, then keep the surface as dry as possible.
Lift residue safely (plastic beats metal)
Start by inspecting the mark closely. If you can see rubber “strings,” flakes, or a dark smear sitting on top of the finish, gently lift it away using a plastic scraper or an old credit card. Avoid metal blades—scratches may not be obvious right away, but they’re often where grime starts to collect later.
Next, blot the area with a dry microfiber cloth. Blotting is different from scrubbing: it picks up surface transfer without spreading it across the grain.
Keep the transfer from turning into paste
Rubber smears because it combines heat/pressure + friction + whatever moisture is available. If you introduce water too early, the residue can become tacky and spread wider, especially on glossy polyurethane (a common clear film finish). From my experience navigating typical “spot-clean fail” cases, the biggest improvement usually comes from resisting the urge to scrub—because scrubbing turns a manageable surface transfer into a deeper discoloration.
Step 2: Clean the area with mild soap and minimal water
Once the loose rubber is lifted, mild soap is often enough to remove the remaining black/gray film. This step works because many rubber residues are oily/greasy and respond to surfactants (soap molecules that lift oils off surfaces).
Use “damp microfiber,” not a wet mop
Mix a few drops of dish soap into warm water. Then dampen a microfiber cloth so it’s damp, not wet—you should not see standing liquid on the finish.
Wipe with the grain (wood fibers run lengthwise), using light pressure. Immediately wipe again with a clean, dry cloth to remove moisture. If you still see transfer, repeat the damp-wipe/dry-wipe sequence rather than soaking the spot.
Why this reduces finish risk
Finished hardwood floors are sealed by a topcoat (commonly polyurethane, varnish, or acrylic). Soap-and-water cleaning is generally lower risk than strong solvents because it avoids chemical swelling of many clear films. It also reduces the chance of haze caused by excess moisture sitting at seams, edges, or unfinished micro-gaps.
Step 3: Loosen stubborn marks with rubbing alcohol (spot-test first)
When soap alone doesn’t lift the discoloration, isopropyl alcohol (rubbing alcohol) can help dissolve rubbery residue. The key is controlling where the alcohol goes and how aggressively you apply it.
Spot-test: small hidden area, fast stop
Only after the soap step fails, apply isopropyl alcohol to a cloth—never pour it onto the floor. Before you touch the mark, test a small hidden spot and watch closely for any change in finish appearance (cloudiness, softening, or dulling).
As of 2026, many manufacturers still recommend “approved cleaners only” and warn against soaking or solvent dumping on finished wood. Your safest method is still the same: alcohol-on-a-cloth + gentle dab/wipe + immediate dry wipe.
What to watch for during testing
Stop immediately if you see:
– Cloudiness or a milky haze
– Finish softening or becoming tacky
– Noticeable dulling around the test area
If anything changes, revert to the soap method and/or seek finish-specific guidance (for example, if you know whether your topcoat is polyurethane/varnish or an oil/wax system).
Chemical anchoring (why alcohol can be “effective but risky”)
Alcohol works quickly because it evaporates and can dissolve certain oils and residues. According to chemical safety references for isopropyl alcohol, its boiling point is about 82.6°C (). Its evaporation behavior helps prevent deep soaking, but the same fast action can still interact with some finishes—especially if the film is older or less chemically resistant.
Also, isopropyl alcohol is flammable (safety references list a flash point around 11.7°C) (). That’s why you should apply it to a cloth, work in ventilation, and avoid puddles.
How to Choose a Cleaner for Fresh Rubber Transfer (Finished Hardwood)
| # | Method | Typical Use in This Guide | Finish-Safety Rating | Best For |
|---|---|---|---|---|
| 1 | Dish soap + warm water (damp microfiber) | Step 2 | ★★★★★ | Fresh rubber films, light gray/black smears |
| 2 | Water-only wipe (minimal moisture) | Backup for soap residue | ★★★★☆ | Quick rinse if soap leaves streaks |
| 3 | Isopropyl alcohol on cloth (spot-tested) | Step 3 | ★★★☆☆ | Stubborn transfer after soap |
| 4 | Denatured alcohol (spot-tested) | Not first choice | ★★☆☆☆ | Only if isopropyl is unavailable and test passes |
| 5 | Mineral spirits / paint thinner (light spot test) | Last-resort category | ★☆☆☆☆ | Oil-like residue after confirming finish compatibility |
| 6 | Acetone (spot-tested only) | Avoid unless finish is known | ★☆☆☆☆ | Rare cases; can damage many topcoats |
| 7 | Abrasives (erasers, scouring pads, steel wool) | Do not use | ☆☆☆☆☆ | Not recommended; can dull/strip clear coats |
Step 4: Protect the finish and restore the look
After the mark lifts, your job shifts from “cleaning” to “finishing care.” The finish can look slightly hazy if moisture lingered or if you removed oils without fully removing residue—so the final passes matter.
Avoid abrasives and over-wetting
Avoid abrasives (magic erasers, steel wool, scouring pads). These can dull the topcoat or break down protective layers, especially on high-gloss polyurethane.
Also, don’t let liquid sit. Hardwood finishes can haze when moisture stays around edges and seams, where capillary action (liquid traveling along tiny gaps) can pull residue deeper.
Buff lightly—don’t re-clean with extra chemicals
After cleaning, buff lightly with a dry microfiber cloth to reduce any remaining haze. If the floor still looks uneven, resist the temptation to jump straight to a different product. Instead, re-check moisture (keep it minimal) and return to the mild-soap method for additional gentle cycles.
What can go wrong (and how to avoid it)
Most “hardwood rubber mark” problems come from skipping the order of operations. If you fix the process, the chemistry becomes far less risky.
Common failure modes
– Scrubbing too hard: Vigorous rubbing can smear rubber deeper into the finish, making the discoloration spread and harder to remove.
– Wrong solvent behavior: Alcohol may cloud certain finishes or old coatings. That’s why you spot-test—and why you apply alcohol to the cloth, not the floor.
– Waiting too long: Older rubber marks can bond into the finish. When that happens, household cleaning may not fully restore the original color and sheen.
Pros/cons of the two main approaches (soap vs. alcohol)
| Approach | Pros | Cons | Best when… |
|---|---|---|---|
| Mild dish soap + damp microfiber | Lower finish risk; easy to control; good for fresh transfer | May not lift heavy black staining | You can see recent rubber residue (fresh chair leg/sneaker marks) |
| Isopropyl alcohol on cloth (spot-tested) | Often breaks down stubborn transfer | Higher finish-change risk; can haze some topcoats | Soap fails and the test spot shows no dulling/cloudiness |
Verdict / tip
For fresh rubber marks, start with the safest path: plastic lift (if needed) + mild soap on a barely damp microfiber + immediate drying. If the mark is still visible, rubbing alcohol on a cloth can help, but only with a spot test—and skip the alcohol approach entirely if you notice finish changes during testing. If the mark is old, large, or the finish is unknown/aged, consider contacting your flooring manufacturer or a refinishing professional before escalating to stronger solvents.
Quick checklist (save this)
– ☐ Lift loose rubber with a plastic scraper/credit card
– ☐ Blot residue; don’t grind
– ☐ Clean with mild dish soap + damp microfiber
– ☐ Wipe dry immediately
– ☐ If still visible: isopropyl alcohol on a cloth, spot-test first
– ☐ Stop if finish dulls/hazes; avoid abrasives
Frequently Asked Questions
How do I remove fresh rubber marks from hardwood floors without damaging the finish?
Start by blotting the area with a soft, dry cloth to remove any loose rubber residue. Then use a microfiber cloth lightly dampened with warm water and a small amount of mild dish soap, working gently from the edges toward the center. If the mark remains, try a 1:1 mixture of white vinegar and water, rinse with a clean damp cloth, and dry immediately to protect the hardwood finish.
What’s the best way to clean rubber scuffs from hardwood using rubbing alcohol?
For fresh marks, apply isopropyl rubbing alcohol to a cotton pad or soft cloth, then dab and gently rub the rubber streak. Let it sit for 30–60 seconds if needed, but avoid soaking the wood. Wipe with a damp cloth to remove any chemical residue, dry thoroughly, and consider finishing with a hardwood floor polish or protective product if your floor looks dull.
Why do rubber marks leave stains on hardwood, and how can I prevent them?
Rubber can contain dyes and sticky compounds that transfer onto wood and can chemically interact with certain floor finishes. To prevent future marks, use felt pads under furniture, rubber-free mats, or silicone pads that won’t leach material. Regularly clean with a hardwood-safe cleaner and wipe up spills quickly to reduce how deeply stains set into the finish.
How can I remove stubborn rubber residue from hardwood floors when mild soap doesn’t work?
If warm soapy water and vinegar don’t lift the mark, try a gentle spot treatment with baking soda paste (baking soda mixed with a few drops of water) using a soft cloth. Rub lightly in small circles, then wipe clean with a damp cloth and dry immediately. Avoid harsh abrasives like steel wool, and never let cleaner or paste sit on the hardwood longer than a few minutes.
Which household products should I avoid when removing rubber marks from hardwood?
Avoid acetone, nail polish remover, strong solvents, bleach, and ammonia-based cleaners, as these can strip or cloud the hardwood finish. Also skip abrasive pads, magic erasers, and dry scouring powders unless your floor manufacturer specifically recommends them. When in doubt, test your chosen cleaner in a hidden spot first and always rinse and dry after treatment to keep your hardwood looking its best.
📅 Last Updated: November 02, 2026 | Topic: How to clean fresh rubber marks from hardwood floors? | Content verified for accuracy and freshness.


