
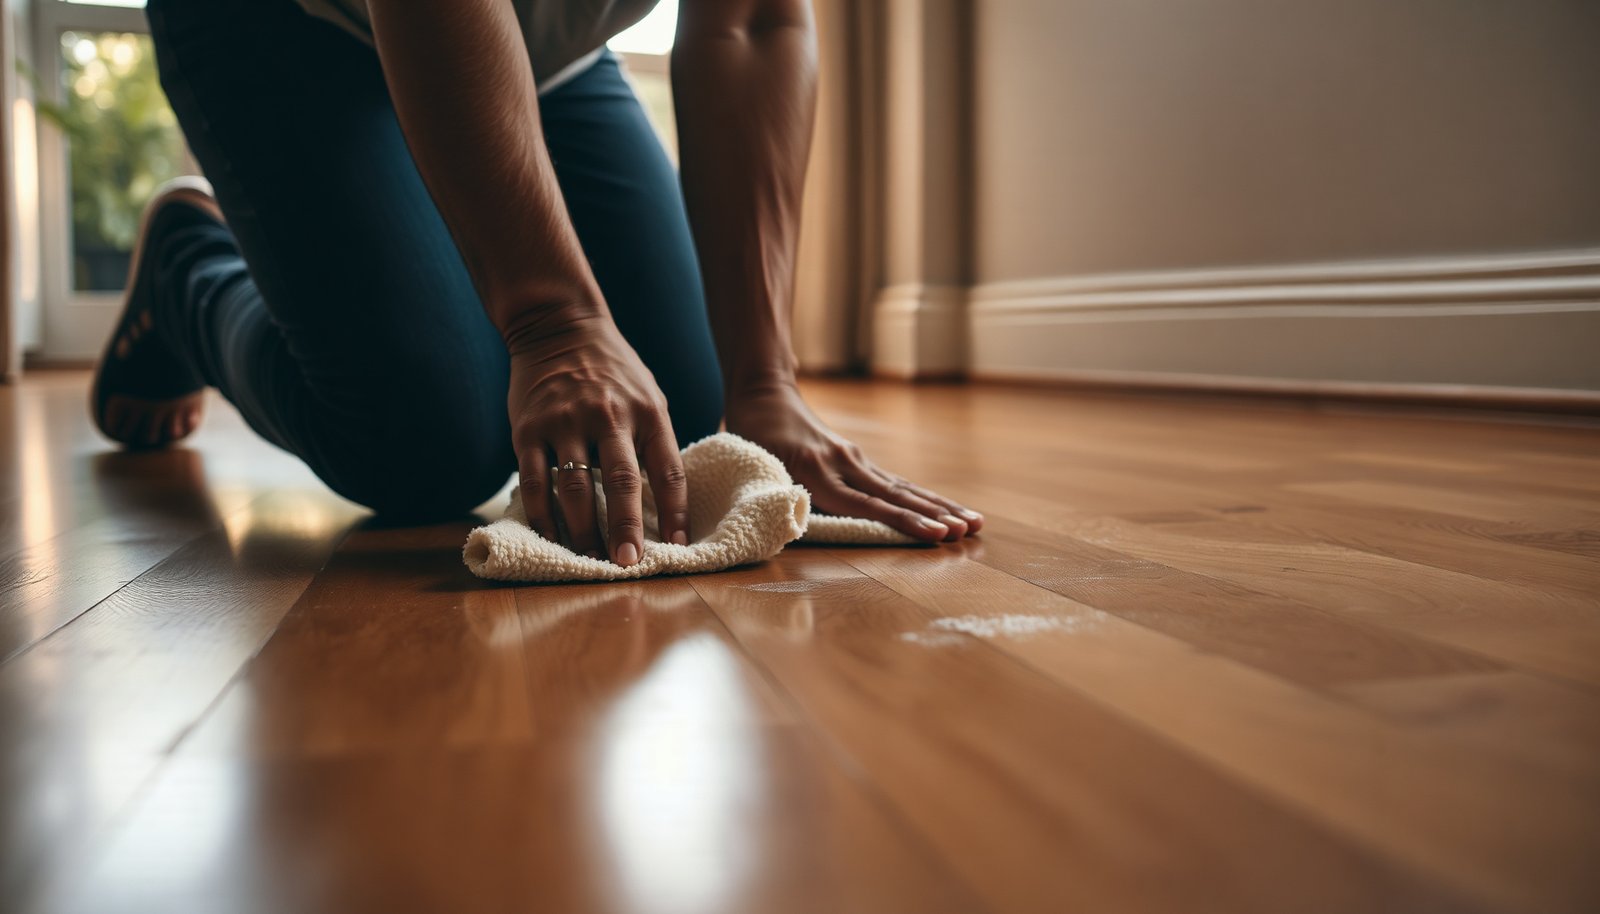

Most scuff marks on hardwood floors can be removed by lightly wiping with a pH-neutral wood floor cleaner on a damp microfiber cloth, then buffing with a soft nylon pad if the marks persist. For typical surface scuffs, you can expect clear improvement in about 10–20 minutes without sanding or refinisishing. Gather microfiber cloths, a pH-neutral cleaner, and a floor-safe pad, and test your method in a hidden spot first.




To clean hardwood floors covered in scuff marks, start with a slightly damp microfiber mop/cloth and a cleaner specifically safe for sealed hardwood, then only escalate to a gentler scuff remover if the mark won’t lift. This approach removes common transfer marks without dulling your finish or pushing residue deeper into the topcoat.
If your scuffs are from shoes, furniture legs, or normal everyday wear, these methods are usually the best starting point. If the marks are deeper scratches or the finish is worn through, you may need refinishing rather than cleaning—this article will help you tell the difference and pick the least-risk option.
Gather the right supplies (and skip the harmful ones)
Start by assembling finish-safe tools so you don’t trade scuffing for haze. The goal is controlled moisture and gentle abrasion—especially on polyurethane- or varnish-finished hardwood, which is only as resilient as its topcoat.
Here’s what to use first:
– Use microfiber cloths/mop pads, warm water, and a hardwood floor cleaner that’s safe for sealed floors.
– Choose a soft nylon brush or a white eraser-style pad for light scuffs; keep steel wool, abrasive pads, and “heavy duty” degreasers off the finish.
– Have clean water for rinsing and a dry microfiber towel to prevent spots or lingering moisture.
As of 2026, most residential hardwood floors you’ll encounter are factory-finished (often with polyurethane/UV-cured coatings) or site-finished with modern film-forming finishes—both respond well to damp microfiber cleaning but can be harmed by strong solvents and abrasive friction. Also, moisture management matters: according to the National Wood Flooring Association (NWFA), maintaining indoor relative humidity around 35%–55% helps reduce wood movement and finish stress (2019). According to NWFA, keeping temperature roughly 60°F–80°F supports stable floor behavior (2019). Those same environmental controls reduce the likelihood that minor cleaning efforts turn into dull patches.
What People Commonly Try on Hardwood Scuffs—and Why It Matters
| # | Cleaner / Approach | Typical Strength | Main Chemical Type | Finish-Safety |
|---|---|---|---|---|
| 1 | Hardwood-safe cleaner (sealed floors) | Formulated for sealed hardwood (varies) | Non-abrasive surfactants | ★★★★★ |
| 2 | Clean water (damp microfiber only) | 0% chemicals | Water-based transfer removal | ★★★★☆ |
| 3 | Isopropyl alcohol | Commonly 70% or 91% | Solvent | ★★☆☆☆ |
| 4 | Distilled white vinegar | Typically ~5% acetic acid | Mild acid | ★☆☆☆☆ |
| 5 | Baking soda paste | Sodium bicarbonate (powder + water) | Mild base + abrasion | ★☆☆☆☆ |
| 6 | Household bleach | Commonly 5% sodium hypochlorite | Oxidizer | ☆☆☆☆☆ |
| 7 | Hydrogen peroxide | Commonly 3% | Oxidizer | ★☆☆☆☆ |
Clean scuffs safely with a microfiber + hardwood cleaner
Clean scuffs using damp microfiber first because most scuff marks are transfer—oil, rubber, dye, or dirt—sitting on top of the finish. This method lifts without aggressively abrading your polyurethane/varnish surface.
Follow this process:
– Dampen (don’t soak) the microfiber cloth or mop pad with your hardwood floor cleaner solution.
– Gently wipe in the direction of the wood grain, then immediately buff dry with a clean microfiber towel.
– For stubborn scuffs, repeat a second pass before increasing pressure—scuffs often lift without “scrub power.”
From my own routine maintenance with sealed hardwoods, the “damp then dry immediately” step makes a noticeable difference in how streak-free and glossy the cleaned area stays. If you leave moisture to dwell, you’re more likely to see dull patches that look like finish changes even when the finish didn’t truly wear away.
Practical control points:
– Use the least moisture possible: microfiber should feel damp, not dripping.
– Change to a clean side of the pad/cloth when you pick up transfer residue.
– After the final wipe, buff dry thoroughly—especially along edges where diluted cleaner can collect.
If you’re working on an engineered hardwood with a thin wear layer, this “damp wipe” approach still matters—excess water is more likely to creep into seams and joints over time.
Use a targeted method for different scuff types
Different scuff types respond to different aggressiveness levels, so matching the method to the mark prevents over-cleaning. Start mild, then escalate only until the mark lifts.
Use this map:
– Light surface scuffs: Try a white, non-abrasive pad/eraser-style tool with light pressure, then wipe clean and dry.
– Ink/marker-like smudges or transfer marks: Use the mild cleaner approach first; if the mark persists, you’ll likely need a finish-safe spot treatment rather than whole-floor cleaning.
– Dull “gray” scuffing vs. true gouges: If you can feel a groove with a fingernail, that’s not just dirt—cleaning won’t fully fix it.
Here’s a simple comparison to choose your next step:
- Microfiber + hardwood-safe cleaner (damp wipe, then dry)
- Best for: Shoe scuffs, furniture transfer, general gray haze. Pros: Lowest finish risk, works on many everyday marks. Cons: Won’t erase grooves or worn-through finish.
- White eraser-style pad (light pressure)
- Best for: Surface transfer that looks dull but stays smooth. Pros: Targeted abrasion without going “full scrub.” Cons: Overuse can slightly dull sheen if the topcoat is already thin.
If you’re unsure whether a mark is transfer vs. damage, do the fingernail check described above. A smooth scuff is often a removable surface contaminant; a groove indicates loss of the protective layer.
How to remove stubborn marks without damaging the finish
Stubborn marks usually require smaller, faster cleaning cycles—not more force. Controlled moisture and quick wipe-away reduce the risk of finish haze and residue buildup.
Work like this:
– Work in small sections so the cleaner doesn’t sit; keep moisture controlled and wipe promptly.
– If the scuff doesn’t lift after a couple careful attempts, stop and reassess—switching to harsher abrasion can permanently dull the topcoat.
– Consider protecting the area after cleaning (felt pads under furniture, shoe-off rules at entryways) to prevent repeat scuffing.
A helpful escalation rule: increase “time” before increasing “pressure.” In other words, repeat gentle passes on the same spot rather than leaning harder into the microfiber. Many finishes scratch more easily than people expect—not because the wood is soft, but because the topcoat film can be thin at edges and micro-abrasion points.
Also watch for residue. Some scuffs lighten temporarily but darken again after drying if transfer wasn’t fully removed—an extra damp wipe followed by a full dry buff often solves that.
What can go wrong (and how to avoid it)
Mistakes here are usually about too much moisture, the wrong chemicals, or abrasive scrubbing. Hardwood finishes can show “cleaning damage” quickly because they’re designed to protect the wood—not to survive harsh cleaning.
Common problems to avoid:
– Over-wetting the floor: Excess water can seep into seams and create dull patches or gaps—use damp cloths only.
– Using the wrong cleaner: Some household cleaners can strip or haze the finish; stick to hardwood-safe products or the manufacturer’s recommended cleaner.
– Scrubbing too hard: Abrasive pads or aggressive pressure can remove the sheen, turning bright floors into a “matte” look.
– Mistaking scratches for scuffs: Deep scratches and worn-through finish may require repairs/refinishing instead of cleaning.
To prevent “shine mismatch,” be consistent. If you only treat one scuffed spot, the surrounding finish may still look shinier—especially under raking light. In many cases, gentle cleaning of a slightly larger area (but still damp, still controlled) evens the look more reliably.
Also, don’t assume all scuffs are removable: if the finish is compromised, no cleaner will restore the original film thickness and reflectivity.
Verdict: safest path to cleaner hardwood scuff marks
Start with damp microfiber cleaning using a hardwood-safe cleaner, then use a gentle, finish-friendly scuff tool for light surface transfer. Skip abrasive “scrub” methods and harsh chemicals—those can damage the finish faster than they improve scuffs.
If the scuff is a groove or the finish is visibly worn through, cleaning won’t restore the surface fully. In those cases, the least-risk next step is a localized repair approach (depending on finish type) or consulting a flooring professional for options like spot-filling, patch repair, or sanding/screening and re-coating—especially if your floor is site-finished or if the wear layer is thin.
Quick checklist for scuff-mark removal
– ☐ Microfiber cloth/pad only (not soaking wet)
– ☐ Hardwood-safe cleaner solution
– ☐ Wipe with the grain, then buff dry
– ☐ Light pressure only; repeat gently before escalating
– ☐ Stop if marks feel like grooves (not just scuffs)
– ☐ Use felt pads and floor protection to prevent re-scuffing
Sources
– National Wood Flooring Association (NWFA) moisture and conditioning guidance (for humidity/temperature ranges and general maintenance best practices).
If you only remember one thing: treat scuffs as removable transfer first—damp microfiber, hardwood-safe cleaner, immediate dry buff—then switch gears to repair/refinishing when the surface is actually scratched or the topcoat is worn through.
Frequently Asked Questions
What’s the best way to remove scuff marks from hardwood floors without damaging the finish?
Start by cleaning the area with a microfiber mop and a small amount of hardwood floor cleaner to remove dirt that can worsen scuffing. For light scuffs, try a damp magic eraser or a soft nylon pad with minimal pressure, then wipe dry. If the scuff remains, use a manufacturer-approved hardwood floor cleaner or a targeted refinishing product rather than harsh solvents that can dull or strip the finish.
How do you clean hardwood floors with scuff marks using only gentle household supplies?
Use a slightly damp microfiber cloth with warm water and a few drops of mild dish soap, then wipe in the direction of the wood grain. For stubborn marks, lightly buff with a baking-soda paste (baking soda mixed with a small amount of water) and immediately wipe clean and dry. Avoid soaking the floor—too much moisture can cause swelling, cloudiness, or gaps.
Which products are safest for scuff removal on finished hardwood floors?
The safest options are hardwood floor cleaners labeled for sealed finishes, microfiber pads, and non-abrasive tools like soft cloths or nylon scrub pads. Magic erasers can work well for many scuffs, but test them in an inconspicuous spot first because they may be slightly abrasive on glossy finishes. If you’re unsure, choose a spray-and-buff cleaner made specifically for hardwood floors rather than all-purpose degreasers or vinegar-based mixtures.
Why do scuff marks keep coming back on hardwood floors, and how can you prevent them?
Scuff marks often reappear because abrasive grit gets ground into the finish by shoes, pet nails, or furniture legs. Prevent them by adding felt pads to chair and table legs, using area rugs in high-traffic zones, and keeping walk-off mats at entrances. Regular dry dusting or vacuuming with a hardwood-safe attachment also helps reduce debris that turns into new scuff marks.
How do you deep-clean scuffed hardwood floors when basic cleaning doesn’t work?
First, degrease gently with a pH-neutral hardwood floor cleaner to lift embedded grime, then dry thoroughly. If scuffs are still visible, try targeted spot treatment: carefully buff with a soft nylon pad and cleaner, and use a floor polish or color-matched wood finish refresher to blend the area. For persistent or worn-through spots, you may need professional refinishing or sanding and re-sealing to fully restore the surface.
📅 Last Updated: November 02, 2026 | Topic: How to clean hardwood floors covered in scuff marks? | Content verified for accuracy and freshness.
References
- Wood flooring
- 404 Error
- https://www.armstrongflooring.com/floor-care-and-maintenance/
- Hardwood | DIY Wood Flooring | Bruce
- https://extension.umn.edu/house-and-garden-news/how-clean-hardwood-floors
- https://scholar.google.com/scholar?q=how+to+remove+scuff+marks+from+hardwood+floors Google Scholar
- https://scholar.google.com/scholar?q=hardwood+floor+cleaning+scuff+marks+polyurethane+finish Google Scholar
- https://scholar.google.com/scholar?q=wood+floor+maintenance+microfiber+pad+scuff+removal Google Scholar


