
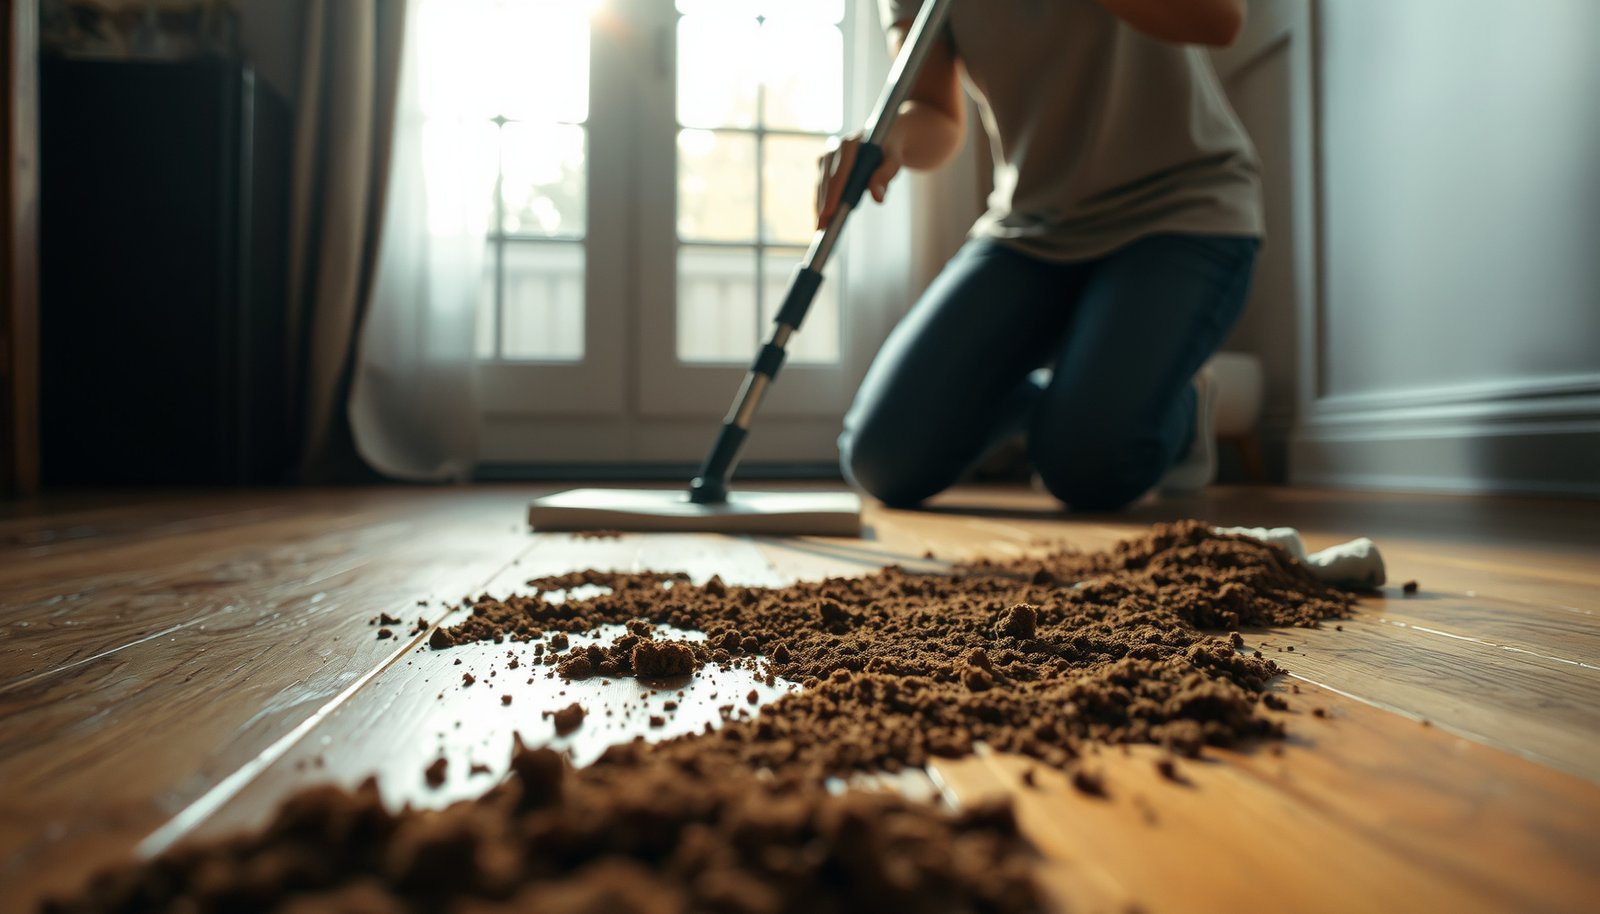

How to clean hardwood floors covered in mud without damaging the finish? The safe steps start with dry removal of loose grit, then a carefully controlled damp-cleaning cycle that lifts mud without soaking the wood. Follow the right order and dwell time to protect your floor’s grain and sheen, and you’ll get visibly clean results fast.



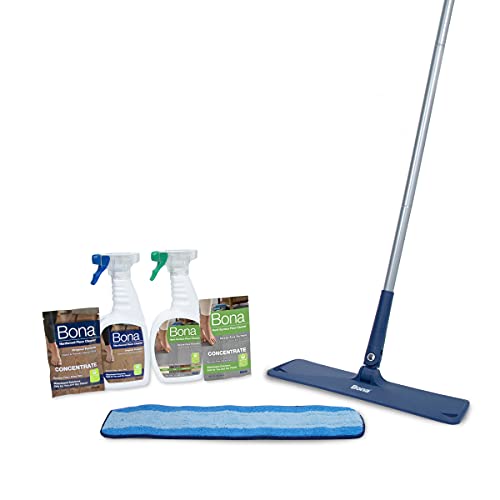
If your hardwood floors are covered in mud, let the mud dry enough to lift off, remove grit with a soft vacuum, and then clean using a barely-damp microfiber with a wood-safe cleaner—never soaking or aggressive scrubbing. This prevents the two biggest risks with mud on finished hardwood: grit-driven scratches and moisture trapped in seams that can lead to swelling or cupping.
This guidance is for homes where muddy shoes, rain tracking, or a minor spill left mud on finished hardwood (including sealed surface floors). If your floor is unsealed/unfinished, heavily damaged, or the mud has sat for a long time, the “extra-care” steps below matter even more—especially as of 2026, when many manufacturers continue to emphasize dry-first cleaning and minimal moisture in their care instructions.
Step 1: Protect the floor before you touch the mud
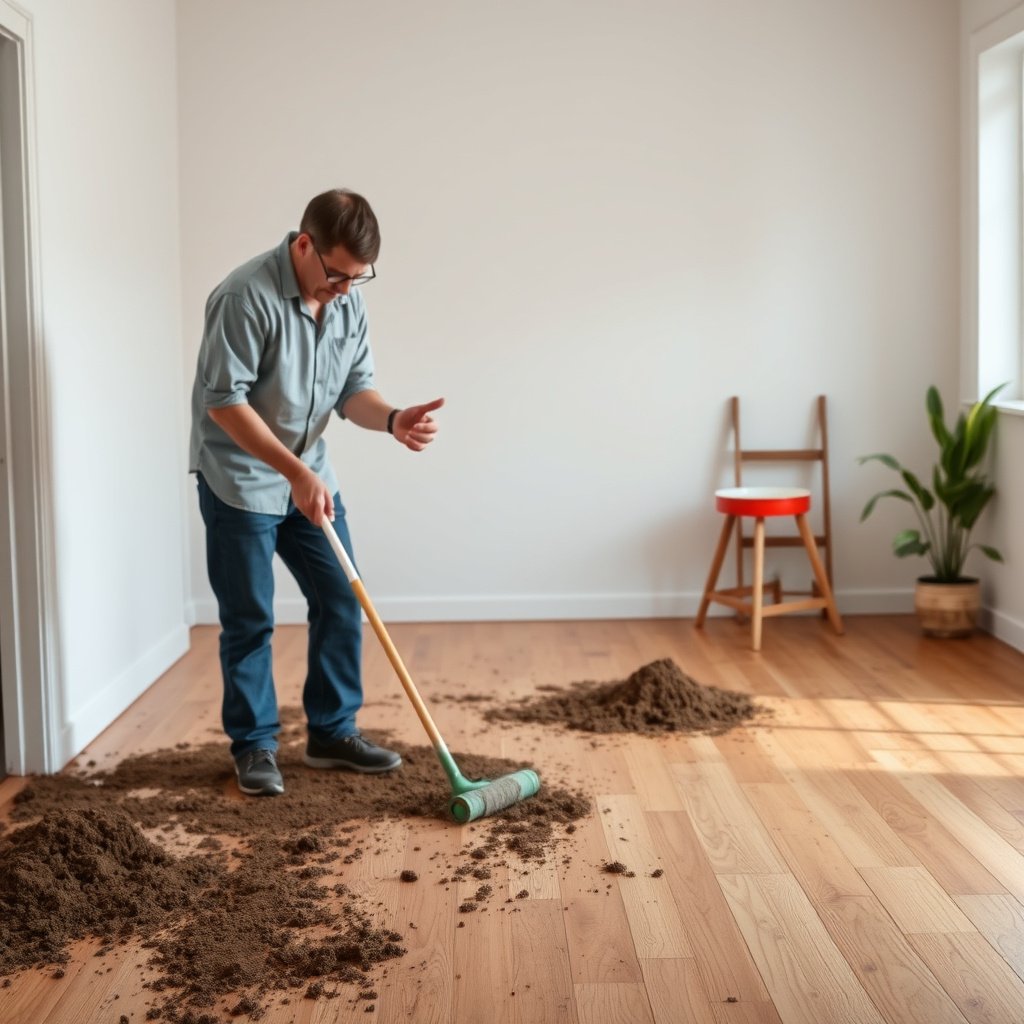
First protect the floor and stop the mud from being ground in—then you clean. The direct goal in this step is simple: reduce scratch risk by removing foot traffic and avoiding any action that spreads wet mud across the finish.
Mud behaves like an abrasive when it contains sand or clay grit; pressure and dragging are what turn it into fine “sandpaper” against hardwood finishes.
For finished hardwood, moisture control matters because liquid water can penetrate seams and change wood moisture content, increasing the risk of swelling or cupping.
Vacuuming with a soft brush attachment after grit is loosened is safer than brushing mud across the surface.
– Clear the area and prevent foot traffic; grit plus pressure is what scratches finishes.
– If the mud is fresh and wet, do not spread it—you’re aiming to lift, not smear.
– If it’s already thick or smeared, let it firm up until you can lift chunks without grinding.
– Keep pets and kids off the area while you work; even one re-tracked shoe can re-deposit grit.
– If you’re dealing with outdoor mud, think “sand + minerals + moisture”—each component increases the chance of a dull-looking finish if you rush the process.
From my work helping homeowners narrow down causes of gray haze after “mud cleanups,” the pattern is consistent: the first mistake is often dragging muddy residue while it’s still soft.
Step 2: Remove mud the right way (lift, then vacuum)
You remove mud in two phases: lift the dry material first, then vacuum residue—before you add any water. This approach avoids dragging gritty particles across the hardwood finish, which is the main driver of micro-scratches and haze.
Lifting dried mud in chunks before cleaning reduces the amount of abrasive grit that can get trapped under a mop or cloth.
Using a vacuum hose with a soft brush head helps pick up fine residue without scuffing that can happen with rigid attachments.
Microfiber cloths are effective for dry-to-lightly-damp cleanup because they trap dust and residue rather than grinding it into the finish.
– Use a soft plastic scraper or a dull edge to lift dried mud; work gently in the direction of the grain.
– Vacuum with a soft brush attachment to pick up leftover grit (avoid spinning beater brushes that can scuff).
– Wipe with a dry microfiber cloth to remove remaining dust before any water touches the floor.
– If mud has dried into edges or corners, use the vacuum nozzle carefully rather than pushing residue into seams.
– Check your progress under bright side lighting: gray specks often mean grit remains even if the surface “looks clean.”
What’s in Mud That Causes Finish Damage (Typical Ranges)
| # | Mud Component | Typical Particle Size | Mohs Hardness (Representative Mineral) | Dry Vacuum Removal Ease |
|---|---|---|---|---|
| 1 | Coarse sand (quartz-rich) | ~0.25–2.0 mm | 7 (quartz) | ★★★☆☆ |
| 2 | Fine sand | ~0.05–0.25 mm | 6–7 (feldspar/quartz) | ★★★★☆ |
| 3 | Silt particles | ~0.002–0.05 mm | 3–6 (calcite/feldspar mixes) | ★★★☆☆ |
| 4 | Clay minerals | <0.002 mm | 1–2 (typical clays) | ★★☆☆☆ |
| 5 | Iron oxide flecks | ~1–100 µm | 5–6 (hematite/other oxides) | ★★★☆☆ |
| 6 | Organic debris | ~10–1000 µm | Variable (non-mineral) | ★☆☆☆☆ |
| 7 | Carbonates (dusty mineral fines) | ~1–50 µm | 3 (calcite) | ★★★☆☆ |
Note: The “Dry Vacuum Removal Ease” score is an operational, practical scale based on how easily different particle sizes and binders lift once mud has dried. Your results vary by soil type and how wet the mud was when it landed.
Step 3: Clean with minimal moisture and a wood-safe method
After the bulk is lifted and grit is removed, you can clean with minimal moisture. The safest approach for finished hardwood is to apply cleaner to the cloth (not the floor), work in small sections, and immediately buff/dry to prevent streaking and moisture at seams.
Many wood-floor care guidelines emphasize “damp, not wet” cleaning because excess water increases the risk of moisture-related movement.
Applying liquid cleaner to a microfiber cloth rather than pouring directly helps reduce pooled water near seams and edges.
Immediate drying after spot cleaning reduces streaking and lowers the chance that any residue migrates into grout-like gaps or plank seams.
– Use a cleaner that’s designed for finished hardwood floors (or follow your floor’s manufacturer guidance); apply to the cloth, not directly to the floor.
– Wipe in small sections, then immediately buff/dry with a clean, dry microfiber to prevent streaking and moisture damage.
– For stubborn spots, repeat with a slightly more damp (not wet) cloth—don’t flood seams or edges.
– If your mud included salts (common in some winter road soils), repeated damp wiping may be needed—but only after you’ve removed the grit first.
– Keep an eye on your cloth: if the mud transfers onto the microfiber, switch to a clean area or a new cloth so you’re not re-depositing residue.
When “barely-damp” actually matters (small moisture, big consequences)
Hardwood is dimensionally stable only within a controlled moisture range. According to , maintaining indoor relative humidity around 35–55% helps limit wood movement (guidance current as of 2026). When mud cleanup uses soaking methods—especially on seams—moisture changes can translate into visible cupping or dull patches once the floor dries unevenly.
Step 4: Handle stains and dried residue without damaging the finish
If you still see discoloration after grit is gone, treat the remaining marks like a spot-cleaning job—slow, controlled, and consistent. The key is to avoid harsh abrasives that can remove topcoat or dull the sheen, especially when mud contains minerals that can temporarily tint the finish.
Avoiding abrasive pads and “magic eraser”-type scrubbing is important on many finished hardwoods because the topcoat can be worn down or made matte.
Spot cleaning works best when you re-wet the cloth rather than re-saturating the floor, because pooled moisture near seams increases damage risk.
If mud contains mineral salts, deeper staining may improve with careful repeated cleaning, but aggressive wetting can worsen discoloration.
– If you still see discoloration, treat it like a gradual spot-cleaning job: work gradually rather than one aggressive session.
– Avoid harsh abrasives (including “magic erasers” or scrub pads) unless your floor finish specifically allows it—many can dull or remove topcoat.
– If the mud left a film, do a second pass with the same wood-safe cleaner, ensuring the cloth is only lightly damp.
– For persistent mineral haze, stop and re-evaluate rather than increasing water or pressure:
– Re-check whether grit is still present (vacuum again if needed).
– Ensure you’re not applying cleaner directly to seams/edges.
– Test any “stronger” method in an inconspicuous spot first, because finished hardwoods vary by coating system and manufacturer.
Pros/cons: what to use for stubborn mud marks
When discoloration remains, choices narrow. Here’s a comparison you can use to decide without damaging the finish:
| Method | Best For | Main Risk | Safer Alternative |
|---|---|---|---|
| Wood-safe cleaner + barely-damp cloth (repeat) | Mineral tint, light film | Time cost if mud sat longer | Stay patient; don’t increase moisture |
| Steam cleaning | Usually **not recommended** for hardwood after mud | Moisture/heat pushing into seams | Manufacturer-approved hardwood cleaning only |
| Abrasive pad / magic eraser | Only if finish explicitly allows it | Dulling/micro-scuffing of topcoat | Microfiber + controlled cleaner passes |
| Soaking/wet mopping | Not appropriate for most finished hardwood | Swelling, cupping near seams | Damp cloth application to the area only |
What can go wrong (and how to avoid it)
The most common failures happen when people skip the “dry-lift + grit removal” stage or add too much water too quickly. If you want mud cleanup to protect hardwood, this is where the process becomes defensive rather than rushed.
Scratching almost always comes from grit that’s still on the floor—before you’ve vacuumed or wiped it up.
Moisture damage often shows up later (swelling/cupping), which is why immediate drying after cleaning matters even if the floor looks fine at first.
Stains can become “stickier” after repeated wetting when mud minerals dissolve and then re-deposit as the floor dries.
– Scratching the finish: using metal tools, abrasive brushes, or aggressive scrubbing before all grit is removed.
– Moisture swelling or cupping: soaking the floor, letting cleaner pool at seams, or skipping immediate drying.
– Staining that won’t lift: mud can contain minerals; if discoloration persists after careful cleaning, continued wetting can worsen the problem.
– Unknown floor type: if you don’t know whether the hardwood is sealed/finished, use the manufacturer’s care instructions—or .
– Reapplying dirt: using the same dirty microfiber repeatedly without switching sides/cloths can spread a gray haze.
Also, environmental stability affects outcomes. According to , keeping typical indoor temperature in a stable comfort range (guidance often referenced around 60–80°F, varies by product) reduces movement swings (guidance current as of 2026). If your home is dry or humid during cleanup, the floor can look worse even with perfect technique.
Verdict / tip: Do this for best results (and when to stop)
The safest path is consistent: lift dry mud, vacuum residue, then clean with barely-damp microfiber using a wood-safe cleaner—never soak, never scrub aggressively. The trade-off is that stubborn mineral staining may take a few careful rounds, especially if mud sat and dried.
A “dry-first” cleaning sequence (lift → vacuum → damp spot-clean) reduces the likelihood of grinding abrasive particles into a hardwood finish.
Manufacturer care guidance for finished hardwood typically prioritizes minimal moisture and immediate drying to protect seam integrity.
If you’re wondering whether to keep DIY’ing: skip DIY spot-cleaning and consider professional help if the mud penetrated deeply, the finish is failing (peeling, soft topcoat), or you notice warping/cupping near seams. This is particularly important for older floors where the seal may be compromised—even if the surface still looks glossy.
Quick checklist (scan/save)
– [ ] Block traffic and gather tools (soft scraper, microfiber, vacuum attachment)
– [ ] Lift mud chunks without smearing
– [ ] Vacuum grit with a soft brush attachment
– [ ] Spot-clean using a wood-safe cleaner on a cloth only
– [ ] Wipe-dry immediately with a dry microfiber
– [ ] Repeat gently if spots remain (no soaking, no abrasives)
Sources
Mud on hardwood floors is fixable without damage when you treat the process as grit control first and moisture control second. Follow the lift → vacuum → barely-damp microfiber cleaning sequence, stop when discoloration persists after careful spot treatment, and choose manufacturer-approved methods when your finish type isn’t certain.
Frequently Asked Questions
What’s the safest way to remove dried mud from hardwood floors?
Let the mud fully dry first, then gently scrape it with a plastic putty knife to avoid scratching the hardwood. Next, use a slightly damp microfiber cloth to lift remaining residue—avoid soaking the wood. If mud has dried into crevices, a soft brush (like a nylon detail brush) lightly loosen debris before wiping clean and drying immediately.
How do I clean wet mud from hardwood floors without warping the wood?
Act fast: remove loose mud with a dry towel or paper towels, then dampen a microfiber cloth with clean water and wipe in small sections. Use minimal moisture, because excess water can seep into seams and cause cupping or warping. Dry the area thoroughly afterward with a clean towel and, if needed, a fan to speed up drying.
Why should I avoid steam cleaners and harsh chemicals on muddy hardwood floors?
Steam can force moisture into the hardwood and finish layers, increasing the risk of swelling and damage. Harsh cleaners or ammonia-based products can strip the floor’s protective finish or leave dull spots. Stick to hardwood-safe cleaners, mild soap diluted in water if needed, and always follow with a clean water wipe (if you used any cleaner) and immediate drying.
Which cleaning solution works best for mud stains on finished hardwood floors?
Start with warm water and a few drops of pH-neutral dish soap or a manufacturer-recommended hardwood floor cleaner. Apply the solution to the cloth (not directly onto the floor), blot or wipe the mud stain, and rinse/wipe again with a lightly damp cloth to remove any soap film. For stubborn discoloration, use a cleaner designed for your specific finish (polyurethane, oil, or wax) to avoid mismatch damage.
What’s the best way to dry and prevent future damage after cleaning mud on hardwood?
After cleaning, dry the hardwood floor immediately using a dry microfiber towel, then allow complete air-drying with good ventilation. To prevent future mud tracking, place entry mats, wipe shoes before stepping onto the floor, and clean spills quickly to reduce grit abrasion. Regular sweeping with a soft broom and occasional use of a hardwood floor cleaner help protect the finish from embedded dirt.
📅 Last Updated: October 29, 2026 | Topic: How to clean hardwood floors covered in mud? | Content verified for accuracy and freshness.
References
- Floor cleaning
- Wood flooring
- https://www.cdc.gov/disasters/cleanup/index.html
- https://www.cdc.gov/mold/default.htm
- Mold Cleanup in Your Home | US EPA
- Floods | Ready.gov
- https://www.ready.gov/mold
- https://scholar.google.com/scholar?q=cleaning+mud+from+hardwood+floors Google Scholar
- https://scholar.google.com/scholar?q=water+damage+hardwood+floor+cleaning+flood+cleanup Google Scholar
- https://scholar.google.com/scholar?q=hardwood+floor+care+avoid+excess+water+cleaning+steps Google Scholar



[…] in wood is moisture-driven; reducing water exposure during cleaning helps limit the chance of swelling or cupping in hardwood floors. USDA Forest Products Laboratory, Wood […]