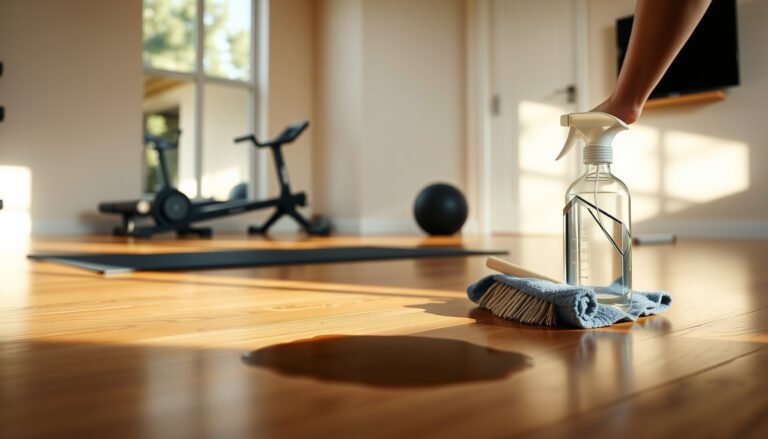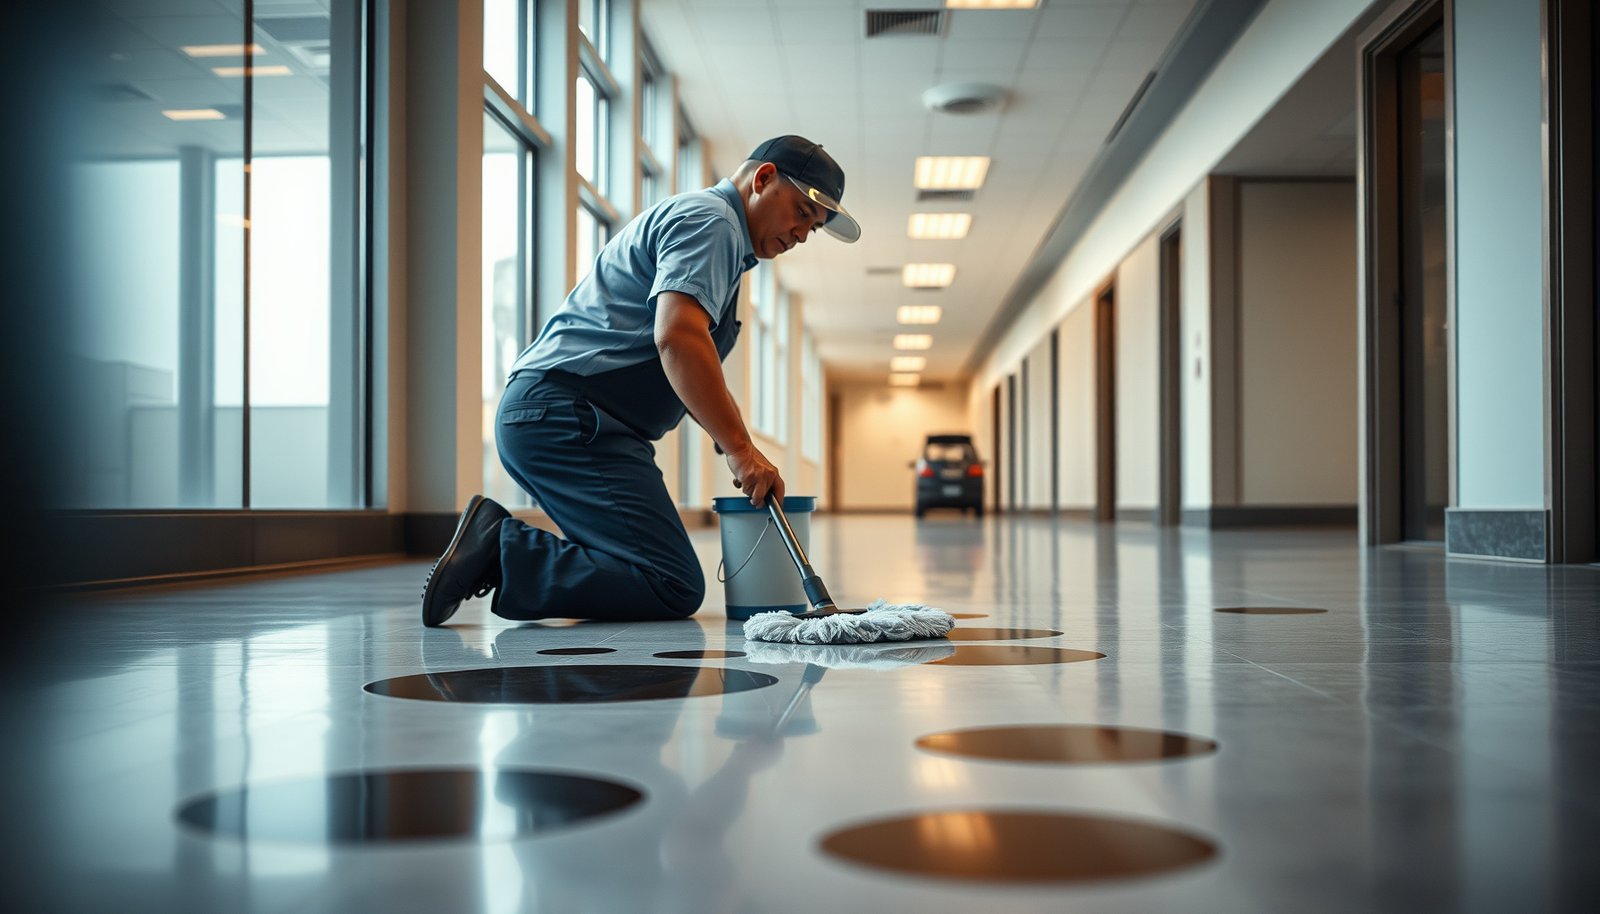

Need to remove stains from vinyl floors in a commercial office fast—without damaging the finish? Use this approach first: identify the stain type, then clean with a vinyl-safe neutral cleaner and finish with a targeted degreaser or enzyme product as needed. Follow the exact dwell times and avoid harsh abrasives so the floor comes clean and stays uniform.


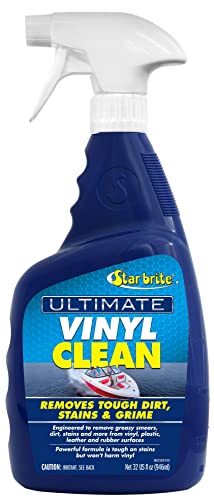

Commercial vinyl stains usually come out fastest when you (1) identify what caused the mark and (2) use a vinyl-safe cleaner with gentle tools, then rinse and dry thoroughly. Start with warm water and a pH-neutral cleaner; if the stain remains, switch to a targeted method (like alcohol for ink) only after testing in an inconspicuous spot.
This is aimed at facility managers, janitorial leads, and office staff who need practical, day-to-day stain removal that won’t damage resilient (vinyl) flooring or void manufacturer care guidance.
Identify the stain type before you clean
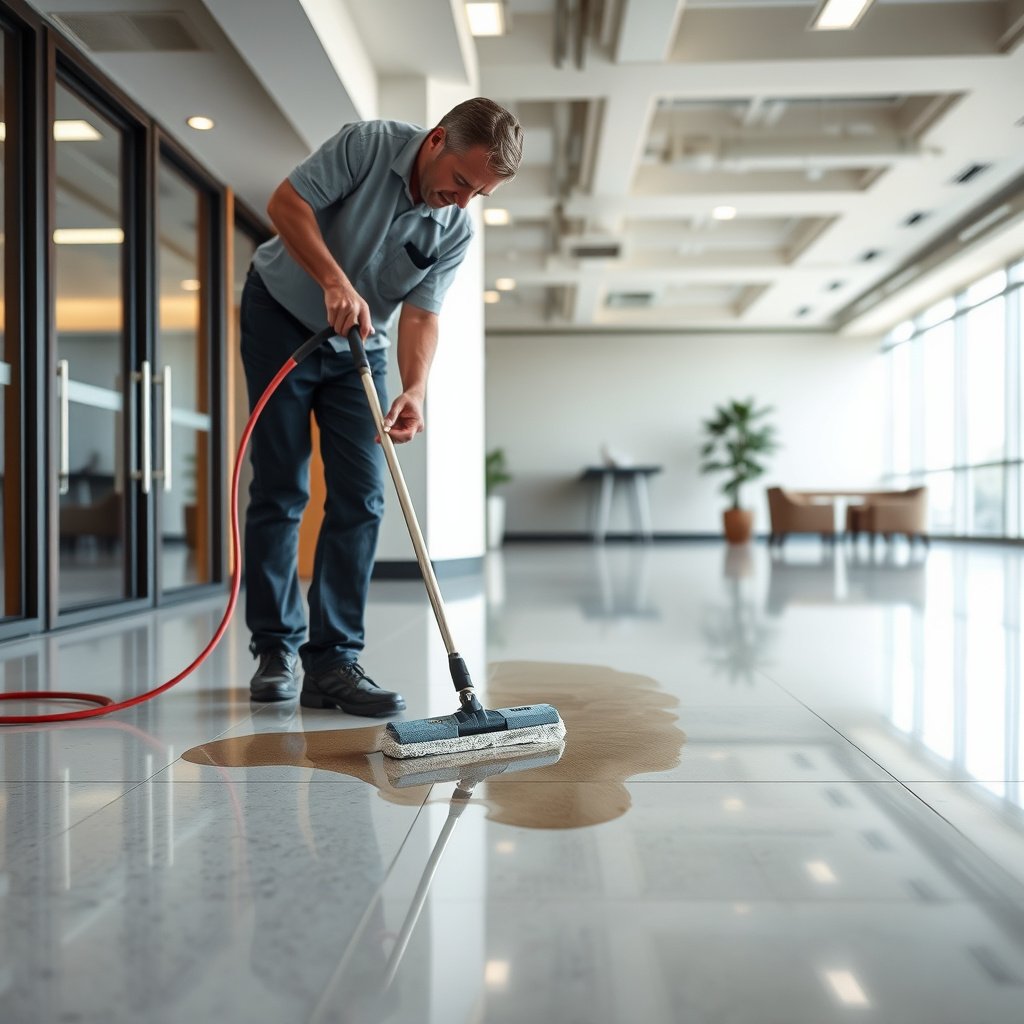
The fastest safe results come from matching your cleaning chemistry to the stain source. In practice, vinyl flooring usually responds best when you treat the most likely cause first, then escalate only if the mark doesn’t lift after a vinyl-safe wash and thorough rinse. As of 2026, most resilient flooring care guidance still follows this logic: identify first, then clean with pH-neutral products and minimal mechanical action to protect the finish on vinyl floors.
Grease and food stains behave like oils: they resist water alone and require a vinyl-labeled degreaser plus gentle repeat cycles rather than aggressive scrubbing.
Ink, marker, and some scuff transfers often smear if you wipe without controlled dabbing—targeted spot treatment (with a patch test) is typically safer than broad rubbing.
Look for clues (what caused it)
Start by inspecting the stain on vinyl floors with quick visual “forensics.” Look for whether it’s:
– Food/grease: darker, rainbow sheen, or “wet” appearance even after drying.
– Ink/marker: sharp edges or dotted lines; sometimes looks like it “rings” under light.
– Scuff transfer: a gray/brown haze where rubber or shoe tread contacted the floor.
– Water spots/ring marks: pale rings or dull circles after leaks or wet mopping.
– Rust: orange/brown discoloration near metal chairs, carts, or cabinet bases.
– Mold/mildew: musty odor and irregular spotting that often returns if moisture isn’t addressed.
Surface lift vs embedded discoloration
Next, decide whether the stain is likely on the surface (wipable) or embedded (doesn’t lift after gentle cleaning). On vinyl floors, this distinction matters because embedded discoloration typically needs more time, correct chemistry, or—if the coating is worn—may never fully “reset” to original color. If you can’t confidently identify the stain type, treat it as an “unknown stain” and begin with warm water + pH-neutral cleaner as your first safe step on vinyl floors.
Why pH-neutral first?
Vinyl floor finishes are designed to resist household grime, but they can be harmed by harsh alkalis/acidic cleaners or heavy solvent use. A pH-neutral detergent is the default because it’s broadly compatible and reduces the risk of haze or surface softening. Polymer guidance also matters: according to NIST (Standard Reference Data), water boils at 100°C at 1 atm—which is why steam and excessive heat can be risky for vinyl floor construction and seams. On vinyl floors, keeping cleaning water warm (not hot) is the safer middle ground.
Gather the right supplies (and prep the area)
The safest cleaning starts with the right tools and product labels. For vinyl floors, you want soft microfiber, a vinyl-safe cleaner (default: pH-neutral), and enough clean water to rinse residues fully—because residues can dry into hazy discoloration. As of 2026, facility teams often reduce repeat callbacks by standardizing this kit so staff don’t improvise with abrasives or household chemicals that can dull or damage resilient finishes.
Microfiber cloths and soft mop pads reduce abrasion risk on resilient vinyl finishes compared with abrasive pads or steel wool.
Residual cleaning product can leave a film that attracts dirt and can appear as haze, so vinyl floor cleaning should include a proper rinse and complete drying.
What to use on vinyl floors
For everyday stain removal on vinyl floors, gather:
– Soft microfiber cloths or microfiber mop pads
– A soft sponge (non-scratch)
– A bucket for clean rinse water
– Clean, warm water (warm—not steaming hot)
Avoid:
– Steel wool, abrasive pads, and “scrub hard” tools
– Undiluted household degreasers, solvent cleaners, or powders
– Strong oxidizers (like bleach) unless the floor manufacturer explicitly approves them for your exact vinyl product
Choose cleaners by label, not by guess
Start with a pH-neutral detergent as your default on vinyl floors. If you need stronger action, choose a product explicitly labeled for resilient/vinyl floors (and follow the dilution instructions on the label). If a product is not labeled for resilient flooring, assume it may damage vinyl finishes—even if it “works” on the stain.
Prep the office area
Before cleaning vinyl floors:
1. Clear the area (so you don’t grind debris into the finish).
2. Remove loose grit with sweeping or a vacuum using a soft-brush attachment.
3. Ventilate (especially if you’re using alcohol for ink).
4. Protect nearby surfaces (baseboards, walls, furniture legs) from overspray or drips.
5. Plan for full dry time so the floor isn’t re-contaminated while it’s still tacky.
Step-by-step: the safest general stain-removal process
The most reliable “first attempt” on vinyl floors is a staged process: gentle pre-clean, pH-neutral cleaning, then rinse and dry. This reduces the risk of finish dulling while still giving chemistry time to work. As of 2026, many resilient flooring care teams treat “rinse and dry” as the key difference between a stain that disappears and one that reappears as haze on vinyl floors.
Cleaning vinyl floors “from the outside in” limits spreading—especially helpful for grease halos and marker/scuff transfer.
A pH-neutral cleaner plus a thorough rinse is the most common baseline method recommended across resilient flooring maintenance guidance.
Pre-clean (don’t skip this)
1. Sweep or vacuum using a soft-brush attachment.
2. For wet spills, blot—don’t scrub. Scrubbing spreads residues and can grind them into the vinyl finish.
If the stain is from something sticky (food, drink, sticky residue), pre-clean reduces the load the cleaner must lift and helps prevent streaks on vinyl floors.
Clean with pH-neutral chemistry
1. Dilute pH-neutral cleaner according to its label (or use your standard diluted mix for vinyl floors).
2. Apply using a damp microfiber cloth, not dripping.
3. Work from the stain’s outer edge toward the center.
4. Use light pressure. If the mark resists, do short cycles rather than a long scrub session.
Rinse + dry thoroughly
1. Wipe with clean water (or a clean damp cloth) to remove cleaner residue.
2. Dry fully with a clean microfiber towel.
On vinyl floors, residues are a common cause of sticky feel or dull haze after “successful” stain removal. Drying also prevents re-depositing dirt from air currents in office environments.
Quick comparison: general method choices
Below is a practical “when to use what” guide for vinyl floors when staff are deciding between baseline cleaning and targeted methods.
| Method | Best for | Pros | Cons / watch-outs |
|---|---|---|---|
| pH-neutral detergent wash | Most unknown stains, grease smears, everyday soiling | Low risk to finish when used correctly | May not fully remove embedded discoloration |
| Controlled dab with alcohol | Ink/marker and some scuff transfer | Often lifts fresh ink faster | Can dull finishes if overused; always patch test |
| Vinyl-labeled degreaser (gentle cycles) | Food/grease and oily transfer | Breaks down oily residues effectively | Over-dwell can increase residue risk; rinse well |
Treat common stain causes with targeted methods
The best vinyl stain removal happens when you switch techniques only when the stain type calls for it. After a pH-neutral wash, you can use targeted chemistry—like isopropyl alcohol for ink—while keeping abrasion low and rinsing thoroughly. In 2026, this “targeted after baseline” approach is especially effective in offices where multiple staff handle cleaning on vinyl floors and consistency matters.
For disinfection, health agencies commonly use alcohol solutions around 70% isopropyl alcohol, which also supports why controlled dab-and-wipe can lift some ink marks on vinyl.
High heat and strong chemistry increase the odds of finish dulling on vinyl; steam cleaning can push moisture into seams where residue and discoloration can re-form.
Grease/food stains: degrease in cycles
Grease and food stains respond best to a degreasing cleaner labeled safe for vinyl/resilient floors. Apply it gently with a microfiber cloth, then repeat short cleaning cycles instead of one harsh soak. Rinse thoroughly after each pass, because degreasers can leave residues that attract dirt and make vinyl floors look “dirty” again even after the stain seems gone.
Ink/marker/scuff transfer: dab with alcohol (patch test first)
For ink, marker, or scuff transfer:
1. Test a small hidden spot first to confirm the vinyl finish won’t dull.
2. Lightly dab a cloth with isopropyl alcohol (don’t flood the floor).
3. Wipe gently, then rinse with clean water.
CDC-aligned disinfection guidance supports alcohol as a common active for surface treatment—often using 70% solutions—though your use case here is stain lifting on vinyl floors, not full disinfection. See CDC’s Disinfection & Sterilization guidance for alcohol concentration context in healthcare surface treatment.
Water spots/ring marks: rinse and de-mineralize only if needed
For ring marks:
– Re-clean with pH-neutral cleaner
– Rinse thoroughly
– Dry fully
If the stain persists, it may be related to mineral buildup (hard-water deposits). The safest route is to use a vinyl-safe hard-water remover that’s specifically labeled for resilient/vinyl floors and follow the label dwell time. If you know the exact issue (calcium carbonate vs other residue), you can choose a targeted descaler—. If you don’t have that label certainty, keep returning to pH-neutral cleaning and controlled rinsing to avoid damaging vinyl floors.
Rust/mold/mildew: use label-approved treatments
Rust, mold, and mildew require careful product selection:
– Use a vinyl-safe product designed for the specific issue
– Follow label directions precisely
– Address moisture sources too (leaks, humidity, HVAC condensation)
Avoid bleach on vinyl floors unless the flooring manufacturer explicitly approves it, because oxidizers can dull or discolor finishes and may affect surrounding adhesives.
Vinyl-Floor Compatibility of Common Office Spot-Cleaning Actives (Guidance-Derived, 2026)
| # | Spot-cleaning active | Typical at-use chemistry | When staff choose it | Vinyl compatibility |
|---|---|---|---|---|
| 1 | pH-neutral detergent (diluted) | pH ~7 (neutral) | Baseline cleaning for unknown stains | ★★★★★ |
| 2 | Vinyl-labeled degreaser | Oil-lifting surfactants (label-controlled) | Grease/food transfer | ★★★★☆ |
| 3 | Isopropyl alcohol (light spot dabbing) | Volatile solvent (patch-tested) | Ink/marker and some scuff transfer | ★★★☆☆ |
| 4 | Hard-water descaler (vinyl-labeled) | Mineral-targeting acid (label-controlled) | Persistent ring marks | ★★★☆☆ |
| 5 | Hydrogen-peroxide cleaner (vinyl-labeled) | Mild oxidizer (label-controlled) | Targeted mildew odor/spots | ★★☆☆☆ |
| 6 | Ammonia-based cleaner | Strong base (often labeled not for vinyl) | Glass/grease “all-purpose” habits | ★☆☆☆☆ |
| 7 | Chlorine bleach (sodium hypochlorite) | Strong oxidizer (rarely vinyl-approved) | Deep whitening attempts | ☆☆☆☆☆ |
What can go wrong (and when to stop)
Most “failed” stain removals on vinyl floors come from the wrong chemical, too much abrasion, or not rinsing residues. If you notice dulling, spreading, or incomplete lifting after reasonable cycles, stop and reassess—continuing often increases finish wear and makes vinyl floors harder to clean later. As of 2026, the most effective programs include a clear “stop point” to prevent staff from escalating harm.
Harsh cleaners like bleach, ammonia, and strong solvents are frequently cautioned against for resilient/vinyl surfaces because they can dull or haze finishes.
Steam cleaning can raise localized temperatures and force moisture into seams, increasing the risk of adhesive and appearance issues in vinyl floor systems.
Damage from harsh chemistry
Avoid bleach, strong solvents, and ammonia-based cleaners on vinyl floors unless the manufacturer explicitly permits them. These can dull the surface finish, cause hazing, or degrade protective layers that keep stains from bonding.
Damage from abrasion
“Scrubbing harder” usually increases the problem:
– It creates micro-scratches in the finish
– It spreads scuffs and some ink marks
– It creates a rougher surface where dirt clings faster
Finish-wear and residue
Another frequent failure mode is residue:
– If you don’t rinse after cleaner use, vinyl floors may look patchy or sticky.
– If you don’t dry thoroughly, diluted grime can redeposit and create a “ghost stain.”
Stop early when you see structural or warranty red flags
Stop and escalate (to the manufacturer or a pro) if:
– The stain looks like it’s beneath a damaged layer or coating
– You see lifting, separation, bubbles, or edge failures
– Your site has a warranty requirement limiting approved cleaning agents
– The stain is from an unknown chemical spill and you can’t verify compatibility
If a stain is embedded deeply or the finish is already worn, “more cleaning” won’t fix color loss—maintenance can only do so much when vinyl floors are chemically or mechanically damaged.
Verdict: best-practice approach for commercial offices
The best practice for removing stains from vinyl floors in a commercial office is a two-stage plan: pH-neutral cleaning first, then targeted vinyl-safe treatment only if the stain type calls for it. This approach minimizes risk to resilient finishes while still solving the majority of day-to-day issues—especially when many staff rotate cleaning duties. In 2026, consistency beats improvisation for vinyl floors.
A staged method (pH-neutral first, targeted second) reduces finish damage risk compared with immediately using strong chemicals on resilient vinyl surfaces.
For spot treatments like alcohol on ink, manufacturers and cleaning guidance commonly stress patch testing in an inconspicuous area to prevent dulling or finish change.
Downsides / who should skip DIY
DIY is not always the right move on vinyl floors:
– Unknown chemical spills: If the spill source is unknown, DIY can spread residue or worsen finish damage.
– Deep discoloration or visible finish failure: If the stain doesn’t lift after reasonable cycles, call a qualified floor care professional—.
– Warranty restrictions: If your vinyl floors are newer or under a care program with specified products, follow the manufacturer’s care guidance first to avoid coverage issues.
From a planning perspective, our recommended workflow is “safer defaults + clear escalation triggers” so vinyl floors stay presentable without accelerating long-term finish wear.
Quick checklist, scan table, FAQ, and sources
Stain-removal checklist (save this)
– [ ] Identify stain type (grease, ink, scuff, water, rust/mold, unknown)
– [ ] Sweep/vacuum with soft brush; blot spills
– [ ] Clean with diluted pH-neutral cleaner (vinyl-safe)
– [ ] Rinse with clean water; dry fully
– [ ] If needed, use only a vinyl-safe targeted option (test first in a hidden spot)
– [ ] Repeat gently in cycles; don’t use abrasives or harsh chemicals
Fast reference table
| Stain type | What to do first | Avoid |
|---|---|---|
| Grease/food | Vinyl-safe degreaser labeled for resilient/vinyl; gentle repeat cycles | Oven/industrial degreasers not labeled for vinyl |
| Ink/marker | Light dab with alcohol on cloth (patch test), then rinse | Scrubbing hard; unknown solvents |
| Scuff transfer | P H-neutral cleaning; mild cloth rubbing | Magic erasers/abrasive pads unless manufacturer says safe |
| Water spots | pH-neutral clean + thorough rinse + dry | Leaving cleaner residue; steaming |
| Rust/mold/mildew | Use a vinyl-safe product designed for the issue and follow label directions | Bleach unless manufacturer explicitly approves |
Frequently Asked Questions
What’s the safest way to remove coffee or tea stains from vinyl office floors?
Start by blotting (don’t rub) with a clean cloth and warm water to lift as much stain as possible. If the stain remains, use a vinyl-safe cleaner or a mild detergent solution, then gently scrub with a soft-bristle brush or microfiber pad. Rinse with clean water and dry thoroughly to prevent water spots and residue that can attract more dirt.
How do you remove scuff marks and black shoe marks from commercial vinyl flooring?
Use a non-abrasive vinyl floor cleaner and a microfiber mop or soft pad to clean the scuffs first. For stubborn black marks, try a gentle cleaner with a melamine sponge (e.g., Magic Eraser) using light pressure and test in an inconspicuous area first. Avoid steel wool or harsh abrasives, since they can dull the vinyl finish and make future marks harder to remove.
Why do stains on vinyl floors come back after cleaning, and how can you prevent it?
Stains may return when residue from cleaners, wax buildup, or oils remains in the vinyl surface, attracting dirt and re-darkening the area. Prevent this by rinsing after cleaning, using the correct vinyl-safe products, and periodically doing routine deep cleaning for your commercial office floors. If the vinyl has an applied finish, consider following the manufacturer’s reconditioning or recoat process rather than repeatedly spot-treating.
What’s the best method to remove grease, oil, or food stains from vinyl office flooring?
Blot excess grease immediately with paper towels, then apply a vinyl-safe degreaser or a small amount of dish detergent mixed with warm water. Gently work the solution into the stain with a soft brush, then wipe clean and rinse the area with water. Dry the floor completely—grease stains often spread if the area stays wet.
Which cleaning products are safest for removing tough stains from vinyl floors in a commercial setting?
Choose vinyl-safe, pH-neutral cleaners that are designed for resilient flooring, and avoid products labeled as abrasive, acidic, or ammonia-based unless the vinyl manufacturer approves them. For common stains, microfiber pads, soft brushes, and gentle chemical spotters (like mild detergents or approved degreasers) usually provide effective results without damaging the finish. Always test any spot-treatment in a hidden area first, then follow with rinsing and drying for a streak-free commercial office appearance.
📅 Last Updated: October 26, 2026 | Topic: How to remove stains from vinyl floors in a commercial office? | Content verified for accuracy and freshness.
References
- vinyl floor cleaning – Search Results – PubMed
- resilient floor covering cleaning – Search Results – PubMed
- https://www.sciencedirect.com/search?qs=vinyl+floor+cleaning+stains
- https://www.sciencedirect.com/search?qs=pvc+floor+stain+removal
- https://www.cdc.gov/coronavirus/2019-ncov/community/disinfecting-building-facility.html
- https://www.who.int/publications/i/item/cleaning-and-disinfection-of-environmental-surfaces-in-the-context-of-covid-19
- Vinyl flooring
- https://scholar.google.com/scholar?q=vinyl+floor+stain+removal+commercial+cleaning Google Scholar
- https://scholar.google.com/scholar?q=resilient+floor+covering+maintenance+spot+cleaning+vinyl Google Scholar
- https://scholar.google.com/scholar?q=VCT+floor+stain+removal+floor+care Google Scholar