
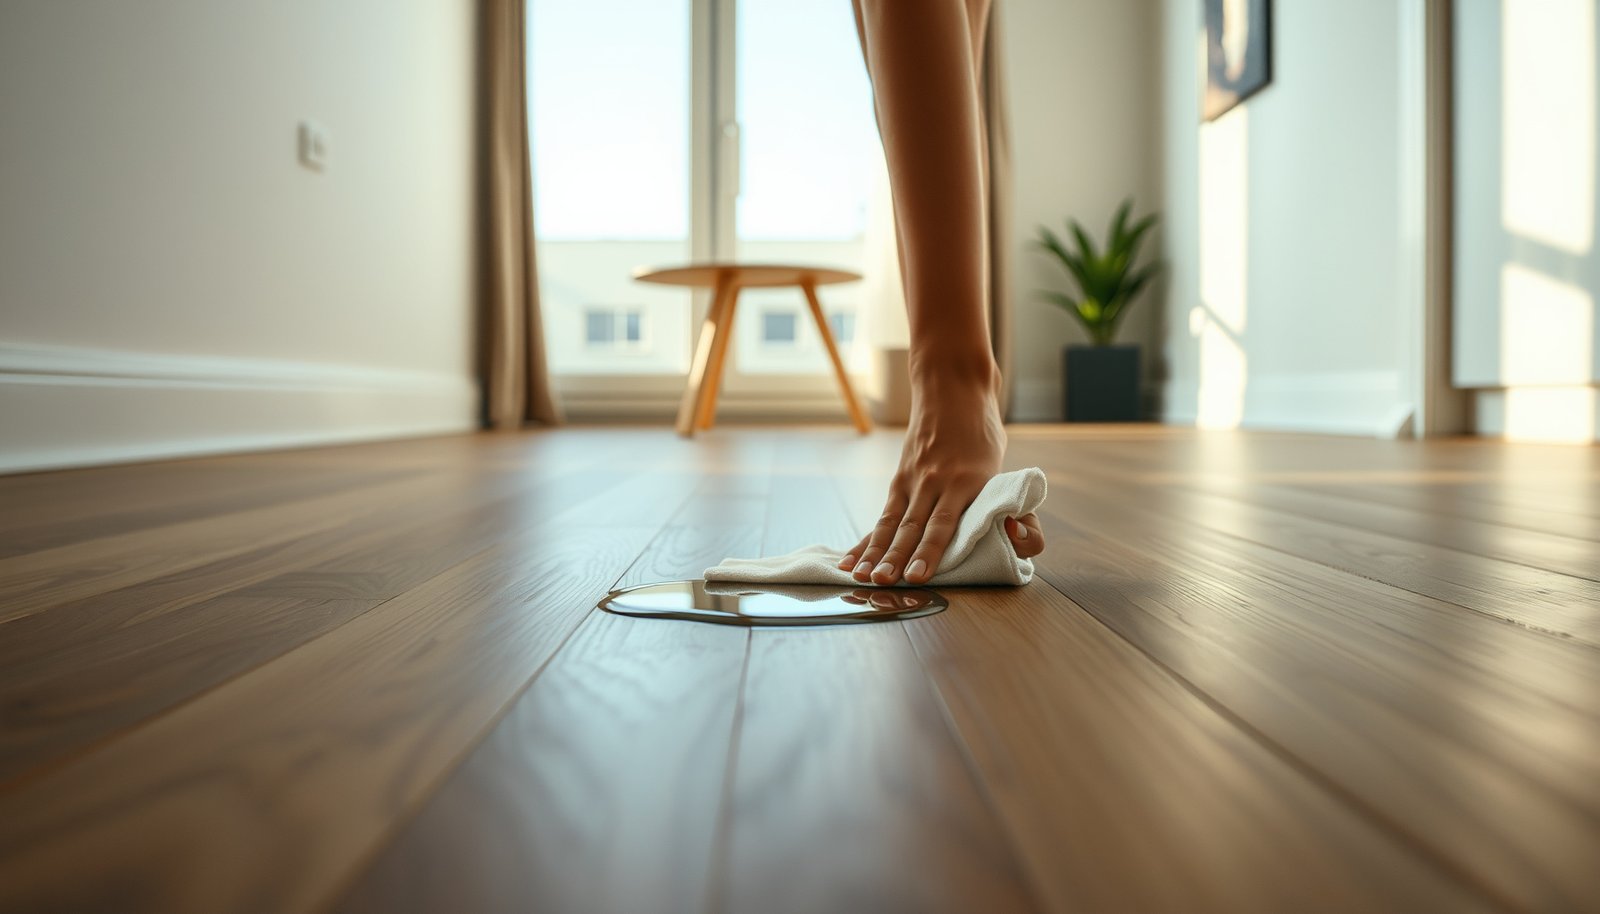

Want to prevent water damage to vinyl floors in an apartment? Follow a strict, fast-response plan: stop leaks immediately, wipe spills within minutes, and keep water from pooling at seams, edges, and transitions. This guide shows the exact daily habits and apartment-friendly fixes that keep vinyl looking new even in real-world risks like dishwasher drips, tracked-in rain, and bathroom splashes.




If you act fast, you can prevent most water damage to vinyl floors—especially by removing standing water immediately and drying the area thoroughly within 24 hours. Use a damp (not wet) mop for regular cleaning, and keep moisture away from seams, edges, and underlayment.
This guide is for apartment renters and homeowners dealing with spills, leaks, bathroom/entryway moisture, or humid conditions where water can seep into the vinyl seams over time—an issue that’s especially important in 2026 because many apartments still use vinyl click-lock installs in bathrooms and entryways.
Identify the most common water sources in apartments
The fastest way to prevent vinyl floor damage is to stop the water source before it ever has time to travel into seams. In most apartments, vinyl floors are exposed to the same predictable leaks and condensation patterns—so a targeted inspection beats guesswork.
“According to the U.S. EPA, mold can begin growing within 24–48 hours after water damage.” U.S. Environmental Protection Agency (EPA)
“IICRC water-damage guidance emphasizes promptly removing water and controlling evaporation to reduce ongoing moisture exposure.” IICRC S500 (Standard and Reference Guide for Professional Water Damage Restoration)
– Check high-risk areas like near sinks, dishwashers, refrigerators, toilets, and HVAC/AC drip lines.
– Look for “slow leaks” (minor pooling under appliances, damp baseboards, or recurring spots after rain).
– Confirm whether your vinyl is installed with click-lock (floating) or glued-down—moisture behaves differently around edges and seams.
Spot patterns that usually point to the cause
Vinyl floors often show “maps” of moisture rather than a single wet spot. If water appears repeatedly near the same seam line, threshold, toilet wall, or appliance corner, you likely have an ongoing source (for example, a failing supply hose or a drain pan issue). For apartments, also check the underside of sinks during cabinet use—condensation and small drips frequently collect there before they reach the vinyl edges.
Click-lock vs. glued-down: why it changes your investigation
Click-lock vinyl flooring can allow water to move under the perimeter more readily when seams and edges are exposed. Glued-down vinyl can still trap moisture if cleaning is delayed, but the failure mode often shows up as lifting at transitions and swelling around cut edges. That’s why you should identify the install type early—before you start drying only the surface.Stop leaks and spills before they reach the seams
The most reliable prevention strategy is simple: remove liquid quickly and stop water at the source. Once water works its way into seams, it can wick beneath the vinyl and turn a small incident into a chronic odor or lifting problem.
“If standing water is present, extracting/removing it promptly is a key step in the IICRC structural drying process.” IICRC S500
“The U.S. EPA links faster cleanup with lower risk of microbial growth following water damage.” U.S. Environmental Protection Agency (EPA)
– Fix plumbing issues early: tighten fittings, replace worn supply hoses, and use shutoff valves when possible.
– For spills: blot immediately, then dry with clean towels and allow airflow (fans work well).
– If water gets near joints or the perimeter: lift any rugs/runner right away and keep the area uncovered to dry.
Immediate spill response (what “fast” looks like)
For a spill on vinyl flooring, the first goal is to prevent liquid from migrating into the seam network. Blotting matters because it reduces liquid spread; wiping back and forth can push water outward toward edges and transitions. Once the visible liquid is gone, use towels to wick along grout lines, seam edges, and the perimeter.
If the spill occurs in a bathroom or near an entryway, prioritize airflow. Fans increase evaporation and shorten the time materials stay wet; the IICRC drying workflow treats controlled evaporation as essential. After you’ve done extraction, keep the area uncovered until drying is complete.
Plumbing leaks: prioritize the parts that fail
Common apartment leak points include:
– Supply hoses under sinks (dishwasher/ice maker lines are similar)
– Wax rings around toilets (slow seepage can go unnoticed)
– HVAC/AC condensate drain lines (often leak under the unit or behind baseboards)
Where possible, turn off the water at the shutoff valve and address the plumbing issue before you reintroduce moisture-cleaning routines. If you suspect a drain or pipe leak behind a wall, do not rely on floor drying alone—fixing the source is what actually prevents recurrence.
Drying and cleanup steps that help prevent long-term damage
The best time to stop vinyl damage is during the first day: remove standing water and dry the area thoroughly within 24 hours. Drying needs to reach seams, edges, and transitions—surface “dry to the touch” isn’t the whole story.
“Mold can begin growing in as little as 24–48 hours after water exposure, per the U.S. EPA.” U.S. Environmental Protection Agency (EPA)
“IICRC S500 focuses on drying to established performance targets, not just removing visible water.” IICRC S500
– Remove standing water first—don’t spread it by wiping back and forth.
– Clean with a lightly damp cloth only, then dry thoroughly (especially around edges and transitions).
– Use dehumidification/ventilation if the room stays humid—goal is to get materials back to dry, not just “less wet.”
A practical time-to-action plan for vinyl floors
Below is a renter-friendly “time window” approach you can follow after any spill or leak on vinyl flooring. It’s designed to reduce the chance that water migrates into the seam area and underlayment (if present).
Time-to-Action Priorities After Water Reaches Vinyl Floors (Apartment Scenarios)
| # | Action window | Primary step | Moisture control goal | Damage prevention impact |
|---|---|---|---|---|
| 1 | 0–10 minutes | Blot + extract standing water | Stop wicking into seams | ★★★★★ |
| 2 | 10–30 minutes | Wick perimeter + seam lines | Reduce edge saturation | ★★★★☆ |
| 3 | 30–60 minutes | Fan airflow; keep traffic off | Boost evaporation rate | ★★★★☆ |
| 4 | 1–6 hours | Light damp wipe (only) + dry towels | Remove residue without re-wetting | ★★★☆☆ |
| 5 | 6–12 hours | Ventilation/dehumidifier if room stays humid | Dry sub-areas beneath transitions | ★★★☆☆ |
| 6 | 12–18 hours | Check edges/under rugs for lingering dampness | Prevent odor development | ★★☆☆☆ |
| 7 | 18–24 hours | Verify fully dry before resuming normal use | Close the moisture window | ★☆☆☆☆ |
Note: This table is a practical prevention workflow. For measurements (for example, moisture meters or drying performance targets), refer to professional water-damage standards such as IICRC S500 and your vinyl manufacturer’s guidance.
What “dry thoroughly” actually means for vinyl flooring
“Dry” should include:
– Perimeter drying (where edges meet walls/trim)
– Seam drying (where panels meet)
– Transition drying (doorways, thresholds, flooring height changes)
If you have underlayment, it can hold moisture even when the top layer feels dry. That’s why dehumidification and ventilation matter in damp apartments in 2026—especially where HVAC airflow is limited.
Prevent moisture buildup from daily life (humidity + cleaning)
The most common prevention failure is treating “clean” as “dry.” For vinyl floors, avoiding puddles and managing indoor humidity are often more effective than scrubbing harder.
“The U.S. EPA recommends maintaining indoor relative humidity around 30%–50% to help prevent mold growth.” U.S. Environmental Protection Agency (EPA)
“EPA guidance connects moisture control (not just cleaning) with reducing mold risk.” U.S. Environmental Protection Agency (EPA)
– Avoid soaking mops; vinyl doesn’t need puddles to be clean.
– Use mats at entrances and in bathrooms to catch tracked water.
– Keep indoor humidity in a reasonable range (use an inexpensive hygrometer if you’re unsure). If you see condensation, address ventilation, not just the floor.
Cleaning habits that keep vinyl flooring safe
Vinyl flooring care usually calls for lightly damp cleaning, because excess water can travel to seams and edges. In practice, this means:
– Use a damp mop or cloth that won’t leave standing water.
– Change rinse water so you’re not spreading dirty moisture across seams.
– Avoid “steam-cleaning” unless your vinyl manufacturer explicitly approves (steam adds heat-driven moisture).
Humidity management: prevention between incidents
Apartments often have hidden humidity sources: showers, cooking steam, drying laundry, and limited bathroom ventilation. If you see condensation on windows or bathroom walls, that’s a sign your vinyl floors may experience recurring moisture exposure. Use an inexpensive hygrometer to verify your indoor relative humidity (RH), then adjust ventilation or run the bathroom fan during and after showers.
Pros/cons: click-lock vs. glued-down under daily humidity
| Factor | Click-lock (floating) vinyl floors | Glued-down vinyl flooring |
|---|---|---|
| Moisture pathway | Can move under some edges when joints remain exposed | Typically less lateral movement, but moisture can still pool at edges/cut lines |
| Risk pattern | More likely lifting at perimeter if water repeatedly reaches seams | More likely swelling/clouding if cleanup is delayed |
| Prevention priority | Keep mats, avoid puddling, monitor bathroom/entryway moisture | Follow manufacturer’s moisture-cleaning limits closely and dry transitions quickly |
What can go wrong (and when your plan won’t work)
Fast drying helps, but it can’t fix a problem you didn’t stop—and it may not be enough if materials beneath the vinyl are compromised. The vinyl floor can look fine while the subfloor remains wet, which is why some incidents still return as odor or seam separation.
“Water trapped under or within flooring can contribute to persistent odor and microbial growth if it remains above safe moisture levels.” IICRC S500
“IICRC structural drying guidance warns against relying solely on surface appearance; drying should achieve appropriate performance targets.” IICRC S500
– Standing water for long periods can seep into seams or under the vinyl, causing lifting, clouding, or odor.
– Excessive heat (like blasting a hair dryer) can warp some floor materials—dry with airflow, not heat stress.
– If water intrusion involves subfloor damage (bubbling, soft spots), drying the vinyl may not be enough.
– Floating click-lock floors may be more vulnerable at edges if water sits underneath; glued-down installs may still trap moisture if cleanup is delayed.
Common failure modes in apartments
1. Delayed response: Even if the stain seems minor, water can wick along seam edges and remain trapped beneath vinyl flooring.
2. Over-wetting during cleanup: Using too-wet a mop or repeatedly rinsing the area can reintroduce moisture.
3. Skipping dehumidification in humid units: In 2026, some apartments run with limited ventilation (and some bathroom fans are weak), so humidity stays high and slows drying.
When you should stop DIY drying and escalate
If you notice bubbling, soft spots, persistent musty smell after drying, or visible seam separation that worsens over a few days, treat it as a subfloor or underlayment moisture problem. At that point, vinyl floor surface drying isn’t sufficient. You’ll likely need a deeper inspection and possibly professional water-damage restoration aligned with IICRC methods.
Practical verdict: what to do most days vs. what to do when water happens
The simplest rule for vinyl flooring is: prevent moisture daily, and respond immediately when water gets onto the seams. Most damage comes from repeated small exposure or delayed cleanup—so consistent habits win over occasional “big fixes.”
“The EPA’s approach to mold risk is centered on moisture control and timely cleanup after water exposure.” U.S. Environmental Protection Agency (EPA)
“IICRC S500 provides a process for removing water, controlling evaporation, and monitoring drying progress.” IICRC S500
Most of the time, your best protection is simple: no soaking during cleaning, fast spill response, and keeping doors/bathroom ventilation working so moisture doesn’t linger. If you’ve had a leak that reached the floor edges, or water sat for more than a short period, focus on thorough drying and consider consulting the vinyl manufacturer or a flooring professional—because visible surface drying doesn’t guarantee the subfloor is dry. If you suspect significant plumbing failure, prioritize fixing the source before any floor cleanup.
Quick checklist to save your vinyl from water damage
The quickest way to avoid long-term vinyl floor problems is to follow a repeatable checklist every time water hits the surface. Keep this near your cleaning supplies so the “first 30 minutes” are never forgotten.
– [ ] Remove standing water immediately (don’t let it sit)
– [ ] Blot first, then dry edges/seams with towels
– [ ] Increase airflow (fans) until fully dry
– [ ] Use mats/rugs to prevent tracked moisture
– [ ] Clean with a damp mop only (no soaking)
– [ ] Address leaks fast (hoses, seals, appliance drains)
– [ ] Monitor humidity and ventilation (especially bathrooms/entryways)
Sources
– U.S. Environmental Protection Agency (EPA) — Mold and moisture guidance, including recommended indoor humidity ranges and cleanup principles after water exposure.
– IICRC S500 (Standard and Reference Guide for Professional Water Damage Restoration) — Water extraction, evaporation control, and drying/monitoring principles.
If you remember one takeaway, make it this: preventing water damage to vinyl floors is mostly about speed (remove and dry within 24 hours), moisture control (no soaking), and preventing repeat exposure in bathrooms and entryways. When you fix the leak, dry the seams—not just the surface—and keep humidity in a safe range, vinyl floors typically recover without long-term lifting, clouding, or odor.
Frequently Asked Questions
How can I prevent water damage to vinyl floors in my apartment?
Start by wiping up spills right away and using a damp (not soaking) mop with a vinyl-safe cleaner. Place entryway mats and consider felt pads under furniture to reduce scratches that can let moisture seep in. If your vinyl has seams or edges, regularly check them and keep the floor clean and dry to prevent water from getting underneath.
What’s the best way to protect vinyl plank or sheet vinyl floors from leaks and spills?
Use absorbent mats near sinks, dishwashers, refrigerators, and bathrooms, since these are common leak points in apartments. For frequent spills, keep a towel or mop nearby and blot first before cleaning so water doesn’t pool. If water does get under or near seams, dry the area quickly and avoid running the mop repeatedly over the same wet spot.
Which cleaning methods should I avoid to reduce the risk of standing water on vinyl floors?
Avoid steam mops and overly wet mopping because excess moisture can seep into seams, edges, or underlayment. Don’t use harsh cleaners or waxy products that can leave residue and make it harder to dry properly. Stick to a manufacturer-recommended vinyl floor cleaner and use minimal water, followed by a quick dry pass with a microfiber cloth.
Why do vinyl floors swell or buckle when exposed to water, and what can I do immediately after a spill?
Vinyl can swell or lose adhesion when water penetrates the seams or reaches the subfloor, especially around edges, transitions, and grout-free wet areas. After a spill, remove any standing water immediately, then dry the surface thoroughly with towels and airflow (a fan helps). If the spill reached the seams or lasted more than a short moment, inspect for lifting edges and dry underneath if possible.
Best preventative steps can I take for apartments with bathrooms, kitchens, and laundry near vinyl flooring?
Install water-resistant rugs or mats in high-risk zones and use caulk/sealant at edges and around fixtures where moisture could migrate. Use a drip tray under appliances, check hoses (dishwasher, washing machine, and fridge water lines), and replace worn seals promptly. Keeping indoor humidity stable and maintaining good airflow under furniture and along baseboards helps reduce moisture buildup that leads to vinyl floor damage.
📅 Last Updated: October 26, 2026 | Topic: How to prevent water damage to vinyl floors in a apartment? | Content verified for accuracy and freshness.
References
- Mold Cleanup in Your Home | US EPA
- https://www.hud.gov/program_offices/healthy_homes/mold
- https://www.cdc.gov/mold/default.htm
- Vinyl flooring
- https://www.energy.gov/energysaver/controlling-indoor-humidity
- https://scholar.google.com/scholar?q=vinyl+flooring+standing+water+prevention Google Scholar
- https://scholar.google.com/scholar?q=resilient+flooring+installation+moisture+subfloor+guidelines Google Scholar
- https://scholar.google.com/scholar?q=luxury+vinyl+tile+care+maintenance+standing+water Google Scholar


