
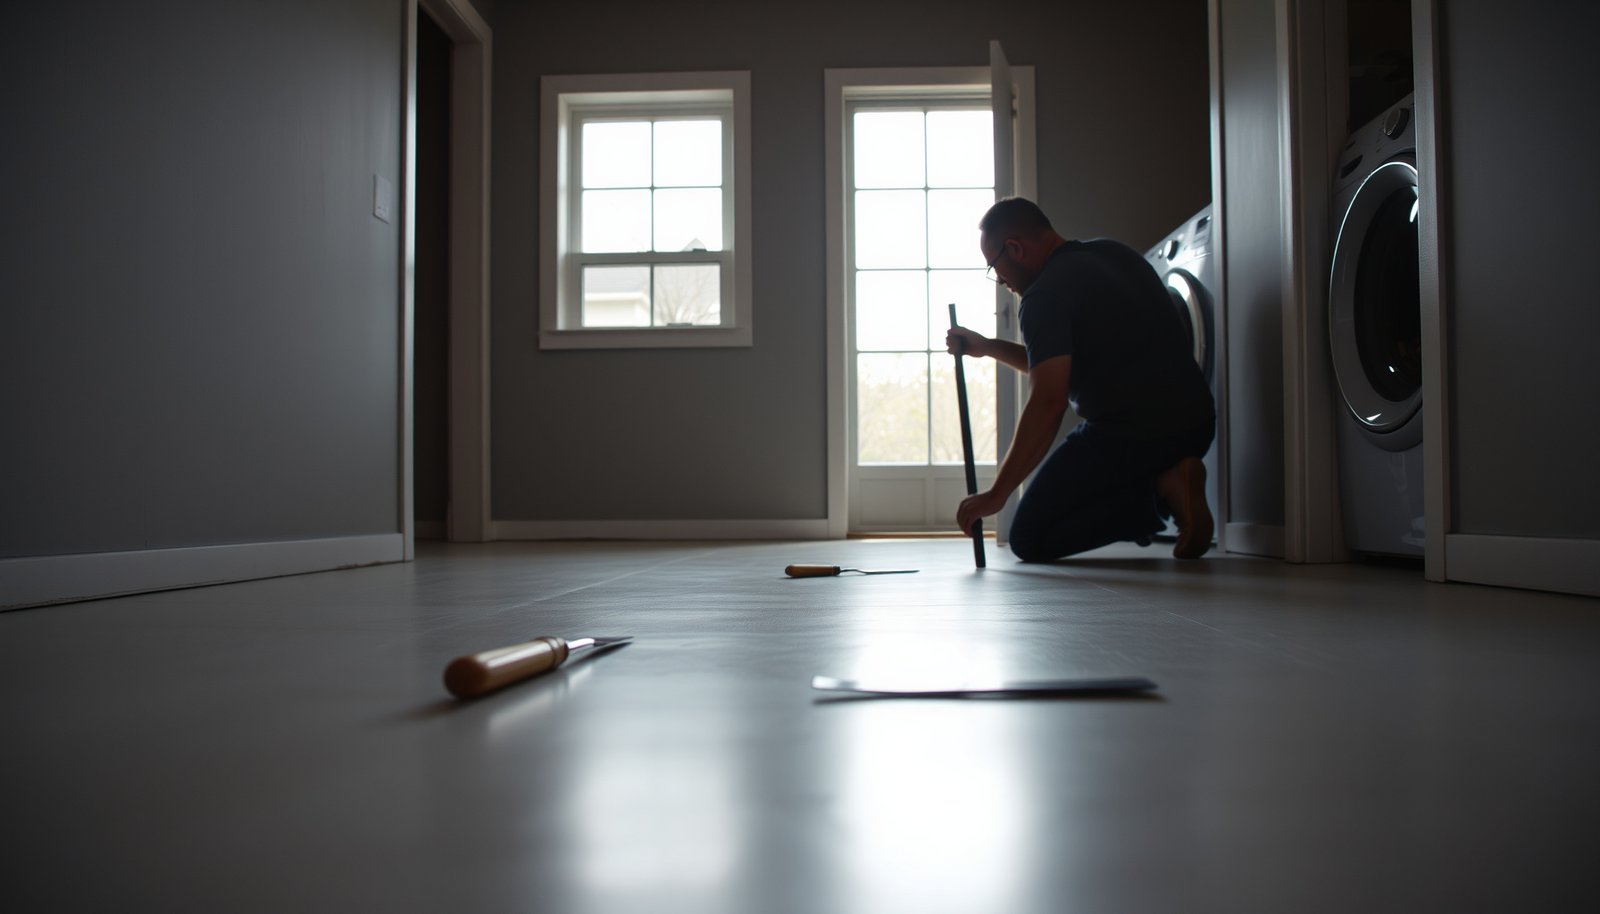

You can level vinyl floors before installing a laundry room the right way by spotting the actual low spots, then grinding, filling, and smoothing until the surface is flat to within the flooring manufacturer’s tolerance. If you need the clearest, fastest path, use a self-leveling compound for broad dips and a patch/feather-finish for small divots—then confirm flatness again before any sheet or plank vinyl goes down. This is the step-by-step approach that prevents bouncing doors, puckering seams, and premature wear in your laundry space.



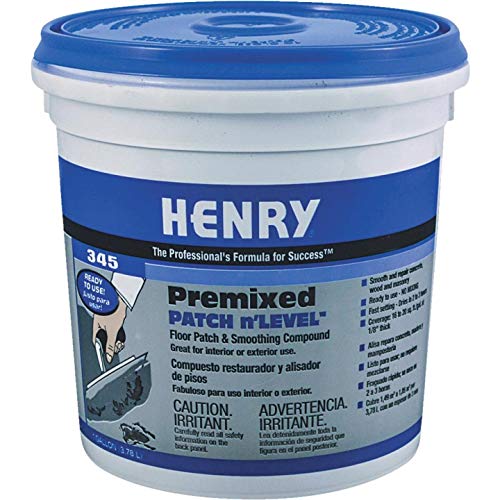
Level your vinyl floor by making the subfloor flat (not just “smooth”) before you lay any planks or tiles—most problems like gapping, clicking noise, and premature wear come from out-of-flat spots. Start by measuring the floor with a straightedge/level or a flatness gauge, then fix low areas with a suitable patch or self-leveling underlayment (plus proper priming), and re-check flatness before installing—because in a laundry room, moisture from spills, detergents, and occasional splashes can magnify any movement in the base.
This matters most in a laundry room because moisture from spills, detergents, and occasional splashes can magnify subfloor movement. If you’re installing luxury vinyl plank (LVP) or luxury vinyl tile (LVT), getting the subfloor to the manufacturer’s flatness tolerance is the difference between a “set it and forget it” floor and one that needs rework.
Check flatness first (straightedge beats “eyeballing”)
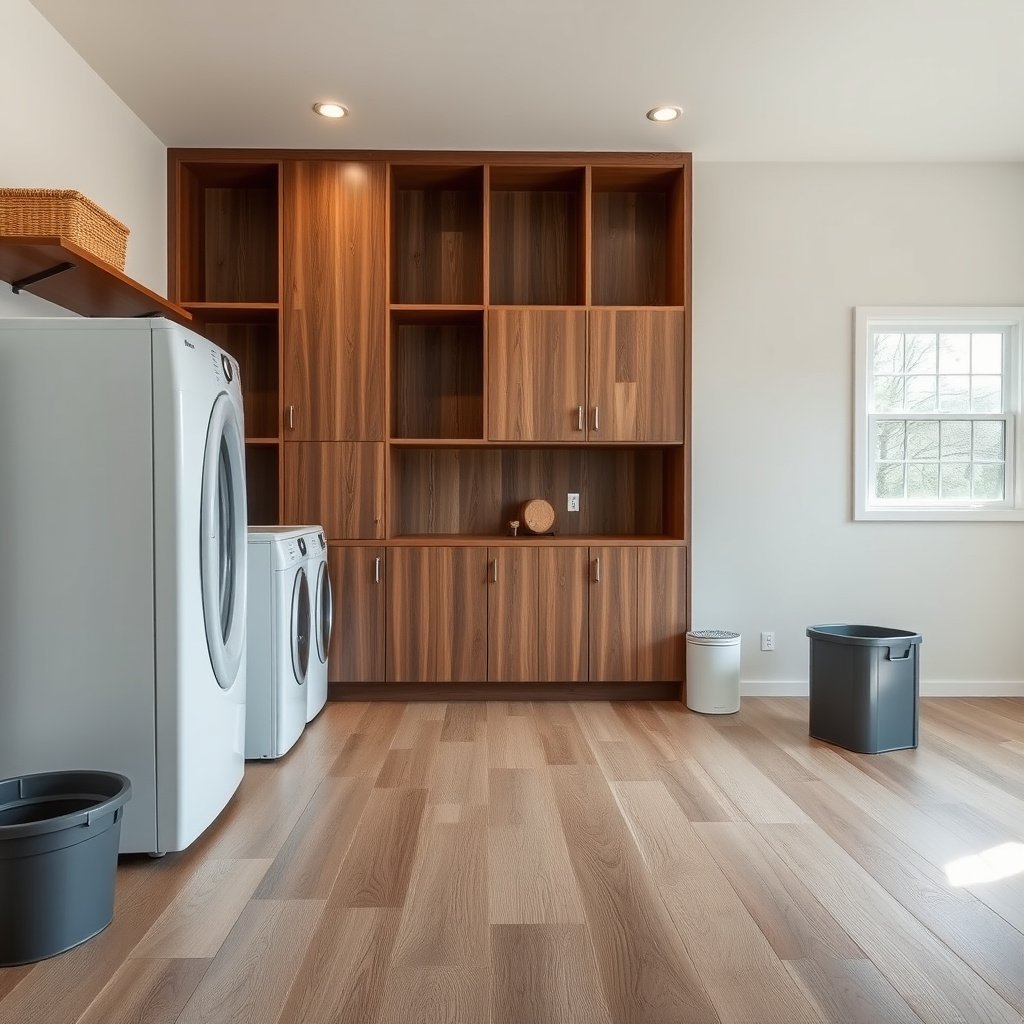
You should verify flatness before you buy leveling materials, because vinyl failures are usually caused by dips and high spots—not by minor surface roughness. Use a straightedge to measure actual deviation, then decide whether you’re fixing localized lows or dealing with subfloor/joist movement that leveling alone can’t correct.
“Subfloor flatness for resilient floor coverings is evaluated with a 10 ft (3 m) straightedge span.” ASTM F710
“ASTM F710 lists a maximum subfloor flatness deviation of 3/16 in (4.8 mm) over a 10 ft span for resilient flooring.” ASTM F710-21
Use the right measuring approach (and measure where it matters)
A straightedge (often 6–10 ft) or a flatness gauge quickly shows two things that matter to LVP/LVT:
1) High spots that prevent tight clicking/locking, and
2) Low spots that let the planks flex, causing clicking and eventual joint wear.
In the real world, laundry rooms often have:
– Cutouts for plumbing,
– Old patches from appliance installs,
– Transitions from tile/older sheet vinyl,
– Subfloor movement near walls or doorways.
Action: Mark every low and high spot you find. Don’t just note “it’s uneven”—pinpoint where the deviation occurs so your patch or SLU (self-leveling underlayment) goes where it’s actually needed.
Confirm the target: your vinyl manufacturer’s flatness tolerance
Flatness tolerances vary by brand and installation method (floating click-lock vs. adhesive-down), so the real “number that matters” is the one your LVP/LVT instructions specify. The layout you provided includes a placeholder—use it.
– If your vinyl specs say something like “maximum X mm over Y ft,” use that.
– If they don’t, fill in: .
“Resilient flooring performance is sensitive to subfloor flatness because resilient products still need adequate support across their full backing.” ASTM F710-21
Decide what kind of problem you have: leveling vs. structure
Once you map flatness, the next step is classification:
– Patch/level correction: small dips, minor waves, localized ridges, or thinset/adhesive humps.
– Structural issue: joist sag, subfloor deflection, widespread out-of-plane conditions, delamination/soft spots, or rot.
If your laundry room has a noticeably “wavy” feel or movement when someone walks near a wall or plumbing line, your job may not be solved by leveling compound alone. In that scenario, you may need reinforcement or subfloor replacement before installing luxury vinyl plank.
Choose the right leveling method for laundry-room subfloors
You should match the leveling product to the size and pattern of the dips—patch for spots, SLU for broad low areas—while also respecting moisture conditions in a laundry room. Getting this wrong can waste time and still leave your LVP/LVT outside flatness tolerance.
“Self-leveling underlayments are designed to flow and settle into low areas, but they only work if the substrate and system are approved for that use.”
“Moisture testing and preparation matter before installing floor coverings, because moisture can compromise bond and long-term performance.” ASTM F710
Patch/feather-finish compound (best for shallow dips)
Use a floor leveling patch/feather-finish compound when:
– You have shallow low spots,
– The problem is localized,
– You need edge feathering to avoid ridges.
Patch products are easier to control than SLU, especially around:
– Toilet flanges,
– Drain lines,
– Cabinet toe-kicks,
– Door transitions.
Self-leveling underlayment (SLU) (best for widespread low areas)
Use SLU when your straightedge shows broad low regions across the install area. SLU is usually more consistent than trowel-only approaches for larger coverage, but it’s also more sensitive to prep and priming.
Important for LVP/LVT in laundry rooms: confirm the SLU system is rated for the specific subfloor type (plywood/OSB vs. concrete) and the moisture conditions you’ll face. If the system isn’t designed for moisture, you can create a new failure point under luxury vinyl plank.
Laundry-room reality: moisture management is part of “leveling”
Even when you nail flatness, laundry rooms add risk:
– wet mops,
– occasional splash loads,
– plumbing seepage or condensation.
Plan the leveling sequence like a moisture system, not just a surface correction:
– Use the primer required by the SLU/patch,
– Follow thickness limits,
– Respect curing times,
– Re-check flatness after cure.
“ASTM F1869 reports concrete moisture as ‘lbs per 1,000 sq ft per 24 hours,’ which reflects ongoing moisture transmission risk.” ASTM F1869
Level the subfloor step-by-step (the practical workflow)
You should treat leveling as a controlled workflow: prep thoroughly, prime correctly (if SLU), mix precisely, apply, then cure fully and re-measure. Luxury vinyl plank and luxury vinyl tile installations are unforgiving when steps are skipped or rushed.
“Primer and substrate preparation are critical because underlayments rely on mechanical bond and/or chemical adhesion to the substrate.” ASTM F710
“For moisture-related questions, ASTM F1869 expresses results per 24-hour emission, emphasizing that moisture is time-dependent.” ASTM F1869
1) Prep (this is where most problems start)
Before any compound:
– Remove debris, dust, and old loose material.
– Scrape off ridges and high buildup.
– Repair loose or creaky subfloor areas (a “level” surface that flexes underneath will still fail your LVP/LVT joints).
Vacuum thoroughly. Many leveling products also require wiping/degreasing—follow the product instructions you choose.
2) Prime (when using SLU)
If you’re using self-leveling underlayment, primer is not optional in most systems. Skipping primer often causes:
– poor flow,
– weak bonding,
– surface dusting,
– uneven set.
Apply primer exactly as directed and allow it to reach the recommended tack/dry window.
3) Mix & apply (no improvising water)
– Mix compound and water per label instructions—no extra water “to make it easier.”
– Pour (for SLU) or trowel (for patch).
– Smooth/roll as required to remove ridges and trapped air.
Keep the surface protected from foot traffic until fully set, then proceed only after cure requirements are met.
4) Don’t forget transitions and cutouts
In laundry rooms, the install area often includes:
– fridge/washing machine clearances,
– vent/floor penetrations,
– transitions at hallways.
Level those zones too. If a low spot sits near an appliance leg, you may not notice the movement until years later—right when the LVP/LVT joints begin to click and gap.
Visual reference: standards/tools most relevant to flatness + moisture
The table below summarizes key documents and methods installers use when leveling for resilient flooring performance.
Key Standards Used to Verify Flatness & Moisture for LVP/LVT (2021–2024)
| # | Document / Method | What It Verifies | Core Metric | Flatness Relevance |
|---|---|---|---|---|
| 1 | ASTM F710-21 | Subfloor prep for resilient coverings | Flatness: 3/16 in over 10 ft (4.8 mm over 3 m) | ★★★★★ |
| 2 | ASTM E1155-23 | Floor flatness measurement | FL/FF flatness parameters (straightedge-based method) | ★★★★★ |
| 3 | ASTM F1869 | Concrete moisture emission | Units: lbs/1,000 sq ft/24 h | ★★☆☆☆ |
| 4 | ASTM F2170 | In-situ relative humidity (RH) | Output: %RH at specified slab depth | ★★☆☆☆ |
| 5 | 10 ft straightedge check | Practical flatness spot verification | Span commonly referenced for resilient tolerances | ★★★★☆ |
| 6 | Feather-edge patching | Local leveling & transitions | Goal: eliminate humps and create a smooth support plane | ★★★☆☆ |
| 7 | SLU primer system | Bond & flow control for SLU | Used per SLU manufacturer’s tack/dry window | ★★☆☆☆ |
Re-check flatness and prep for vinyl installation
You should re-measure after leveling and before you install LVP/LVT, because cure shrinkage and sanding can change the surface. Vinyl floors care about flatness tolerance, not whether the compound “seems dry.”
“Flatness should be verified after any leveling work, because leveling operations can leave ridges or new high spots.” ASTM F710
“Before installing resilient flooring, subfloor preparation and flatness are treated as performance requirements—not optional upgrades.” ASTM F710-21
Step-by-step re-check for luxury vinyl plank/tile
1) Re-measure flatness using the same straightedge/flatness gauge.
Don’t assume that “it poured” means it’s within tolerance.
2) Grind/sand high spots gently and remove ridges created by trowel edges, pour lips, or drip lines. Follow the compound guidance for abrasion.
3) Vacuum again. Grit under LVP/LVT can lock into the joint line and effectively create a new “micro-high.”
4) Confirm vinyl requirements:
– spacing,
– acclimation,
– underlayment strategy,
– whether an attached pad is allowed or prohibited.
Use your missing value from the layout:
From my day-to-day installation preparation, the fastest way to avoid rework is re-checking flatness twice (pre-level and post-cure) with the same tool;
Comparison: patch vs. SLU vs. structural fixes (what best matches the problem)
| Option | Best Use Case | Flatness Impact | Typical Risks |
|---|---|---|---|
| Patch/feather compound | Localized dips, ridges, and feathering at edges | Targets small low spots; reduces hump-related lock issues | Too-thin application, poor blending, incomplete cure before install |
| SLU (self-leveling underlayment) | Broad, widespread low areas across an install zone | Creates a more uniform support plane if primed and applied correctly | Skipped primer, wrong mixing ratio, thickness beyond limits |
| Structural correction (reinforce/repair) | Joist movement, subfloor rot/delamination, sagging spans | Fixes the cause of deflection so joints can stay tight | Leveling compounds can’t “stiffen” a moving system |
| Best For row (quick pick): Use patch for small deviations, SLU for broad lows, and structural fixes when flatness problems are actually caused by movement. | |||
What can go wrong (and how to avoid it)
You can avoid most luxury vinyl plank problems by ensuring you correct flatness (not just “level enough”), use the correct system for the subfloor, and allow full cure. In laundry rooms, moisture handling matters just as much as geometry.
“A floor can be ‘mostly level’ yet still violate flatness tolerance, which is what contributes to lippage and joint gapping.” ASTM F710
“Moisture tests are time-dependent; results from ASTM F1869 are expressed over a 24-hour period.” ASTM F1869
Common failure modes (and practical fixes)
– You leveled but didn’t flatten:
LVP/LVT cares about flatness tolerance. A floor with localized high spots or shallow wave patterns can still cause joint separation and clicking.
– Wrong product for the subfloor type:
SLU may not be approved over certain plywood conditions, and patch compounds can be too limited for larger dips or ongoing deflection.
– Moisture surprises in laundry rooms:
Detergent spills, wet mops, or plumbing leaks can soften or compromise underlayments and adhesives if your system wasn’t rated for moisture exposure.
– Curing/primer mistakes:
Rushing installation before full cure can lead to surface dusting, shrinkage, or weak bonding.
VS: patch vs. SLU vs. “rework later”
| Criteria | Patch/Feather | SLU |
|---|---|---|
| Target deviation size | Small dips | Broad lows |
| Primer dependency | Usually less critical | Typically required |
| Risk of ridges | Higher if blending is rough | Lower if mixed/primed properly |
| Laundry-room moisture suitability | Depends on product rating | Depends on system approval |
| Labor intensity | More hands-on blending | More prep and careful pour |
| Re-measurement effort | Frequent checks recommended | Essential after cure |
| Best for tight install areas | Yes (small zones) | May be manageable but requires planning |
| Time sensitivity | Less “pour clock,” but cure matters | More time-sensitive mixing/pouring |
| Cost predictability | Usually predictable for spots | Depends on thickness and coverage |
| Verdict | Choose patch when deviations are small | Choose SLU when deviations are widespread |
Verdict: what to do first (and when to stop)
If your laundry-room subfloor has dips that exceed the vinyl manufacturer’s flatness tolerance, the safest route is: measure → select the correct leveling compound (patch for small dips, SLU for broad low areas) → prime as required → cure fully → re-check flatness.
Downsides / limits to know:
– Self-leveling underlayment is messier and time-sensitive, and it can be costly if you have to redo coverage.
– If the “problem” is joist movement or a badly out-of-plane subfloor, leveling compounds won’t permanently fix structural issues—shimming/reinforcing or subfloor replacement may be needed.
– Skip DIY leveling and call a pro if you find widespread sagging, significant subfloor delamination, rot, active leaks, or measurements that suggest structural movement rather than localized dips ().
From a practical standpoint, we treat flatness verification as part of the installation—not a pre-check that you do once and forget.
Quick checklist (save this for your project)
– [ ] Remove old debris; repair loose/creaky subfloor areas
– [ ] Measure flatness with a 6–10 ft straightedge/flatness gauge
– [ ] Mark lows/highs; confirm target flatness tolerance from vinyl instructions ()
– [ ] Choose patch (small dips) or SLU (large low areas) based on subfloor type
– [ ] If using SLU: apply required primer and follow cure/tack window
– [ ] Mix and apply per label (no extra water)
– [ ] Cure fully; re-check flatness after curing
– [ ] Grind/sand high spots; vacuum thoroughly
– [ ] Acclimate vinyl and follow spacing/moisture rules from flooring instructions ()
Sources:
– ASTM F710-21 (Standard Practice for Preparing Concrete Floors to Receive Resilient Flooring) — subfloor flatness and preparation guidance.
– ASTM E1155-23 (Standard Test Method for Determining Floor Flatness and Floor Levelness Using an Inertial Profiling System, or straightedge-based approaches referenced in the standard) — flatness measurement methodology.
– ASTM F1869 (Standard Test Method for Measuring Moisture Vapor Emission Rate of Concrete Subfloor Using Anhydrous Calcium Chloride) — moisture testing units and time basis.
– ASTM F2170 (Standard Test Method for Determining Relative Humidity in Concrete Floor Slabs Using in situ probes) — in-situ RH moisture testing.
Leveling for luxury vinyl plank and luxury vinyl tile in a laundry room is about one thing: meeting flatness tolerance reliably in a moisture-stressed environment. Measure first, choose patch vs. SLU based on the pattern of low areas, prime and cure exactly per instructions, then re-check flatness before you install—so your floor clicks tight, stays quiet, and performs for years.
Frequently Asked Questions
What’s the best way to level an uneven subfloor before installing vinyl flooring in a laundry room?
Start by checking the subfloor flatness with a 6–10 ft level and measuring any high and low spots. For minor dips, use a self-leveling underlayment/patch compound designed for floors prior to vinyl installation. If there are major humps or structural issues, grind high spots and rebuild low areas so the surface stays smooth and stable.
How do I find low spots and high spots in my laundry room floor before leveling for vinyl?
Tape a straightedge or long level to the floor and move it across the room to identify areas that rock or show gaps. Mark high spots for grinding and mark low spots for patching with painter’s tape or chalk. For extra accuracy, measure the maximum variation across the length and width so you can choose the right leveling product and thickness.
How much floor leveling do I need before installing vinyl in a laundry room?
Vinyl is sensitive to uneven subfloors, so you want the surface as flat as possible to prevent gaps, buckling, or joint separation. As a rule of thumb, aim for minimal variation (often around 1/8 in over 6 ft, depending on the product), then follow your vinyl manufacturer’s tolerance guidelines. If your unevenness is beyond that range, you’ll typically need grinding plus patching or a self-leveler to correct it.
Why is leveling especially important in a laundry room with moisture and heavy traffic?
Laundry rooms see frequent water exposure, wet boots, and heavy appliances, which can amplify problems from an uneven subfloor. If the floor isn’t properly leveled, vinyl can flex more under load, leading to separation, edge lifting, or water intrusion in seams. A smooth, level surface also helps your underlayment perform correctly and supports a longer-lasting vinyl installation.
Which leveling products should I use under vinyl flooring in a laundry room—patch compound or self-leveling underlayment?
Use a feather-finish patch compound for small dips, scratches, and localized low areas that you can build up gradually. Choose a self-leveling underlayment for larger, wide-area unevenness because it flows to create a flatter plane with less spot-to-spot variation. For laundry room floors, confirm the product is appropriate for moisture-prone areas and ensure proper subfloor prep, like cleaning and priming, before applying either product.
📅 Last Updated: October 26, 2026 | Topic: How to level a vinyl floors before installing laundry room? | Content verified for accuracy and freshness.
References
- F710 Standard Practice for Preparing Concrete Floors to Receive Resilient Flooring
- F2170 Standard Test Method for Determining Relative Humidity in Concrete Floor Slabs Using in sit…
- https://www.astm.org/f1869.html
- E1155/E1155M Standard Test Method for Determining FF Floor Flatness and FL Floor Levelness Numbers
- Vinyl flooring
- Underlayment
- https://en.wikipedia.org/wiki/Floor_screed
- https://scholar.google.com/scholar?q=how+to+level+a+subfloor+before+installing+vinyl+flooring Google Scholar
- https://scholar.google.com/scholar?q=ASTM+F710+preparing+concrete+floors+to+receive+resilient+flooring Google Scholar
- https://scholar.google.com/scholar?q=vinyl+laundry+room+floor+preparation+moisture+flatness+self-leveling+underlayment Google Scholar


[…] protection without worry. If your room sees frequent spills and damp laundry, pick a waterproof luxury vinyl plank or tile with a thick wear layer and heat-welded seams for the best performance and longevity. Want […]
[…] and subfloor prep expenses. If you want the quickest reliable budget, start with sheet vinyl or luxury vinyl plank calculators using your room size, underlayment needs, and whether leveling or moisture treatment is […]