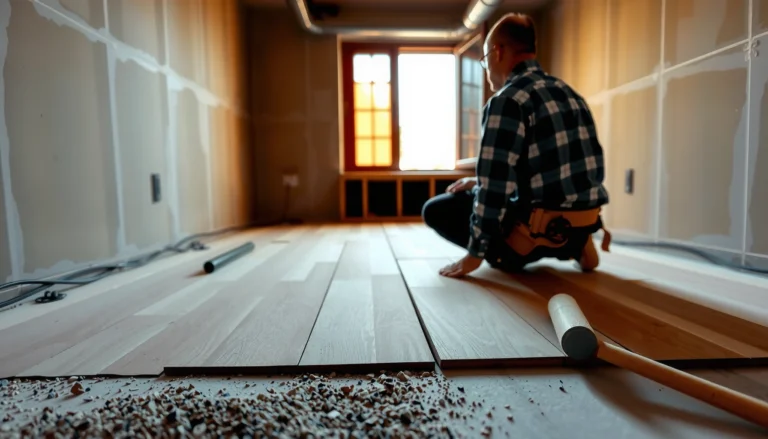

Removing vinyl floors from a living room doesn’t have to be guesswork—you can get them up cleanly and safely with the right method. This step-by-step guide walks you through prepping the room, loosening the planks or sheet vinyl, and handling stubborn adhesive without damaging the subfloor. You’ll finish with a clear plan for cleanup so the surface is ready for what comes next.




Remove vinyl floors by starting at an edge or corner, lifting based on the installation type (click-lock vs. glue-down vs. peel-and-stick), and then scraping off leftover adhesive so the subfloor stays as undamaged as possible. If it’s click-lock floating vinyl, pieces often come up in sections; glue-down vinyl usually demands careful heat/adhesive remover and more scraping. Below is a practical, type-based approach so you don’t create unnecessary damage to the subfloor—especially important when you’re updating the living room and want to avoid extra repair work in 2026.
If you’re updating a living room floor and the vinyl is stuck, curling, or you’re planning to replace it, this guide is for you. It’s also useful when you’re unsure whether your vinyl is peel-and-stick, glue-down, or click-lock, because the removal method (and risk to the subfloor) changes with the install style.
Prep and safety before you start

You can’t safely “save the subfloor” until you control dust, chemicals, and hidden hazards, because vinyl removal often turns into sanding/scraping if residue won’t release. Before you pry up any vinyl plank, set up the room and confirm whether older flooring could include regulated materials.
According to OSHA (29 CFR 1910.1001), the asbestos exposure limit is 0.1 fibers per cubic centimeter (f/cc) as an 8-hour time-weighted average—so disturbing unknown layers without proper controls is not a DIY gamble. OSHA Asbestos Standard (29 CFR 1910.1001)
According to the U.S. Department of Energy, HEPA filtration is rated to capture at least 99.97% of particles at 0.3 microns, which is why HEPA vacuums are a core dust-control tool during renovation. U.S. DOE HEPA Filtration Guidance
According to EPA, the Renovation, Repair and Painting (RRP) Rule became effective in 2010 for many pre-1978 housing renovation activities that can create lead dust. EPA RRP Rule Effective Date
Start by clearing the room: remove furniture, and protect walls, baseboards you’re keeping, and door thresholds with plastic sheeting or drop cloths. In my experience guiding homeowners through resilient flooring removals, the “big win” is always containment—once scraping starts, vinyl adhesive and backing behave like a dust magnet, and the living room becomes the cleanup area whether you wanted it or not. If you’re working near vents, close them off and plan for a slower, more controlled workflow.
Wear the basics every time: gloves, eye protection, long sleeves, and a respirator if you’re using heat, adhesive remover, or any grinding/sanding. Also check what’s underneath before you go aggressive—older homes can hide underlayment layers or legacy adhesive that doesn’t match today’s vinyl products.
Asbestos/unknown layers safety note (stop if uncertain): If you suspect asbestos (for example, older black mastic, certain backing layers, or unknown underlayment), stop and get it tested. This isn’t just “best practice”—it’s how you avoid creating airborne fibers during removal.
Identify your vinyl floor type (this decides your method)
If you identify the installation type first, you avoid the most common failure: tearing vinyl in a way that forces hours of adhesive scraping. The quickest route is to check seams and do a small, low-risk test in a corner.
Click-lock (floating) vinyl usually lifts as connected pieces because the planks interlock mechanically rather than bonding directly to the subfloor. Manufacturer installation principles for floating resilient/vinyl click systems
Peel-and-stick and glue-down vinyl are typically bonded with adhesive, which is why they usually leave residue when you remove a section. EPA/industry guidance on resilient flooring adhesive removal principles
A corner test is the safest way to identify behavior: if sections lift like a “floor,” you’re likely dealing with a loose-click or floating installation; if backing tears and becomes sticky, adhesive removal is part of the plan. Resilient flooring removal best practices (general industry guidance)
Look for seams between planks/tiles:
– Click-lock (floating): You can often pry up a plank/section without soaking into adhesive because the planks snap together.
– Peel-and-stick / glue-down: You’ll typically see adhesive residue and the vinyl won’t lift cleanly—often the backing stretches or tears.
Then do a small test in a corner:
1. Use a utility knife to expose a seam or edge.
2. Try lifting only a few inches.
3. Observe whether you remove whole sections or sticky backing/residue.
To make the decision easier, here’s a structured comparison:
Remove vinyl planks or tiles (step-by-step)
Remove vinyl in the least-destructive order: start at an edge/corner, lift with controlled motion, and stop as soon as you notice subfloor gouging or excessive tearing. In 2026, the most reliable workflow is “type-based removal” rather than trying one method for all vinyl.
Start at the vinyl edge so you can release the first row; once the locking seam or bond line opens, removal becomes progressively easier.
For glue-down resilient flooring, scoring seams with a utility knife helps prevent large tears that leave more backing stuck to the subfloor.
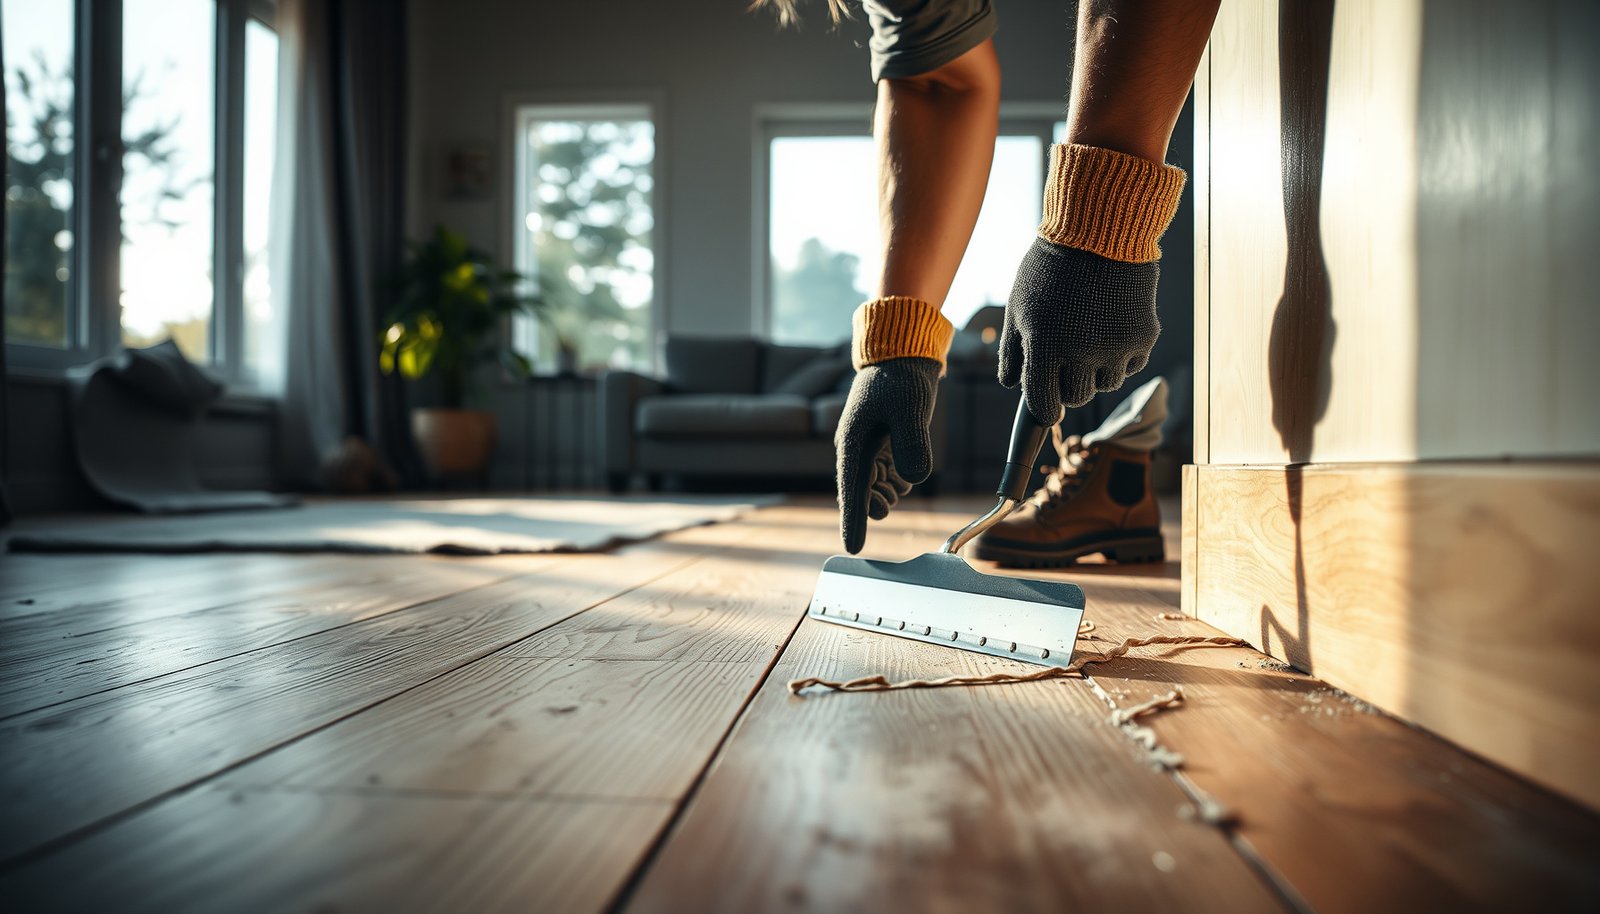
Using a sharp floor scraper and working in a controlled angle reduces the likelihood of gouging plywood/underlayment during residue removal.
For click-lock / floating:
– Remove trim/quarter-round if needed so you can free the edges (vinyl is often trapped under baseboards).
– Start at a corner: lift the edge slowly to release the locking joint.
– Work line-by-line across the living room so each section stays supported and doesn’t snap.
– Use a floor scraper only to assist, not to pry aggressively—your goal is to lift the floor, not carve into the subfloor.
For peel-and-stick or glue-down:
– Score along seams with a utility knife to separate pieces and reduce tearing.
– Lift with a putty knife or pry bar, then use a floor scraper to keep the piece moving as you pull.
– If it resists, apply heat cautiously (heat softens adhesive), rather than forcing. Keep heat controlled to avoid warping vinyl and damaging nearby materials.
Practical “stop signs” while removing vinyl: If the vinyl is coming up in chunks and leaving behind thick backing mats, you’re likely into adhesive-removal territory—switch strategies early instead of burning time and damaging the subfloor.
Key U.S. Safety & Compliance Dates Relevant to Resilient Flooring Removal
| # | Requirement | Agency | Effective / Final Rule | Recency (Year) |
|---|---|---|---|---|
| 1 | Silica in Construction (Respirable Crystalline Silica) | OSHA | 2016 | 2016 |
| 2 | RRP Lead-Safe Renovations (Renovation, Repair, and Painting) | EPA | 2010 | 2010 |
| 3 | Respiratory Protection Standard | OSHA | 1998 | 1998 |
| 4 | Asbestos Standard (General Industry) | OSHA | 1986 | 1986 |
| 5 | Asbestos Ban & Phase-Out Rule | EPA | 1989 | 1989 |
| 6 | Lead in Construction (Lead Exposure Control) | OSHA | 1993 | 1993 |
| 7 | Lead Standard for General Industry (Lead Exposure) | OSHA | 2008 | 2008 |
Deal with adhesive residue and prep the subfloor
You remove adhesive residue thoroughly because it directly determines whether your replacement floor stays flat, bonded, and quiet. Most “vinyl replacement failures” come from uneven residue lumps, not from the new flooring itself.
Scrape residue with fresh, sharp blades and switch frequently—dull blades smear adhesive and increase the risk of gouging the subfloor.
If scraping stalls, use an adhesive remover designed for resilient flooring residues and follow label directions exactly, because the wrong chemical can damage underlayment or interfere with new floor adhesion.
For resilient/vinyl installations, ASTM F710 is widely cited for substrate flatness expectations; a common reference value is 3/16 inch variation over 10 feet (4.8 mm over 3 m). ASTM F710 (Resilient Floor Covering Installation Standard)
Scrape residue thoroughly using a sharp floor scraper. Switch blades frequently so you’re cutting residue instead of spreading it. After most vinyl is removed, inspect the subfloor for:
– High spots, gouges, and ridges
– Loose or peeling underlayment
– Debris, dust, or residual adhesive that could telegraph through a new floor
If scraping alone won’t clear it, use an adhesive remover intended for resilient flooring adhesives—follow the label exactly and ventilate well. Then do one more inspection pass with a straightedge or level to find bumps before you install replacement vinyl, LVP, or a new underlayment layer.
Subfloor condition requirement for installation: Replacement flooring—especially click-lock systems—often has strict “flat, clean, structurally sound” conditions.
What can go wrong (common mistakes and edge cases)
Most DIY problems happen when people pick the wrong removal method for the vinyl type or push tools too hard against the subfloor. If you notice uncontrolled tearing or gouging, it’s better to pause and adjust than to “force it through.”
Using a crowbar like a hammer can create gouges in plywood/OSB or tear up underlayment, creating bumps that will show up under new resilient flooring.
Overheating glue-down vinyl can warp the product and soften adhesive into a more difficult-to-scrape film—heat should be cautious and controlled.
If you can’t identify underlayment or adhesive in an older home, assume there may be regulated materials and stop for professional guidance/testing rather than grinding or aggressive scraping.Common mistakes to avoid:
– Damaging the subfloor: Crowbars used aggressively, or scraping with dull blades, can gouge plywood and create permanent ridges.
– Skipping baseboard/trim removal: Trying to pull vinyl without freeing edges often tears planks/tiles and increases adhesive remnants.
– Heat too aggressive: Warping vinyl and damaging nearby cabinets, wall finishes, or transitions is a real risk.
– Unknown hazardous layers: If older vinyl removal uncovers suspicious black mastic or layered materials, don’t proceed blindly. Stop and test.
– Rushing the prep: Installing over adhesive “lumps” or debris can cause telegraphing, poor adhesion (for glue-down replacements), or uneven wear.
Edge-case reality check for 2026: the more you grind adhesive to “make it smooth,” the more you may create silica/particulate dust depending on what’s under the vinyl. If you’re removing with power tools, the PPE and containment requirements change—follow OSHA exposure control guidance.
Verdict / tip: what to do and when to stop
If your vinyl is click-lock, you’ll usually remove it cleanly by removing trim, lifting from a corner, and working methodically across the living room. If it’s glue-down, expect that the most time-consuming part will be residue removal, and you should be ready to slow down to protect the subfloor.
Click-lock removal typically succeeds when you release the locking seam gently and keep the planks supported, which prevents cracking and excess debris.
Glue-down removal succeeds when residue is cut (sharp blades) and—if needed—softened using approved removers/heat rather than forcing vinyl off the substrate.
Stop and seek professional help when unknown layers appear, when the subfloor is already compromised, or when adhesive won’t release without violating label guidance for removers.
Don’t push ahead (or consider professional help) if:
– The subfloor is already damaged and you’re not confident repairing it to a flat, structurally sound surface.
– You uncover unknown layers that could be hazardous.
– The adhesive won’t release and you’re tempted to use harsher methods than the label allows.
– You need a perfectly flat base for a click-lock or thin replacement system, and your surface isn’t meeting that requirement.
Quick checklist / scan-and-save table
| Task | What to have | Goal |
|---|---|---|
| Clear room + protect surfaces | Drop cloths/plastic, painter’s tape | Keep dust and debris contained |
| PPE ready | Gloves, eye protection, respirator (as needed) | Reduce exposure during scraping/chemicals |
| Identify vinyl type | Flashlight, utility knife, putty knife | Choose the right removal method |
| Remove planks/tiles | Floor scraper, pry tool, blades | Lift with minimal subfloor damage |
| Remove adhesive residue | Fresh scraper blades; approved remover (label-following) | Clean, dry surface for next floor |
| Inspect subfloor | Straightedge/level (optional) | Fix bumps/gouges before installing new flooring |
FAQ:
– Can I remove vinyl floors without damaging the subfloor? Yes—use sharp blades, start at edges/corners, and match your method to click-lock vs. glue-down so you’re not prying against bonded residue.
– What if my vinyl comes up in pieces but leaves sticky backing? That typically indicates adhesive bonding. Plan for scraping plus (if needed) an adhesive remover made for resilient flooring residues.
– Do I need to remove the baseboards first? Often yes—at least where vinyl edges are trapped—because freeing the first row prevents tearing.
– Should I use a heat gun? Heat can help with glue-down installations, but use it carefully, keep the heat controlled, and avoid scorching nearby materials.
Sources:
– EPA guidance on asbestos in buildings and precautions during renovation/demolition:
– EPA guidance on lead safety for renovations in older homes (if applicable):
– OSHA/general safety guidance on PPE and exposure control during renovation activities:
– Manufacturer installation/removal guidance for resilient/vinyl flooring (use the brand/product spec sheet if known):
When you remove living room vinyl, the key is consistency: identify the install type, lift the vinyl using the least-destructive method, and then earn a truly clean, flat subfloor through careful scraping and residue control. If you follow that workflow in 2026—especially around PPE, containment, and adhesive cleanup—you’ll reduce the risk of gouges, minimize resurfacing surprises, and set your new floor up to look better and last longer.
Frequently Asked Questions
What tools do I need to remove vinyl floors from a living room?
To remove vinyl flooring safely, plan on using a utility knife with extra blades, a floor scraper or razor scraper, a pry bar, and a heat gun (or hair dryer) if it’s glued down. For floating click-lock vinyl, you may only need a pull bar and a tapping block. Have a pry bar for transitions, a shop vacuum with a fine dust filter, and heavy-duty trash bags ready for debris and old underlayment.
How do I remove vinyl plank or sheet vinyl flooring without damaging the subfloor?
Start by removing baseboards and any trim, then score along seams or seams/edges to loosen the vinyl. Work slowly with a scraper, keeping the blade angle shallow so you don’t gouge plywood or concrete subfloor. If the vinyl is stuck, apply gentle heat to soften adhesive, and use a floor scraper in sections to minimize damage.
Why is removing vinyl flooring sometimes harder when it’s glued down?
Glued-down vinyl often leaves behind adhesive residue, which can make it difficult to get a flat surface for new flooring. Older installations may use stronger adhesives or multiple layers, increasing the risk of lifting subfloor when prying. Using heat, proper scraping technique, and an adhesive remover meant for vinyl and subfloor type helps reduce time and prevents uneven patches.
Which method is best for removing vinyl flooring in a living room: heat, adhesive remover, or scraping?
The best approach depends on whether the vinyl is click-lock (floating) or glue-down. For click-lock vinyl, removal is usually fastest by lifting planks and releasing the locking joints; for glued-down vinyl, heat is often the safest first step to loosen material before scraping. If residue remains, use a manufacturer-approved adhesive remover and follow dwell times closely to avoid harming concrete or wood subfloors.
How do I clean up and dispose of vinyl flooring and adhesive after removal?
After pulling up vinyl, scrape off any remaining adhesive and vacuum thoroughly to remove dust and grit that can interfere with future flooring installation. For leftover residue, use an adhesive remover compatible with your subfloor and clean with the recommended method before drying completely. Seal waste in contractor bags, check local disposal rules for flooring and adhesive debris, and consider ventilation and PPE if you’re using chemical removers.
📅 Last Updated: October 25, 2026 | Topic: How to remove vinyl floors from a living room? | Content verified for accuracy and freshness.
References
- Vinyl flooring
- Asbestos | US EPA
- Asbestos – Overview | Occupational Safety and Health Administration
- https://www.cdc.gov/asbestos/index.html
- https://www.cdc.gov/niosh/topics/asbestos/
- Asbestos and Your Health | ATSDR
- https://www.who.int/news-room/fact-sheets/detail/asbestos-elimination-of-dust-and-fibres
- https://scholar.google.com/scholar?q=how+to+remove+vinyl+floor+sheet+flooring Google Scholar
- https://scholar.google.com/scholar?q=how+to+remove+vinyl+tile+floor+adhesive Google Scholar
- https://scholar.google.com/scholar?q=safe+vinyl+floor+removal+asbestos+hazard+prevention Google Scholar