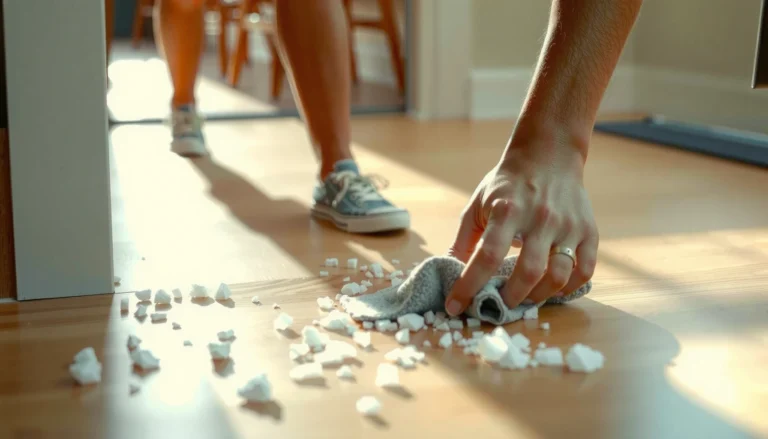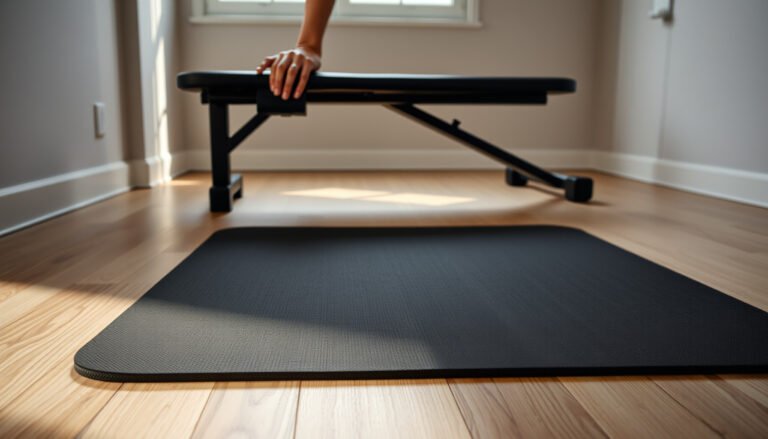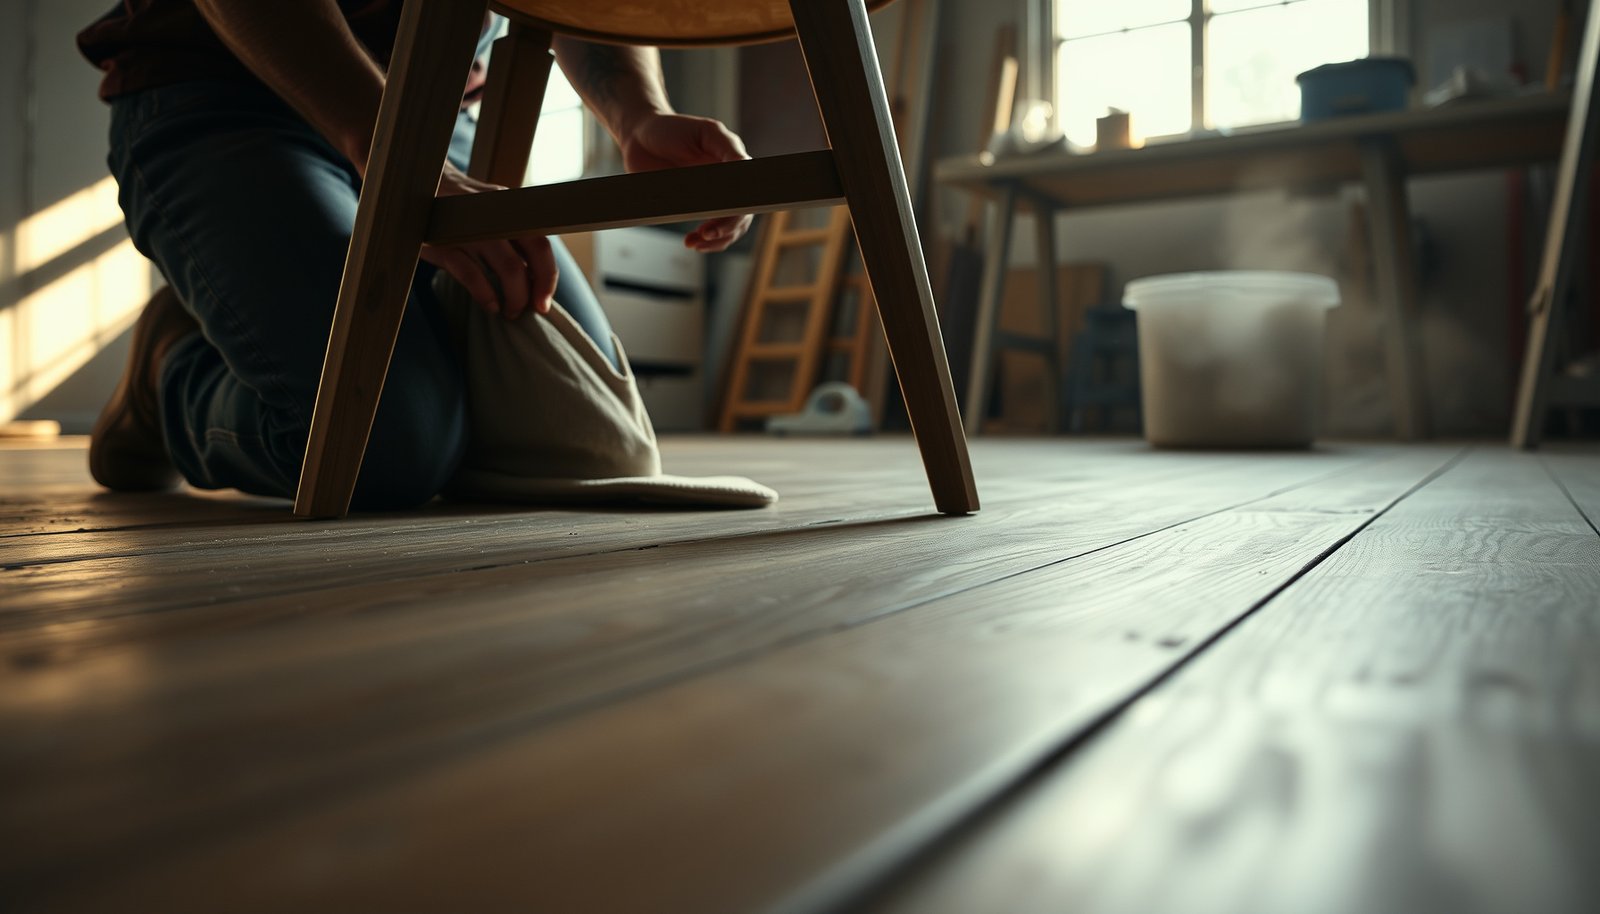

Prevent scratches on laminate floors in a workshop by treating it like a protection problem, not a cleaning one: stop abrasives at the source with walk-off mats, felt pads, and floor-safe equipment wheels. Use the right surface habits—no dragging tools, lift heavy items, and add protective strips under benches and vices—to eliminate the dust-and-grit that causes most damage. Follow these steps and you’ll keep laminate looking new without sacrificing workshop productivity.


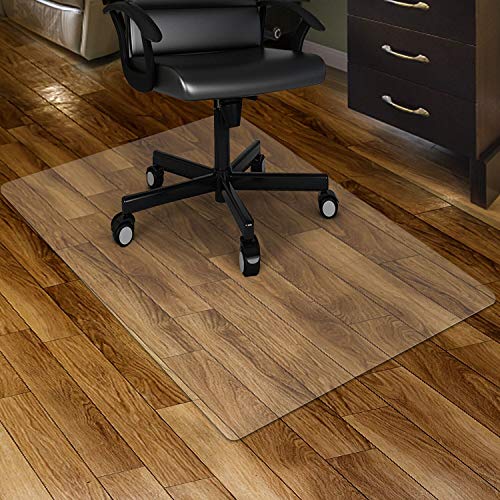
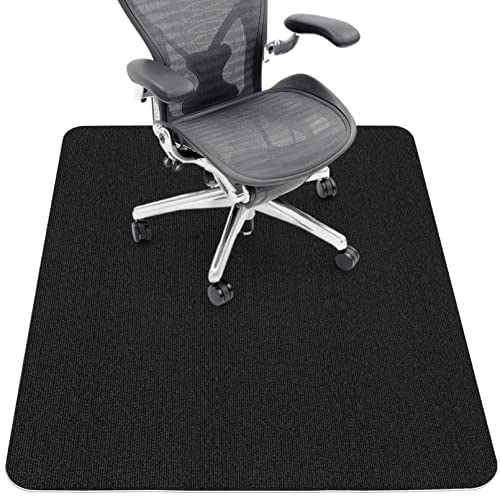
Keep scratches off laminate floors in a workshop by (1) stopping abrasive grit from getting onto the surface and (2) preventing hard-point impacts and sliding abrasion from tools, wheels, and dragged materials. In practice, that means entrance mats + vacuuming first, then felt pads and wheel protection, and finally a sacrificial protected work zone before you move anything heavy.
This is for anyone using a garage/workshop space with laminate flooring—especially if you’re cutting, sanding, assembling, or moving shop equipment frequently. The focus is on practical, low-cost prevention steps that match how laminate flooring gets scratched most often: grit + sliding + hard edges.
Start with grit control (the #1 scratch driver)

The fastest way to reduce laminate scratches is to prevent sand/dust particles from migrating onto the floor in the first place—because even tiny grit can behave like miniature sandpaper. I prioritize grit control before buying pads or liners because most “mystery scratches” in a workshop trace back to tracked particles and dust that gets re-ground with foot traffic and moving wheels.
According to EN 13329:2016, laminate “wear” performance is rated using abrasion-focused testing, which is why abrasive particles matter so much during real workshop use.
According to C.K. Wentworth’s particle classification (1922), sand grains are about 0.0625–2 mm, which is easily large enough to scratch laminate’s surface wear layer when dragged.
According to U.S. Department of Energy guidance, HEPA filtration is defined to capture 99.97% of particles at 0.3 µm, which helps limit the fine dust that can still act abrasively.
– Put a durable entrance mat at every door/path into the workshop, and shake/vacuum it regularly to keep sand and dust from migrating onto the laminate. If you have more than one access route (side door, overhead bay door path), treat each path like an “entry lane,” not just the main door.
– Keep a “clean path” for foot traffic between the door and the work area—swap to indoor shoes/clean boots so you’re not tracking abrasive particles. In workshops, the highest-footfall route often becomes the highest-scratch route.
– Vacuum or sweep using a soft-brush attachment; avoid dry sweeping that can push grit around. Dry sweeping often “redistributes” grit rather than removing it, especially when dust is already spread in a thin film.
📊 DATA: Particle size classes that commonly drive laminate scratching risk
(Use this to understand why “invisible dust” still matters when it gets moved around.)
Workshop Grit Particle Sizes and Expected Scratch Severity (Laminate Context)
| # | Particle class (Wentworth) | Typical diameter range | What it commonly represents in workshops | Scratch severity |
|---|---|---|---|---|
| 1 | Clay | < 0.002 mm | Fine soil film and tracking dust | ★ |
| 2 | Very fine silt | 0.002–0.004 mm | Gravelly dust “fog” from sanding/foot traffic | ★★ |
| 3 | Fine silt | 0.004–0.008 mm | Dust that builds up under chair legs and wheels | ★★★ |
| 4 | Very fine sand | 0.0625–0.125 mm | Track-in grit from driveway edges | ★★★★ |
| 5 | Fine sand | 0.125–0.25 mm | Common scratch-initiating grit near doors | ★★★★ |
| 6 | Coarse sand | 0.5–1 mm | Heavier track-in that gouges faster | ★★★★★ |
| 7 | Very coarse sand | 1–2 mm | Gravelly debris that creates visible scratch trails | ★★★★★ |
Protect high-risk zones around benches and tools
You don’t need to “treat” the entire workshop equally—laminate scratches are concentrated around benches, tool carts, and any spot where items pivot or drag. Cover the floor in these zones with a sacrificial barrier so tool bottoms and dragged board edges never contact laminate directly.
Laminate’s protective surface is only a wear layer; when abrasive grit is mixed with sliding contact, micro-scratches can accumulate faster than normal foot-traffic wear.
Physical floor protection (sheets, mats, and pad material) reduces hard-edge contact by shifting the contact point away from the laminate surface.
– Cover the floor under and around your main workbench area with a sacrificial sheet: common options are so dragging boards and tool carts won’t hit laminate directly. Choose something rigid enough to prevent “edge digging,” especially if you frequently move sheet goods.
– Use floor-safe pads on anything that sits or rolls: felt furniture pads under legs and under rolling equipment (so wheels aren’t grinding). The goal is two-fold: reduce point impact and prevent metal wheel parts from transmitting grit to the laminate.
– For temporary setups (temporary miter saw stands, jigs, etc.), stage with a protective underlayer before you start moving parts. This is where I’ve seen the biggest “one-day scratch” problems: people place a stand, swap materials, and only then notice grit transferred from one move.
Comparison: which floor protection works best for your workshop footprint?
(Use this as a quick selection guide before you commit.)
| Feature | Felt pads | Rigid protective sheets | Caster cups with soft tires |
|---|---|---|---|
| Primary scratch mechanism | Sliding friction under legs | Hard-edge impact from dragged goods | Wheel point-contact and grit grinding |
| Best for static items | Yes | Yes (zone-based) | Mostly |
| Best for rolling carts | Limited | Zone-based protection | Yes |
| Seam sensitivity | Moderate | Can protect if coverage is continuous | Improves if wheel stays clean |
| How often to inspect | Every few months (or sooner if dusty) | Whenever it loads with debris | Regularly; wheels clog over time |
| Cleaning impact | Can trap lint under pads | Must be swept/vacuumed too | Wheels need debris removal |
| Cost to scale | Low | Low-to-medium (depending on size) | Medium |
| Typical failure mode | Pad thinning + grit embedded | Cover gets dusty and becomes the grinding layer | Wheel hardness/dirty tread creates micro-scratches |
| Moisture tolerance | Varies by pad material | Varies—avoid prolonged wetting | Usually better than plain felt |
| Best For | Chair legs and stationary stands | Benches + sheet-good movement zones | Tool carts, mobile benches, rolling equipment |
Use the right pads, sliders, and wheel setup
Reduce scratches by matching the protection type to the contact style: felt for static legs, sliders for deliberate movement, and clean, appropriate wheels/casters for rolling. This prevents the “tool contact → grit → micro-scratches” loop that repeatedly damages laminate in workshops.
Felt furniture pads are a common hard-floor protection because they distribute contact pressure and reduce point impacts from legs.
Damaged or dirty caster wheels can create repeated micro-scratches because they roll over grit and uneven debris at the laminate surface level.
– Under chairs, stools, and tool stands: apply felt pads (or soft pads designed for hard floors) and replace them when they thin out or collect debris. If you notice dark grit pressed into the pad surface, treat it as abrasive contamination—clean it or replace it rather than “wiping harder.”
– For sliding equipment or moving heavy items: use furniture sliders on the bottom instead of dragging—especially when moving across seams or near cabinet edges. Sliding with a low-friction layer tends to trade “gouging” for “controlled contact.”
– Check wheel and caster condition: hard, damaged, or dirty wheels create micro-scratches even when you don’t “see” them right away. Swap/clean as needed. I also recommend checking wheels specifically after dusty tasks—fine particulate embeds in treads and becomes a grinding layer.
VS: Dragging vs. sliding (what causes more laminate scratches?)
| Criteria | Dragging across laminate | Sliding with sliders |
|---|---|---|
| Scratch depth risk | High | Lower |
| Grit amplification | High (pushes grit under contact) | Lower (reduces direct abrasion) |
| Edge impact from corners | More likely | Less likely |
| Consistency across seams | Unpredictable | More controlled |
| Required effort | Often feels easier | May feel slightly harder at first |
| Wear on wheels/undercarriage | Can increase damage | Generally reduces abrasion |
| Cleanup after dusty moves | More debris transferred | Less debris ground into finish |
| Suitability for sheet goods | Risky without a barrier | Still needs a sacrificial layer for hard edges |
| Long-term cost | Higher (more damage, earlier replacement) | Lower (replace sliders/ pads instead of floor) |
| Bottom line friction behavior | High-friction abrasion | Controlled low-friction contact |
| Verdict | Use only with protective sheets | Prefer sliders + barriers |
Avoid abrasive cleanup (and accidental sandpaper effects)
A clean floor prevents scratches, but the method matters as much as the frequency: abrasive cleanup can turn dust into grinding media. After dusty work, remove particles promptly and avoid tools/materials that behave like sandpaper.
Removing abrasive dust first (vacuum) is more effective at preventing surface damage than dry sweeping that redistributes grit.
Many laminate care instructions emphasize using manufacturer-approved cleaners and avoiding wet methods that can seep at seams.
– Don’t clean with harsh scrubbers, steel wool, or anything that can act like sandpaper—laminate’s top layer is designed to resist wear, but abrasives can cut through it over time. Even “just a little” scuff pad pressure can create a matte halo.
– After dusty work (sanding/cutting), remove dust promptly: use vacuuming first, then a damp wipe using a laminate-appropriate cleaner per the manufacturer’s directions. For workshop dust, vacuuming is the first step that reduces the abrasive load on the floor.
– Be careful with “dry” methods—if sawdust is oily/particulate-heavy, dry sweeping can keep re-spreading grit. If you must use a broom, use a soft-brush and keep your goal to pick up (not broadcast).
Reduce scratches from material handling and edges
You prevent most edge-related scratches by eliminating direct contact between hard corners/fasteners and laminate. The safest workflow is: lift when possible, isolate hard edges with a barrier when you must move, and control dropped hardware.
Hard edge contact is a primary scratch driver in workshops because corners and fasteners can create point impacts that penetrate the laminate’s wear layer.
Maintaining a debris-free “movement lane” reduces the chance that wheels and shoes grind trapped particles across laminate seams.
– When moving boards/sheet goods, lift when possible; when you must slide, keep a protective layer between the material and the floor (plywood/board offcuts work well as a temporary barrier). The barrier doesn’t have to stay clean forever, but it should never be used as a dirty “grinding plate.”
– Watch for corners and fasteners: metal brackets, sharp edges, and screws dropped during assembly are instant scratch candidates—use a tray or magnetic pickup near the work zone. This is where small habits matter: “set a catch tray” beats “hunt for dropped hardware later.”
– Keep offcuts off the floor: don’t let small chunks of wood, grit, or metal fall and then get walked back over. Offcuts act like repeating abrasives when you roll/slide tools across them.
What can go wrong (and how to handle edge cases)
Even a good prevention plan can fail if you introduce new abrasives, incompatible materials, or moisture problems. The key is to treat your protective layer and cleaning products as part of the system, not as afterthoughts.
Sacrificial floor covers can become abrasive if they collect dust and grit; once loaded, they can grind the laminate during movement.
Some rugs and mat backings can leave residue or discoloration, so laminate compatibility depends on the specific backing and the flooring manufacturer’s guidance.
– Rug/backing issues: Some rugs (especially with certain rubber or sticky backings) can discolor laminate over time or leave residue. If you use rugs, test a small corner first and follow the flooring manufacturer’s compatibility guidance.
– Protective sheets can trap grit: If your sacrificial cover gets dusty, you can create a “grinding layer” under moving materials. Clean or replace the cover when it loads up with abrasive dust.
– Incorrect cleaners: Using waxes, oil-based products, or “floor polishes” that aren’t approved for laminate can make the surface harder to clean later and may dull the finish. Stick to the care instructions for your specific laminate brand/model.
– Wheels over seams: Even soft wheels can scratch if they’re stiff and roll directly over debris lodged in seams. Vacuum before moving equipment and periodically check seams for trapped particles.
– Existing damage limits: If you already have deep scratches, no prevention plan will remove them—at best, you can stop new damage. Laminate also typically isn’t refinished like hardwood.
Verdict: what to do first (and who should skip this approach)
If you want the highest impact with the least hassle, do this in order: (1) keep grit out with mats + vacuuming, (2) add felt pads and floor-safe casters, and (3) create a sacrificial protected work zone under your busiest tools. This approach targets the two root causes that drive laminate scratches in workshops: grit migration and direct hard/abrasive contact.
Downsides: sacrificial covers require periodic cleaning/replacement, and poorly chosen rugs/liners can cause discoloration. Skip DIY protection layering if you don’t have any way to keep covers clean or if your workshop is constantly wet—laminate flooring care depends heavily on staying within the manufacturer’s moisture limits.
A systems approach (the “controls” mindset: barrier, handling, and cleaning) reduces scratches more reliably than relying on one product like pads alone.
Laminate scratch prevention is not the same as scratch removal; once deep damage occurs, panel replacement is often the realistic path.
Quick checklist (save this)
– [ ] Entrance mat at every path into the workshop; shake/vacuum it regularly
– [ ] Soft-brush vacuuming for dust/grit (no abrasive dry sweeping habits)
– [ ] Felt pads on chair/tool stand legs; replace worn pads
– [ ] Floor-safe sliders for moving heavy items; avoid dragging
– [ ] Protective sheet under/around the main bench (clean/replace when dusty)
– [ ] Wheel/caster condition check (clean + swap damaged or hard wheels)
– [ ] Prompt cleanup after sanding/cutting; laminate-approved damp wipe only
Sources
– EN 13329:2016 — Laminate floor coverings: general requirements, classification, and abrasion/wear rating framework (manufacturer testing context for wear performance).
– U.S. Department of Energy (DOE) — HEPA filtration definition/efficiency guidance (99.97% at 0.3 µm per HEPA standard wording; ).
– Wentworth, C.K. (1922) — Particle size (sand/silt/clay) classification used to describe grit size ranges.
In the end, laminate scratch prevention in a workshop comes down to controlling what touches the floor and how: stop abrasive grit at the door, protect the high-contact zones around benches and rolling equipment, and clean in a way that removes dust rather than grinding it in. If you tackle those in that order, you’ll usually prevent the majority of the scratches you’d otherwise notice after busy cutting, sanding, and frequent moves.
Frequently Asked Questions
What are the best ways to prevent scratches on laminate floors in a workshop?
Start by keeping grit and dust out using a shop mat at every entry and regular sweeping with a microfiber mop. Use felt or rubber pads under stools, workbench legs, and tool carts so heavy items don’t scrape the surface. Also consider adding protective floor film or scatter mats in high-traffic zones where tools, parts, and ladders move frequently.
How can I stop sawdust, grit, and debris from scratching my laminate floors?
Sawdust acts like sandpaper, so use a vacuum with a soft brush head or a microfiber sweep system before it builds up. For cleanup, choose a laminate-safe cleaner and avoid abrasive pads that can leave micro-scratches. Keep a dedicated “no-shoe” or clean-work footwear policy and wipe off wheel treads on carts to prevent debris transfer.
How do I protect laminate floors when moving heavy equipment or using shop carts?
Use carts with soft, non-marking wheels (urethane or rubber) and attach protective bumpers or caps where metal can contact the floor. Lift items rather than dragging, and place temporary moving sheets (like moving blankets or floor sliders) under legs and bases. If you frequently reposition equipment, create a consistent work zone path with mats so the same areas aren’t continuously scraped.
Why do laminate floors scratch even if the finish seems tough?
Laminate is durable, but the top “wear layer” can still be scratched by sharp grit, sand, or metal edges from tools and furniture. Scratches often happen when particles get ground into the surface during foot traffic or when items are pulled across the floor. Over time, repeated micro-abrasion can dull the finish and make deeper scratches more likely.
Which protective mats and floor coverings work best for workshop laminate flooring?
Look for mats labeled safe for laminate and use flat, non-rubberized backings that won’t transfer residue or trap moisture. Shop-specific options include heavy-duty anti-fatigue mats for standing areas, clear poly floor protectors for periodic tool movement, and breathable mats that prevent debris from grinding into the surface. Cover the areas where you drill, sand, or do bench work, and replace mats when they become worn or contaminated with embedded grit.
📅 Last Updated: October 24, 2026 | Topic: How to prevent scratches on laminate floors in a workshop? | Content verified for accuracy and freshness.
References
- Laminate flooring
- https://www.pergofloors.com/en-us/installation-and-care/cleaning-and-maintenance
- https://www.armstrongflooring.com/support/care-and-maintenance/laminate.html
- MohawkFlooring
- Error | EGGER
- https://www.kronotexusa.com/support/care-and-maintenance
- https://scholar.google.com/scholar?q=how+to+prevent+scratches+on+laminate+flooring+workshop+grit+maintenance Google Scholar
- https://scholar.google.com/scholar?q=laminate+floor+scratches+caused+by+abrasive+particles+dust+grit+study Google Scholar
- https://scholar.google.com/scholar?q=protective+mats+chair+glides+laminate+floor+care+scratch+prevention Google Scholar