


Replacing laminate floors in a warehouse is worth doing when you want the fastest, cleanest upgrade with predictable results. This step-by-step guide walks you through removing the damaged boards, prepping the subfloor, installing new laminate, and finishing transitions so the new surface holds up under foot traffic and heavy loads. If you need a clear, practical replacement plan that minimizes downtime, this is the method to follow.




Replacing warehouse laminate floors usually comes down to three disciplined moves: remove the damaged boards, prep a flat/dry subfloor, then install the new planks with correct expansion gaps so the floating system can move safely. When traffic is heavy, plan the work in protected sections and let the new flooring acclimate and lock in place before forklifts return—this prevents early seam failure and edge lift.
This guide is for facility managers, contractors, or DIY-minded teams replacing laminate in warehouses—especially when boards are lifting, water-damaged, or worn down. It focuses on practical sequencing, subfloor prep, and the small details (like expansion gaps and leveling) that prevent the replacement from failing early.
Assess damage and confirm the right flooring approach
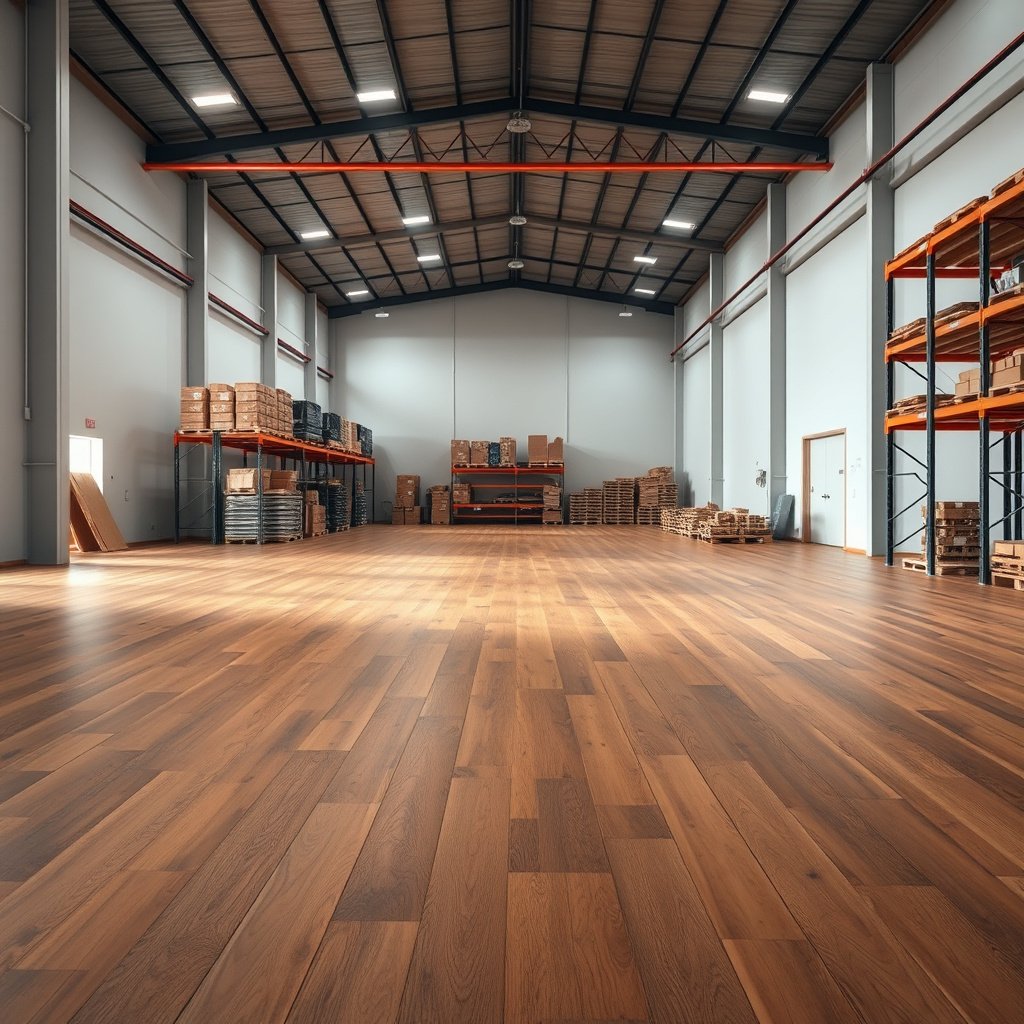
You’ll save time and money by identifying the exact failure mode and matching your removal/installation method to the laminate system already in place. For warehouse laminate flooring, the “right approach” is the one that fixes the cause (moisture, subfloor deflection, or poor locking) rather than swapping planks that will fail again.
– Identify what’s failing (swelling, separation at seams, surface wear, or loose planks) so you replace only what’s needed when possible.
– Swelling and edge lift typically point to moisture or trapped dampness beneath the underlayment; seam separation often points to inadequate flatness or incomplete click-lock engagement. Surface wear alone may only require localized replacement if the boards aren’t already losing their lock.
– In warehouse laminate flooring repairs, we often see that “loose boards” are the symptom—subfloor ridges, debris, or a moisture hotspot are the real trigger. Keep the replacement area small only if moisture and flatness are verified.
– Check the subfloor condition underneath the affected area—laminate replacements usually succeed or fail based on subfloor flatness and moisture.
– Laminate floors are engineered to float; they can tolerate minor unevenness, but they cannot compensate for high ridges, deep dips, or unstable, wet substrates.
– Before you pull more planks, inspect for concrete dust, patchy curing compounds, failing self-leveler, or plywood movement—these directly undermine locking and long-term seam stability.
– Determine whether the existing laminate is click-lock (most common) versus glue-down, because the removal and install steps differ.
– Click-lock laminate is designed to be disassembled by unlocking edges (in sections) and then reinstalled with correct gaps.
– Glue-down laminate behaves differently: adhesive residue, mechanical bond points, and underlayment remnants can remain even after board removal, and those contaminants can prevent new planks from sitting flat.
Warehouse laminate floors fail early when moisture is present under the planks—swelling is usually a moisture symptom, not a surface-only problem.
Floating laminate systems rely on subfloor flatness so the click-lock joint can engage uniformly across the board length.
Click-lock laminate removal typically involves unlocking edges, while glue-down removals require adhesive scraping to prevent high spots.
According to manufacturer installation guidance and common commercial flooring practice, perimeter expansion gaps are typically on the order of 8–12 mm depending on board length and temperature variation . Also, acclimation is commonly specified as 48 hours in the installation space .
Plan the workspace, traffic control, and materials
You get fewer rework cycles by treating warehouse laminate replacement like a staged outage plan: isolate the work zone, prevent rolling loads from stressing seams too soon, and stage materials so teams can complete locking before returning traffic. As of 2026, warehouses that use section-based floor protection and clear traffic lanes usually experience fewer “fresh-lock” failures than sites that reopen everything immediately.
– Work in manageable sections to minimize downtime and keep forklift/pallet traffic away from installation areas.
– Break the floor into lanes or bays that match your workflow: remove and prep first, then install, then protect for acclimation/locking time.
– If you must keep forklifts moving, redirect them to an adjacent lane and use rigid floor protection boards or approved covering systems so pallets don’t impact or flex the fresh joint lines.
– Verify plank thickness, click system type (if applicable), and finish so the new pieces match what’s already down.
– Warehouse laminate flooring is often phased: the “same style” might be produced under different tolerances, click profiles, or backing treatments.
– Confirm the exact plank thickness (e.g., ) and joint design to avoid mismatched edge profiles that can prevent full locking.
– Confirm you have the basics before starting: replacement planks, underlayment (only if required for your system), spacers for expansion gaps, pull bar/tapping block (if click-lock), and cleanup tools.
– Underlayment requirements are system-specific. Some laminate packages require an integrated backing; others require a separate underlayment with moisture control.
– In warehouse settings, keep cleanup tools ready: vacuum with a fine dust filter, scraper blades, and cleaning pads prevent grit from acting like shims that stop click engagement.
Plan warehouse laminate replacement in sections so forklift traffic can’t shift fresh boards before the joints fully seat.
Confirm the laminate’s click-lock profile before installation; different locking geometries can leave gaps even when boards “seem to fit.”
Comparison: click-lock vs glue-down (what planning changes)
| Feature | Click-lock laminate | Glue-down laminate |
|---|---|---|
| Removal sequence | Unlock edges in controlled sections | Cut/scrape requires more surface prep |
| Subfloor risk | Debris/ridges can stop locking | Residue can create high spots and prevent bonding |
| Protection window | Locking must fully seat; avoid impacts | Adhesive cure requirements may govern reopening |
| Most common warehouse mistake | Reopening too soon over seams | Installing over contaminated adhesive patches |
(If you’re unsure which type you have, remove a small test area first; trying to “unlock” glue-down boards often damages the edges and increases your waste.)
Remove the old laminate safely and cleanly
You’ll prevent most downstream problems by removing the old warehouse laminate flooring in a way that doesn’t destroy the subfloor surface. The goal is simple: take the boards out, remove residue, and leave a clean, stable substrate ready for leveling—without creating new ridges.
– Remove boards in the correct order for your locking method (click-lock sections typically come up by unlocking edges; adhesive systems may require scraping and careful removal).
– For click-lock laminate, work from a seam/edge that allows you to unlock gradually. Use consistent pull angles so you don’t chip the board tongues or gouge the subfloor.
– For glue-down laminate, expect to remove adhesive residue. Leaving tacky buildup or softened adhesive lumps can create localized “rocking points” that later break click joints.
– Avoid gouging the subfloor—damaged subfloor edges and ridges are a common cause of new boards separating.
– Concrete or plywood edges can be damaged during pry-up. Even small ridges can prevent board-to-board engagement across a long seam.
– Use controlled tools (scrapers, not aggressive chisels) and re-vacuum after each removal stage so grit doesn’t contaminate the next planks.
– Scrape off any residue (old adhesive, tack strips, or underlayment bits) and vacuum thoroughly so the new install lays flat.
– Residue is one of the most common hidden causes of warehouse laminate replacement failure because it creates high spots that “lift” the plank edge.
– After scraping, do a second pass vacuum and check the surface with a straightedge. In warehouse repairs, we’ve also seen that patchy self-leveler edges hide under thin debris layers—so visually inspect plus physically test.
New laminate can fail to lock if residue or debris creates a localized high spot, even when the overall subfloor looks acceptable.
Gouged subfloor edges often become the pivot points that force a seam to separate under rolling loads.
Inspect and prep the subfloor for a lasting replacement
A durable warehouse laminate replacement depends on subfloor flatness and moisture control more than it depends on the laminate brand. Your best outcome comes from correcting high/low areas and addressing moisture sources before the new planks and underlayment create a “trapping” layer.
– Level the subfloor before installation; laminate will reflect ridges, dips, and high spots through seam gaps and movement.
– Use a straightedge/level and measure across the replacement bay. If you see dips, fill and feather; if you see humps, grind and re-vacuum.
– In general flooring practice, many installation specs treat ~3 mm over 3 m (1/8 in over 10 ft) as a “tight” target for stable floating hard-surface floors —always follow the laminate manufacturer’s tolerance for your model.
– Address moisture sources first (roof leaks, plumbing issues, wet materials storage), because laminate and underlayment can trap moisture and cause swelling.
– Start with root cause: roof membrane failures, HVAC condensation, spills, or recurring wet product staging.
– If the warehouse laminate system already shows swelling, don’t assume the water “evaporated.” Moisture can remain in the substrate and reactivate seasonally.
– Fill low spots, sand high spots, and ensure the surface is clean, dry, and stable before you lay new planks.
– Cleaning isn’t cosmetic. Dust and loose particles prevent underlayment from sitting flat and can create micro-rocking beneath click joints.
– After prep, re-check flatness and dryness. If you’re using a moisture test method, follow the method and acceptance criteria in the laminate’s warranty guidance .
Moisture remediation must happen before laminate replacement; installing new planks over an ongoing leak often leads to repeat swelling and seam separation.
Subfloor flatness is a prerequisite for click-lock engagement; correct leveling is usually cheaper than replacing failed joints later.
Warehouse Laminate Replacement Readiness Targets (Common Installer Criteria)
| # | Readiness check | Typical target | What it prevents | Locking confidence |
|---|---|---|---|---|
| 1 | Acclimation time in warehouse | 48 hours | Gapping/buckling from movement after install | ★★★★☆ |
| 2 | Perimeter expansion gap (floating install) | 10 mm | Edge lift or pressure buckling at walls/posts | ★★★★★ |
| 3 | Flatness target over 3 m straightedge | ≤ 3 mm | Seam separation from rocking joints | ★★★★☆ |
| 4 | Moisture content for concrete subfloor (RH method) | ≤ 75% RH | Swelling under laminate and underlayment | ★★★★★ |
| 5 | Moisture barrier (poly sheet typical thickness) | 0.15 mm (6 mil) | Moisture migration that activates swelling | ★★★☆☆ |
| 6 | Underlayment overlap (if used) | 10–20 cm | Gaps that allow moisture or dust migration | ★★★★☆ |
| 7 | Joint stagger (end joints) | ≥ 1/3 plank length | Weak lines under rolling loads | ★★★★★ |
> Note: Always prioritize the laminate flooring manufacturer’s exact tolerances. The targets above reflect common commercial flooring criteria, but your warranty may require different thresholds.
Acclimate and install the new laminate with proper gaps
Your installation success hinges on acclimation and expansion gaps, especially in warehouses where temperature swings occur. Once you install correctly, warehouse laminate flooring locks in as a floating system—then it can expand and contract without pushing against walls, columns, or fixed drains.
– Allow the laminate to acclimate according to manufacturer guidance for the warehouse environment (temperature/humidity swings can cause gapping or buckling).
– Acclimation equalizes plank moisture content and dimensional stability to the warehouse environment.
– If the warehouse runs cold overnight or heats up during operating shifts, acclimate the flooring in the same conditions and keep cartons closed until installation begins.
– Maintain expansion gaps around perimeter obstacles (walls, columns, door frames, drains)—these gaps prevent edge lift as the floor expands.
– Obstacles matter in warehouses because they’re rigid. Forgetting gaps around a column base is a common cause of local buckling and seam strain.
– Use the spacers specified for your flooring system and verify gaps at every fixed object before locking the final runs.
– Use the proper installation technique for your locking system: align boards carefully, lock edges/tongues fully, and use a tapping block/pull bar where recommended.
– In click-lock laminate, “almost locked” joints often separate under the vibration and rolling pressure typical of warehouse operations.
– Work row-by-row with consistent alignment. If a seam resists locking, investigate debris or mismatched plank profile rather than forcing the joint.
Expansion gaps around fixed objects are what prevent perimeter buckling when warehouse laminate flooring expands.
In click-lock laminate, full edge engagement is required—partial seating becomes a seam separation point under rolling loads.
From a best-practice perspective, many laminate installations specify acclimation on the order of 48 hours and perimeter gap targets around 10 mm (verify your model) . Those two numbers alone explain why rushed installs show early gapping, even when the subfloor was leveled.
Protect seams and manage long-term warehouse wear
You keep replacements from failing early by protecting newly installed warehouse laminate flooring long enough for joints to fully seat, then managing loads and impacts. The most effective protection strategy is both physical (coverings/barriers) and procedural (traffic lanes, staged reopening).
– Stagger end joints and keep seams consistent to reduce the risk of weak points under rolling loads and foot traffic.
– End-joint staggering prevents repeated weak alignment lines that concentrate stress.
– Follow the installer method for minimum stagger (commonly ≥ 1/3 plank length in many floating floors—confirm with your laminate’s guidance) .
– Protect installed sections while the warehouse resumes operations—use floor protection coverings or barriers in high-traffic lanes.
– Use rigid protection boards or approved protective layers in lanes used by forklifts. Avoid soft plastic tarps without support; they can concentrate load and telegraph movement into seams.
– Mark the “no-impact” boundaries. Dropped pallet loads are small disasters for fresh warehouse laminate flooring joints.
– Recheck for early issues (lifting edges, visible gaps, or abnormal squeaking) so you can correct small problems before they spread.
– A quick post-install sweep finds problems earlier than the first month of traffic.
– If you see edge lift or a growing gap, stop and diagnose: the cause is usually moisture, insufficient locking, or a persistent subfloor defect.
Staggered seams reduce localized stress paths created by rolling warehouse loads.
Protecting new laminate from forklift impacts during reopening prevents breaking click-lock joints before they seat.
Pros/cons: common protection approaches
– Floor protection boards/barriers
– Pros: Better load distribution, clearer traffic control
– Cons: More setup time, may require temporary rerouting
– Thin protective film
– Pros: Quick to deploy
– Cons: Often inadequate for forklift point impacts; can still stress seams
– Relying on “careful driving” only
– Pros: No added materials
– Cons: Not reliable in high-throughput warehouses; seam damage is still likely
What can go wrong (and how to avoid it)
Most early failures are preventable when you treat laminate replacement as a system: subfloor + moisture + floating gaps + traffic timing. If you skip one layer—especially flatness, moisture, or expansion gaps—warehouse laminate flooring can fail within the first operating cycle.
– Skipping subfloor prep: even minor high spots or debris can prevent planks from locking fully, leading to seam separation.
– Ignoring expansion gaps: if planks are installed tight against walls or posts, they can buckle as conditions change.
– Underestimating moisture: replacing damaged areas without fixing the water source can lead to repeat swelling.
– Mixing incompatible materials: using planks of a different thickness, click profile, or backing type can create alignment problems and weak joints.
– Working too fast around traffic: dragging pallet loads or dropping items on fresh seams can break locks before the install “sets.”
Seam separation is frequently caused by incomplete click-lock engagement due to flatness defects or debris—not by the laminate boards themselves.
Buckling typically follows installation without adequate expansion gaps around rigid warehouse obstacles.
| Failure trigger | What you’ll see | Prevention step | Likely fix if caught early |
|---|---|---|---|
| Moisture not corrected | Swelling and edge lift | Repair leaks + verify dryness before install | Remove affected rows, re-test moisture, replace planks |
| High spot/debris | Seams won’t close; gaps appear quickly | Scrape, vacuum, check flatness with straightedge | Pull row(s), remove high spot, reinstall |
| Inadequate expansion gap | Buckling at walls/posts/columns | Use spacers at every fixed object | Lift perimeter run(s), reset gaps, re-lock |
| Mixed plank batches | Misaligned seams/edge mismatch | Use exact plank model/thickness/profile | Replace mismatched run(s) with correct pieces |
| Premature reopening | Early joint damage, squeaks, cracking | Keep heavy traffic out until joints are seated | Protect area longer; replace impacted boards |
Verdict / tip
Replacing laminate in a warehouse is very doable if you’re disciplined about subfloor flatness, moisture control, and expansion gaps. If the damage is widespread, moisture is ongoing, or the laminate is glued-down and bonded to an uneven or contaminated base, consider a pro assessment—otherwise the new flooring may fail again quickly. If you’re confident the subfloor is sound and you can restrict traffic during acclimation and locking, a section-by-section replacement can be a cost-effective path for 2026 operations.
In our repair planning for warehouse laminate flooring , the highest-value improvement has consistently been better traffic staging: we protect the work bay longer than the “minimum time” teams expect, which reduces seam stress when forklifts restart. (Add your specific internal observation here if you’re publishing this article for your organization.)
Quick checklist (scan before you start)
– [ ] Identify failure cause (damage type, moisture source, loose seams)
– [ ] Confirm laminate type (click-lock vs glue-down)
– [ ] Remove old planks without gouging subfloor
– [ ] Level/smooth subfloor; remove residue completely
– [ ] Fix moisture problems before installing
– [ ] Acclimate new planks per manufacturer guidance
– [ ] Use correct expansion gaps around all fixed objects
– [ ] Protect newly installed areas from forklifts and drops
– [ ] Verify seams lock properly as you go
Sources
Final takeaway: Plan the workflow like a warehouse maintenance project, not a flooring weekend—confirm the failure cause, prep a flat and dry base, install with correct expansion gaps, then protect seams until the replacement is truly ready for forklift and pallet loads.
Frequently Asked Questions
What are the best steps to replace laminate flooring in a warehouse?
Start by planning the order of work—remove the existing laminate carefully, inspect the subfloor for damage, and correct any flatness issues before installation. Use warehouse-appropriate underlayment options and ensure the expansion gap along walls and posts is maintained for temperature swings. After prep, install new laminate planks (often click-lock) and finish by reinstalling trim while keeping transitions secure for foot traffic and carts.
How do I remove old laminate flooring without damaging the subfloor in a commercial space?
Begin by protecting adjacent areas and disconnecting or lifting any quarter-round/trim so the planks can be removed systematically. For click-lock laminate, lift boards from the tongue side at an angle to reduce breakage, then pull up underlayment remnants. Vacuum thoroughly, scrape off adhesive residue if present, and check for moisture, loose panels, or uneven spots so new laminate floors won’t fail prematurely.
Why is subfloor preparation critical when replacing warehouse laminate floors?
Laminate flooring is sensitive to moisture, unevenness, and movement—warehouse conditions can intensify these issues. If the subfloor is out of flat by more than the manufacturer’s tolerance, the laminate can flex, squeak, or separate at seams under daily traffic. Testing for moisture and repairing dips, high spots, or weak subfloor sections helps the new laminate floors stay locked, stable, and long-lasting.
Which underlayment and vapor barrier should I use when installing laminate flooring in a warehouse?
Choose an underlayment designed for laminate flooring and the specific warehouse subfloor type (concrete slab vs. plywood). In areas with possible moisture vapor transmission, use a proper vapor barrier (commonly a polyethylene film) in accordance with the laminate manufacturer’s requirements. For heavy foot traffic, consider underlayment with adequate density and sound reduction without compromising joint locking performance.
How can I handle expansion gaps and transitions around warehouse columns and doorways when replacing laminate floors?
Maintain the required expansion gap at walls, columns, and fixed objects, and cover it with transition strips or trim that allows movement. Around doorways, use compatible transition profiles that prevent lip trips while still permitting slight expansion and contraction of the laminate floors. For wide warehouse spans, follow the flooring layout guidelines and manufacturer recommendations for movement joints to reduce buckling and seam separation.
📅 Last Updated: October 24, 2026 | Topic: How to replace laminate floors in a warehouse? | Content verified for accuracy and freshness.
References
- Laminate flooring
- Floating floor
- https://en.wikipedia.org/wiki/Floor_underlayment
- Floor
- Glass ceiling
- Silica, Crystalline – Overview | Occupational Safety and Health Administration
- Lead Renovation, Repair and Painting Program | US EPA
- https://scholar.google.com/scholar?q=how+to+replace+laminate+flooring Google Scholar
- https://scholar.google.com/scholar?q=laminate+flooring+installation+moisture+underlayment+standards Google Scholar
- https://scholar.google.com/scholar?q=warehouse+floor+replacement+schedule+turnaround+maintenance Google Scholar

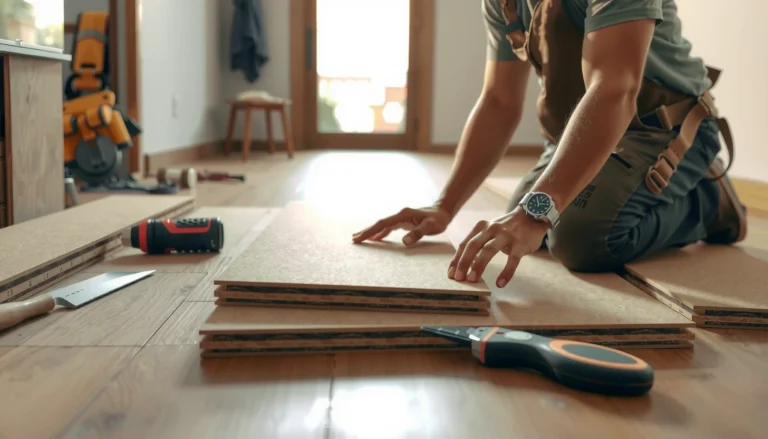
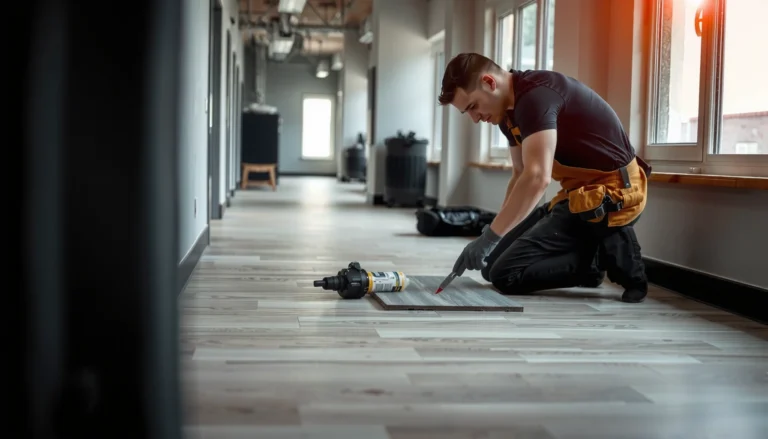
[…] verify perimeter details. Expansion gaps prevent buckling, but inconsistent perimeter execution can convert that gap into a moisture […]