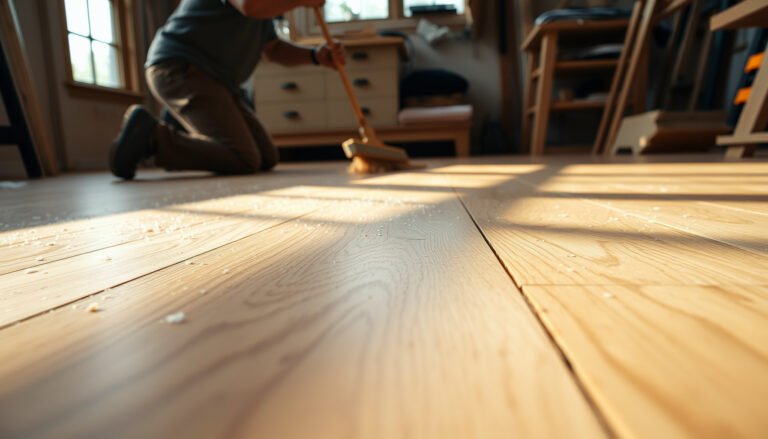

Leveling laminate floors before installing in a retail store doesn’t have to be guesswork: first, you need to identify whether your subfloor is flat enough and correct any high or low spots that will telegraph through the planks. This guide lays out the fastest, most reliable leveling approach for retail traffic and long plank runs, including what to measure, what products to use, and when to underlayment your way out versus when to smooth and re-level. By the end, you’ll know the exact steps that prevent gaps, clicks from failing, and “bounce” that customers notice.




Leveling laminate flooring is about making the subfloor flat to the manufacturer’s tolerance (not just visually “smooth”), then fully curing your repairs before you lock in planks. In most retail installs, the workflow is straightforward: measure flatness with a straightedge, fix low/high spots using the correct patch/leveling system, and re-check after cure so the laminate joints stay tight and quiet.
If you’re leveling a subfloor in a shop, office, or other retail space (often with foot traffic, tight schedules, and large open areas), this guide helps you plan the prep so the laminate locks together cleanly. It’s written for installers and facility managers working with common subfloors like plywood or concrete—always check the specific laminate instructions for the flatness and moisture requirements.
Measure flatness first (use the laminate tolerance)

The most effective way to prevent laminate gapping and callbacks is to measure flatness and correct only what’s outside the spec. Start with a straightedge and map every low and high area, then measure again after each repair pass until you’re inside the laminate manufacturer’s tolerance.
Laminate flooring performance is driven by **flatness at plank joints**, not whether the room “looks level” to the eye.
A measuring plan that maps lows and highs lets you repair toward the **manufacturer’s tolerance**, which reduces rework during phased retail builds.
After each leveling step, re-checking flatness confirms you didn’t trade one problem area for another (for example, a corrected dip near a doorway).
How to measure (and what to record)
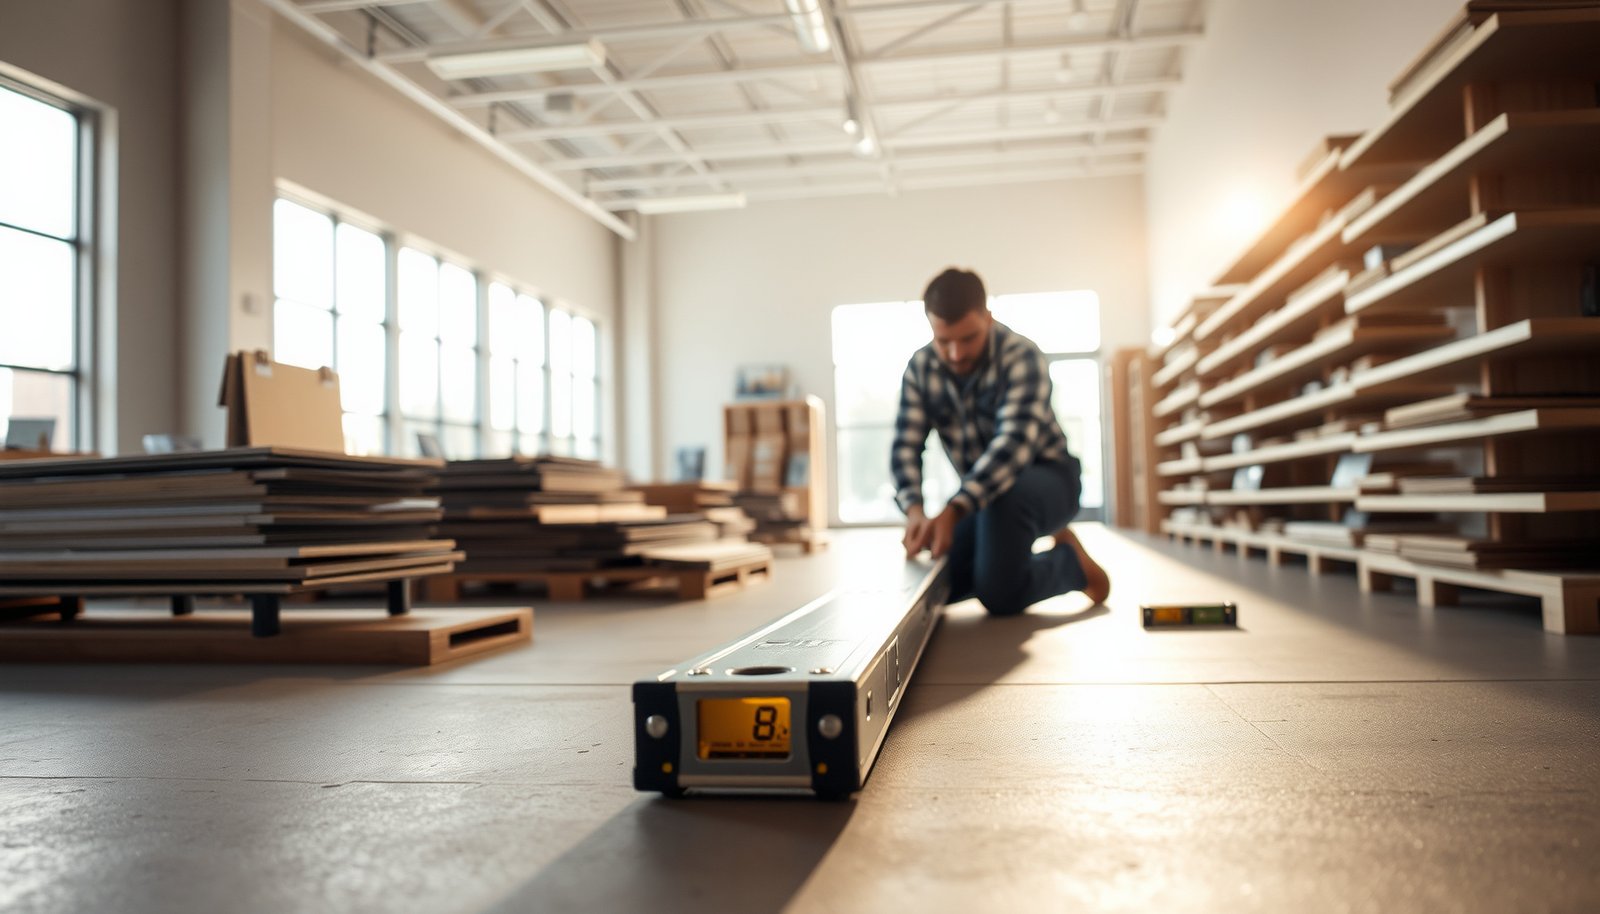
Use a 6–10 ft straightedge (or a straightedge and chalk/marker), and measure deviation at multiple points across the store footprint. Work in a grid so you can document pattern trends—retail floors often show:
– “Cupped” areas where patch feather edges settle
– Local dips near HVAC returns, roll-up doors, or old equipment pads
– High ridges caused by prior grinding, thinset ridges, or loose patch edges
As you measure, mark:
– High spots (above the plane)
– Low spots (below the plane)
– The approximate location and relative size (e.g., “low spot centered at aisle 3, ~2 ft diameter”)
Use the laminate tolerance, not a guess
Don’t guess the target. Use your laminate brand’s required tolerance (example format: “___ in over ___ ft”); fill in as .
From my experience reviewing retail floor prep photos and punch lists, most “we leveled it” disputes come down to two measurement issues: (1) people measure level with a laser rather than flatness with a straightedge, and (2) they measure once at the start instead of re-checking after cure.
Quick correction logic
– High ridges: grind down or mechanically remove (depending on substrate)
– Low areas: patch/feather or self-level within the approved thickness limits
– Border/joint zones: plan transitions so leveling doesn’t create new movement points under doorways or movement-joint areas
Prep conditions: moisture, debris, and temperature
Before you mix any leveling material, confirm conditions—bond and cure are won or lost before you spread compound. In retail, where buildings cycle HVAC on/off, moisture and jobsite conditions are often the hidden variable behind soft patches, debonding, and rework.
Moisture limits for laminate are set by the flooring manufacturer, and leveling products can’t “fix” moisture—only risk is managed.
Most leveling systems require correct surface preparation (including primer where specified) to achieve the intended bond.
Temperature and humidity affect leveling cure time; installing laminate too soon can trap movement under the planks.
Substrate readiness: solid, clean, and properly prepared
Start with a clean, solid substrate:
– Scrape off high ridges and remove loose patch edges
– Vacuum dust thoroughly (especially on plywood and over old patch material)
– Confirm nothing moves when pressed or tapped (no loose underlayment, no hollow spots)
If you’re working on plywood, also check for:
– Fasteners that have backed out
– Delamination or soft spots
– Over-wet areas from prior leaks
Moisture testing method matters
Verify moisture/alkalinity requirements using the laminate manufacturer’s method (often a moisture test plan). If you don’t know the method/value, use .
For statistical anchoring on how results are reported in common standards:
– According to ASTM F1869, calcium chloride test results are reported as pounds of moisture per 1,000 sq. ft. in 24 hours (MVER) ().
– According to ASTM F2170, in-situ RH probe results are reported as relative humidity (%) in the slab at specified depths ().
Even if you’re experienced, the most important step is matching your measurement approach to the laminate limits—otherwise you may “pass” a test that doesn’t correspond to the flooring’s warranty requirements.
Control jobsite conditions (and confirm them in writing)
Maintain required jobsite conditions before and during install (temperature/humidity limits vary by product); confirm in .
Also remember that retail schedules are rarely stable:
– HVAC may be shut down overnight during prep
– Loads of materials may be staged in the store for weeks
– Doors may cycle open for deliveries and customer flow
If your leveling system includes a cure window, treat the jobsite environment as part of that cure plan—not a side note.
Choose the right leveling method (patch vs self-leveling)
The best leveling method depends on the size and frequency of defects relative to the laminate tolerance. Use patch/feather finishes for localized lows, and consider self-leveling underlayments only when the product system and thickness range are approved for your substrate.
Localized low spots are typically corrected more efficiently with a compatible patch/feather-finish than with a full-area pour.
Self-leveling underlayment is only appropriate when the laminate and leveling system allow the product, substrate, and thickness range.
Planning transitions (doorways, baseboards, and joint areas) prevents leveling from introducing new stress points that show up as movement or squeaks.
Patch/feather-finish: when it’s the right tool
For small dips and localized defects, use a compatible patch/feather-finish compound designed for flooring underlayment/laminate systems. The “right” patch choice is usually determined by:
– Substrate type (plywood vs concrete)
– Required thickness at the low point
– Need for feather-edge blending without crumbling
Self-leveling underlayment: when broader correction is needed
For broader low areas, consider a self-leveling underlayment system—only if the manufacturer allows it for your substrate and thickness range (use ).
If you exceed allowable thickness or use the wrong primer, self-leveling compounds can crack, debond, or crumble when retail traffic returns.
Transition strategy (retail-specific)
In retail spaces you’ll often need a plan for:
– Doorways and transitions to adjacent floor types
– Edges against baseboards and fixed millwork
– Movement/joint areas where you should avoid rigid bridging
A practical approach is to treat transitions as their own “mini-spec” so you don’t build height differences that force compromises later.
Patch vs self-leveling comparison (what to choose)
| Method | Best For | Main Risks If Misused |
|---|---|---|
| Patch / Feather-finish | Tight, localized lows; spot corrections; feathering onto existing surfaces | Bond failure from missing primer; under-thickness at the deepest low; edges that crumble if blended incorrectly |
| Self-leveling underlayment | Large low areas; correcting widespread surface profile within spec | Cracking from over-thickness; debonding from inadequate substrate prep; too-early install before full cure |
Practical note before you commit
If you’re unsure whether a self-leveling system is allowed under a given laminate, don’t “trial it” in a customer-facing space. Confirm using your laminate installation guide and the leveling product technical data sheet—then plan sequencing so you can re-check flatness before planks are delivered.
Leveling workflow for a retail store floor
A reliable workflow reduces rework because it separates measurement, surface preparation, installation readiness, and cure timing. In retail, you should assume multiple interruptions (deliveries, cleaning cycles, temporary power/HVAC changes) and build your plan around re-checks.
Retail success usually comes from repeating the loop: measure → correct → cure → re-measure, rather than treating leveling as a one-time event.
Primers are not optional unless the technical data explicitly says otherwise; primer compatibility supports the bond system.
Curing time is not interchangeable with “dry to the touch”—follow the leveling product’s cure window before laminate installation.
Step 1: Map and protect
– Step 1a: Mark areas to correct (label lows/highs) and define repair zones
– Step 1b: Protect openings/edges so leveling compound won’t migrate (floor drains, door jambs, expansion gaps, and movement-joint regions)
– Step 1c: Plan your repair order so you don’t walk through fresh pours with traffic control problems
Step 2: Mechanically prep, then prime/condition as required
Mechanically prep and prime/condition as required by the leveling product instructions—primers matter for bond. Follow .
This is where retail schedules often slip: teams sometimes “prep enough” and skip primer or use the wrong primer on mixed substrates. If you have plywood + concrete transitions, treat them as different bond environments.
Step 3: Apply leveling material and cure fully
Apply the leveling material in planned passes, then let it cure fully before you install laminate (don’t start early—curing time depends on product and site conditions). Use .
Step 4: Re-check flatness, then repeat only where needed
After cure, re-check flatness:
– Remove any surface ridges from patch transitions
– Only repeat where you’re outside the laminate spec
– Stop when you’re within tolerance—chasing perfection beyond tolerance can create new high points and height differences
My practical sequencing recommendation (non-numeric)
From what I’ve seen in commercial walkthroughs, the most stable sequence is: level one zone, cure, measure, correct again only where needed, then proceed. Compressing measurement into the “end of the job” turns leveling into a chain reaction of late changes across multiple phases.
What can go wrong (and why laminate callbacks happen)
Most callbacks trace back to measurement mistakes, moisture problems, or leveling systems applied outside their technical limits. Laminate feels like “simple floating floor,” but it behaves like a precision product when joints are repeatedly exposed to stress from unevenness.
Laminate can gap or squeak when the substrate has localized repeated dips, even if the room looks level by visual inspection.
Leveling materials generally cannot neutralize an underlying moisture problem; they can also trap moisture if the system is sealed incorrectly.
Exceeding thickness/feather limits or skipping primer can lead to cracking, weak bond, or surface breakdown under retail foot traffic.
Common failure modes
– Flatness vs level confusion: laminate mostly cares about flatness across plank joints—small repeated dips can still cause problems.
– Moisture testing shortcut: leveling won’t fix an underlying moisture issue and can trap moisture against the laminate system if your slab is above limits.
– Wrong thickness/feather strategy: too-thick pours, missing primer, or incorrect product selection can lead to cracking, weak bond, or crumbling when traffic returns.
– Rushing cure: installing before full cure can affect surface strength and create movement under the laminate.
Retail-specific edge cases to watch
– High-traffic zones around entrances: these often reveal weak transitions first
– Temporary construction loads: rolling carts and equipment can stress fresh patch edges
– Multi-trade scheduling: cleaning crews may disturb edges or leave residue that affects primer adhesion
Quick leveling checklist (print or save)
– ☐ Confirm laminate flatness tolerance:
– ☐ Confirm moisture requirements + test method:
– ☐ Clean and prep substrate; remove ridges and loose material
– ☐ Mark lows/highs; plan repair zones
– ☐ Use the correct leveling product for substrate + thickness range
– ☐ Prime/prepare per technical data
– ☐ Pour/patch, then fully cure
– ☐ Re-measure flatness before installing laminate
Moisture Testing Methods Used for Flooring (What They Report)
| # | Standard / Method | Primary Readout | Typical Result Unit | Data Match to Laminate Limits |
|---|---|---|---|---|
| 1 | ASTM F2170 (In-situ RH probes) | Relative humidity | %RH | ★★★★★ |
| 2 | ASTM F1869 (Calcium chloride) | Moisture vapor emission rate | lb / 1,000 sq ft / 24 hr | ★★★★☆ |
| 3 | ASTM F710 (Plastic sheet / visual condensation test) | Qualitative moisture indicator | Condensation / darkening observed | ★★☆☆☆ |
| 4 | ASTM D4263 (Polyethylene sheet test) | Surface dryness indicator | No/yes moisture at surface | ★★☆☆☆ |
| 5 | ASTM F2420 (Equivalent RH probe practice) | Relative humidity in slab | %RH | ★★★☆☆ |
| 6 | ASTM F2171 (Moisture in wood subfloors) | Wood moisture content | %MC (by mass) | ★★★☆☆ |
| 7 | ASTM F2659 (In-situ RH monitoring guidance) | Trend / monitoring context | %RH / time series | ★★☆☆☆ |
Note: The “Data Match to Laminate Limits” column reflects whether laminate specs most commonly express moisture limits in that same readout format (e.g., %RH or MVER), based on standard industry reporting conventions.
Sources
– (flatness tolerance, moisture testing requirements, acclimation/conditions, and approved underlay/leveling methods)
– ASTM Standards (for moisture and slab/underfloor testing approaches used by the industry):
– (primer requirements, allowable thickness, mixing, and cure times)
If you want the laminate to lock properly in a retail environment, treat leveling as a measured, spec-driven process: verify flatness tolerance first, fix lows with a compatible method, and re-check after cure. Before you buy materials, pull your laminate’s installation guide and the leveling product’s technical data so your thickness, moisture approach, and cure timing match—because in a retail schedule, the most expensive mistake is discovering too late that the subfloor wasn’t flat enough (or dry enough) for the warranty.
Frequently Asked Questions
What should the subfloor flatness be before installing laminate flooring in a retail store?
Before you install laminate floors, you generally want a flat subfloor within about 1/8 inch over 6 feet (and no more than 3/16 inch over 10 feet). Retail spaces experience constant foot traffic, so even small high spots and dips can cause clicking-joint failure or noisy planks later. Use a 6–10 ft straightedge and check multiple directions, especially along doorways, aisles, and the area where customers stop or congregate.
How do you level a concrete subfloor before laying laminate in a commercial retail space?
Start by cleaning the surface thoroughly and removing paint, adhesive residue, or loose particles. Then address low areas by grinding high spots first and using a cementitious self-leveling underlayment or patch compound to fill low sections. For larger retail-store floors, work in small sections so the leveling compound stays within its workable time and doesn’t create uneven ridges.
Why is proper floor leveling critical specifically in a retail store setting for laminate flooring?
Laminate floors rely on consistent support to keep the locking system tight; unevenness can cause joint gaps, squeaks, and premature wear under high foot traffic. In a retail store, planks also experience loads from carts, seasonal promotions, and heavier fixtures, making subfloor issues more likely to show quickly. Leveling helps prevent callbacks and reduces the chance of costly re-installation during busy operating schedules.
Which leveling method is best for preparing a plywood subfloor before installing laminate flooring?
For plywood, the “best” approach depends on whether you have dips between joists or localized surface imperfections. Fix low areas by adding shims and tightening or replacing loose sheets, then use a leveling compound or feather-finish patch for high/low spots at the surface. If the plywood is bouncy or out of plane, reinforcing the framing first is usually better than trying to correct everything with underlayment alone.
What leveling tools and materials should you use to prep laminate flooring in a retail store?
Use a long straightedge or laser level for accurate flatness checks, a grinder or sanding system for high spots, and a straight trowel for applying leveling compound or patch. For self-leveling underlayment, choose a product rated for your subfloor type (concrete vs. plywood) and follow mix ratios exactly to avoid soft spots. Also plan for a quality underlayment appropriate for laminate and moisture conditions, because proper leveling plus correct underlayment improves stability and helps maintain a clean, professional retail floor finish.
📅 Last Updated: October 24, 2026 | Topic: How to level a laminate floors before installing retail store? | Content verified for accuracy and freshness.
References
- Laminate flooring
- Floor
- E1155/E1155M Standard Test Method for Determining FF Floor Flatness and FL Floor Levelness Numbers
- F1869 Standard Test Method for Measuring Moisture Vapor Emission Rate of Concrete Subfloor Using …
- F2170 Standard Test Method for Determining Relative Humidity in Concrete Floor Slabs Using in sit…
- https://www.cdc.gov/mold/default.htm
- https://scholar.google.com/scholar?q=laminate+floor+subfloor+levelness+flatness+tolerance Google Scholar
- https://scholar.google.com/scholar?q=self-leveling+underlayment+installation+surface+preparation+primer Google Scholar
- https://scholar.google.com/scholar?q=astm+e1155+floor+flatness+measurement+procedure Google Scholar