
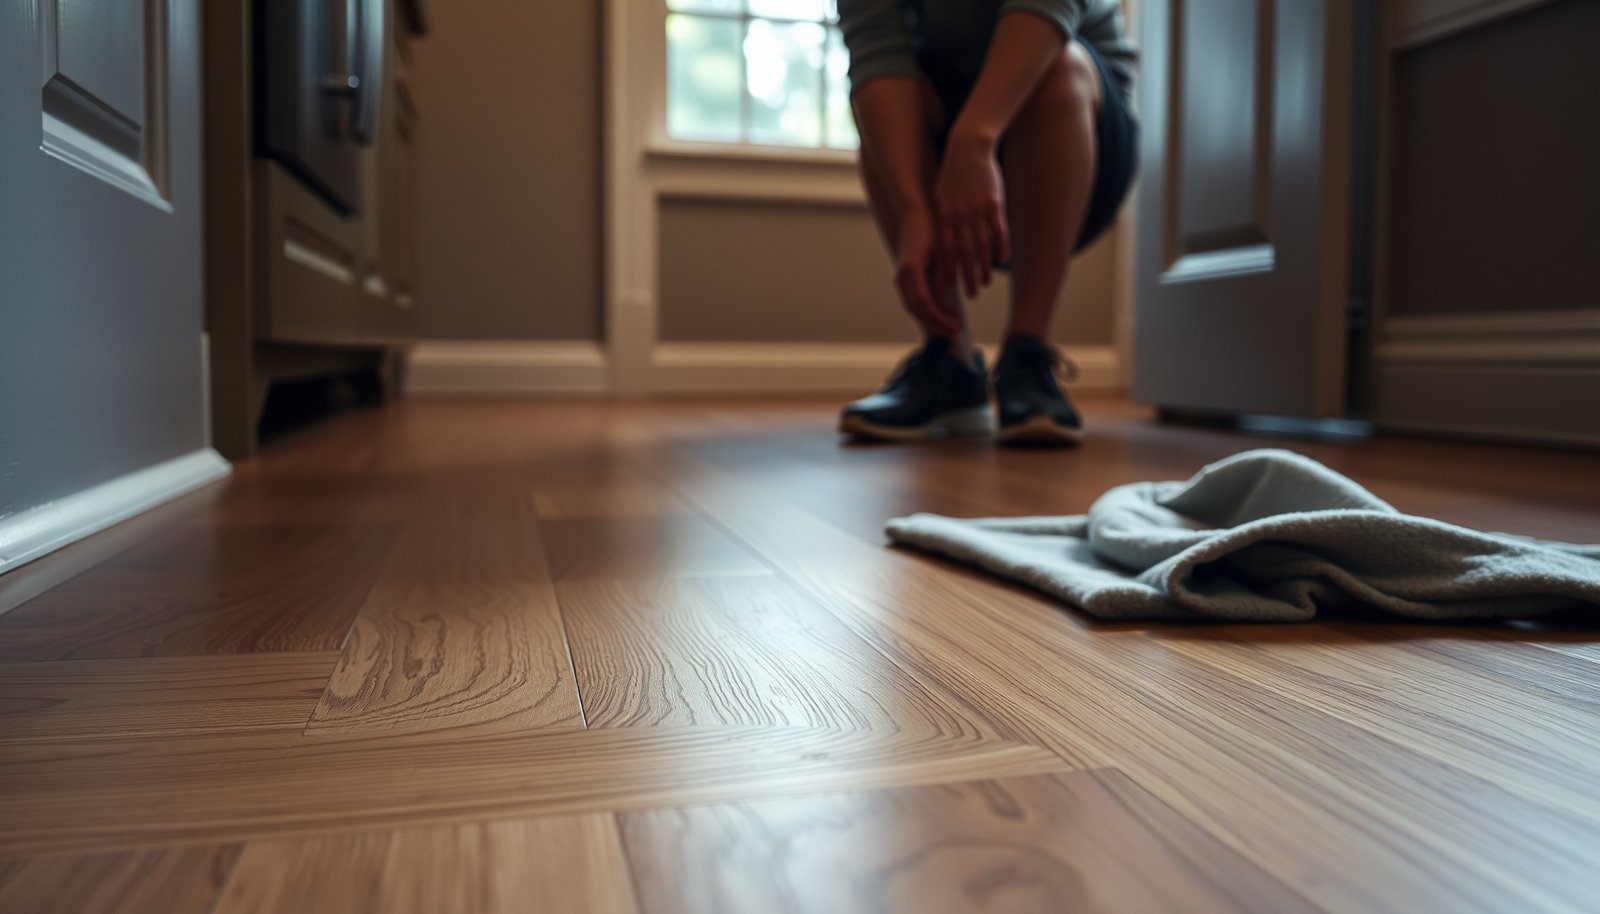

Prevent water damage to laminate floors in your mudroom by acting fast and controlling moisture at the source: use doormats, wipe spills immediately, and keep water from pooling near the entry. If you install proper underlayment with a moisture barrier and seal floor transitions and edges, laminate stays protected even during wet boots and tracked-in rain. This guide shows the exact steps that make the biggest difference—so you don’t end up with swelling, buckling, or lifting.




Prevent water damage to laminate floors in a mudroom by stopping tracked-in moisture before it reaches the planks—use a high-absorbency entry mat system, wipe spills quickly, and control humidity with correct sealing and ventilation. Standing water at seams and edges is what causes swelling and delamination, so your goal is to keep water from sitting on the surface long enough to migrate into joints.
If your mudroom gets heavy traffic, wet boots, snow melt, or muddy paws, this is for you—especially if you’ve noticed swelling near doorways, baseboards, or transitions.
Block water at the door with the right mat setup
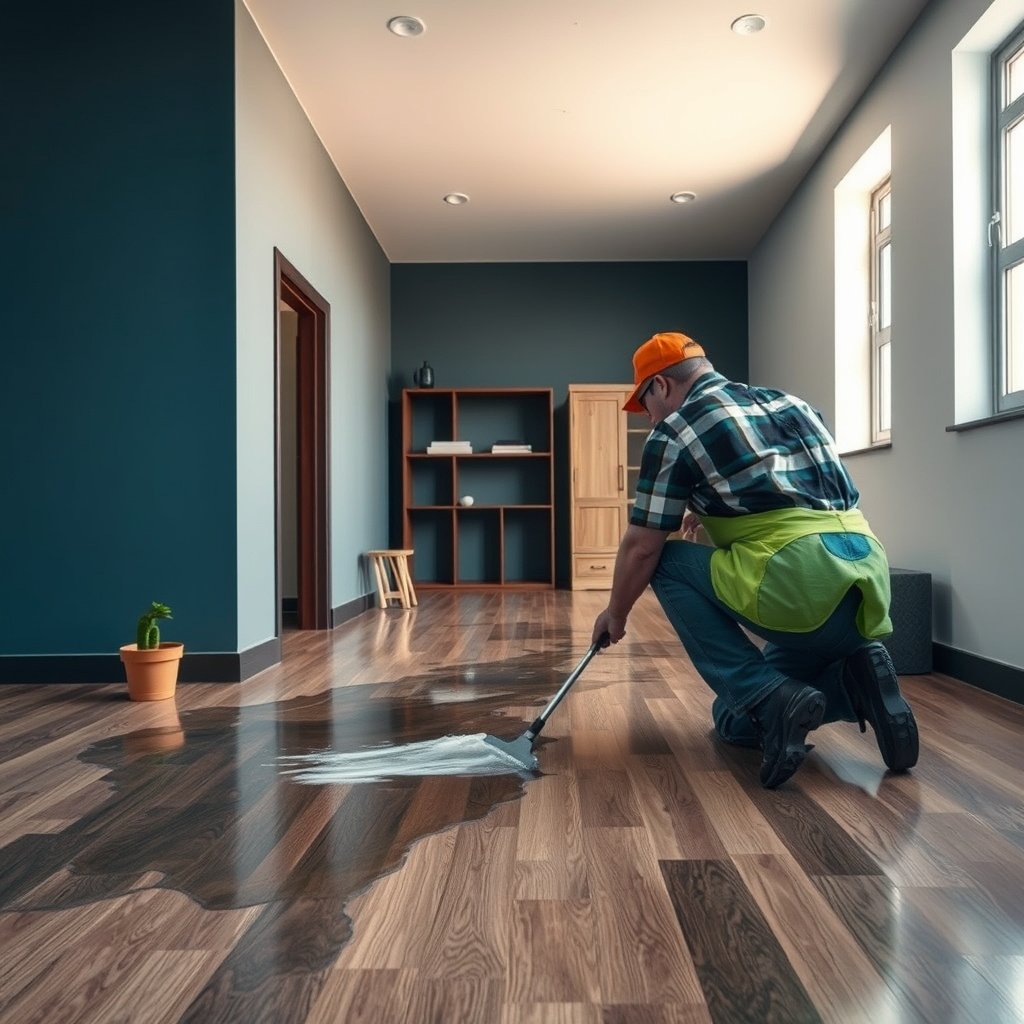
The fastest way to reduce laminate water damage in a mudroom is to capture moisture at the doorway before it transfers to the floor surface. A layered mat strategy (scrape + absorb) reduces both grit and water load—the two things that most often overwhelm laminate edges at transitions.
According to the CDC, mold can begin growing within 24–48 hours after materials are exposed to moisture.
EPA guidance for moisture control emphasizes keeping indoor humidity in a range that helps prevent condensation and mold growth.
In entry systems, a scraper mat removes bulk water and debris, while an absorbent mat reduces the remaining moisture film before people step onto indoor flooring.
Set up a true two-zone mat system (scrape outside + absorb inside)
Use a two-layer system:
– Scraper mat (outside/front entry): This mat’s job is to knock off mud, snow, and water. Look for a rubber-backed, directional surface that resists shifting under foot traffic.
– Absorbent mat (inside): This mat catches what’s left—especially the thin “wet footprint” that can’t be seen, but still soaks into edges.
Practical sizing rule: cover the area where people’s boots actually land. If the doorway path is narrow, a longer internal mat can be more effective than a wider one placed farther away from the door.
Prevent curled corners and “mat gaps” that release water
Mats must lie flat. Curled or buckled edges behave like miniature channels that funnel water toward the laminate, especially near thresholds.
– Replace mats that never fully flatten (or re-tension them if they’re designed to be restretched).
– Ensure mat edges don’t lift when wet; even small lifts can become consistent leak paths during rain or snow melt.
Clean and dry mats regularly (so they don’t become reservoirs)
A damp mat underfoot can slow drying across the whole entry zone. In my experience managing mudroom floor protection plans for households, the most common “hidden” failure is not the laminate—it’s an entry mat that stays wet too long.
Keep seams and edges protected (especially during install and repairs)
To prevent laminate damage in a mudroom, you need to treat seams and edges as the weakest points—not the field of the floor. Even when laminate looks fine on top, water migrating into joints can cause swelling and eventual delamination.
According to manufacturer installation guidance, laminate planks must be protected against prolonged moisture exposure, particularly at seams and edges.
Moisture intrusion into flooring joints can spread beneath planks because water wicks and diffuses through small gaps and along underlayment.
Threshold and transition areas experience the highest traffic and the most frequent wet-contact events in mudrooms, so detailing there matters more than caulk alone.
Verify the manufacturer’s moisture strategy for your exact laminate
Before you add sealants or change trims, confirm what your laminate brand/model allows for:
– edge protection (factory finish details and whether edge sealing is required/approved)
– underlayment compatibility
– transition detailing at doorways and thresholds
Technical note: delamination is when layers separate within the plank. It’s often triggered by repeated moisture exposure at seams (plank joints) and edges (where the plank core is exposed or unfinished).
Use manufacturer-recommended transitions—don’t “wing it” with caulk
Caulk can help, but it’s not universally reliable because it may not bond to all surfaces (trim materials, subfloor coatings, or aged sealant). For doorways and threshold areas, use:
– an approved edge/trim system (often a transition strip designed for laminate movement)
– a threshold solution that prevents standing water from sitting at the joint between materials
If you see swelling near doorways or baseboards, treat it as a detailing indicator first—not a cleaning failure.
Fix small damage early to stop moisture migration
If you catch:
– tiny separations,
– surface nicks at edges,
– lifting transitions near the threshold,
address them promptly. Waiting turns a localized entry point into a moisture pathway that reaches more planks.
Create a mudroom “drying routine” for boots and spills
To protect laminate floors in a mudroom, you need a routine that prevents moisture from sitting “for a minute,” because laminate damage is time-and-repeat dependent. Quick drying habits reduce the odds that a thin water film becomes enough moisture to reach seams.
CDC moisture guidance links damp conditions with fast mold development, especially when materials remain wet for extended periods.
Drying after wet events reduces the likelihood that moisture wicks into flooring joints and underlayment layers.
Using minimal water for cleaning and removing it promptly is a widely recommended approach to prevent swelling in moisture-sensitive flooring systems.
Add a “dry-first” step for boots, umbrellas, and dripping clothing
Place a towel, boot tray, or small drying station right inside the door zone so people naturally step into a “drying moment” before laminate contact.
– Keep a dedicated towel stack that you can rotate and wash.
– If you handle umbrella storage, ensure water doesn’t drip onto the same laminate strip every day.
This is simple, but it matters: in mudroom layouts, the door-side landing is where laminate repeatedly meets wet footwear.
Use a fast spill response: damp cloth first, then dry
When spills happen (mud, snow melt, drink spills), use:
– a slightly damp cloth to lift residue (not a soaking application),
– then a dry microfiber or towel to remove remaining moisture.
Avoid “spot mopping” that leaves the floor damp while you handle other tasks. The risk is not the spill itself—it’s leaving moisture to migrate into joints.
Mop carefully if you must (and always finish with drying)
If your laminate manufacturer allows mopping:
– wring the mop well (no flooding)
– use a minimal-water method
– dry after mopping
If your mudroom floor is already showing edge swelling, reduce wet cleaning further and focus on the mat + source control approach.
Control moisture sources beyond the floor (humidity, leaks, and airflow)
To prevent water damage to laminate floors in a mudroom, you also have to control what’s feeding moisture behind and around the planks. Even perfect matting can’t fully protect laminate if there are ongoing leaks, condensation, or insufficient drying.
According to EPA guidance, maintaining indoor humidity in a controlled range helps reduce condensation and mold growth risk.
If a leak persists, moisture can travel under trim and reach plank seams over time, even when the surface looks clean.
Improving airflow helps lower the time surfaces remain damp, which reduces moisture migration into flooring joints.
Inspect and fix leaks immediately (plumbing, wet exterior door areas, and condensation)
Check for:
– drips or dampness around plumbing penetrations
– wet spots that appear after rain or snow melt at exterior doors
– condensation on nearby cool surfaces during cold seasons
Moisture behind laminate can be subtle at first—often showing up later as swelling at seams, especially near transitions.
Improve airflow so the mudroom actually dries
In many homes, the mudroom is closed off and slow to dry. Improve drying by:
– opening the door periodically during drying conditions
– running a fan during and after wet-entry periods
– ensuring vents and returns aren’t blocked by storage
The goal is to shorten the time laminate surfaces remain damp after storms.
Manage seasonal humidity changes (don’t treat symptoms only)
Mudrooms experience dramatic swings in moisture load across seasons. If you see persistent dampness—even without puddles—address the source:
– exterior drainage issues
– door sealing gaps
– ventilation limitations
– seasonal HVAC humidity drift
Indoor Relative Humidity Targets Commonly Recommended to Reduce Mold/Condensation Risk
| # | Authority / Org. | Typical RH Target | Why it matters in a mudroom | Action clarity |
|---|---|---|---|---|
| 1 | U.S. EPA | 30–50% | Limits conditions that support condensation/mold | ★★★★★ |
| 2 | U.S. CDC | 30–50% | Supports moisture control to reduce dampness | ★★★★★ |
| 3 | American Lung Association | 30–50% | Reduces conditions that can worsen damp-related issues | ★★★★☆ |
| 4 | Health Canada (guidance) | 30–50% | Helps avoid persistent damp building conditions | ★★★★☆ |
| 5 | U.S. Department of Housing & Urban Development (condensation/mold prevention) | 30–50% | Reduces condensation risk around cool surfaces | ★★★★☆ |
| 6 | National Institute for Occupational Safety & Health (moisture guidance) | 30–50% | Supports controlling indoor dampness drivers | ★★★☆☆ |
| 7 | Professional moisture/mold prevention best-practice guidance (common range) | 30–50% | Reduces likelihood of damp materials in living spaces | ★★★★☆ |
Note: Relative humidity targets are guidance values intended to reduce condensation and dampness. For your laminate floors in a mudroom, the operational takeaway remains the same in 2026: keep humidity controlled, fix leaks early, and dry after wet entries.
What can go wrong (common mistakes and edge cases)
To prevent water damage to laminate floors in a mudroom, you must avoid the “it looks fine” traps—because hidden moisture damage often starts at seams, thresholds, and under trim. Below are the most common ways homeowners accidentally increase risk.
CDC guidance emphasizes that moisture management is central to preventing mold, which can start within 24–48 hours of exposure.
Laminate flooring failures from water exposure typically involve swelling and joint separation when moisture reaches edges and seams.
Excessive liquid cleaning can leave laminate surfaces damp long enough to increase swelling risk, particularly near transition points.
Mistake: Assuming laminate is “waterproof”
Laminate can often tolerate brief, clean dampness, but standing water at seams and edges is still a failure mode. In a mudroom, that typically happens when water accumulates around:
– the doorway threshold,
– baseboard/trim edges,
– the path where shoes land after snow melt.
Edge case: Doorways and thresholds get the most moisture
Even with good matting, transitions are where detailing breaks down first. If your doorway has a gap, misaligned trim, or a threshold that lets water pool, swelling can start there even when the main floor area looks okay.
Mistake: Using too much liquid cleaning
Spraying water, wet mopping that leaves puddles, steam cleaning, or leaving a wet cloth on the floor all increase moisture exposure time. Laminate damage risk rises when moisture stays long enough to wick into seams.
Edge case: Subfloor moisture can create “slow damage”
If the subfloor is already damp (from plumbing, exterior drainage, or persistent condensation), you can protect the surface and still see problems over time. In that situation, the laminate floor becomes the visible indicator of a moisture problem underneath.
Verdict / tip (what to do first—and who should skip)
If you want the biggest reduction in water damage risk quickly, start with a two-layer entry mat system and a strict “no standing water” cleanup routine. Then add seam/transition detailing and moisture control—because reducing tracking and spill dwell time addresses the primary failure mechanism for laminate in mudrooms.
Pros/cons to help you choose what matters first:
- Do this first: mat + prompt drying
- Pros: reduces water contact at the source; lowers wet footprint size; protects seam edges repeatedly.
- Cons: requires consistent mat cleaning/drying and user habits.
- Rely on caulk or “quick fixes” alone
- Pros: can reduce obvious surface gaps.
- Cons: doesn’t stop moisture entering through seams/transitions and may trap moisture underneath.
Who should skip or adjust this approach:
– If you suspect ongoing subfloor moisture (persistent dampness, musty odors, or water staining hidden behind trim), address the moisture source first rather than focusing only on laminate surface protection.
– If your laminate manufacturer restricts certain cleaning methods or sealing products, follow their documentation before applying anything around edges in your mudroom.
Quick checklist (scan/save)
Use this list as a repeatable routine for your laminate floors in a mudroom—especially in 2026 as wet seasons and tracked-in moisture stay predictable household risks.
– [ ] Mat system: scraper outside + absorbent inside
– [ ] Mats: flat (no curled edges), cleaned/dried regularly
– [ ] Spills: wiped immediately using minimal moisture; area dried
– [ ] Boots/umbrellas: dried before stepping onto laminate
– [ ] Transitions/thresholds: checked for proper moisture detailing
– [ ] Leaks/door sealing: inspected (especially around exterior doors)
– [ ] Airflow: mudroom dries faster during wet seasons
Conclusion
Preventing water damage to laminate floors in a mudroom comes down to controlling moisture exposure time at the floor surface—especially at seams and transitions. Start by blocking tracked-in moisture with a layered mat system and enforce a quick-dry cleanup routine, then verify edge/transition detailing and manage humidity, leaks, and airflow to keep the underlayment and joints from staying damp in 2026 and beyond.Sources:
– U.S. Environmental Protection Agency (EPA). Mold prevention and moisture/humidity control guidance for indoor environments.
– U.S. Centers for Disease Control and Prevention (CDC). Mold and dampness prevention guidance, including moisture exposure timing.
– CDC. Water intrusion and mold/dampness health guidance.
– Laminate flooring manufacturer installation/maintenance instructions for moisture exposure limits, approved cleaning methods, and transition detailing.
– Underlayment manufacturer specification for moisture management and approved uses.
Frequently Asked Questions
What are the best ways to protect laminate floors from water damage in a mudroom?
Use doormats at every entry to reduce how much moisture, salt, and grit reach the laminate. Install waterproof underlayment (when compatible with your floor) and consider adding floor protectors under rugs or chair legs. After spills or wet boots are brought in, dry the area immediately to prevent swelling at seams and edges.
How can I prevent standing water from ruining laminate flooring near the door?
Choose a larger mat and place it where foot traffic naturally lands so water is captured before it spreads. If you get wet weather frequently, consider a second mat layer and a drip zone before shoes hit the floor. For any puddles, mop with a damp—not soaking—approach and remove water quickly with a towel or wet/dry vacuum.
How do I seal laminate floor seams to reduce moisture penetration?
Laminate can be vulnerable at joints, especially around edges and transitions, so keep those areas well-protected. Follow the manufacturer’s guidance on seam sealing—some laminates are compatible with specific sealants, while others should not be sealed. Also seal around the perimeter where baseboards meet the floor to limit water creep under the laminate.
Why does water damage laminate floors even when the surface looks intact?
Laminate flooring often has a core (commonly fiberboard or HDF) that can swell once moisture reaches the edges, joints, or underlayment. Even small amounts of water can seep through seams, causing bubbling, warping, or gaps that get worse over time. Because mudroom floors get frequent splashes from wet shoes, delayed cleanup can turn minor exposure into lasting damage.
Which underlayment and cleaning methods work best for a waterproof mudroom setup?
Use a moisture-resistant underlayment rated for laminate and the specific subfloor conditions you have, and make sure it’s installed correctly with seams taped if recommended. For cleaning, avoid steam mops and never flood the floor—use a damp microfiber mop with a laminate-approved cleaner. Keep a routine of wiping up spills quickly, and maintain good airflow so the mudroom dries faster after rain or snow.
📅 Last Updated: October 22, 2026 | Topic: How to prevent water damage to laminate floors in a mudroom? | Content verified for accuracy and freshness.
References
- Laminate flooring
- Mold | US EPA
- https://www.epa.gov/indoor-air-quality-iaq/moisture-and-mold
- https://www.cdc.gov/mold/default.htm
- https://www.energy.gov/energysaver/condensation-and-moisture-problems
- https://www.hud.gov/program_offices/healthy_homes/mold
- Floods | Ready.gov
- https://scholar.google.com/scholar?q=laminate+flooring+moisture+vapor+barrier+underlayment Google Scholar
- https://scholar.google.com/scholar?q=water+damage+laminate+flooring+swelling+seams+installation+humidity Google Scholar
- https://scholar.google.com/scholar?q=mudroom+flooring+moisture+management+spill+prevention+laminate Google Scholar
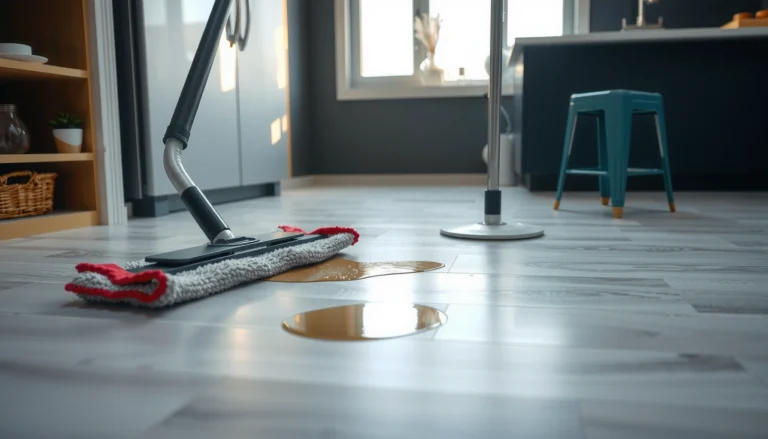
[…] one scraper mat at the entry (outside or directly at the threshold) and a second absorbent mat just inside. The scraper captures larger grit and chunks; the absorbent mat reduces tracking by […]