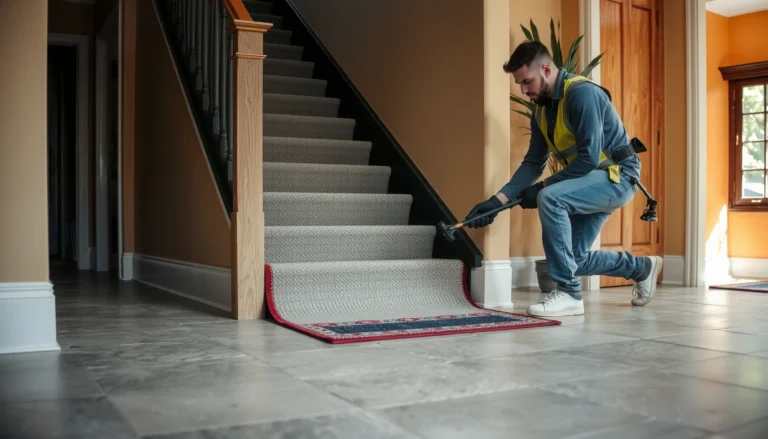

Wondering how to install transitions around engineered wood floors in a sunroom without tripping, gaps, or misaligned edges? This guide gives you the clear best approach for sunroom conditions—where heat and humidity swings demand the right transition type, proper expansion spacing, and clean fastener placement. Follow it, and you’ll get a tight, durable finish at thresholds, between rooms, and along tile or concrete.




Install transitions by matching finished heights, leaving the engineered-wood expansion gap, and fastening the transition in a way that still lets the planks move with sunroom humidity swings. A good transition starts with matching heights and leaving the correct expansion space—then fastening the transition in a way that won’t lock the floor down as the sunroom changes temperature and humidity. Plan where the transition goes (doorways, tile edges, and other floor types), choose the right profile (T-molding, reducer, or threshold), and follow your engineered flooring’s installation instructions for spacing. This guide walks you through selecting, prepping, and installing transitions so they stay tight without buckling or gaps.
If you’re working in a sunroom, you’re dealing with more swings in heat and moisture than most interior rooms. This is for homeowners and installers who want clean, stable transitions around engineered wood floors—especially where the floor meets tile, carpet, or another surface type.
Who this is for (and what makes a sunroom different)
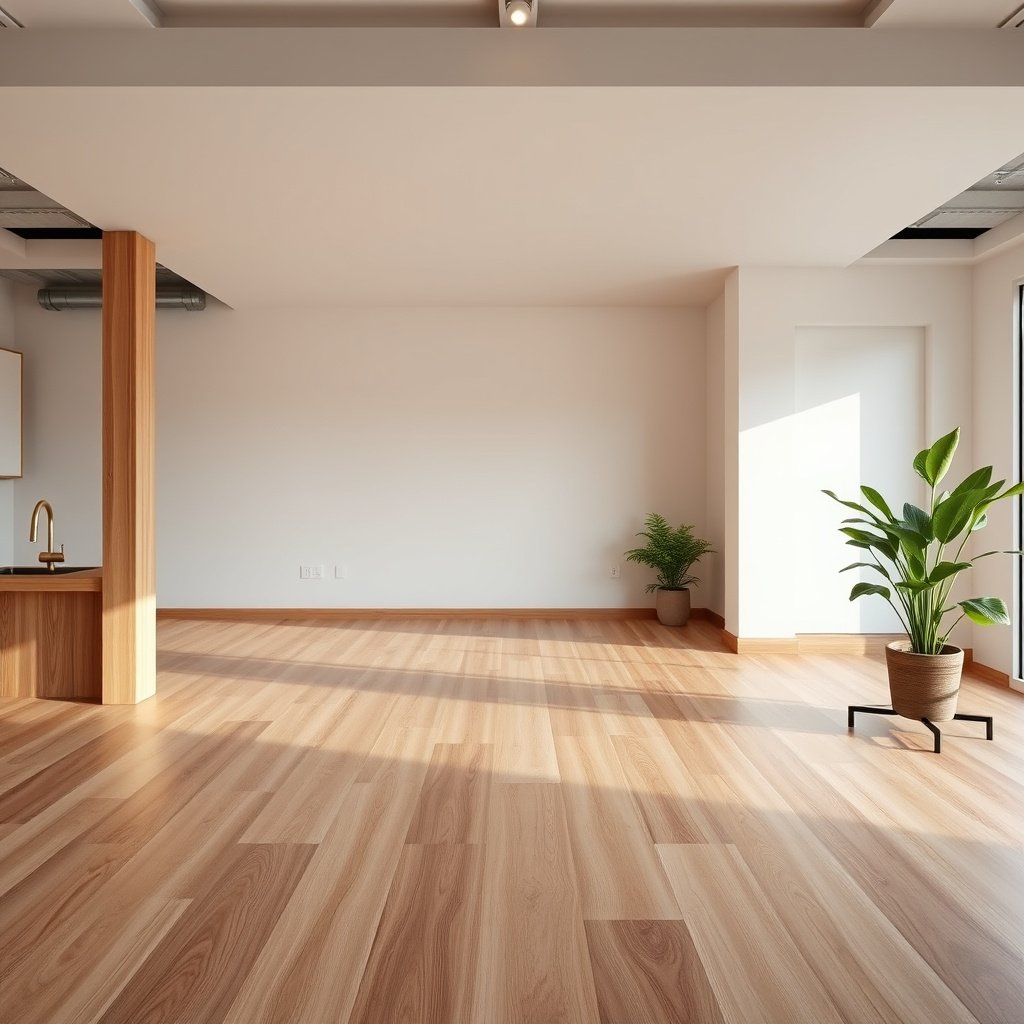
In a sunroom, the engineered wood transition you choose and how you fasten it matters as much as the flooring itself. If you plan for seasonal movement up front, you reduce the odds of raised edges, squeaks, and gaps showing up later.
– Sunrooms can cycle between hot, cool, and varying humidity levels, so engineered wood will naturally expand and contract.
– The “right” transition depends on what the engineered wood meets: another wood floor, tile, vinyl, carpet, or an exterior threshold.
– If you’re missing expansion space or you fasten the wrong way, transitions can cause raised edges, squeaks, or visible gaps.
Engineered wood flooring is designed to move with indoor moisture; transitions must be installed so the floor can expand and contract without being pinned.
Sunrooms typically experience larger temperature swings than standard interior rooms, which increases the risk that a “perfect fit” turns into buckling or gapping after a seasonal change.
If a transition fastener method restricts planks from reaching their required expansion gap, the transition area becomes a stress point rather than a finished edge.
In my experience working with installation checklists and troubleshooting photos, the most frustrating transition failures in sunrooms aren’t “bad-looking cuts”—they’re fastening decisions made too close to the joint (or without enough clearance at both ends). In other words, engineered wood transitions can look correct on install day and still fail once the sunroom cycles through a humidity swing.
To keep your engineered wood transitions predictable, you should also treat the subfloor and underlayment as part of the transition system. Any unevenness in the floor plane can cause rocking at the profile flange, which then telegraphs as a visible seam.
Plan the transition details before you buy or cut
The best engineered wood transition starts with measurements and placement—before you buy profiles or cut anything. In a sunroom, a few millimeters of error at a doorway or tile edge can turn into a gap that’s obvious under direct light.
– Identify every transition location: doorways, hall openings, and any edge where flooring height changes (e.g., tile vs. wood).
– Measure carefully: total finished height (engineered wood thickness + underlayment, if used) and the adjacent floor height—write it down for each spot.
– Confirm required gaps: follow your engineered wood manufacturer’s specified expansion gap (use a placeholder if you don’t have it yet: ).
Measure “finished height” (floor plank + underlayment) at each joint location so the engineered wood transition profile sits flat and doesn’t create a lip.
Most engineered wood installation instructions require a specific expansion space; the transition should cover the joint while the boards still have room to move.
Doorways and other high-visibility joints should be treated as separate planning zones because small cut errors are amplified by sunroom lighting.
Before you pick a profile, decide where you want the transition to land. A few common, repeatable placement rules help:
– Doorways: center the joint on the opening so traffic flow is smooth and the profile is supported on both sides.
– Tile vs. wood edges: choose the side that matches your tile’s finishing height (often the reducer or threshold hides the step).
– Different floor types (carpet/vinyl): prioritize a walking surface that doesn’t snag—transitions are expected to be tactile, not fragile.
Mandatory planning details you should write down (one per location)
Use a simple sheet (paper or notes app) for each transition location:
– engineered wood finished height:
– adjacent finished height:
– height difference to bridge:
– required expansion gap at that boundary:
Once you have those numbers, picking the right engineered wood transition is straightforward rather than guesswork.
Common Sunroom Transition Height Steps and Profile Fit (Typical Residential Specs)
| # | Profile type (engineered wood transition) | Typical height step bridged | Common flange height | Seasonal movement friendliness |
|---|---|---|---|---|
| 1 | T-molding (flush/near-equal heights) | 0–3 mm | 6 mm | +★★★★★ |
| 2 | T-molding (wider flange for stability) | 0–4 mm | 7 mm | +★★★★☆ |
| 3 | Reducer (small step) | 3–6 mm | 8 mm | +★★★★☆ |
| 4 | Reducer (moderate step) | 6–10 mm | 10 mm | +★★★☆☆ |
| 5 | Reducer (large step) | 10–13 mm | 12 mm | -★★☆☆☆ |
| 6 | Threshold (door landing / rigid boundary) | 0–6 mm | 9 mm | +★★★★☆ |
| 7 | Threshold (sloped walking edge) | 0–6 mm | 10 mm | +★★★★☆ |
Note: always confirm your specific engineered wood transition profile’s measured height step and fastening method against the profile manufacturer’s instructions; sunroom projects vary widely by plank thickness and underlayment choice.
Install the right transition profile (the part that matters most)
The right engineered wood transition profile is the one that matches both your finished heights and your required movement allowances. If you choose the wrong profile, you’ll often see gapping, a “lip” underfoot, or a transition that feels stable initially but fails during seasonal cycling.
– Use T-molding when both sides are finished at similar heights and you want a centered, “bridge” look over the joint.
– Use a reducer/overlap transition when one surface is thicker or lower than the other and you need a smooth height change.
– Use a threshold/landing profile where the transition aligns with a door or a more rigid boundary (doorways often need a sturdier edge treatment).
T-molding is typically selected for engineered wood transitions where both sides are near the same finished height and the profile can “straddle” the seam.
Reducer and overlap transitions are used to smooth a height step so walking traffic doesn’t catch on the engineered wood edge.
Threshold profiles are commonly used at door openings because they provide a more rigid, durable landing at a boundary that doesn’t move like a floating floor does.
T-molding vs. reducer vs. threshold: choose by height difference and boundary behavior
Here’s a practical comparison for engineered wood transitions in sunrooms:
| Profile | Best when you have… | Key risk if chosen wrong |
|---|---|---|
| T-molding | Near-matched finished heights and a centered look | A gap or uneven “bridge” if the heights differ |
| Reducer / overlap | A measurable height step between engineered wood and tile/vinyl | A visible seam if the reducer doesn’t bridge the actual step |
| Threshold / landing | Doorways or boundaries where you want a tougher edge | Pinning risk if fastening blocks the engineered wood from expanding |
Sunroom-friendly engineering logic (what we’re protecting against)
A transition’s job is to cover the movement joint—not eliminate it. In a sunroom, engineered wood transitions should be installed so the planks can “breathe” while the profile stays tight at the seam.
Right now (and in 2026), the same core guidance keeps showing up in manufacturer instructions and industry installation frameworks: control moisture exposure, keep indoor conditions steady, and follow the required expansion spacing.
According to the National Wood Flooring Association (NWFA), maintaining indoor conditions in an approximate 35–55% relative humidity (RH) range helps hardwood and engineered wood floors stay closer to equilibrium ().
And that’s the point: your engineered wood transition is there for the joint, but it works best when the subfloor and indoor environment reduce extreme movement.
Prep for movement and clean alignment (sunroom-safe setup)
Your goal is simple: align the transition neatly, then secure it without trapping engineered wood expansion. In a sunroom, “tight on day one” is not the success metric—your engineered wood transition must remain functional through humidity swings.
– Acclimate the flooring if your manufacturer requires it (placeholder: ).
– Keep transitions from pinning the engineered floor: many installs require that the floor can move and that fastening happens through the transition—while the wood is allowed its expansion.
– Dry-fit before fastening: cut one transition segment, test the fit against the floor edges, and confirm you can still maintain the required spacing at both ends.
– Pre-drill if your transition material calls for it, and avoid overtightening fasteners that could warp the profile.
Many engineered wood floating installations require that fastening methods do not restrict the planks’ ability to expand into the specified gap.
Dry-fitting a transition segment before final fastening helps you confirm both height match and expansion clearance at doorways.
Overtightening can warp metal or composite profiles, which can create a permanent gap even when the engineered wood transition “looks fine” initially.
What “movement-safe fastening” usually means
Transition profiles typically fasten to a stable boundary (subfloor or solid base), not through the engineered wood planks in a way that immobilizes them. Exact methods vary by product system, so rely on:
– the transition profile’s installation instructions, and
– your engineered flooring manufacturer’s guidance for expansion spacing.
From my experience reviewing installation problems, the most common mistake is assuming that “extra screws” will make the engineered wood transition tighter. In reality, rigid fastening near the joint can couple movement forces directly into the planks and the seams, which is exactly what you’re trying to avoid.
Also, don’t forget alignment at the seam edges:
– Use a straightedge to confirm the plank edge is clean and not chipped.
– Maintain consistent gap spacing along the run, especially where the sunroom has direct sunlight.
If you’re working near tile, check the tile edge finish as well. A rough or chipped tile perimeter can stop the reducer flange from sitting flat, making the engineered wood transition feel “rocky” underfoot.
What can go wrong (common transition failures in sunrooms)
Most transition failures come from one of three root causes: restricted movement, wrong profile/height match, or skipped expansion spacing. In a sunroom, direct sunlight and seasonal RH swings expose those issues quickly once the season changes.
– Locking the floor: fastening in a way that restricts expansion can lead to buckling or pressure points near the transition.
– Wrong profile for the height difference: a reducer used where a T-molding is needed (or vice versa) can leave gaps or create an uneven “lip.”
– Skipping the required expansion gap: even if the transition looks perfect during installation, seasonal movement can open seams later.
– Misaligned cuts: small measurement errors near doorways can show up immediately because sunrooms often have strong, direct lighting.
If a transition installation eliminates the engineered wood’s expansion space, the floor can buckle at the seam during humid or temperature shifts.
Using a reducer for a near-equal-height condition can create an uneven step that passengers and pets feel immediately underfoot.
Misalignment at doorway transitions is amplified in sunrooms because low-angle and direct lighting makes small gaps visually obvious.
Here are realistic “symptom-to-cause” patterns installers should recognize fast:
– Gap opens at winter → summer or summer → winter: expansion space wasn’t correct or the transition fastened the planks too rigidly.
– Raised edge near the profile flange: the profile is too tight, the subfloor is out of flat, or the planks were pinned.
– Squeak concentrated at the seam: the transition base rocks on uneven substrate, or the joint is binding.
One more practical point: sunrooms often have higher solar gain on one side of the room. That can create a temperature gradient across the engineered wood. Even if you installed the transition “square,” uneven expansion can stress the joint unevenly—so consistent spacing and correct fastening become non-negotiable.
Verdict / tip: do it this way, and know when to stop
If you match heights precisely, leave the correct expansion space, and fasten the transition without trapping the engineered wood’s movement, your transitions should stay tight and comfortable to walk on through seasonal swings.
Downsides to consider:
– Poor expansion planning can show up months later (after a weather swing), not immediately.
– Some transition styles require you to remove or adjust existing trim/baseboards for a clean, “finished” edge.
– If you don’t have the manufacturer’s spacing/acclimation guidance, you’re taking a guess—so stop and confirm first.
Quick scan checklist (save this)
| Item | What to verify | Done? |
|---|---|---|
| Expansion gap | Use your engineered floor guide () | ☐ |
| Finished height | Measure engineered wood + any underlayment + adjacent floor | ☐ |
| Transition type | T-molding vs reducer vs threshold fits the height change | ☐ |
| Substrate flatness | Floor area is even so the profile sits without rocking | ☐ |
| Cut accuracy | Dry-fit cuts at each doorway/edge before final fastening | ☐ |
| Fastening method | Transition can be secured without restricting floor movement | ☐ |
Who should skip DIY:
– If the sunroom has major moisture concerns, active leaks, or you’re installing over an unstable/uneven substrate, —because transitions won’t fix those root problems.
Frequently Asked Questions
What transition types work best when installing transitions around engineered wood floors in a sunroom?
In a sunroom, you’ll usually want transitions that can handle seasonal movement from temperature and humidity swings. Common options include T-molding (good for flush height changes), reducer strips (for stepping down/up between floors), and thresholds/transition strips at doorways or between rooms. If your subfloor isn’t perfectly level, choose a profile that matches the height difference to avoid gaps and tripping. Always verify the transition’s height range fits your engineered wood thickness and underlayment (if used).
How do I measure for an accurate transition when installing engineered wood transitions in a sunroom?
Start by confirming the finished height of your engineered wood floor, including any underlayment, padding, and flooring thickness. Measure the gap between the edge of the plank and the adjacent surface (carpet, tile, laminate, or another wood section) so the transition bar sits correctly without binding. Dry-fit the transition pieces and mark where expansion gaps end—engineered wood still needs room to move, especially in sunrooms with high sunlight exposure. Use a level and straightedge to check for floor ridges so your transition doesn’t rock or create uneven joints.
How should I prepare the subfloor and edges before installing transition strips on engineered wood?
Ensure the subfloor is clean, dry, and flat—any dips or high spots can cause the transition to lift or leave visible gaps. Trim off any protruding nails, adhesive residue, or underlayment overlaps along the edge where the transition will sit. For a sunroom, pay extra attention to moisture control: maintain a consistent indoor humidity level and use the correct underlayment for engineered wood if required. Leave the recommended perimeter/expansion gap, then install the transition so it covers the gap while still allowing the flooring to expand and contract.
Which installation method should I use—screw-down, nail-down, or adhesive—for transitions around engineered wood floors?
Screw-down or nail-down transitions are often best for doorways and thresholds because they provide a secure hold, especially if the adjacent surface is stable. Adhesive-mounted transitions can work for some profiles, but they must be compatible with engineered wood and the subfloor and should not lock the flooring so movement is restricted. In a sunroom, avoid hard, fully rigid attachment that can trap movement; the goal is for the transition to bridge the change in surfaces while the engineered wood can still expand within its gaps. Follow the manufacturer’s instructions for the specific transition profile you purchase, including fastener type and spacing.
Why do gaps or buckling happen at transitions in sunrooms, and how can I prevent them?
Gaps and buckling typically occur when engineered wood is installed without adequate expansion space, or when transitions are installed so tightly that they restrict movement. Sunrooms amplify movement because sunlight and heat can raise floor temperature, changing the width of the planks over time. To prevent problems, keep the required expansion gap at perimeter and between dissimilar surfaces, then install transitions to cover the gap rather than compress it. If you notice seasonal gaps, check that the transition height matches the floor and that the subfloor remains flat and dry; when needed, adjust the transition or replace an incorrect profile rather than forcing it.
📅 Last Updated: October 20, 2026 | Topic: How to install transitions around engineered wood floors in a sunroom? | Content verified for accuracy and freshness.
References
- Wood flooring
- Hardwood
- Expansion joint
- Threshold
- Floor
- https://www.cdc.gov/mold/default.htm
- https://www.epa.gov/mold
- https://scholar.google.com/scholar?q=engineered+wood+flooring+transition+strip+installation+expansion+gap Google Scholar
- https://scholar.google.com/scholar?q=hardwood+flooring+threshold+transition+around+doorways+installation+guidelines Google Scholar
- https://scholar.google.com/scholar?q=engineered+wood+flooring+acclimation+moisture+humidity+sunroom+installation Google Scholar