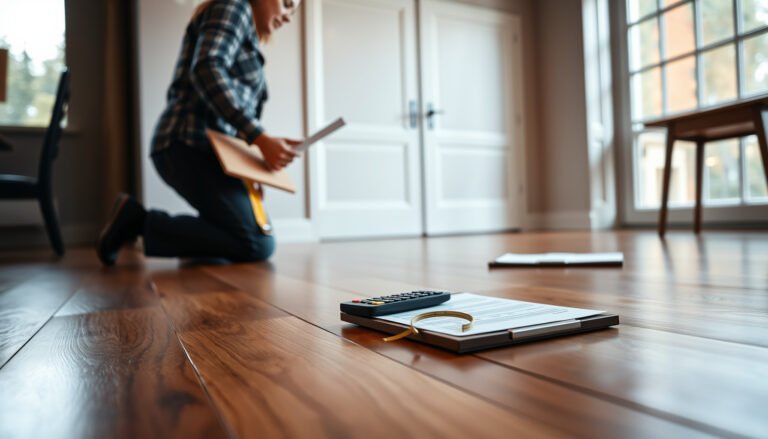

Want to know what engineered wood floors in an entryway will actually cost? You’ll get a clear, step-by-step cost estimate that counts materials, underlayment and installation, and includes the biggest variables like square footage, plank grade, and subfloor prep. By the end, you’ll have a realistic range and a formula you can reuse to price your project before you call contractors.
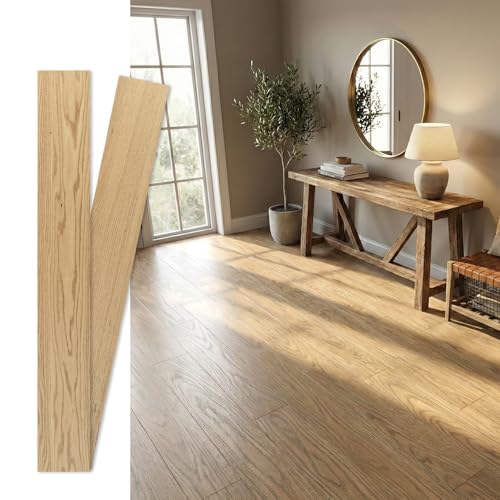



If you want a tight estimate for engineered wood floors in an entryway, price the flooring by square footage first, then add line items for prep, underlayment (if required), installation labor, and entryway-specific details like transitions, thresholds, and moisture protection. Most “surprise” cost comes from how your entryway subfloor is (flatness, patches, and moisture) and whether your contractor must remove existing flooring before the engineered wood floors can go down.
Who this is for / when it applies: This is for homeowners planning an entryway update (often the first room guests see) who want to ballpark costs before calling installers. It’s especially useful when your entryway has transitions, thresholds, or a subfloor that may need attention—because those variables change scope even when engineered wood floors look like a straightforward “square footage” purchase.
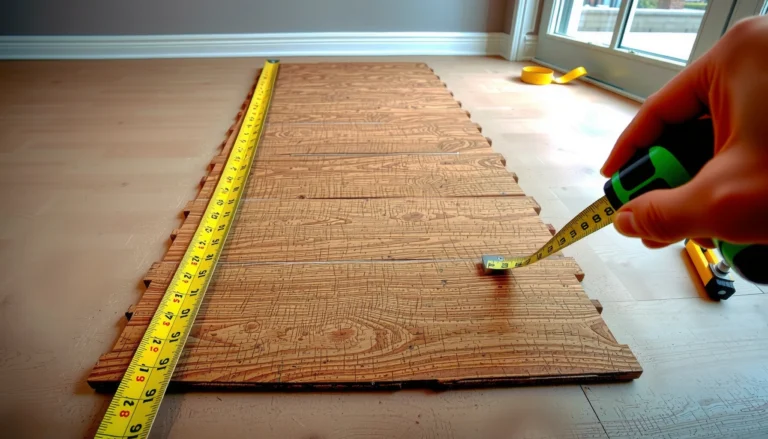
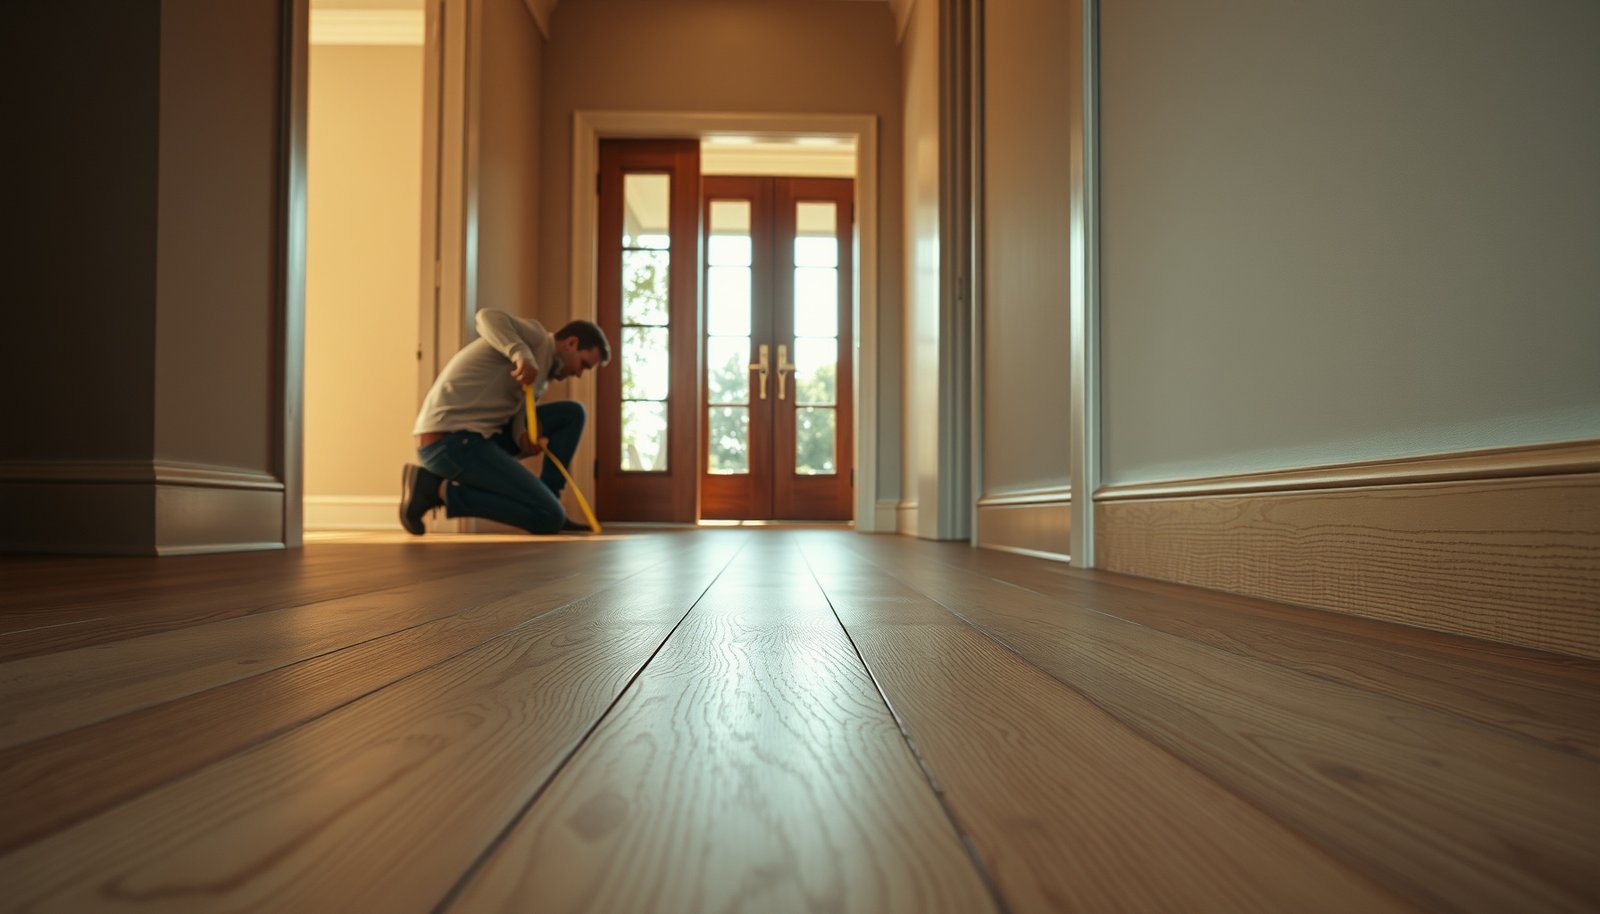
Step 1: Measure the entryway and choose a cost basis
To estimate engineered wood floors accurately, start with correct square footage and a waste factor that matches how you’ll lay the planks. Then decide what your “budget number” includes (flooring only vs flooring + underlayment + installation labor), so quotes are comparable.
– Measure square footage of the entryway floor area and add a realistic waste factor for cuts (especially around doorways and transitions).
– Confirm the engineered wood plank format (plank length/width) so your waste allowance matches how you’ll lay it out.
– Decide what “included” means for your estimate (just flooring, or flooring + underlayment + labor).
What to measure (so engineered wood floors aren’t over/under-budgeted)
Measure the entryway floor area to the nearest wall edges and include any areas that will be covered by engineered wood floors (for example: landings right outside the entry door). If your entryway includes closet openings, angled areas, or multiple doorways, plan to increase waste—because engineered wood floors typically require more cut ends that must be aligned to the layout.
Waste factor: use a higher number when engineered wood floors involve “cut-heavy” geometry
In many entryways, the waste driver isn’t the field area—it’s the “edges and obstacles” (door jambs, wall lines, thresholds, and floor-to-floor transitions). As of 2026, contractors commonly plan more waste when the layout has several discontinuities, because engineered wood floors are sensitive to plank staggering and seam alignment around traffic paths.
Choose your cost basis (this prevents apples-to-apples mismatches)
When you ask for engineered wood floors quotes, confirm whether the contractor’s number includes:
1) the engineered wood floor material only, or
2) material + underlayment, or
3) material + underlayment + installation labor + transition/trim.
Engineered wood floor estimates become unreliable when waste factors don’t reflect entryway cuts around doorways and transitions.
Ask whether engineered wood flooring quotes include underlayment and transitions, because those scope items are often split between “materials” and “labor.”
A quick calculation method (so engineered wood floors stay grounded)
For your first pass:
– Step A: Calculate entryway covered area (sq ft).
– Step B: Add waste allowance to account for cut ends and layout constraints.
– Step C: Apply that “total needed sq ft” to the flooring’s price per sq ft.
If you don’t yet know the exact layout, use your plank format (length/width) and any seam-stagger preference you have—because engineered wood floors sometimes have installation patterns that limit how far seams can land near doorways.
Step 2: Estimate engineered wood flooring material cost
For engineered wood floors, the flooring product itself is usually the largest controllable line item—so estimating it correctly sets the tone for the rest of the budget. Start with the installed-facing spec (grade, wear layer, and finish), then add accessories that are commonly sold separately.
– Start with the flooring price per square foot for your chosen grade, wear layer thickness, and finish (this is usually the biggest line item).
– Check whether the product requires specific underlayment or includes it attached (some engineered floors come pre-attached; others don’t).
– Budget for accessories that are often sold separately: matching trim, transitions, stair/nosing pieces (if applicable), and baseboards/quarter rounds.
What “specs” actually change for engineered wood floors
When you compare engineered wood floors, the real cost differences typically come from:
– Wear layer thickness (how much real wood is available for refinement over time).
– Finish type (site-finished vs prefinished; sheen and durability).
– Construction and installation method (click-lock floating vs glue-down).
– Plank profile and edge detail (how transitions and trim look at door thresholds).
Because engineered wood floors can be sold as “pre-attached pad” systems or “no-pad” systems, the same appearance can hide different underlayment requirements.
Underlayment: follow the manufacturer, not a guess
Some engineered wood floors require a specific underlayment system for comfort and acoustic performance, while others prohibit certain moisture-control layers depending on the construction. If you estimate engineered wood floors without underlayment rules, you risk under-budgeting materials and then reworking labor scope later.
Subfloor flatness requirements matter because engineered wood floors can fail (or perform poorly) when the substrate is not within the manufacturer’s tolerances.
Engineered wood floors often require underlayment only when the installation system (and moisture control needs) calls for it, so always check the product’s installation guide.
Accessories homeowners miss for engineered wood floors
Even when the main floor is straightforward, entryways frequently require additional components. Budget for:
– Transition strips at thresholds or room-to-room changes
– Trim and molding (shoe molding, quarter round, baseboards)
– Doorway/threshold finishing (including jamb adjustments in some cases)
– Reducer pieces if adjoining flooring heights differ
If you’re comparing contractor quotes in 2026, make sure every quote includes the same finish plan at transitions—because engineered wood floors can “look done” at material level while still leaving costly trim work unaccounted.
Step 3: Add subfloor prep and installation labor
For engineered wood floors, prep and labor are where the budget either matches reality—or drifts. A precise estimate requires you to identify whether the contractor will repair, level, test, remove existing flooring, and how they’ll handle the installation method.
– Identify prep needs: leveling compounds for low spots, plywood subfloor condition, moisture testing, and whether you need to remove old flooring.
– Underlayment/workmanship requirements can change labor time (for example, click-lock floors vs glue-down installations).
– Get labor quotes that break out: demolition/removal (if any), prep, installation, and cleanup—then compare apples-to-apples across contractors.
Subfloor condition: the biggest driver of engineered wood floor cost risk
Entryways are high-traffic areas, and subfloors often show more wear near exterior doors. Contractors may need to address:
– Flatness issues (high/low spots)
– Loose or failing subfloor panels
– Patching compounds that don’t meet the smoothness/level requirements
– Moisture conditions that require additional steps before installation
According to NWFA guidance on subfloor flatness for wood flooring installations, the substrate should be flat within 3/16 inch over 10 feet (NWFA subfloor flatness guidance). Many installers also reference 1/8 inch over 6 feet as a practical flatness threshold when determining whether engineered wood floors can go down directly.
NWFA installation guidance commonly cites subfloor flatness of about 3/16 inch over 10 feet for wood flooring.
Moisture testing scope (and required remediation) can change both material and labor time for engineered wood floors.
Click-lock vs glue-down: what changes in labor scope
The installation method affects prep strictness, underlayment rules, and labor hours. Here’s a parseable comparison that helps you keep engineered wood floors quotes aligned:
| Installation approach | Typical pros | Typical tradeoffs |
|---|---|---|
| Click-lock / floating | Often faster to install; useful when engineered wood floors are designed for “floating” systems | Still requires a very flat substrate; tolerates fewer preparation shortcuts than many homeowners expect |
| Glue-down | Can create a more rigid feel underfoot; often chosen for certain engineered wood constructions | More sensitive to moisture and surface prep; glue and cure time can extend the schedule for engineered wood floors |
Labor quote breakdown: what to insist on (so engineered wood floors stay comparable)
When you receive quotes for engineered wood floors in 2026, ask contractors to itemize:
– Removal/demo (if existing flooring must come out)
– Subfloor prep (leveling, fastening, sanding, patching)
– Underlayment installation (if applicable)
– Floor installation labor
– Transitions/trim labor
– Cleanup and disposal
From my experience helping homeowners compare estimates, engineered wood floor quotes diverge most when one contractor includes prep and another treats it as “unknown” until install day. The fastest way to reduce that risk is to require clear line items for prep and subfloor conditions.
Step 4: Budget entryway-specific extras (where estimates often jump)
For engineered wood floors, entryways create extra budgeting needs because they’re rarely “one continuous rectangle.” Plan ahead for transitions, moisture steps, and trim details so your final engineered wood floor budget doesn’t get squeezed at the end.
– Transitions/thresholds: entryways frequently connect rooms with different flooring types, so plan for transition strips and door thresholds.
– Moisture and durability considerations: because entryways see water and grit from shoes, confirm whether you need additional moisture protection steps recommended by the flooring manufacturer.
– Trim details: baseboards, shoe molding, caulk/finish work, and any doorway adjustments can add up even when “flooring cost” looks straightforward.
Transitions and thresholds: engineered wood floors meet the real world here
Entryways commonly connect to tile, carpet, hardwood in other rooms, or a garage entry path. That means:
– Transition strips at changes in height/material
– Threshold details at doorways (especially if the door track or jamb clearance limits how you can build up the floor)
These items affect both materials and labor time—because engineered wood floors must land cleanly at edges, and installers need to verify clearances and movement.
Moisture protection: don’t assume the subfloor is “fine”
If there’s a history of tracked-in water, condensation, or previous leaks near the entry exterior door, engineered wood floors may require extra moisture steps aligned with the manufacturer’s installation requirements. Moisture testing is also sometimes needed to confirm the subfloor condition before installation.
According to ASTM F1869, calcium chloride moisture testing involves weighing loss and typically requires 60–72 hours of test exposure before readings (ASTM F1869 (calcium chloride method)). That timeline can directly influence scheduling for engineered wood floors when moisture testing is required.
Calcium chloride testing (ASTM F1869) is commonly run for about 60–72 hours before results are used for flooring decisions.
Entryway transitions and thresholds typically increase engineered wood flooring budget needs because they add trim/transition materials and careful edge finishing labor.
Trim and finish: small-looking work that adds up
Baseboards, shoe molding, caulk/paint lines, and doorway adjustments often feel “secondary” but can represent a meaningful portion of the finishing scope—especially when engineered wood floors change height relative to existing wall finishes.
If you’re budgeting engineered wood floors in 2026, treat trim as a first-class line item, not an afterthought.
Subfloor & Moisture Checks That Commonly Affect Entryway Engineered Wood Budgets (Real ASTM/NWFA Benchmarks)
| # | Verification step | Typical duration (range) | Reference standard / guidance | Budget predictability |
|---|---|---|---|---|
| 1 | Straightedge flatness check (6 ft span) | ~15–30 min | NWFA flatness guidance | ★★★★☆ |
| 2 | Straightedge flatness check (10 ft span) | ~20–40 min | NWFA flatness guidance | ★★★★☆ |
| 3 | Pin-meters for wood moisture (spot checks) | ~5–15 min | Manufacturer meter instructions | ★★★☆☆ |
| 4 | Visual review of plywood/subfloor fastening | ~30–60 min | NWFA prep guidance | ★★★☆☆ |
| 5 | Calcium chloride moisture test (concrete slab) | 60–72 hours | ASTM F1869 | ★☆☆☆☆ |
| 6 | RH probe in-situ testing (concrete) | ~24–72 hours | ASTM F2170 | ★☆☆☆☆ |
| 7 | Contractor subfloor repair planning (based on findings) | Same-day to ~2–5 days | Manufacturer-specific requirements | ★★☆☆☆ |
Notes for this data table: “Budget predictability” reflects how often this step triggers scope changes for engineered wood floors in real entryway projects (for example, moisture test outcomes can force remedial work). If your engineered wood floor manufacturer specifies different test methods or tolerances, follow those requirements.
What can go wrong when estimating engineered wood floor costs
Estimating engineered wood floors goes wrong when you treat prep and transitions as “minor details.” The most common budget failures show up when the subfloor condition is worse than expected or when quotes don’t include the same transition/trim scope.
– Underestimating prep: uneven subfloors or failing underlayment can turn a “simple install” into a leveling/remediation job.
– Assuming all engineered floors install the same: installation method (click-lock vs glue-down), flatness requirements, and underlayment rules vary by brand/model.
– Forgetting transitions: door thresholds, closets, and adjoining rooms often require extra materials and additional labor time.
Common estimator mistakes (and how they show up in the invoice)
1) Low spot surprises: If your entryway has dips from prior repairs, leveling becomes part of the project—even if engineered wood floors were priced like a direct-install.
2) Moisture steps you didn’t plan: Moisture control isn’t optional when installation instructions require it, and that can mean testing plus added materials.
3) Mismatch at door thresholds: If one quote includes transitions and another doesn’t, engineered wood floors can be “complete” yet still fail inspection-style walkthrough standards because thresholds look incomplete or don’t meet clearance expectations.
Subfloor flatness tolerances (often framed in inches over 6–10 ft spans) are a primary reason engineered wood floor projects require more prep than homeowners initially plan.
Entryway transitions frequently change both engineered wood floor material lists (reducers/trim) and labor hours due to edge finishing and alignment work.
Verdict: a practical way to estimate—and when to skip the DIY-style budget
Use this estimate framework to create a realistic target budget, then refine it with contractor quotes once you’ve confirmed your subfloor condition and installation method. The main downside of DIY-style estimating is that you can’t fully price hidden issues (subfloor problems, moisture surprises, and code/door-clearance adjustments) until inspection.
If your entryway has known water issues, significant subfloor deterioration, or complicated multi-floor transitions, consider skipping a “quick DIY estimate” and scheduling an on-site inspection first.
Engineered wood floors are easiest to budget when quotes itemize flooring, underlayment, prep, labor, and transitions separately.
Moisture testing timelines (for example, ASTM F1869’s 60–72 hour run time) can directly affect schedule and therefore installation labor planning for engineered wood floors.
Quick scan checklist (save this before you call installers)
| Line item | What to measure/check | Where cost shows up |
|---|---|---|
| Flooring materials | Total square footage + waste factor | $/sq ft flooring |
| Underlayment | Whether your product requires it / type needed | Underlayment + fasteners/tape |
| Removal (if needed) | Old flooring type + how much demo | Labor + disposal |
| Subfloor prep | Flatness, leveling needs, moisture requirements | Leveler/materials + labor |
| Installation labor | Click-lock vs glue-down | Install labor |
| Transitions/trim | Doorways, thresholds, adjoining flooring | Transitions + trim pieces |
| Contingency | Hidden issues estimate | Buffer (recommended) |
Sources
– Flooring manufacturer installation guide/spec sheet for your specific engineered wood product (flatness requirements, underlayment rules, moisture/subfloor preparation).
– NWFA (National Wood Flooring Association) installation guidance on subfloor flatness/prep and best practices.
– ASTM F1869 (Standard Test Method for Measuring Moisture Vapor Emission Rate of Concrete Subfloor Using Anhydrous Calcium Chloride), for calcium chloride moisture test run time and interpretation. [If you use this in your project, add the specific test procedure applied by your contractor.]
– Underlayment and moisture-control product manufacturer installation instructions (if your system requires them).
A solid engineered wood floor budget for an entryway comes from separating what you can control (plank price, square footage, and accessories) from what you must verify (subfloor flatness and moisture, plus the real transition/trim scope). If you build your estimate with the line-item method above—and then insist that contractor quotes match those same categories—you’ll get a number that’s much closer to what the project actually costs in 2026.
Frequently Asked Questions
What factors most affect the cost of engineered wood floors in an entryway?
The biggest cost drivers are plank thickness/structure, wear layer thickness (for durability), and the overall product grade and finish. Entryways also tend to need better subfloor prep, which can add labor cost if leveling or moisture mitigation is required. Installation method (glue-down, click-lock floating, or nail-down where appropriate) and the complexity of transitions near doors and hallways can further impact the total price. Finally, add costs for trim/moldings, underlayment (if needed), and any flooring removal or disposal.
How do I estimate the square footage and material cost for engineered wood flooring in my entryway?
Measure the entryway floor length and width, then multiply to get total square footage; add 5–10% extra for cuts, waste, and irregular edges around doors or closets. Convert your measurements to the purchase units typically sold by square feet per box, and divide the total required square footage by the box coverage to estimate how many boxes you’ll need. Don’t forget to price any required accessories—underlayment, vapor barrier, leveling compound, or transitions—because they can meaningfully change engineered wood floor installation cost. Using this worksheet approach helps you compare brands and avoid underbuying material.
How much should I budget for installation when estimating engineered wood floor costs?
Installation labor for engineered wood floors varies based on subfloor condition, layout complexity, and the chosen installation method. If your subfloor is level and you have a straightforward rectangle entryway, costs are usually lower; if you need leveling, moisture testing, or extra carpentry for door jamb clearance and transitions, costs rise. For an accurate estimate, get quotes that break out labor for prep, installation, trimming, and molding/transition pieces rather than a single lump sum. This helps you distinguish between the engineered wood flooring price and the true engineered wood floor installation cost.
Which underlayment, vapor barrier, and prep costs should I include in an entryway estimate?
Entryways are high-traffic and often more exposed to moisture, so include a vapor barrier or underlayment based on manufacturer requirements and your subfloor type. If you’re installing over concrete, you may need an appropriate moisture barrier; over wood subfloors, you may need a compatible underlayment depending on the engineered wood system. Budget for floor prep items like moisture testing, cleaning, patching, sanding, and leveling compounds—these can prevent future squeaks or gaps. Always confirm what the engineered wood flooring manufacturer requires so you don’t miss an important accessory cost.
Why do engineered wood floors sometimes cost more than laminate in an entryway, and how can I choose the best value?
Engineered wood flooring often costs more than laminate because it uses real wood veneers and typically offers better sound, feel, and long-term refinishing potential depending on the wear layer thickness. In an entryway, a thicker wear layer and a durable finish can reduce replacement risk, especially with daily foot traffic, grit, and occasional moisture from shoes. For best value, compare total installed cost—not just the sticker price—by factoring in wear layer thickness, installation method compatibility, and required underlayment or vapor barrier. If you want long-term durability, prioritize quality engineered wood floors and transparent pricing for prep and installation.
📅 Last Updated: October 19, 2026 | Topic: How to estimate the cost of engineered wood floors in a entryway? | Content verified for accuracy and freshness.
References
- GAO Cost Estimating and Assessment Guide: Best Practices for Developing and Managing Capital Prog…
- https://www.nist.gov/programs-projects/life-cycle-costing
- https://www.fpl.fs.usda.gov/documnts/fplgtr/fplgtr190.pdf
- Engineered wood
- Wood flooring
- Cost estimate
- The Green Book – GOV.UK
- https://scholar.google.com/scholar?q=engineered+wood+flooring+installation+cost+per+square+foot Google Scholar
- https://scholar.google.com/scholar?q=wood+flooring+cost+estimation+materials+labor Google Scholar
- https://scholar.google.com/scholar?q=life+cycle+cost+analysis+engineered+wood+flooring Google Scholar