
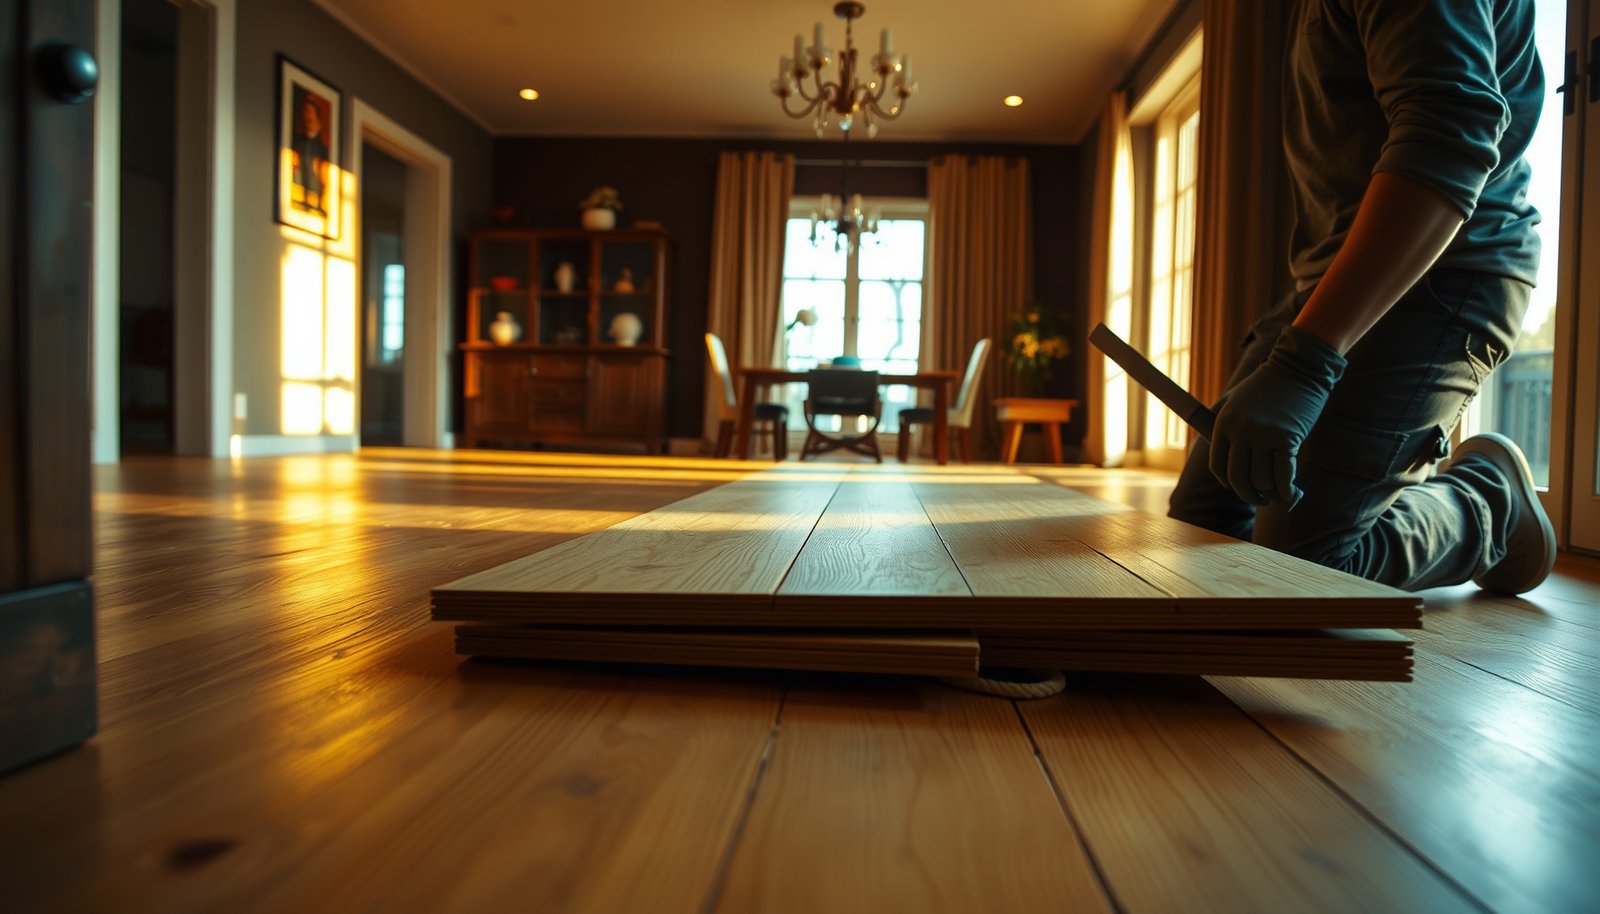

Removing engineered wood floors from a dining room is fastest and cleanest when you know how to tell if they’re click-lock (floating) or glued-down. This guide gives you the exact steps to lift boards, protect subfloor surfaces, and handle transitions so you’re ready for new flooring without unnecessary damage. If you want the quickest route to a smooth removal, follow the method that matches your installation type.




Removing engineered wood floors from a dining room is mostly about using the right pry/scrape method for the installation type, then doing meticulous subfloor cleanup so your replacement flooring lays flat. The safest approach is to identify whether the engineered planks are click-lock (floating), nailed-down, or glue-down—because the “best” tool and order of work changes dramatically by type.
Engineered wood removal is rarely a single-motion job. Even when boards look similar on top, the underside and fastening system (click-lock edges, nail/staple patterns, or adhesive bonds to the subfloor) dictate how they release and how much damage you should expect. Start by confirming the installation method and clearing obstacles around the perimeter so you can access the first workable row without twisting planks.
Who this is for / when it applies

– This is for DIY homeowners removing engineered wood flooring in a dining room (or similar space) to replace it or expose the subfloor.
– It’s most useful when you don’t know yet whether the planks are click-lock, nailed, or glued down—because that changes the tools and the order of work.
This guide fits if your dining room flooring is already ready for removal (for example: buckling from moisture, damaged planks, or a remodel that requires subfloor access). It’s also practical if you’re working from a limited inspection—common in real homes—because you’ll learn how to identify engineered wood installation patterns before you commit to pry points. For safety, note that removal can disturb dust and old adhesives; when engineered wood is installed over older underlayments, you may need additional precautions.
Click-lock (“floating”) engineered wood typically releases in the seam because the boards are mechanically interlocked, not bonded to the subfloor.
Glue-down engineered wood is usually scored and pried in smaller lifts because the adhesive bond prevents clean separation without damaging either the plank edge or the subfloor.
Prep: confirm installation method and clear the room
Check how the boards connect: click-lock often shows seams that “pop” apart; glue-down looks more uniform and usually won’t lift cleanly; nailed-down may show fasteners at seams or along edges.
Start your prep by treating identification as part of the job—not a guess. Engineered wood flooring may be “floating” in layout but still have perimeter fasteners, or it may look seamless while being glued with a full-coverage adhesive. In my own renovations, the fastest way to avoid damage was always the same: confirm the installation type at 2–3 locations (a corner, an edge, and one mid-room seam) before forcing any tools into the floor.
Also clear the room so you can work from the perimeter inward. Dining rooms commonly have heavy obstacles—china cabinets, credenzas, built-in dining storage, chandelier canopies, and underfloor heating access panels—that can slow you down and increase the odds you’ll pry at the wrong angle.
– Remove the dining room distractions first: clear furniture, protect nearby flooring/walls, and plan how you’ll haul debris out.
– If you have trim and baseboards, plan on removing them (or at least loosening them) so you can get the pry tool under the first rows.
Engineered wood seams that “open” easily from an edge are strong evidence of click-lock installation rather than a fully glued bond.
If the surface appears continuous with no lift points and you feel consistent resistance when lifting a seam, the floor is likely glued down.
Tools and safety gear
The right tools determine whether you recover intact boards (or at least avoid subfloor gouges). For engineered wood removal, you want prying control, cutting precision for adhesive/caulk lines, and protective gear for dust and potential chemical exposure from older adhesives.
– Basic removal tools: pry bar(s), floor scraper/putty knife, utility knife, hammer, and a pry wedge (to reduce board damage).
– For tougher sections: an oscillating multi-tool (use with caution around subfloor), a nail puller, and a heat gun/stripper if adhesive is present.
– Safety: safety glasses, work gloves, and a dust mask/respirator (especially if you suspect old underlayment/adhesives). If there’s any chance of hazardous materials, stop and get proper guidance before proceeding.
A practical way to stay safe is to match your respirator and work practices to the hazards you might encounter. Engineered wood removal can create wood dust, and older adhesives can increase exposure to irritants. If your building age raises concern about asbestos-containing flooring/adhesives, you must follow EPA/OSHA guidance and consider professional testing before disturbance.
According to OSHA (29 CFR 1910.1001), the asbestos PEL is 0.1 fibers/cm³ as an 8-hour TWA (current rule under that standard). OSHA 29 CFR 1910.1001
According to OSHA (29 CFR 1910.1000), the crystalline silica PEL for respirable dust is 50 µg/m³ (0.05 mg/m³) as an 8-hour TWA (final rule effective 2016). OSHA crystalline silica rule (29 CFR 1910.1053)
According to OSHA (29 CFR 1910.1048), the formaldehyde PEL is 0.75 ppm as an 8-hour TWA (effective 2018 for the standard). OSHA formaldehyde standard (29 CFR 1910.1048)
OSHA Exposure Limits Often Relevant During Flooring Removal (Wood + Adhesives)
| # | Substance | Engineered Wood Removal Link | OSHA 8-hr TWA limit | Control priority |
|---|---|---|---|---|
| 1 | Crystalline silica (respirable) | Dust from scraping/sanding residue | 50 µg/m³ (0.05 mg/m³) | ★★★★★ |
| 2 | Asbestos (if present) | Old mastic/underlayment disturbance | 0.1 fibers/cm³ | ★★★★☆ |
| 3 | Formaldehyde | Vapor exposure from some resins/adhesives | 0.75 ppm | ★★★★☆ |
| 4 | Lead (in air) | Dust from painted trim/subfloor areas | 50 µg/m³ | ★★★☆☆ |
| 5 | Toluene | Solvent vapors from some adhesives/primers | 200 ppm | ★★☆☆☆ |
| 6 | Xylene (mixed isomers) | Solvent vapors from some adhesives/primers | 100 ppm | ★★☆☆☆ |
| 7 | Ethylbenzene | Solvent vapors from some adhesives/primers | 100 ppm | ★★☆☆☆ |
> Note: This table is a hazard-orientation tool—not a claim that these chemicals are present in your engineered wood floor. The right move is to read the Safety Data Sheet (SDS) for any adhesive/primer you disturb and follow the most stringent control guidance.
How to remove engineered wood floors step by step
Removing engineered wood floors safely comes down to starting at the perimeter, breaking the right “first connection” (seam/edge/fasteners), and working in controlled lifts. Follow the order below to reduce plank breakage and limit subfloor gouging.
– Step 1: Start with transitions and obstacles
– Remove shoe molding/transition strips and any reducers that lock the planks in place.
– Cut through caulk or paint lines at the perimeter so the first pry points aren’t blocked.
The perimeter is where engineered wood floors usually lock themselves in, whether by base shoe nails, caulk lines, or transition reducers. If you skip this step, you end up prying against trim fasteners and twisting the first row—two common causes of warped tongue-and-groove ends and permanent subfloor scratches.
Caulk or paint bonds at the perimeter can prevent engineered wood seams from releasing, even when the interior boards are click-lock.
Removing transition reducers before prying reduces the chance that the engineered plank locking edge snaps during removal.
– Step 2: Lift the first row (where the floor is weakest)
– Click-lock / floating: work from a corner or edge and separate planks using a pry wedge. Lift a few boards at a time to avoid snapping the tongue-and-groove.
– Nailed-down: loosen sections near seams, then expose fasteners as you progress so you can pull nails cleanly instead of tearing boards up.
– Glue-down: expect resistance. Score along seams with a utility knife, then carefully work a scraper/putty knife under the plank. Use an oscillating tool only if needed to avoid gouging the subfloor.
This step is where identification pays off. Engineered wood planks are designed so their tongue-and-groove joints distribute force during normal traffic; during removal, prying from the wrong side concentrates stress and causes chips. For click-lock, wedge control matters more than raw force. For nailed-down floors, the goal is to locate fasteners early, because pulling nails with boards still “bound” can tear fibers from both plank and subfloor. For glue-down, your plan is controlled separation—score first, then scrape and lift slowly.
Oscillating tools can speed glue-down engineered wood removal, but they can also cut into subfloor materials if blade depth isn’t controlled.
For nailed-down engineered wood, exposing fasteners as you go generally reduces board damage compared with prying through hidden nails.
– Step 3: Remove boards row-by-row
– Work in small sections (often 1–3 rows at a time) so you can control breakage and keep debris manageable.
– Keep boards organized if you’re hoping to reuse them—set aside intact pieces separately and label the damaged ones so you don’t mix them back in.
Engineered wood removal becomes unpredictable once the first connection line opens. Dust, adhesive stringers, and tiny nail bites increase friction, so larger lifts often mean more snapping. I recommend creating three piles: intact reuse candidates, partially damaged planks, and scrap. That simple organization step reduces rework later when you re-check layout patterns for a replacement flooring system or for subfloor repairs.
Removing engineered wood flooring in 1–3 row sections helps you maintain control of tongue-and-groove stress and reduces subfloor gouging from forced prying.
– Step 4: Clean up fasteners and residue
– Pull remaining nails/staples and sand/scrape high spots on the subfloor.
– For adhesive residue: remove with the least aggressive method first (scraping), then move to chemical/heat only if you’ve verified it won’t damage your subfloor or interfere with the new flooring adhesive/method.
Engineered wood removal is not finished when the planks come up. Your next-flooring performance depends on subfloor flatness and cleanliness. Raised adhesive ridges can telegraph through new flooring; nails left behind can prevent underlayment from seating flat. Start with scraping and mechanical removal, then escalate carefully. If you use heat or chemicals, confirm compatibility with both your subfloor material (plywood, OSB, concrete) and the adhesive system required by your replacement flooring plan.
New flooring adhesives generally require a clean, properly prepared surface; high spots from adhesive residue can cause leveling problems and premature wear.
What can go wrong
Most problems happen when a DIY removal plan doesn’t match the engineered wood’s fastening system. If you misidentify the type, skip perimeter cuts, or over-pry the subfloor, you can turn an installable subfloor into a costly repair.
– Floor type misidentification: If you treat a glue-down floor like click-lock, you’ll likely split planks and gouge the subfloor.
– Subfloor damage: Over-prying, using too much blade depth (with an oscillating tool), or forcing planks can create divots that show up under new flooring.
– Hidden hazards and unknown underlayment: Older homes may contain hazardous materials in flooring layers or adhesives. If you’re unsure, get appropriate testing/advice before disturbing everything.
Here’s a comparison that helps you choose the safest “default” strategy when you aren’t fully sure yet:
- Click-lock / floating engineered wood
- Pros: Often lifts with less subfloor damage; boards may separate intact if removed slowly.
Cons: Perimeter caulk/base shoe nails can still hold it; force can snap the locking edge. - Nailed-down engineered wood
- Pros: Identification is usually possible at seams/edges; once fasteners are found, removal can be controlled.
Cons: Boards can crack if you pry through nail points; reuse is less reliable. - Glue-down engineered wood
- Pros: Stable during original installation; seams can be scored for controlled separation.
Cons: Expect more residue cleanup; subfloor gouging risk is higher if tools are misused.
Treat glue-down engineered wood as “bonded until proven otherwise” to avoid splitting planks and damaging the subfloor with excessive leverage.
If your oscillating tool leaves noticeable subfloor cuts during engineered wood removal, stop and adjust blade depth or switch to manual scraping.
Verdict: when DIY works (and when to hire help)
DIY works best when you can confidently identify the engineered wood installation type and your subfloor is solid and flat. Hire help when the removal will likely escalate—large glue-down areas, uncertain hazardous materials, or fragile subfloors.
– DIY is a good fit if you can identify the installation type, have basic tools, and your goal is removal (not necessarily perfect plank reuse).
– Consider hiring a flooring pro if it’s a large glued area, the subfloor is soft/damaged, the planks are brittle, or you suspect hazardous materials.
– Downsides to know: glue-down removal often creates more mess and subfloor prep work; nailed-down removal can destroy many boards; and any remaining adhesive typically increases the time needed for prep.
If you’re on the fence, base the decision on the “prep burden.” Glue-down engineered wood removal often turns into adhesive residue management: scraping, checking flatness, and sometimes chemical/heat work. That’s where small mistakes compound—over-aggressive solvents can affect future adhesives; uneven grinding can reduce subfloor uniformity. For nailed-down floors, your limitation is board integrity: even if you remove successfully, reuse is frequently difficult.
Glue-down engineered wood removal typically requires more subfloor prep than click-lock removal because adhesive residue often remains after plank lift.
If you suspect asbestos in older flooring/adhesives, professional assessment and containment practices are safer than DIY disturbance.
Frequently Asked Questions
What tools do I need to remove engineered wood floors in a dining room?
To remove engineered wood flooring, you’ll typically need a pry bar or floor scraper, a hammer, utility knife, a pry tool for baseboards, and a oscillating multi-tool for tight spots around doorways and trim. For nail-down or staple-down boards, a crowbar and nail puller can make the job faster, while a flooring puller helps reduce damage if you plan to reuse materials. Don’t forget safety gear like gloves, eye protection, and a dust mask, plus a shop vacuum with a HEPA filter to control debris.
How do I remove engineered wood flooring without damaging the subfloor?
Start by removing baseboards or quarter round carefully, then inspect the edges and seams to confirm whether the engineered wood is glued, nailed, stapled, or click-lock. Work board-by-board from a corner, using a pry bar or floor scraper to lift the planks while keeping pressure low to avoid gouging the subfloor. If the planks are glued down, use heat or a flooring adhesive remover and remove slowly—then clean adhesive residue thoroughly so the subfloor is flat and ready for new flooring.
How do I remove glued-down engineered wood floors from a dining room?
Glued-down engineered wood usually requires more effort because adhesive may remain on the subfloor after plank removal. Score the planks with a utility knife, then use an oscillating tool or scraper to separate the layers, working in small sections to prevent ripping the subfloor. After the flooring is off, remove leftover glue with a floor adhesive remover or mechanical scraping, and finish by sanding or smoothing high spots to ensure proper adhesion for the next floor.
Which is the best way to remove nail-down or staple-down engineered wood flooring?
For nail-down or staple-down engineered wood, begin by removing trim and pulling up a starting row near a wall or doorway, then pry boards in the direction they release. Use a nail puller or cats paw to remove fasteners as you go, which prevents wasted time later and reduces the risk of damaging the subfloor. Vacuum frequently, and check the subfloor for remaining nails or staples—any leftover metal should be removed and the area cleaned before installing new flooring.
Why should I check moisture and subfloor condition before installing new flooring after removal?
Removing engineered wood floors can expose the subfloor to lingering moisture, temperature shifts, and adhesive residue that affect the performance of new flooring. Before you install a new dining room floor, test moisture levels, repair any soft or damaged areas, and ensure the subfloor is level and clean. This step helps prevent future issues like squeaks, buckling, gaps, and poor adhesion, especially if you’re switching to another engineered wood, laminate, or luxury vinyl plank.
📅 Last Updated: October 19, 2026 | Topic: How to remove engineered wood floors from a dining room? | Content verified for accuracy and freshness.
References
- Engineered wood
- Wood flooring
- Lead Renovation, Repair and Painting Program | US EPA
- Asbestos | US EPA
- Asbestos – Overview | Occupational Safety and Health Administration
- https://www.cdc.gov/nceh/lead/prevention/default.htm
- https://www.cdc.gov/niosh/topics/asbestos/
- https://scholar.google.com/scholar?q=how+to+remove+engineered+wood+flooring Google Scholar
- https://scholar.google.com/scholar?q=remove+engineered+hardwood+flooring+glued+down Google Scholar
- https://scholar.google.com/scholar?q=engineered+wood+floor+removal+procedures+subfloor+preparation Google Scholar


