
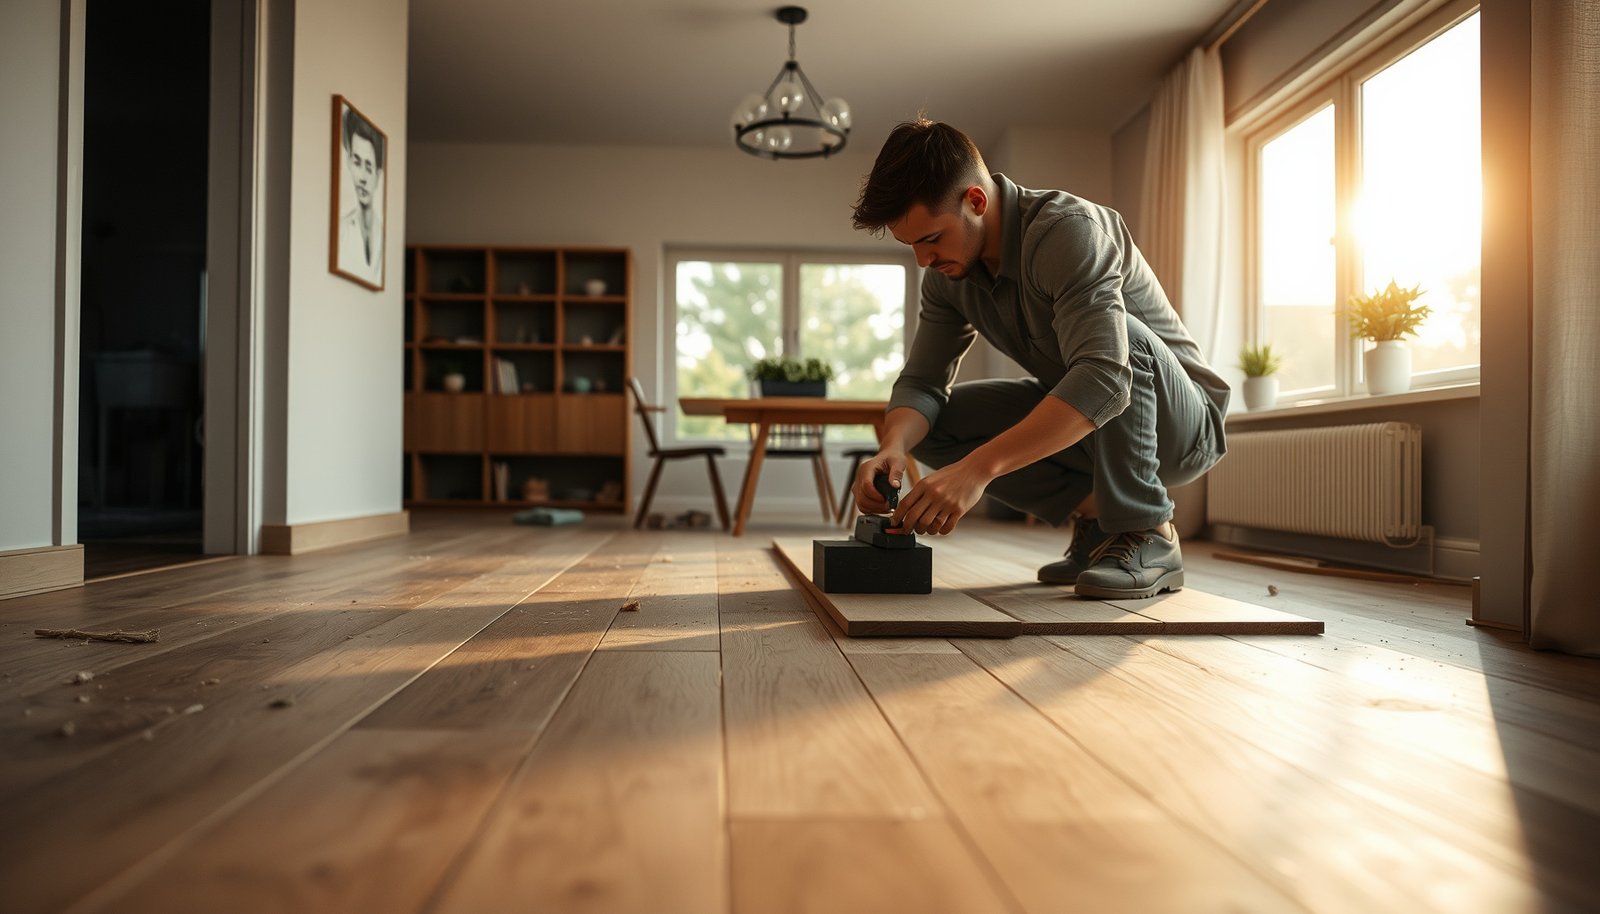

Replacing engineered wood floors in a dining room is straightforward when you choose the right teardown method and matching underlayment for your subfloor condition. This guide walks you through the fastest, cleanest replacement path—whether you’re swapping boards over existing flooring or removing it to start fresh. By the end, you’ll know exactly what to buy, how to prep the dining room, and how to avoid gaps, squeaks, and misaligned seams.




To replace engineered wood floors in a dining room, focus on two things first: subfloor prep (flatness and moisture) and correct installation spacing so the floor can expand and contract. Then remove the existing flooring in a way that matches how it was installed (click-lock, nail-down, or glue-down), and install the new planks using the manufacturer’s exact method for your model.
If your dining room has existing engineered wood (glued, nailed, or click-lock), or you’re swapping to a different plank thickness/finish, these steps will help. This is most applicable for a DIY-friendly replacement when you can access the full floor area and handle tools safely; if you have major subfloor damage, you’ll likely need a pro.
Assess your flooring type and replacement scope
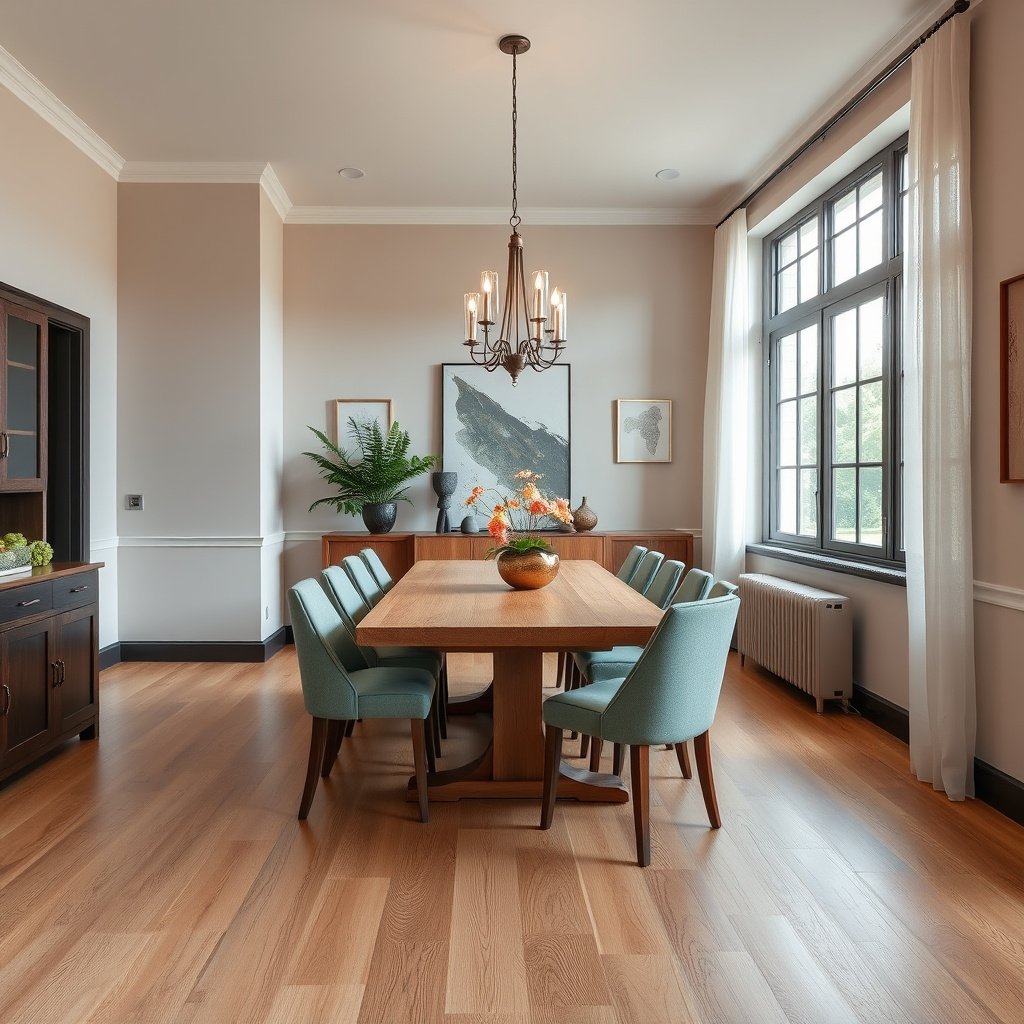
You can replace engineered wood in a dining room successfully—but only if you start by matching your removal plan to the original installation method. The current floor type (click-lock floating, nail-down, or glue-down) determines what comes up cleanly and what tends to damage the subfloor.
– Identify how the current engineered wood was installed (click-lock floating, nail-down, or glue-down), since removal tools and damage risk vary.
– Confirm your new flooring’s install method (floating vs. glue/nail) and read its specific instructions first—this controls spacing, underlayment (if any), transitions.
– Decide whether you’re replacing just the dining room area or also changing thresholds/adjacent flooring—transitions affect how well the room “finishes” and how the floor can move.
When an engineered wood floor is installed as a floating click-lock system, you can typically remove planks by disassembling boards in manageable sections rather than cutting adhesive or nails. Choosing the right removal approach reduces risk to the subfloor, which is the foundation for a long-lived dining room floor.
Installation manuals control the expansion gap and underlayment requirements for your exact engineered wood product, and those specs override generic “rule-of-thumb” guidance. This is especially important because dining rooms commonly experience seasonal humidity swings.
What to inspect before you buy tools
Start by identifying the installation method. In practice, that usually comes down to a quick “evidence check”:
– Click-lock floating: boards often lift and disengage; seams “unlock” with light pressure in the right location.
– Nail-down engineered: you’ll see nail holes (or nail lines) at board faces/edges; removal often involves prying and careful scraping.
– Glue-down engineered: plank edges may be bonded; you’ll likely find adhesive residue that requires removal/cleaning before new flooring can sit correctly.
Then define your replacement scope:
– Dining room only (simpler transitions): you’ll likely cap the perimeter with baseboards and handle transitions with a reducer, stair nose, or matching threshold.
– Dining room + adjacent areas (more consistent look): you can create a continuous floor plane, but you must still respect expansion gaps and transition details.
Data point anchors (so you’re not guessing):
According to the National Wood Flooring Association (NWFA), wood flooring performance is strongly tied to subfloor flatness—commonly expressed as no more than 3/16 in variation over 10 ft for installation planning and layout. (NWFA installation guidance—flatness/levelness principles)
As of 2026, it’s still best practice to confirm the new product’s installation requirements in writing, because engineered floors vary widely by locking design, core type, and whether underlayment is required.
Remove the existing engineered wood flooring safely
Removal is where many good subfloor plans fail—so your job is to remove the old engineered wood with the least damage possible, without leaving material that will interfere with the next layer. For DIY replacements, you also want to keep dust and residue under control so the subfloor stays salvageable.
– Start by protecting nearby surfaces (baseboards, trim, door casings) and use the least-destructive approach for your installed type.
– For floating/click-lock floors, remove planks in sections and keep track of boards you can’t recover (you’ll often need new pieces for cut ends).
– For nail-down or glue-down floors, expect more dust and subfloor disturbance: use appropriate tools, work slowly, and scrape/clean residue enough to prep for the next layer.
For click-lock engineered floors, working in sections and supporting the plank as you “unlock” it helps prevent edge blowout, which can otherwise create subfloor gouges and extra patching. A clean removal also improves your odds of reusing intact pieces only when the manufacturer allows it.
Nail-down and glue-down removals typically require more dust control and more time spent on residue removal, because adhesive left behind can interfere with underlayment placement and new plank seating. The goal is not only removal—it’s leaving the subfloor ready for flatness and bonding/fastening requirements.
Tool approach by installation type
Floating / click-lock (typical DIY-friendly path)
– Work from a wall end or doorway transition where boards are most likely to be disengaged.
– Use an appropriate pry bar or floor pull tool to lift plank edges without forcing them.
– Pull boards in sections; label and set aside anything that might be reusable for cut-off sections (only if your new layout can use them and the manufacturer’s guidance supports reinstallation).
Nail-down
– Plan for more subfloor exposure: remove carefully to avoid tearing plywood layers.
– Use a pry bar with a protective pad and a sharp blade for edge cleanup.
– Expect fastener-related obstacles—old nails or staples may require scraping and removal.
Glue-down
– Expect adhesive scraping, grinding, and repeated cleaning cycles.
– The “safe” method depends on the adhesive chemistry and what your new flooring allows over existing layers (many products do not want adhesive residue left under the new planks).
– Work methodically: removal is a sequence of lift → scrape → clean → inspect.
Prep the subfloor (this step decides if the new floor lasts)
If you want the new engineered wood to stay flat and tight, treat subfloor prep as the main job. The installation itself is only as good as the surface beneath it—especially in dining rooms where heavy furniture can reveal small movement quickly.
– Check subfloor flatness and address high spots/low spots before installation; engineered floors still need a stable, even base to avoid squeaks and joint failure.
– Handle moisture properly: test the slab/subfloor using the method required by the floor’s manufacturer (often ASTM-based in practice), and follow their allowable limits. If you skip this, the new floor can cup, gap, or buckle.
– Clean thoroughly: remove debris, adhesive residue (as allowed by the product guidelines), and anything that will prevent underlayment or new plank edges from sitting correctly.
Engineered wood is more stable than solid hardwood, but it still needs a flat, clean subfloor to prevent squeaks, joint separation, and visible ridges. Flatness matters because plank edges lock together over time under normal traffic.
Moisture testing should be done with the standards your flooring manufacturer references, because moisture limits vary by product and install method. When a system isn’t matched (for example, adhesive requirements versus test method), failures can appear weeks later even if the floor initially looks “fine.”
Moisture testing: pick the right standard and interpret it correctly
Many manufacturers refer to recognized moisture evaluation approaches and require results to fall under their product-specific limits. The industry frequently uses ASTM methods for concrete slabs.
To ground your planning, here are key moisture testing methods and what they produce as outputs:
Moisture Tests Commonly Used for Flooring Decisions (ASTM/Standard Outputs)
| # | Moisture test method | What it reports | Standard reference | Practical decision strength |
|---|---|---|---|---|
| 1 | Relative humidity in concrete (probe method) | In-situ RH (%) | ASTM F2170 | ★★★★★ (High) |
| 2 | Calcium chloride method | Moisture emission rate (lb/1,000 sq ft/24 h) | ASTM F1869 | ★★★★★ (High) |
| 3 | Plastic sheet test (pass/fail) | Condensation/visible moisture under film | ASTM D4263 | ★★★☆☆ (Screening) |
| 4 | Pin-type moisture meter (wood) | Moisture content (% MC) | Device-based; verify calibration | ★★☆☆☆ (Spot-check) |
| 5 | Pinless moisture meter (wood/building materials) | Relative readings (depth-limited) | Device-based; calibration required | ★☆☆☆☆ (Screening) |
| 6 | Thermal/humidity indicators (condensation risk) | Surface/differential RH or dew-point signals | Instrument-based | ★★☆☆☆ (Context) |
| 7 | Adhesive bond/release checks (for existing residue) | Residue hardness/transfer behavior | Best guided by flooring manual | ★★★☆☆ (Verify) |
Flatness prep that avoids squeaks and lock failure
Flatness is not “nice to have.” It’s what keeps joints from separating under load.
– Use a straightedge/leveling bar to identify high spots and low valleys.
– Remove high spots (depending on substrate) and patch low spots with appropriate subfloor repair materials.
– Re-check after leveling so you don’t install over a corrected area that later reveals another dip.
Data point anchors (so you can measure instead of guess):
According to NWFA guidance principles, subfloor variation is commonly targeted to 3/16 in over 10 ft for best results. (NWFA installation guidance—flatness/levelness considerations)
Also note: the same dining room often has alternating traffic zones (chair legs, serving traffic), so joint integrity matters more than you might expect.
Finally, clean thoroughly:
– Dust blocks adhesion and interferes with underlayment contact.
– Adhesive residue should be removed or reduced only in ways allowed by your new flooring instructions (some products specify what’s acceptable and what is not).
Install the new engineered wood in the dining room
The key to a successful installation is staying inside the product’s tolerances—especially acclimation, expansion spacing, and the correct method for fastening/gluing. When those three align, the floor typically settles and locks in without visible joint stress.
– Acclimate the flooring per the manufacturer’s instructions (temperature/humidity and timeline vary by product), and store planks flat and protected.
– Maintain required expansion space around all fixed vertical surfaces (walls, posts, columns) and plan your layout to minimize awkward narrow strips at the room edges.
– Use the correct fastening/gluing approach (or underlayment approach) for your chosen installation type, and follow the recommended spacing for nail-down systems or the exact glue/application guidance for glue-down systems.
Engineered wood needs acclimation so the core and top layers reach jobsite conditions; skipping acclimation increases the odds of early gapping or peaking once the dining room HVAC stabilizes. Manufacturer timelines are product-specific.
Expansion space is what allows engineered floors to move seasonally without buckling or pushing against baseboards and door trim. Correct perimeter gaps reduce edge failure, especially near dining room entryways and posts.
Layout strategy for real dining room geometry
Dining rooms often have:
– Doorways and openings (kitchen access, hallway transitions)
– Irregular alcoves or bay windows
– Heavy-use zones (chair legs, buffet placement)
So plan your layout before fastening or gluing:
– Dry-lay the first 10–20 boards to confirm seam alignment with your primary wall.
– Avoid ending with extremely narrow strips—those are more likely to look off and to become stressed joints if expansion is constrained.
– Decide where transitions go (especially if you’re changing adjacent flooring). Transitions are not just aesthetic; they’re movement-control points.
Fastening/gluing: match the instruction set exactly
This is where DIY effort most often diverges from success:
– Floating/click-lock: follow underlayment rules (some systems require no foam; others allow specific pads) and maintain perimeter gap.
– Nail-down: use the specified nail type, angle, and spacing; incorrect patterns can lead to squeaks or joint stress.
– Glue-down: use approved adhesive and application method (trowel notch type, spread rate, open time). Adhesive mismatches can cause bubbles or failure at seams.
What can go wrong (common mistakes and edge cases)
If your dining room floor develops gaps, squeaks, or a “wave” appearance, the cause is usually moisture, flatness, or constrained movement—not the top layer. Most failures are preventable when you align the install method with the subfloor and the flooring manual.
– Skipping moisture testing or using “looks dry enough” judgment—moisture problems can show up weeks or months later as movement, gaps, or warping.
– Assuming subfloors only need to be “clean” instead of truly flat—engineered wood can telegraph issues into visible ridges or joint separation.
– Using the wrong underlayment or double-layering underlayment—some engineered floors specify a particular underlayment (or none) depending on installation method.
– Cutting too aggressively around door openings or transitions—if the floor can’t move, it may buckle at the edges or pop fasteners.
Moisture issues in engineered wood often show up after the room stabilizes—daily HVAC cycling can change the floor’s dimensional response even when the surface initially appears fine. This is why moisture standards matter.
Underlayment mismatches can create soft spots or trap movement, especially in floating systems where the pad is part of the engineering. Following “approved underlayment only” guidance is one of the simplest ways to prevent premature joint failure.
Edge cases to plan for
– Doorway transitions: If you remove the old floor and leave no expansion path, the new floor can bind and buckle.
– Existing subfloor damage: Soft plywood, delamination, or water-stained OSB often requires repair/replacement before any flooring goes in.
– Uneven adjoining areas: If adjacent flooring heights differ and you tie the new floor too tightly into a rigid threshold, expansion can’t happen naturally.
Verdict: what to do, and when to skip DIY
DIY is a realistic path when you can identify the existing install method, you can test moisture to the required standard, and your subfloor only needs cleaning and minor leveling. Skip DIY (or get a pro assessment) when glue-down removal, moisture uncertainty, or major subfloor repair is involved—because those are the jobs that typically trigger expensive rework.
We recommend skipping DIY (or at least getting a pro assessment) if you can’t confidently identify the current installation type, can’t access proper moisture testing, or the subfloor needs major repair beyond cleaning/leveling.
If your engineered wood product’s instructions demand a specific moisture test method (such as ASTM F2170 or ASTM F1869) and you can’t obtain results that match those requirements, the risk of hidden failure rises materially. In those cases, hiring a flooring installer or moisture testing professional is usually cheaper than replacement.
DIY vs pro: a decision snapshot
| Factor | DIY-friendly (floating/click-lock, sound subfloor) | Pro-recommended (glue-down removal, uncertain moisture, damaged subfloor) |
|---|---|---|
| Time + access | More predictable; you can work room-by-room | Removal/adhesive cleanup can extend timelines |
| Risk of subfloor damage | Lower when boards unlock cleanly | Higher with glue and fasteners |
| Moisture testing alignment | You can often match ASTM requirements with rental kits | May require calibrated instruments and documentation |
| Flatness correction | Minor leveling/patching is manageable | Subfloor replacement may be necessary |
| Underlayment constraints | Easier to follow “pad required / pad not allowed” rules | Adhesion and thickness constraints are more complex |
| Transitions/doorways | Single-room scope limits variables | Adjacent height and movement control needs expertise |
| Overall warranty alignment | You can document steps and follow the manual closely | Installers may provide warranties tied to compliance |
| Best for | Cabinets/baseboards are reusable and subfloor is stable | Older homes with uncertain moisture history or difficult glue-down removal |
Frequently Asked Questions
What’s the best way to remove engineered wood flooring in a dining room without damaging the subfloor?
Start by removing the baseboards or quarter round so you can access the flooring edges safely. If the engineered wood is nailed down, use a pry bar carefully to lift boards from the perimeter and pull nails with pliers; if it’s click-lock floating, disassemble rows by tapping seams loose rather than prying. Scrape off leftover adhesive or underlayment residue and check the subfloor for flatness, moisture, or damage before installing new flooring.
How do you replace engineered wood floors when the existing boards are glued down?
For glue-down engineered wood, cut boards into manageable sections with a circular saw (set shallow depth) or oscillating multi-tool to avoid gouging the subfloor. Use a floor scraper or adhesive remover to clean the concrete or plywood surface, then vacuum thoroughly. After patching any divots and smoothing high spots, confirm the subfloor is dry and smooth enough for engineered wood installation so the new dining room floor won’t develop gaps or squeaks.
Which tools and materials do you need to install new engineered wood flooring in a dining room?
Typically you’ll need a table saw or miter saw for accurate board cuts, a tapping block and pull bar for tight seams, spacers for the expansion gap, and a flooring nailer or recommended adhesive depending on your installation method. Also plan on underlayment that matches your subfloor type and the product’s instructions, plus seam glue where required and a proper moisture barrier if needed. Don’t forget safety gear (eye and hearing protection) and a level/straightedge to verify subfloor flatness.
Why is it important to maintain expansion gaps and acclimate engineered wood before replacement?
Engineered wood still expands and contracts with humidity and temperature changes, so leaving the required expansion gap around walls, doorways, and columns prevents buckling or lifted edges. Acclimating the planks—usually for several days in the dining room—helps reduce post-installation movement and minimizes the risk of gapping. Follow the flooring manufacturer’s acclimation and installation guidelines to ensure the best long-term performance.
Best practices for matching the look of replacement engineered wood in a dining room?
If possible, source the same brand, thickness, and finish lot to keep color and grain consistent; if not, plan a transition strategy such as replacing only the affected section with a blending layout. Use the same plank width and directionality as the existing engineered wood, and stagger seams to match the original pattern. If the dining room has sunlight exposure, consider acclimating and installing in a similar order so new planks blend naturally as they stabilize.
📅 Last Updated: October 19, 2026 | Topic: How to replace engineered wood floors in a dining room? | Content verified for accuracy and freshness.
References
- https://en.wikipedia.org/wiki/Engineered_wood_flooring
- Wood flooring
- Wood Dust – Overview | Occupational Safety and Health Administration
- https://www.cdc.gov/niosh/topics/wooddust/
- https://www.epa.gov/lead/renovation-repair-and_painting_program
- Asbestos | US EPA
- https://scholar.google.com/scholar?q=engineered+wood+floor+replacement+dining+room+remove+install Google Scholar
- https://scholar.google.com/scholar?q=engineered+wood+floor+installation+guidelines+subfloor+moisture+acclimation Google Scholar
- https://scholar.google.com/scholar?q=remove+engineered+wood+floor+underlayment+and+prepare+subfloor Google Scholar


