
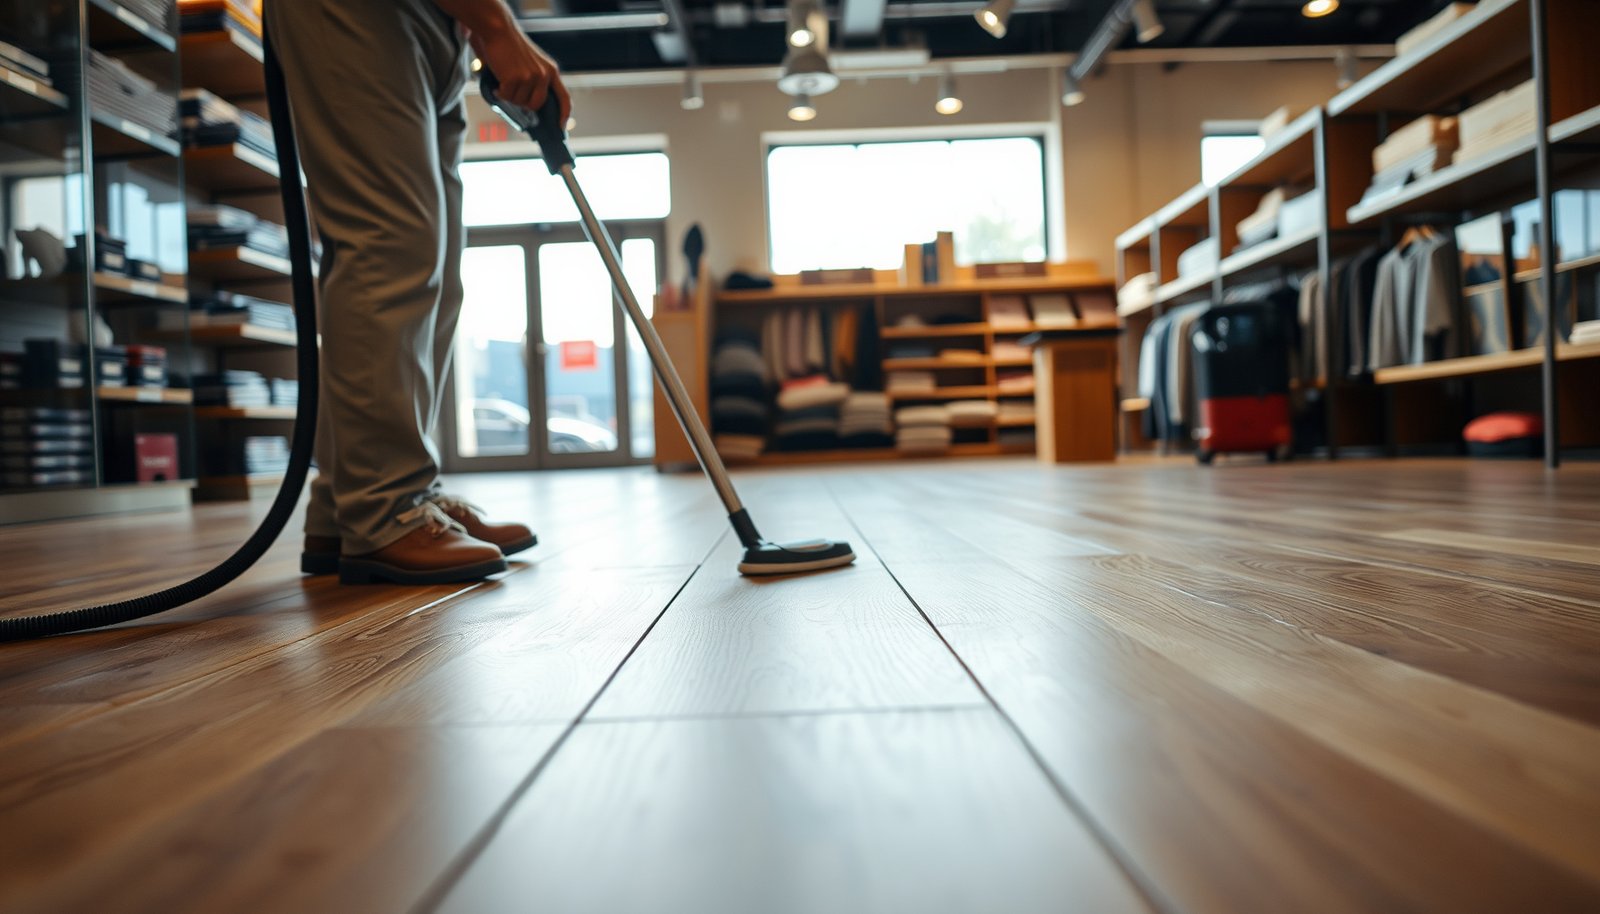

Prepare hardwood floors for a retail store by controlling moisture and temperature first, then making the subfloor clean and truly flat, and finally protecting the finished surface during construction traffic. If you get those three stages right, you dramatically reduce the most common showroom problems—gapping, cupping, and finish damage during opening-week turnover.




If you’re a contractor, store owner, or project manager planning a showroom/retail build in 2026, this step-by-step sequence is built for the real-world constraints that cause failures: HVAC schedules that change weekly, dusty tenant work, and high-risk foot traffic right after finishing. Use these steps for solid or engineered hardwood, but always follow the flooring manufacturer’s installation/finish requirements because acceptable moisture limits and cure/recoat rules can vary by product.
Plan the prep: moisture, level, and finish requirements

Plan your retail hardwood prep by aligning the store’s HVAC targets, moisture limits, and finish system requirements before anyone sands, tests, or installs. This front-loading prevents rework and “mystery” failures that show up weeks later when the store environment stabilizes in 2026.
According to the National Wood Flooring Association (NWFA) Installation Guidelines, a common acclimation target is roughly 60–80°F and 35–55% relative humidity (RH) for wood flooring environments (NWFA — Wood Flooring Installation Guidelines).
NWFA guidance emphasizes subfloor flatness because hardwood can telegraph high/low areas into visible movement, especially under retail foot traffic (NWFA — Wood Flooring Installation Guidelines).
Define the exact installation and product system
Start with the “what” and “how” because prep tolerances differ. Confirm:
– Solid vs. engineered hardwood
– Installation method: nail-down, glue-down, or floating/locking
– Finish approach: site-finished (sand + apply finish) vs. factory-finished
– Sheen and finish chemistry (water-based vs. oil/solvent-based) because recoat/curing and protection needs change
Then lock the project assumptions with the manufacturer’s spec sheet and installation instructions—this is where acclimation timelines and acceptable moisture conditions are defined.
Choose moisture and flatness targets that match retail reality
Retail stores usually have these constraints during build-out:
– HVAC is turned on/off repeatedly
– Humidity swings from exterior weather changes
– Deliveries and tenant trades create dust and contamination risk
So instead of treating testing as a formality, treat it as a go/no-go decision tied to your product’s requirements. For reference points, the table below summarizes common “starting” acceptance criteria used in NWFA-aligned practices and many manufacturer specs. Always defer to your specific product’s published limits.
Common Retail-Ready Acceptance Starting Points (Hardwood Prep)
| # | Condition being controlled | Measured as | Typical acceptance “max” starting point | Common standard used |
|---|---|---|---|---|
| 1 | Jobsite temperature during acclimation | °F | 80°F | NWFA-aligned targets |
| 2 | Jobsite relative humidity (RH) | % RH | 55% RH | NWFA-aligned targets |
| 3 | Subfloor flatness tolerance | in / 10 ft | 3/16 in | NWFA flatness guidance |
| 4 | Concrete slab in-situ RH (moisture) | % RH | 75% RH | ASTM F2170 |
| 5 | Concrete moisture vapor emissions | lb/1,000 sq ft/24h | 3.0 | ASTM F1869 |
| 6 | Wood subfloor moisture content | % moisture content | 12% | Moisture testing per ASTM D4442 |
| 7 | Wood-to-jobsite moisture equilibrium mismatch | % MC | 2% | NWFA-aligned practices |
Practical takeaway: these are starting reference points consistent with common NWFA-aligned practices and ASTM measurement frameworks. Your manufacturer may require tighter limits (especially for site-finished or wider plank hardwood), so confirm before you install. In 2026, I’m seeing more districts tighten enforcement around documentation—so keep test logs, HVAC setpoints, and measurement methods in your turnover packet.
Acclimate and inspect the hardwood before installation
Acclimate and inspect first, because retail environments destabilize quickly during construction—even when drawings look “complete.” If the boards arrive and go straight down without matching jobsite conditions, the floor may gapped, cup, or move after opening week.
Acclimation is a moisture- and temperature-conditioning process that aligns flooring and jobsite conditions; NWFA guidance treats it as a critical step, not optional prework (NWFA — Wood Flooring Installation Guidelines).
ASTM D4442 is one established method for determining wood moisture content via laboratory measurement of moisture content (%MC) (ASTM D4442).
Acclimate the flooring to the real store environment
Use the manufacturer’s acclimation timeline and conditions, then verify the store has stable HVAC operation during that period. In many retail builds, “HVAC is scheduled” doesn’t mean it’s actually stable—so you want continuous or at least logged readings.
Key process controls:
– Store temperature and RH should meet the manufacturer’s requirements during acclimation and installation.
– Avoid acclimating in a different environment (like a warehouse) and installing immediately without confirming jobsite stability.
– Maintain airflow patterns that won’t create microclimates (drafty entrances, overactive portable fans, etc.).
Inspect boards before they become permanent problems
Before installation:
– Inspect every box and board for dents, splits, edge chips, and warping.
– Reject pieces that don’t meet manufacturer criteria (especially bowed/telegraphing units).
– Stage boards flat and covered, away from sanding dust and debris.
From a field-planning perspective, I can’t replace the manufacturer’s accept/reject criteria, but one repeated pattern we’ve seen in retail turnovers is that “minor” damage becomes “major” once the floor is cut, milled, and sanded/finished.
Inventory management to prevent contamination
Retail build-outs create dust storms. That dust can become embedded during installation and show as:
– finish haze
– rough texture in a high-sheen topcoat
– premature wear (especially in entry zones)
So your staging should include:
– covered storage
– dedicated pathways that reduce traffic across materials
– a plan to keep offcuts and debris out of the “installation footprint”
Prep the subfloor for retail traffic
Prep the subfloor for retail by removing contaminants thoroughly, verifying flatness, and testing moisture using the right method for the substrate. Retail floors fail early when the base isn’t stable—before the finish ever has a chance to hide anything.
Hardwood performance depends heavily on subfloor cleanliness and flatness; dust, residue, and ridges can interfere with adhesion or cause movement under retail load (NWFA — Wood Flooring Installation Guidelines).
ASTM F2170 provides an in-situ relative humidity measurement for concrete slabs to estimate moisture risk before installing wood flooring (ASTM F2170).
Clean like you’re protecting an adhesive system
Even if your installation is nail-down, start with a base that’s free of contamination. Remove:
– dust and debris (vacuum thoroughly)
– paint overspray and drywall mud
– old adhesive ridges and gummy residues
– protruding fasteners or debris that creates high spots
Cleanliness matters because retail builds add oils and construction residues from foot traffic, carts, and tools—then the finish can end up bonding poorly or wearing faster.
Check flatness before installation, not after
Verify flatness and correct high/low areas before laying hardwood. In practice, you’re looking for measurable deviations—not “it looks flat to me.” NWFA-aligned guidance commonly references tight tolerances; a widely used flatness target is around 3/16 in over 10 ft (confirm against your product and installer requirements).
Concrete slab and wood subfloors both need different correction workflows:
– Concrete: grinding high spots, patching low areas (proper curing time before testing/install)
– Wood subfloor: addressing squeaks, deflection, and panel leveling (and correcting any loose subfloor boards)
Test subfloor moisture using the correct approach
Use the proper test method for your substrate and follow the method’s procedural requirements:
– Slab-on-grade / concrete: typically ASTM F2170 (in-situ RH) or ASTM F1869 (calcium chloride)
– Wood subfloor / wood framing materials: moisture content testing aligned with ASTM D4442
Remember: “moisture test” isn’t a single action—it’s the right method applied correctly, with the same conditions during testing and installation. In 2026, moisture documentation is increasingly audited because claims are moving faster and proving negligence is harder when test logs are incomplete.
Clean, protect, and finish for a retail-ready surface
Finish for a retail store by controlling dust during finishing, using the exact finish system the manufacturer specifies, and protecting the surface immediately after curing begins. In retail, the finish is often “tested” by deliveries and trades long before it’s truly ready for abrasive grit.
A common finish failure mode is contamination—sanding dust, residues, and oils can cause haze, weak bonding, or tackiness if finishes are applied before surfaces are truly clean (NWFA — Wood Flooring Installation Guidelines).
Retail protection planning needs to start immediately after finishing because opening-week activity (rolling carts, signage crews, equipment moves) increases scuffing and grit risk.
Use a finishing workflow that minimizes airborne contamination
Your workflow should separate:
1. sanding/cleaning steps
2. finish application steps
3. protection steps
Avoid letting people walk through sanding dust zones. Use staged clean-up procedures:
– thorough vacuuming between steps
– lint-free wiping methods approved for your finish system
– managing airflow so dust doesn’t settle on wet finish
Apply primer and topcoats per the manufacturer’s system
Use the exact primer and topcoat products specified for your hardwood and finish type. Don’t substitute “similar” chemistries or mix brands unless the manufacturer explicitly allows it.
Also document:
– dry times and recoat windows
– curing times before protection removal
– sheen selection (retail reflections can highlight surface defects)
Protect the floor during tenant build-out
Protection is not “optional extra.” Retail environments typically include:
– delivery trucks and carts
– rolling stools and ladder traffic
– point loads from equipment staging
– dust-generating trades (electrical, millwork, tiling adjacent areas)
A protection plan should include:
– floor-rated coverings designed for finished floors
– walk-off mats and controlled entry paths (especially near entrances)
– racking/ramps to prevent edges from becoming scuff zones
In my experience coordinating showroom turnovers, the most expensive damage often shows up in the first week—not from the finish itself, but from grit being tracked across “almost-cured” coatings.
Solid vs. engineered: where prep emphasis shifts
Here’s a practical contrast you can use when sequencing work and coordinating moisture checks:
| Topic | Solid hardwood | Engineered hardwood |
|---|---|---|
| Moisture sensitivity (movement) | Typically more movement-prone across wide boards if jobsite humidity swings. | Often more dimensional stability due to plywood construction, but still requires correct subfloor moisture/conditioning. |
| Common installation risk if base is out of spec | Gapping and telegraphing can become visible after acclimation. | Edge lifting or failed bonding if glue-down substrates aren’t clean/flat. |
| Retail build-out protection needs | High—site-finished coatings especially can be scuffed before full curing. | Still high—factory finish can scratch, and dust can reduce gloss uniformity. |
| What to prioritize during prep | HVAC stability and moisture documentation paired with flatness. | Moisture limits for the specific product plus strict cleanliness for the adhesive/nailing system. |
What can go wrong (and how to avoid it)
Retail hardwood issues usually come from one of three categories: moisture swings, a non-flat base, or finish contamination during/after finishing. The fixes are boring but effective: follow moisture/alignment specs, verify flatness, and control dust and traffic through the cure window.
Gapping and buckling are classic outcomes when jobsite humidity changes after installation—often from skipped acclimation or inconsistent HVAC control during prep (NWFA — Wood Flooring Installation Guidelines).
Cupping correlates strongly with an uneven moisture balance and/or uneven subfloor conditions, so flatness and moisture testing must be addressed together—not separately.
Gaps or buckling from moisture swings
In a retail build, HVAC schedules change. That means:
– The store “targets” might be met only on paper.
– Moisture gradients form between subfloor and finished surface.
Avoidance:
– run HVAC during acclimation and through installation window
– keep documentation of temperature/RH readings
– delay install if jobsite conditions cannot match the manufacturer’s requirements
Cupping or uneven wear from a non-flat base
Even excellent boards can fail on a wavy or out-of-flat substrate:
– nail-down systems can loosen at high/low transitions
– glue-down systems can fail to bond consistently
Avoidance:
– verify flatness before installation
– correct high/low areas and confirm after remediation
– avoid “patching and hoping” as a substitute for measured flatness
Finish haze, tackiness, or premature wear
Finish problems usually trace to:
– dust on the surface
– oils from hands/footwear
– rushing recoat/cure schedules
Avoidance:
– clean properly before coating
– follow exact primer/finish system schedule
– protect during the full cure window—don’t remove coverings just because it “feels dry”
Verdict and a quick retail-floor checklist
If you want the safest path to a stable, retail-ready hardwood floor, prioritize three things: (1) follow the flooring manufacturer’s moisture + acclimation instructions, (2) prep the subfloor until it’s clean and truly flat, and (3) protect the finish during the messy parts of tenant build-out. The downside is coordination—HVAC must run, testing may delay install, and protection materials add labor.
Skip or pause this approach if you can’t control store conditions (HVAC off, extreme humidity swings) or you don’t have access to the manufacturer’s installation and finish specifications.
Scan/save checklist (printable)
| Prep Step | What to Verify | Done? |
|---|---|---|
| HVAC/conditions set | Store temp + humidity match flooring instructions | ☐ |
| Acclimation completed | Time + conditions followed for your product | ☐ |
| Flooring inspected | No damaged/warped boards installed | ☐ |
| Subfloor cleaned | Dust/debris/old residue removed | ☐ |
| Subfloor flat | High/low issues corrected before install | ☐ |
| Moisture tested | Correct test method + limits meet guidelines | ☐ |
| Installation complete | Fasteners/adhesives used per method & spec | ☐ |
| Finish applied properly | System and recoat/cure times followed | ☐ |
| Surface protected | Covers/ramps used during deliveries & setup | ☐ |
| Opening-week plan | Traffic control to avoid grit on fresh finish | ☐ |
Frequently Asked Questions
What steps should I take to prepare hardwood floors before installing them in a retail store?
Start by confirming the subfloor is level, clean, and dry, since unevenness can cause squeaks and gaps in hardwood planks. Acclimate the hardwood to the retail store’s temperature and humidity for the recommended timeframe to prevent cupping or expansion after install. Then remove any dust or debris, check moisture levels, and address repairs before floor installation. Finally, plan for a durable finish approach appropriate for high foot traffic and daily retail cleaning.
How do I acclimate hardwood floors for a commercial retail environment?
Store the planks in the retail space where they’ll be installed, with HVAC running to approximate normal operating conditions. Monitor temperature and relative humidity, and acclimate hardwood according to the flooring manufacturer’s guidelines (often about several days, depending on conditions and plank type). This step helps minimize post-install movement that can lead to gaps, buckling, or finish issues. Keep the area consistent—retail stores often cycle temperatures, so avoid sudden swings during acclimation.
Why is subfloor moisture testing important when preparing hardwood floors for retail use?
Moisture is one of the most common causes of hardwood flooring failure, including warping, separation, and finish clouding. Testing ensures the subfloor and slab meet the acceptable moisture limits for the specific hardwood and installation method you’re using. In retail stores—where floors endure constant traffic and frequent cleaning—fixing moisture problems after installation is costly and disruptive. A proper moisture plan protects your investment and improves long-term performance.
Which surface prep tasks should I complete before finishing hardwood floors in a retail store?
After installation, inspect for loose boards, squeaks, or uneven edges, then sand properly to create a smooth, consistent surface for the retail-grade finish. Clean thoroughly to remove dust—especially sanding residue—so the sealer or stain bonds correctly. Use appropriate primers and products compatible with your hardwood type and chosen finish system. For retail environments, prioritize durable coatings (such as commercial-grade urethane systems) to handle scuffs, spills, and regular maintenance.
Best practices for prepping and protecting hardwood floors during retail construction and after opening?
Use floor protection materials like breathable coverings and avoid dragging tools or heavy equipment across the planks, which can scratch the surface before the final finish cures. Control dust during construction with proper masking and housekeeping, since fine debris can embed in wet coatings and compromise appearance. After opening, implement entry mats, a quick-dry spill protocol, and non-abrasive cleaning methods to maintain the finish. If you’re planning frequent renovations, consider a maintenance schedule tailored for commercial retail flooring to reduce wear and keep the floors looking consistent.
📅 Last Updated: October 17, 2026 | Topic: How to prepare a hardwood floors for retail store? | Content verified for accuracy and freshness.
References
- Wood flooring
- https://www.osha.gov/dust/wood-dust
- https://www.cdc.gov/niosh/topics/wooddust/
- Lead Renovation, Repair and Painting Program | US EPA
- Moisture testing | NWFA
- https://scholar.google.com/scholar?q=hardwood+floor+preparation+moisture+testing+acclimation+sanding+finishing Google Scholar
- https://scholar.google.com/scholar?q=wood+floor+installation+subfloor+preparation+moisture+requirements+commercial+retail Google Scholar
- https://scholar.google.com/scholar?q=hardwood+floor+refinishing+lead-safe+work+practices+wood+dust+silica Google Scholar

[…] to picking the right wood species, finish system, and installation details that can handle spills, heavy foot traffic, and frequent cleaning. Start by matching the floor to your traffic level and moisture exposure, […]