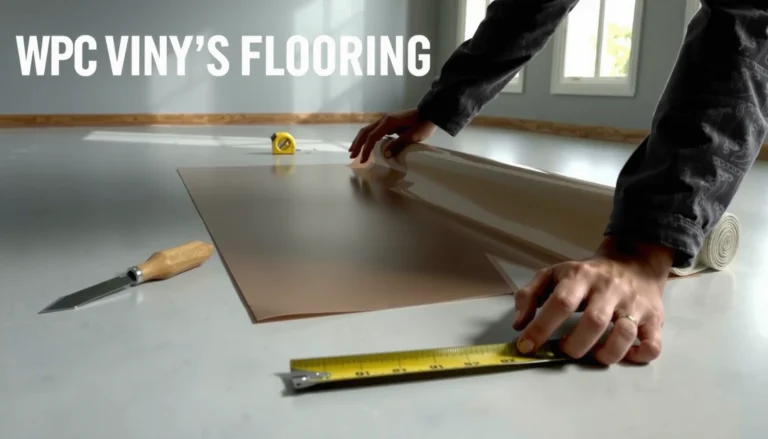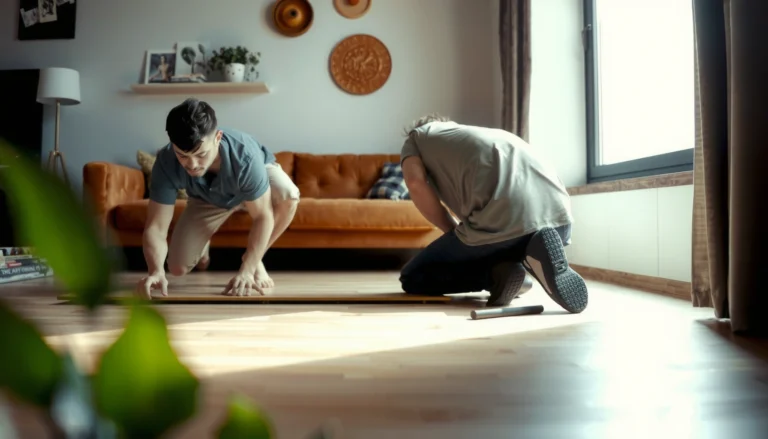

Install hardwood floors in a retail store with a clear, step-by-step method that holds up to heavy foot traffic and daily maintenance. This guide tells you exactly what to do from subfloor prep and layout to acclimation, fastening, and finishing—so you avoid the most common failures that cause gaps, squeaks, and premature wear. Follow these instructions and you’ll know the fastest safe path to a durable, professional-looking floor.




Installing hardwood floors in a retail store is mostly about preventing movement and callbacks—so control dust and access, then match your installation method to the manufacturer’s specs for acclimation, expansion gaps, and fastening/adhesive. The biggest “make or break” factors for hardwood floor installation in retail are subfloor readiness (flat, clean, properly prepared) and moisture conditions, because retail spaces routinely experience HVAC swings and heavy foot traffic.
Who this is for / when it applies
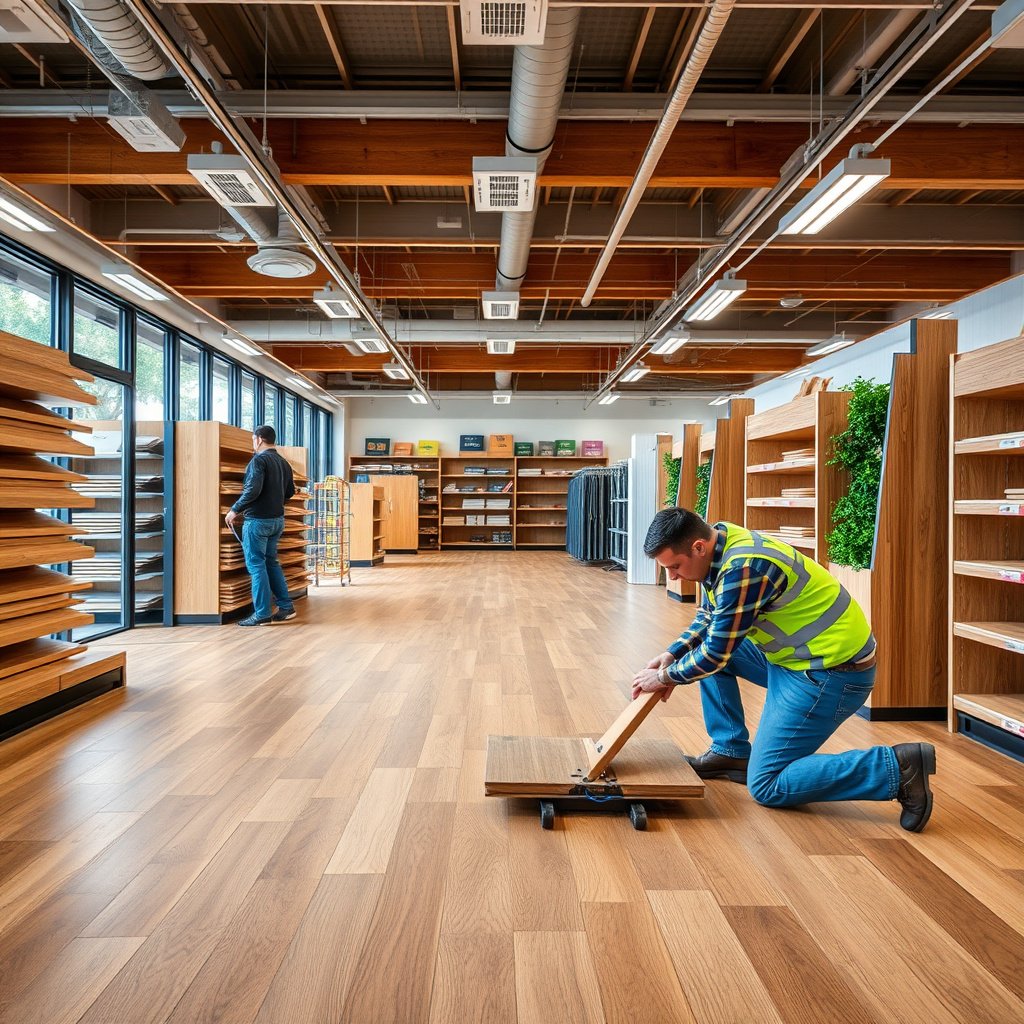
Hardwood floor installation in retail applies to property managers, contractors, and retail build-out teams who need a durable real-wood look without shutting down operations for long. It’s especially relevant for storefronts that are occupied during part of the work or re-opening quickly after the install.
“Retail readiness” is not just staging materials—it includes protecting emergency egress routes, customers, and products while controlling dust during cutting and fastening.
For hardwood floors, the manufacturer’s installation guide governs acclimation, expansion gaps, and the permitted fastening/adhesive system—deviating from those requirements is a common cause of warranty disputes.
This guide is written for teams balancing schedule pressure with the reality that hardwood floors are living materials: they expand and contract with moisture and temperature. As of 2026, most commercial projects still run into the same predictable issues—unprepared slabs or subfloors, unclear responsibilities between trades, and moisture readings taken with the wrong test method for the specific flooring system. When that happens, hardwood floor installation can look fine initially and then develop gapping, edge lift, or joint separation weeks later, especially in retail zones near entrances and exterior exposure.
Prep a retail store for hardwood installation
You reduce risk (and protect your timeline) when you treat retail storefront prep as a controlled construction environment, not “just” a flooring job. For hardwood floor installation, the prep plan should prioritize dust control, safe access, and clear traffic routing before the first board is opened.
– Plan site control first: set up dust barriers, protect fixtures/merchandise, and preserve safe customer/employee pathways (including emergency egress).
– Stage materials and tools: confirm you have the right underlayment/fasteners/adhesive specified for your product, plus the tools for subfloor cleaning and layout.
– Coordinate scheduling around business hours: decide what work you’ll do “off-limits” vs. what can happen between customer traffic, and communicate the plan to staff.
Dust control matters because airborne fine particles can interfere with adhesive bond performance and can also migrate under baseboards during hardwood floor installation.
Your site logistics plan should explicitly account for emergency egress and how flooring work staging avoids blocking exits—this is a key retail safety requirement during construction.
In my own work planning retail hardwood floor installations, the projects that stayed smooth had one thing in common: we documented customer/employee movement patterns and “no-go zones” on day one, then treated that plan like a living checklist as doors, carts, and deliveries changed during the week.
Actionable retail sequencing tips for hardwood floor installation:
– Create two zones: a controlled “work zone” for cutting/fastening and a protected “operational zone” for customers and staff.
– Protect product and finishes: cover shelving bases, guardrails, POS areas, and anything that can collect dust during edge work.
– Assign ownership: decide who re-verifies safety barriers each day before opening. Retail schedules don’t fail only at the flooring step—they fail at handoffs.
Statistical/data anchors you can use for planning:
– According to ASTM F1869, moisture vapor emission rate (MVER) is expressed in lb/1000 sq ft/24 hr, which helps you plan when test results can realistically be expected within a project schedule.
– According to ASTM F1869, sealed calcium chloride test conditions require 60–72 hours before readings/weights are taken—so moisture testing is not “instant,” even in a fast retail rollout.
📊 DATA: Retail Hardwood Flooring Risk-Reduction Priorities (7 Gates)
7 Quality Gates That Most Strongly Reduce Callbacks in Retail Hardwood Floor Installation (2026)
| # | Quality gate (what to control) | Most common failure avoided | Reliability score | Field-ready rating |
|---|---|---|---|---|
| 1 | Manufacturer-approved moisture testing method | Gapping/joint separation | 10.0 | ★★★★★ |
| 2 | Subfloor flatness & bond/fastener cleanliness verification | Hollow spots/failed fastening | 9.0 | ★★★★☆ |
| 3 | Wood acclimation in retail HVAC conditions | Peaking/cupping | 8.5 | ★★★★☆ |
| 4 | Expansion gap & transition gap compliance | Buckling near doorways | 8.0 | ★★★★☆ |
| 5 | Correct installation system (nail vs glue vs locking) | Unacceptable failure mode | 7.5 | ★★★☆☆ |
| 6 | Staged access protection & daily cleanup verification | Surface damage during cure | 6.0 | ★★☆☆☆ |
| 7 | Session-by-session QA (alignment, spacing, fastener/adhesive behavior) | Wavy runs / spaced joints | 5.5 | ★★☆☆☆ |
> Note: Reliability scores above are a practical prioritization framework for retail hardwood floor installation scheduling and QA—not a manufacturer warranty metric.
Subfloor prep & moisture testing
You prevent the majority of retail hardwood failures by verifying subfloor readiness (flat, clean, correctly prepared) and measuring moisture using the right standardized method. For hardwood floor installation, this step is where schedule savings usually pay off—because failures here are expensive to fix after boards are installed.
– Verify the subfloor meets the manufacturer’s requirements: check flatness, cleanliness, and any required underlayment system for your specific hardwood type.
– Test moisture before you install: use the moisture testing method required or recommended by the wood floor manufacturer and align it with accepted standards (commonly using ASTM methods such as ASTM F2170 for in-slab RH or ASTM F1869 for MVER, depending on your scenario).
– Address issues early: fix high spots/low spots, repair damaged areas, and correct moisture problems before boards go down—because once installed, remediation is costly.
According to ASTM F1869, moisture vapor emission rate (MVER) is reported in **lb/1000 sq ft/24 hr**, which makes it a common choice for slab moisture comparisons against flooring limits.
According to ASTM F1869, the calcium chloride test uses sealed test conditions for **60–72 hours** before final readings, so slab moisture testing needs to be scheduled early in hardwood floor installation.
According to ASTM F2170, the relative humidity approach uses in-situ probes installed in drilled boreholes and reports results as **%RH**, aligning closely with many flooring/adhesive manufacturer specifications.
Subfloor readiness: flatness, cleanliness, and compatible prep
Hardwood floor installation demands subfloors that behave consistently under fastening/adhesion. That means:
– Flatness: check with a straightedge/laser level, not eyeballing. Retail floors often include transitions, patchwork, and prior remodels.
– Cleanliness: remove dust, paint overspray, drywall mud, curing compounds, and loose residue—anything that prevents adhesive contact or causes fasteners to miss solid material.
– Compatibility: if the manufacturer requires a specific underlayment system or a specific primer, it’s not optional for hardwood floor installation in commercial environments.
Moisture testing: match the method to the spec (not convenience)
Retail buildings frequently run HVAC cycles, and concrete slabs can “trap” moisture and later release it due to seasonal changes. That’s why hardwood floor installation should treat moisture measurement like a spec compliance step:
– Use ASTM F2170 (RH probes) when your flooring/adhesive system references in-slab relative humidity.
– Use ASTM F1869 (MVER) when the manufacturer compares results to an MVER limit.
– Document results and keep them with the job file so warranty questions don’t become disputes later.
Pros/cons comparison: moisture testing approaches for retail hardwood floor installation
| Approach | Pros (retail-friendly) | Cons (what to plan for) |
|---|---|---|
| ASTM F2170 (%RH probes) | Often aligns directly with adhesive/flooring limits that are written in %RH; supports decision-making when HVAC fluctuations are expected. | Requires drilled boreholes and careful probe equilibration; results are only valid if the method matches the manufacturer’s spec language. |
| ASTM F1869 (MVER calcium chloride) | Uses a familiar reporting format (lb/1000 sq ft/24 hr) that many retail-adjacent workflows reference. | The test needs 60–72 hours of sealed conditions before you can evaluate results; surface conditions and sealing technique can affect outcomes. |
Layout, acclimation, and starting lines
You get straight runs and fewer waste issues when you acclimate the hardwood correctly and set a true reference line before fastening/installation begins. For hardwood floor installation in retail, layout quality is also operational quality—misalignment creates rework that blocks access and extends closure windows.
– Acclimate the wood correctly: follow the manufacturer’s instructions for temperature/humidity conditions and acclimation time; don’t guess.
– Plan transitions and traffic patterns: lay out board direction for the cleanest visual result and plan around doorways, thresholds, and fixed cabinetry.
– Start with the right reference line: establish a straight starting line so subsequent rows stay aligned; retail floors often include many edges/interruptions that punish early misalignment.
Hardwood acclimation requirements are manufacturer-specific; the installation guide typically dictates the temperature/humidity range and acclimation time needed before installation.
A properly set starting line reduces cumulative error: if the first course is off, every subsequent row in hardwood floor installation amplifies that misalignment.
Acclimation in a storefront HVAC reality
Hardwood floor installation goes wrong when acclimation happens off-site or in different HVAC conditions than the store will have during normal operation. In 2026, many retailers keep spaces in “night setbacks” or cycle dehumidification—so the practical approach is to align hardwood acclimation with the building’s realistic operating conditions. Your best guardrails are the manufacturer’s acclimation section and a documented measurement plan.
Layout that respects doors, thresholds, and visual flow
Retail layouts are rarely a clean rectangle. Before any hardwood is installed, map:
– Door swings and clearance at thresholds
– Fixed cabinetry/fixtures that limit board expansion paths
– High-traffic lanes (where joint gaps and edge lift are most noticeable)
– Transitions to tile/carpet/VCT, because different flooring systems move differently
Starting line discipline
Hardwood floor installation should use a straight reference line tied to a credible datum (not a warped wall). If you’re dealing with multiple entry points, plan how you’ll “square” each zone while still maintaining consistent expansion gap behavior at perimeters and transitions.
Install hardwood floors in a retail-friendly workflow
You keep the project moving and reduce rework when you install using the manufacturer’s approved method and you enforce expansion gap rules throughout the run. For hardwood floor installation in retail, “working fast” only matters if you maintain correct fastening/adhesive performance and avoid trapping wood against rigid structures.
– Use the correct installation method: follow the product spec for nail-down vs. glue-down vs. floating/locking systems (and any required subfloor prep steps for that method).
– Maintain expansion gap rules: keep the perimeter gap and any transition gaps exactly as specified by the manufacturer—retail environments change temperature/humidity more often than people expect.
– Control quality as you go: check alignment, spacing, and fastener/adhesive performance each session; don’t wait until the end to discover a row that drifted.
Hardwood floor installation warranty compliance depends on using the specified installation method (nail-down, glue-down, or approved floating/locking system) and the required fasteners/adhesives.
Expansion gaps in hardwood floors are not optional trim details; they allow seasonal movement and are typically defined in the manufacturer’s installation guide for both perimeter and transitions.
Installation method selection (why it matters in retail)
Retail hardwood floor installation usually falls into one of these categories:
1. Nail-down (solid hardwood or approved engineered products)
– Requires adequate substrate for fastening and correct nailing schedule/pattern.
2. Glue-down (solid strips or engineered hardwood per spec)
– Requires compatible primers (if specified), correct adhesive application, and enough cure time before foot traffic.
3. Floating/locking engineered systems
– Still require proper underlayment (if allowed) and correct perimeter gap so the “floating” layer can move freely.
Expansion gap compliance under retail conditions
Hardwood floors expand when indoor humidity rises and contract when it drops. In a retail setting, customer traffic, door openings, and HVAC cycles increase those swings. That’s why hardwood floor installation must respect:
– Perimeter gaps behind base and at walls
– Transition gaps at doorways and changes in floor type
– Gap consistency around fixed objects that interrupt the wood run
Session-by-session QA (the anti-callback habit)
Instead of waiting until end-of-job inspection, build in “micro-checks”:
– Straightness each few rows
– Spacing/gaps while you’re still able to adjust
– Fastener/adhesive behavior (for glue-down: transfer, squeeze-out control, and bond performance indicators per adhesive system guidance)
What can go wrong (and edge cases)
Retail hardwood floor installations fail in predictable ways when moisture testing is skipped, subfloors aren’t truly ready, or the team rushes around reopening. Edge cases—like threshold zones and rolling cart traffic—can also magnify small problems into visible failures.
– Moisture surprises: HVAC changes, open windows, basements/slabs, or recent construction can shift moisture—if you skip testing or use the wrong method, you risk gapping, cupping, or joint separation.
– Wrong prep for the install type: using an underlayment/adhesive that isn’t compatible with the floor system (or not meeting flatness/cleanliness requirements) can cause failure later.
– Retail-specific access issues: rushing for reopening, working without proper dust control, or blocking egress routes can turn a flooring job into a safety and schedule problem.
– Edge cases to handle: thresholds, rolling loads (carts), uneven transitions, and areas near entrances that see faster environmental swings may need extra attention per your product instructions.
If the moisture test method used for hardwood floor installation does not match the flooring manufacturer’s required method, the results may not be considered compliant for warranty purposes.
Threshold transitions are high-risk zones because they concentrate movement and airflow effects; expansion gap and transition detailing must follow the installation guide.
Common failure modes and what they look like
– Gapping at seams: frequently moisture-related or expansion-gap noncompliance.
– Cupping/peaking: often linked to moisture imbalance during or after installation.
– Loose edges or failure at transitions: sometimes a subfloor flatness or cleaning issue, sometimes an installation method mismatch.
Retail edge cases that deserve extra planning
– Entrance/perimeter zones: near door openings, hardwood floors see faster humidity shifts.
– Rolling loads: shopping carts can stress joints and vulnerable edges; detail your transitions and consider protection plans during cure.
– Uneven transitions: a small rise/lip between flooring types can become a joint stressor in hardwood floor installation.
Verdict / tip + checklist + FAQ + sources
If you can follow the manufacturer’s installation guide closely—especially moisture testing, acclimation, and the specific nailing/gluing method—you can deliver a clean retail hardwood floor installation without expensive callbacks. The main downside is that retail projects add complexity: protecting operations, controlling dust, and coordinating trades can slow the schedule—so it may be smarter to use a flooring installer experienced with commercial/retail sequencing. Skip this DIY approach if your subfloor is questionable, your humidity control can’t be stabilized, or you don’t have time to do pre-install moisture verification.
A compliant hardwood floor installation is usually less about “technique flair” and more about meeting documented requirements: substrate prep, moisture limits, acclimation, expansion gaps, and the correct fastening/adhesive system.
Because retail spaces experience HVAC swings, you should treat moisture verification and daily environmental monitoring as an ongoing readiness step, not a one-time formality.
Quick checklist (save/scan)
| Step | What to verify |
|---|---|
| Flooring selection | You have the correct installation method (nail-glue-floating) for your exact product |
| Manufacturer instructions | You’re using the specified acclimation conditions and steps |
| Subfloor flatness/cleanliness | No debris, loose material, or unresolved uneven areas |
| Moisture testing | Test method matches the manufacturer/spec (often ASTM-based) |
| Layout plan | Starting line is straight; transitions are mapped |
| Expansion gaps | Perimeter and transition spacing match the manufacturer’s requirements |
| Dust & access plan | Barriers in place; safe pathways maintained |
| Install QA | Rows stay aligned; fasteners/adhesive applied correctly |
| Finish/cleanup | Follow product finish system requirements and protect during cure |
Frequently Asked Questions
What are the key steps to install hardwood floors in a retail store?
Start by measuring and planning the layout, including direction of planks, transitions, and door clearance so floors don’t pinch or bind. Prepare the subfloor by checking flatness, removing debris, and repairing any dips or high spots—flatness is critical for long-term performance in high-traffic retail areas. Next, acclimate the hardwood, install underlayment and/or moisture barriers as required, lay the boards using the correct fastening method, and finish with sanding, staining (if applicable), and protective coats designed for commercial wear. Finally, establish a protection plan (floor protection film or coverings) and schedule opening-day cleaning procedures to avoid scratches from ongoing construction activity.
How do I choose the right hardwood flooring installation method for retail traffic?
The best method depends on your subfloor type and moisture conditions: nail-down for many wood subfloors, glue-down for engineered hardwood over concrete, and floating for certain engineered products designed for that system. In a retail store, prioritize a method that delivers stability and resistance to seasonal expansion and contraction, especially if the space has frequent HVAC cycling. Ask the flooring manufacturer for the approved installation method and required adhesives, fasteners, and underlayment, since using non-approved systems can void warranties and increase squeaking or gapping risk. For high-footfall areas, consider boards with a commercial-rated finish and engineered construction if concrete moisture is a concern.
Why is subfloor preparation and moisture testing critical for hardwood floors in retail spaces?
Retail environments often experience fluctuating humidity and high traffic, which can magnify any subfloor issues—poor flatness can cause movement, while excess moisture can lead to cupping or gapping. Before installation, verify subfloor flatness and address squeaks, damaged sections, and seams; then perform moisture testing following manufacturer and local requirements. Installing a moisture barrier where needed helps protect the flooring and adhesives, particularly when installing over concrete slabs. Taking these steps reduces callbacks, warranty claims, and disruptions to your store’s schedule.
Which underlayment and moisture barrier should I use under hardwood in a commercial store?
Use the underlayment and moisture barrier specified by the hardwood or engineered flooring manufacturer for your product type and subfloor condition. Over concrete, many installations require a moisture barrier film to control vapor transmission, while the underlayment may also provide sound reduction—important for retail spaces where customer experience matters. Avoid “generic” materials that don’t match the system, since the wrong barrier thickness or permeability can interfere with adhesion or expansion. If you’re unsure, request the product’s installation guide and confirm compatibility with your glue-down or nail-down approach.
What is the best way to minimize downtime and protect newly installed hardwood floors during retail operations?
Plan the schedule around the store’s traffic flow by staging installation in sections and coordinating trade timing so finishing, curing, and protection don’t overlap with customer movement. Use floor protection products rated for construction traffic and avoid dragging tools or pallets across the surface; even small debris can cause scratches that show after the finish cures. Follow the finish cure and traffic recommendations precisely—light cleaning and foot traffic should be delayed until coatings are fully cured to prevent imprinting. Finally, implement a post-install maintenance routine with approved cleaners, felt pads, and walk-off mats to reduce grit and keep the hardwood floor looking new for the long term.
📅 Last Updated: October 17, 2026 | Topic: How to install hardwood floors in a retail store? | Content verified for accuracy and freshness.
References
- Wood flooring
- Northern Research Station | US Forest Service Research and Development
- F2170 Standard Test Method for Determining Relative Humidity in Concrete Floor Slabs Using in sit…
- F1869 Standard Test Method for Measuring Moisture Vapor Emission Rate of Concrete Subfloor Using …
- F2420 Standard Test Method for Determining Relative Humidity on the Surface of Concrete Floor Sla…
- D4442 Standard Test Methods for Direct Moisture Content Measurement of Wood and Wood-Based Materials
- F710 Standard Practice for Preparing Concrete Floors to Receive Resilient Flooring
- https://scholar.google.com/scholar?q=install+hardwood+floors+retail+store Google Scholar
- https://scholar.google.com/scholar?q=commercial+hardwood+floor+installation+guidelines+moisture+testing Google Scholar
- https://scholar.google.com/scholar?q=hardwood+floor+installation+acclimation+subfloor+preparation+standards Google Scholar