
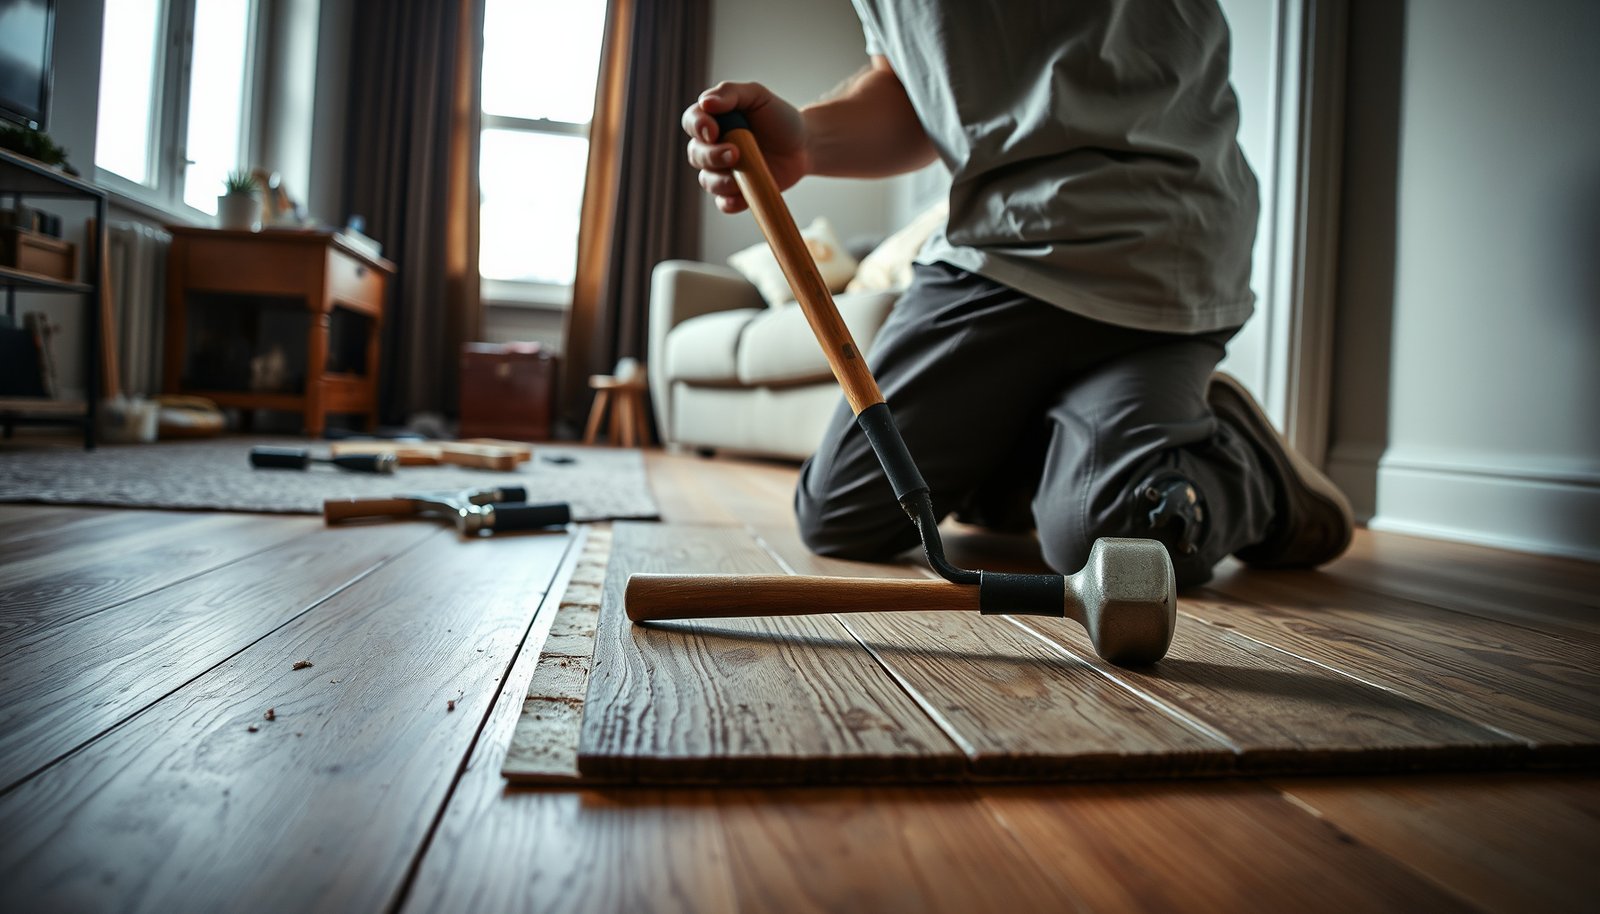

Need to remove hardwood floors from an apartment? This step-by-step guide tells you exactly how to take up planks, handle nails or staples, and prep the subfloor safely—without guesswork. If you’re replacing flooring or reclaiming space, follow the clear sequence to remove the boards efficiently and protect the underlying surface.



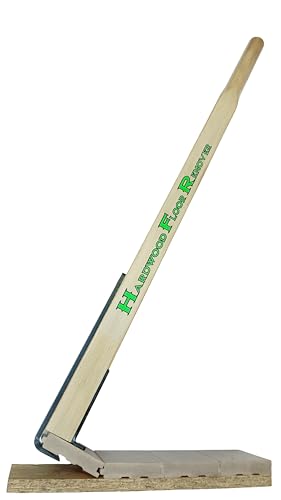
If you want to remove hardwood floors in an apartment, the fastest path to a clean, low-damage result is to identify whether the planks are nailed-down or glued-down, then use the correct pull-up sequence to protect the subfloor. Most apartment damage comes from rushing—especially around trim removal and adhesive residue—so plan dust control up front and expect glue-down removal to take longer.
If you’re a tenant (or doing a gut-out before installing new flooring), this is for you—especially if you need the boards to come up without wrecking the apartment’s subfloor. It’s also relevant when you’re unsure what’s under the floor (underlayment, nail-down underlayment, or adhesive residue).
Identify fastening type and floor construction
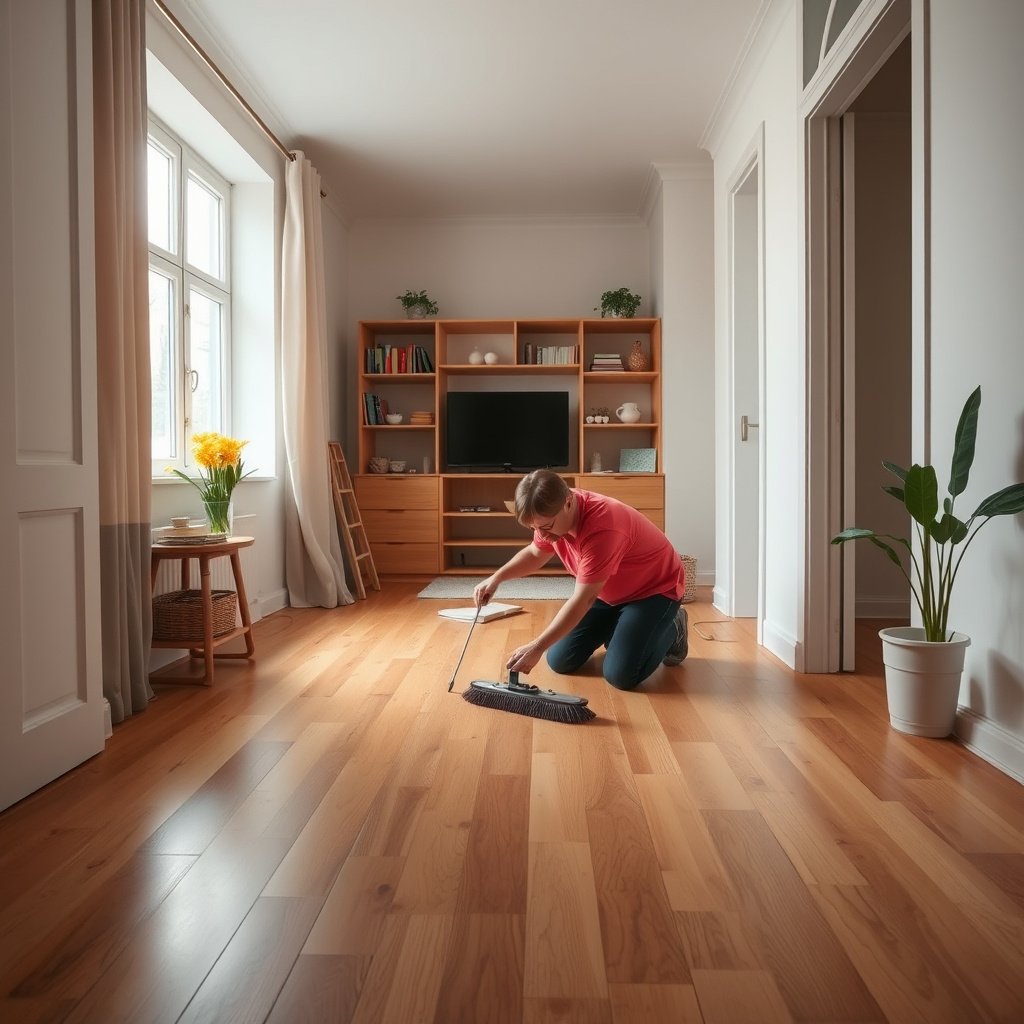
Nail-down vs. glue-down determines almost everything: the tools you use, how you start pulling, and how much subfloor repair you’ll likely need. Get this right first, and you can usually remove hardwood flooring more cleanly in an apartment.
“Respirable crystalline silica” exposure is regulated when grinding or disturbing concrete/masonry; hardwood removal can still create hazardous dust if you sand or scrape aggressively—use controls appropriate for dust-generating tasks.
OSHA sets the respirable crystalline silica PEL at 50 µg/m³ as an 8-hour TWA, and the action level at 25 µg/m³ as an 8-hour TWA under 29 CFR 1926.1153 (OSHA, 29 CFR 1926.1153).
Check how the planks are secured (nails/staples vs. adhesive)
Start with a visual inspection and a cautious test at an edge or transition area where the floor meets a doorway or wall.
– Nail-down signs (common in apartments with nail-based installs):
– You can sometimes see nail/staple lines, especially along board seams.
– At an edge, the plank may lift in a way that suggests mechanical fasteners rather than continuous bonding.
– Glue-down signs (most “stuck” floors):
– No nail heads; instead, you’ll see adhesive squeeze-out or residue near edges/joints.
– The floor may look uniformly bonded across the board surface rather than “point-fastened.”
In my experience coordinating apartment turn-over removals, the best “tell” is how the board behaves at the first millimeter of lift—nail-down boards often release in increments, while glue-down boards resist evenly until you disrupt the bond line.
Confirm the hardwood type (solid vs. engineered)
Apartment floors are often engineered hardwood (multi-layer). That matters because engineered planks can be more sensitive to aggressive scraping and can telegraph damage through to the next finish layer.
– Solid hardwood: often has more forgiving behavior during removal, but you still need gentle prying to avoid gouging.
– Engineered planks: may have thinner wear layers and may show edge damage more readily if you lever against the face.
Quick reality check before you commit
Use a small, careful “first contact” test:
– If you can lift a board edge and see mechanical separation (fasteners give you leverage), treat it as nail-down.
– If you lift and the board stays “welded” along the whole seam, treat it as glue-down and plan for adhesive cleanup.
Prepare the apartment for safe removal
Before you touch a pry bar, dust control and apartment protection are your main risk reducers. If you prepare for dust and debris first, hardwood removal becomes manageable instead of chaotic.
Using plastic sheeting to isolate work areas can reduce airborne dust spread into living spaces and hallways during flooring removal.
HEPA filtration is designed to capture extremely fine particles; respirator filter classes like N95/N99/N100 define minimum filtration efficiencies for particulate matter (NIOSH, 42 CFR Part 84).
Ventilate and control dust (don’t “just sweep”)
Apartment removal magnifies dust because you’re usually working close to HVAC returns, shared hallways, and other finishes.
– Ventilation:
– Open windows if allowed, and set up airflow that moves dust out of the work area (while still keeping neighbors’ risk in mind).
– Containment:
– Seal doorways and vents with plastic to prevent fine debris from migrating.
– Vacuum first, sweep never:
– Use a shop-vac with suitable filtration for fine dust and debris.
– Avoid dry sweeping, which redistributes fine particles.
Remove/cover furniture and protect adjacent surfaces
– Move furniture out of the room if possible.
– If you can’t move items, cover them with thick plastic and secure edges so dust can’t creep under the film.
– Protect vents, light fixtures, and any flooring outside the removal zone.
Confirm landlord/building rules and access constraints
In many leases, removing flooring requires:
– Written permission before demolition-level work
– Agreement on restoration/patching
– Rules about waste disposal and contractor access
If you’re unsure, ask before you start—repairing walls from trim damage is hard enough without risking lease violations.
━━━━━━━━━━━━━━━━━━━━━━━━━━━━━━━━━━━━━━━━━━━━━━━━━━
📋 MANDATORY DATA TABLE
━━━━━━━━━━━━━━━━━━━━━━━━━━━━━━━━━━━━━━━━━━━━━━━━━━
Insert one styled data table in the article. Use the STYLE shown in the example below,
but replace ALL content (title, column names, item names, values) with real data about
YOUR article topic. Do not copy the coffee-shop example — write your own real data.
USE THIS EXACT COLOR SCHEME for the header gradient: #263238 → #37474f | thead background: #455a64 | alt row: #eceff1
EXAMPLE (for a coffee article — shows the exact HTML structure to follow):
Top 7 Coffee Chains by Global Locations (2024)
| # | Brand | Locations | Founded | Revenue Growth |
|---|---|---|---|---|
| 1 | Starbucks | 36,170 | 1971 | +8.4% |
NOW write the same HTML structure above, but with 7 rows of real data about YOUR article’s topic.
━━━━━━━━━━━━━━━━━━━━━━━━━━━━━━━━━━━━━━━━━━━━━━━━━━
NIOSH Particulate Filter Classes Commonly Used for Hardwood-Removal Dust
| # | Filter class | Oil resistance | Protection rating | Min. efficiency @0.3 µm |
|---|---|---|---|---|
| 1 | N95 | Not oil resistant | ★★★★★ | 95% |
| 2 | N99 | Not oil resistant | ★★★★☆ | 99% |
| 3 | N100 | Not oil resistant | ★★★★★ | 99.97% |
| 4 | R95 | Some oil resistance | ★★★★★ | 95% |
| 5 | R99 | Some oil resistance | ★★★★☆ | 99% |
| 6 | R100 | Some oil resistance | ★★★★★ | 99.97% |
| 7 | P100 | Oil-proof | ★★★★★ | 99.97% |
> Note: Filter classes are defined by NIOSH particulate filter testing; these minimum efficiencies at ~0.3 µm are described in the NIOSH respirator certification framework (NIOSH, 42 CFR Part 84).
Remove trim and pull up boards (nail-down vs glue-down)
Your removal workflow should start with trim/edge work and then proceed board-by-board in the direction that minimizes leverage against drywall and the subfloor. Nail-down usually comes up faster and cleaner; glue-down typically turns into slower, more adhesive-heavy demolition.
Scoring paint at trim-to-wall seams before prying reduces the chance of tearing drywall paper and paint—damage prevention starts before the first pry.
Using a pry bar incorrectly can convert “floor removal” into “subfloor gouging,” which then forces more leveling/patching before new flooring.
Remove baseboards/quarter round without wrecking walls
This is where many apartment projects go wrong.
– Score seams first: Use a utility knife to cut paint/caulk lines where trim meets wall.
– Pry in a controlled way: Work slowly and keep pressure near the fastener points.
– Avoid drywall tears: Pull trim without bending it sharply; bent trim often rips drywall at corners.
Nail-down floors: lift and de-fastener as you go
Nail-down removal is usually iterative: lift the board, remove the fasteners, repeat.
– Start at an edge, doorway, or transition where boards can release with less force.
– Use a pry bar or flooring puller to lift the first row.
– As boards lift, pull nails/staples immediately when accessible so you don’t fight the subfloor.
Goal: protect the subfloor surface so your next flooring installation has a stable, flat base.
Glue-down floors: plan for residue cleanup
Glue-down removal is slower because you’re separating the bond line, not removing fasteners.
– Work board-by-board to avoid uncontrolled tearing.
– Prefer scraping methods that don’t gouge the subfloor.
– Expect adhesive residue. Removal may require steps matched to the adhesive chemistry and your next flooring requirements.
To keep this “tenant-friendly,” focus on keeping the subfloor intact first, then handle residue methodically rather than aggressively.
Nail-down vs. glue-down: what changes in the real world?
This comparison helps you predict effort and damage risk before you start.
| Feature | Nail-down hardwood | Glue-down hardwood |
|---|---|---|
| Primary removal force | Lever lift around fasteners | Bond-line break + scraping |
| Subfloor risk | Moderate if prying is controlled | Higher from scraping pressure |
| Time per room | Typically faster (varies by layout) | Typically slower due to residue |
| Dust profile | More splinters/debris than fine dust | More fine particles from residue work |
| Chance of clean plank reuse | Better with careful pulling | Less likely without face-edge damage |
| Fastener removal step | Nails/staples come up during lift | No fasteners; focus shifts to adhesive |
| Leveling/patching later | Often minimal if handled gently | More likely due to residue removal/gouging |
| Method compatibility | Prying + targeted fastener work | Scrapers, adhesive removers (as specified) |
| Most common “apartment damage” | Trim tears and minor subfloor nicks | Subfloor gouges + residue-driven delays |
| Best stopping point | When fasteners are fully cleared | When residue meets next-install requirements |
| Best for | Clean subfloor protection + DIY-friendly scope | Projects where adhesives can be removed safely and thoroughly |
Clean up, protect, and prep the subfloor
Once the boards are up, the difference between “it looks fine” and “it installs correctly” is what you do to the subfloor afterward. Plan this phase carefully, because adhesive residue and fastener leftovers can ruin your next flooring performance.
Before installing new flooring, you typically must remove fasteners/staples and repair any damaged underlayment or subfloor dips to maintain a stable, flat surface.
Adhesive-remnant removal methods should follow manufacturer requirements to avoid trapping moisture or creating a weak bond layer under the next finish.
Remove fasteners and inspect the subfloor condition
After pulling boards:
– Pull remaining nails/staples or remove any protruding metal.
– Inspect for:
– Dips and low spots
– High spots
– Torn underlayment seams
– Delaminating patches
If you find damage, address it now—trying to “out-install” a bad base is usually more expensive and riskier later.
Clean adhesive residue the right way (especially for glue-down floors)
Glue-down removal almost always leaves residue. The key is compatibility:
– If the next flooring is floating/locking, residue and unevenness can still interfere with underlayment performance.
– If the next flooring is direct glue-down, the subfloor surface prep requirements are stricter.
Follow:
– The next flooring manufacturer’s installation instructions
– The adhesive manufacturer’s datasheet (if known)
– Any moisture mitigation steps required by your subfloor type
Protect the workspace so your apartment stays “livable”
Even if demolition is done, apartments need cleanup discipline:
– Bag and remove debris promptly.
– Keep the area ventilated during scraping/chemical residue work (if permitted).
– Avoid leaving residue on the subfloor overnight if your next step requires it to remain clean/dry.
What can go wrong
Hardwood removal in an apartment fails most often because people over-force prying, rush trim removal, or treat adhesive residue as if one scraper can solve everything. Plan around these failure modes and you’ll avoid most preventable damage.
OSHA’s respirable crystalline silica rule exists because certain construction tasks can generate hazardous airborne dust; any grinding or aggressive scraping should be paired with dust controls.
Under 29 CFR 1926.1153, OSHA uses an action level of 25 µg/m³ (8-hour TWA) and a PEL of 50 µg/m³ (8-hour TWA) for respirable crystalline silica (OSHA, 29 CFR 1926.1153).
You damage the subfloor
Common causes:
– Prying too hard (especially when boards fight back)
– Scraping too aggressively on glue-down adhesive
– Using the wrong angle when pulling near seams/edges
Outcome: permanent gouges that show through in new flooring, or require leveling/patching.
You create unsafe dust
Dust problems aren’t just “mess”—fine particles can travel and linger.
– Avoid sanding unless you can contain dust and use appropriate respiratory protection.
– Use vacuum filtration instead of sweeping.
– If you must mechanically remove residue, treat it like a dust-generating operation with controls.
You uncover hazardous materials in older buildings
If the apartment is in an older building, removing finishes can trigger hazard-management requirements (particularly for lead-based paint risk).
– If you suspect painted surfaces are present, check applicable federal and local rules before you do major disturbance work.
– Follow EPA guidance for lead-safe practices where required.
This article flags the issue, but you should confirm the requirements for your location: .
Verdict / tip
If you’re aiming for a clean, apartment-safe removal, nail-down hardwood is usually the most DIY-friendly scenario, while glue-down removal is the one that most often becomes a subfloor-prep project. If your apartment access is tight, your lease restricts demolition, or you can’t control dust, pause and hire help before you damage walls or the subfloor.
When you can remove trim without tearing drywall and lift the first boards from an edge/threshold, you reduce the risk of irreversible apartment damage.
Hardwood removal success depends on matching your residue-cleanup method to the subfloor and the next flooring system’s installation requirements, not just “getting the floor off.”
Downsides of DIY (so you can plan honestly)
Even when you do everything “right,” DIY has trade-offs:
– More time than expected, especially with glue-down residue
– Additional subfloor repair and leveling needs
– Higher risk of damaging trim/walls if you rush or guess fastener type
When you should skip DIY
Consider stopping and getting professional help if:
– The floor is heavily glued and you’re not confident about adhesive-remnant prep
– You can’t establish dust control in a shared apartment environment
– Your lease likely requires specific restoration steps you can’t meet
Quick checklist (scan/save)
| Task | What to watch for |
|---|---|
| Confirm nail-down vs glue-down | Wrong method = gouged subfloor / stuck planks |
| Remove baseboards/trim | Scoring seams prevents torn drywall |
| Lift first row/board | Start from an edge that gives you leverage |
| Dust control setup | Avoid dry debris cleanup; use vacuum with filtration |
| Subfloor inspection | Fix high spots/loose material before new install |
| Adhesive residue handling (if glued) | Don’t assume one scraper or solvent works |
Sources
– OSHA — Respirable crystalline silica requirements for construction-related work (e.g., 29 CFR 1926.1153) (OSHA, 29 CFR 1926.1153).
– U.S. EPA — Lead-based paint “Renovation, Repair and Painting” (RRP) Rule (40 CFR Part 745) (U.S. EPA, 40 CFR Part 745).
– NIOSH — Respirator certification framework and particulate filter performance requirements (42 CFR Part 84) (NIOSH, 42 CFR Part 84).
Removing hardwood floors in an apartment is mostly about choosing the correct method for your floor type, protecting the apartment during the messy parts, and not rushing the subfloor cleanup. Start by identifying nail-down vs. glue-down, prep for dust control, and remove trim carefully; if you hit stubborn glue or can’t meet safety/lease requirements, pause and hire help before you damage the subfloor or walls.
Frequently Asked Questions
What is the safest way to remove hardwood floors in an apartment?
Start by protecting the apartment areas with plastic sheeting, sealing doorways, and using dust-control methods because hardwood floor removal can create heavy debris. Check your lease and local rules before demolition, since many apartments require permission and may restrict nail-hole repairs or subfloor damage. When possible, remove baseboards and use a careful pry/cut approach to minimize damage to the subfloor and neighboring flooring.
How do I remove hardwood floors without damaging the subfloor?
Locate the floorboards’ fasteners (usually nails or staples) by checking along seams and near walls, then remove boards one row at a time using a pry bar and floor scraper. Use a reciprocating saw with a depth-controlled blade to cut nails if boards won’t lift cleanly, and pull gently to avoid gouging the plywood or subfloor. If the boards are nailed down, a pry-and-saw method is typically gentler than forcing with a heavy hammer.
Why does hardwood floor removal create so much dust and how can I reduce it?
Dust comes from sanding, scraping old adhesive, and pulling nail-down material that breaks into small particles. To reduce dust, use a HEPA shop vacuum, keep plastic containment in place, and avoid power tools when removing boards unless you use appropriate dust attachments. For apartments, consider scheduling removal when neighbors are less likely to be impacted and plan for daily cleanup to keep the area safe and compliant.
Which tools and supplies do I need to remove hardwood floors in a rental?
Common tools include a pry bar, floor scraper, utility knife, hammer, oscillating tool or reciprocating saw (with depth control), and a nail puller for stubborn fasteners. You’ll also want protective gear (gloves, eye protection, and a dust mask or respirator), plastic sheeting for containment, and a HEPA vacuum to handle hardwood dust. Supplies like painter’s tape and marker labels help you keep track of plank orientation so reinstallation or patching is easier if required by the lease.
Best practices for removing glue-down vs. nail-down hardwood floors in an apartment?
For nail-down hardwood, remove trim/baseboards first, then pry up planks starting from an edge and detach fasteners as you go to preserve the subfloor. For glue-down hardwood, use heat and scraping carefully, but avoid over-aggressive grinding that can damage plywood—often, adhesive removal requires controlled scraping and solvent/adhesive remover depending on the product. In both cases, test a small area first to determine the installation method, and plan for subfloor leveling or patching afterward if you’ll be restoring the apartment flooring.
📅 Last Updated: October 17, 2026 | Topic: How to remove hardwood floors from a apartment? | Content verified for accuracy and freshness.
References
- Wood flooring
- Lead paint
- Lead Renovation, Repair and Painting Program | US EPA
- Wood Dust – Overview | Occupational Safety and Health Administration
- https://www.cdc.gov/niosh/topics/wooddust/
- Asbestos | US EPA
- Lead – Overview | Occupational Safety and Health Administration
- https://scholar.google.com/scholar?q=how+to+remove+hardwood+flooring Google Scholar
- https://scholar.google.com/scholar?q=hardwood+floor+removal+techniques+subfloor Google Scholar
- https://scholar.google.com/scholar?q=removing+flooring+lead-safe+work+practices+hardwood Google Scholar


