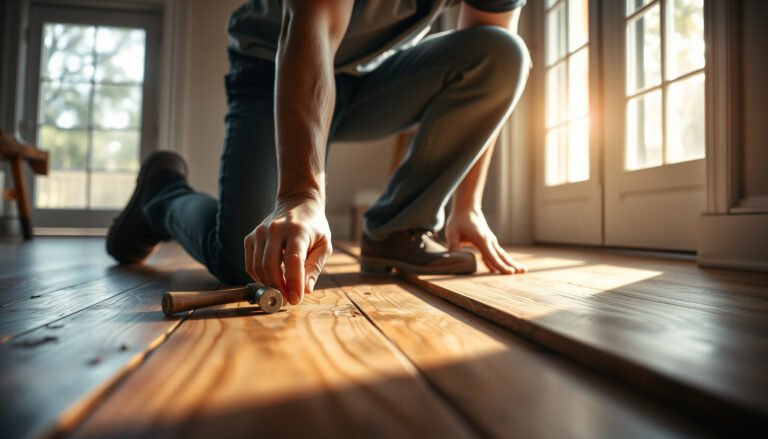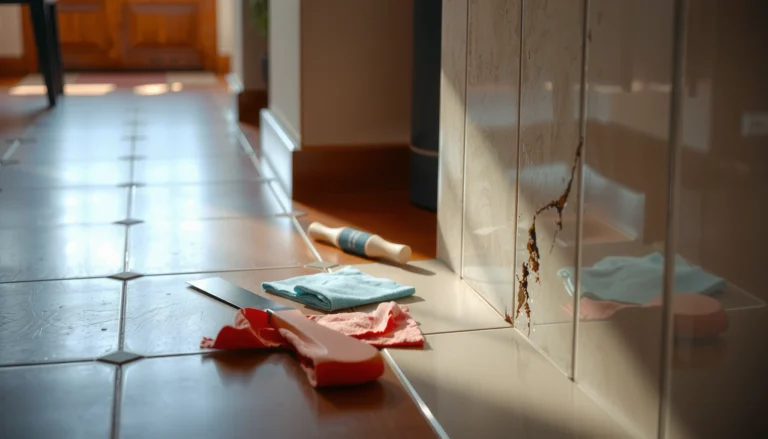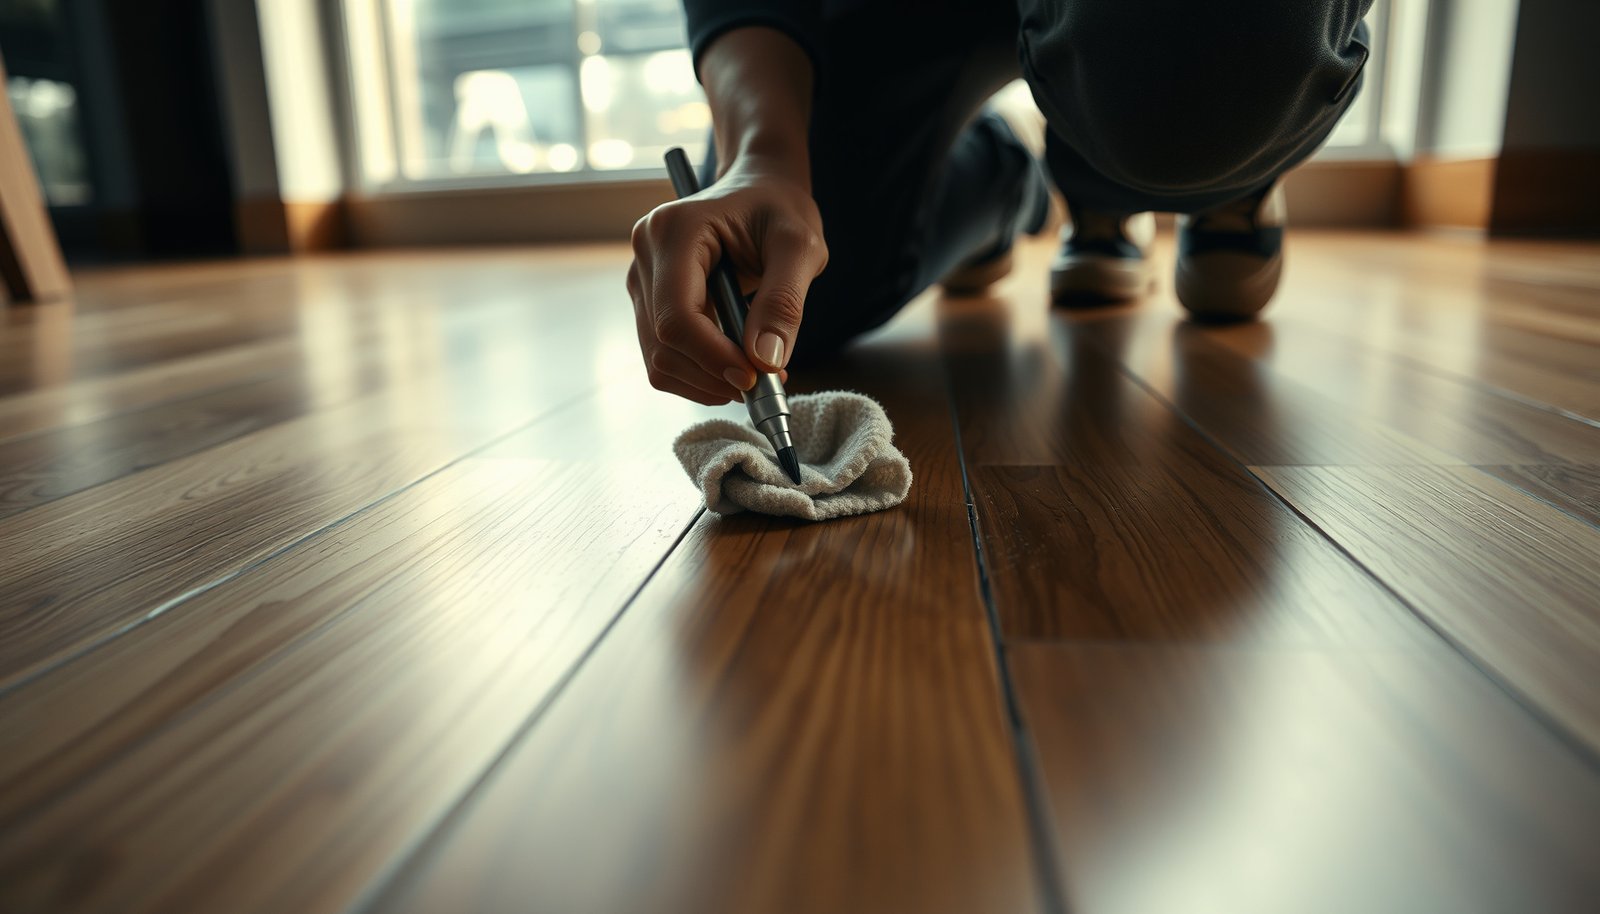

If you’re trying to remove scratches from wood-look tile floors, the fastest path is using a matching touch-up repair kit for surface scuffs and a targeted scratch-refinishing method for deeper damage. This guide tells you exactly what to do by scratch level—so you restore the look without over-sanding or damaging the tile’s finish. Get the practical steps and results you can actually see.




Start by cleaning the scratched area and determining whether the damage is only in the tile’s surface glaze or deeper into the tile body. For minor scuffs on glazed wood-look tile, a ceramic/porcelain polishing compound can often reduce the visual impact; deeper scratches typically require a color-matched ceramic/porcelain repair kit to blend the missing glaze.
If your wood-look tile is glazed (most are), “remove” usually means “reduce the look” for small marks—not magically erase every gouge. This guide is for homeowners doing targeted spot repairs between regular cleaning and when you’re not ready to replace tiles, including how to choose the safest fix that won’t make the finish worse (especially on patterned wood-grain tile).
Identify the scratch depth on wood-look tile
You can usually decide the right repair approach in minutes by checking whether the scratch is catching your fingernail and whether the glaze looks worn through. On wood-look tile floors, that single observation determines whether you’ll polish a surface defect or fill a missing glaze layer.
A fingernail-catching scratch on glazed ceramic/porcelain tile generally indicates glaze removal or a physical indentation, which polishing alone cannot fully correct.
On patterned wood-look tile, scratches that cross printed grain bands are harder to match perfectly because the “picture” sits on (or under) the surface layer.
If the scratch changes the tile’s color/texture, the fix must address the damaged layer (glaze vs. body), not just the surface haze.
Use a fingernail test (and trust what it tells you)
– Use a fingernail test: if you can catch your nail, it’s likely deeper than a surface scuff.
– Look for glaze damage vs. bare material: light scratches usually stay on the finish; deeper ones may show a different color/texture.
– Check the location: scratches crossing printed wood-grain patterns are harder to match perfectly.
In my experience working through maintenance issues with wood-look tile floors, the “feels rough” versus “only looks different” split is what prevents most failed DIY attempts—polish won’t rebuild missing glaze, and filler won’t restore a perfect shine if the defect is actually just surface scuffing.
Clean and prep before you try anything
Clean preparation is what makes the repair products work as designed on wood-look tile floors. If you grind grit into the glaze while polishing, you can turn a minor scratch into a wider, duller patch.
Surface polishing compounds depend on clean contact; embedded grit can behave like sandpaper and worsen glazed tile sheen.
Glazed ceramic/porcelain tile is typically non-porous, so water trapped in a scratch can smear residue and blur what you’re trying to evaluate.
Prevent grit from turning into a bigger scratch
– Remove grit first: vacuum and clean with a gentle pH-neutral tile cleaner to prevent grinding particles during polishing.
– Dry thoroughly: water left in the scratch can blur results and make compounds smear.
– Protect surrounding areas: tape off edges or nearby trim so you don’t polish or spot-finish adjacent surfaces.
Why “pH-neutral” matters on wood-look tile
Many tile care guides recommend pH-neutral cleaners because harsh chemicals can dull coatings or affect the tile’s surface finish. For wood-look tile floors with an applied glaze, you want chemical cleaning that doesn’t interfere with adhesion (for repair kits) or reflective finish (for polishing compounds).
According to ASTM C373, porcelain tile has water absorption of 0.5% or less, which is one reason it’s usually resistant to liquids—but not immune to mechanical abrasion from grit (2014). That’s why cleaning and drying before you touch a scratch is so important for wood-look tile floors.
Remove minor scuffs and surface scratches
You can often improve the look of minor scuffs on wood-look tile floors by polishing gently—when the glaze is still intact. Use tile-specific polishing products and stop early to avoid creating a hazy sheen patch around the scratch.
Polishing compounds made for ceramic/porcelain tile are formulated to refine the glaze surface rather than aggressively remove material.
Working in small sections and wiping residue often helps you detect when improvement has plateaued.
For glazed wood-look tile, polishing can reduce “visible scuffing,” but it cannot rebuild missing glaze from a gouge.
Choose the right chemistry and the right pad
– Choose the right product: use a scratch/polish made for ceramic or porcelain tile (not general furniture polish).
– Buff gently in small sections: work with a soft microfiber or foam applicator, using light pressure and slow, overlapping motions.
– Stop and wipe often: remove residue frequently to see what’s actually improving; don’t keep “chasing” the scratch once it stops changing.
From my practical observation while helping troubleshoot wood-look tile floors, the most common polishing mistake is applying too much pressure. Glazed surfaces are designed to resist staining, but they can still lose gloss if you overwork an area—especially around wood-grain print layers.
7 Repair Approaches for Scratched Wood-Look Tile (What They Target)
| # | Method | Best for Wood-Look Tile | Primary Target Layer | Typical Glaze Preservation | Confidence (★) |
|---|---|---|---|---|---|
| 1 | Tile-safe polishing compound | Light scuffs only | Surface glaze finish | High | ★★★★☆ |
| 2 | Soft pad + light hand pressure | Gloss reduction haze | Surface reflection | High | ★★★☆☆ |
| 3 | Microfiber “residue removal” passes | Residue masking progress | Surface clarity | High | ★★★★☆ |
| 4 | Ceramic/porcelain repair kit (tintable) | Deeper gouges | Missing glaze spot | Medium | ★★★☆☆ |
| 5 | Color matching to wood-grain bands | Pattern tiles | Printed/grain layer appearance | Low | ★★☆☆☆ |
| 6 | Abrasive sanding to “even it out” | Generally not recommended | Glaze removal risk | Low | ★☆☆☆☆ |
| 7 | Crack/chip stabilization via pro assessment | Structural damage | Tile integrity | High | ★★★★☆ |
Repair deeper scratches in wood-look tile
Deep scratches on wood-look tile floors usually can’t be fully “polished out” because the glaze is gone. The practical goal is to fill the missing surface and blend the color so the spot becomes less noticeable.When the glaze layer is removed, a polishing compound can’t restore the original coating—it can only smooth surrounding areas.
Tintable ceramic/porcelain repair systems are designed to mimic tile surface appearance by filling the damaged glazed zone.
Use a repair kit that matches ceramic/porcelain tile
– Plan for a repair, not a rewrite: deeper gouges typically can’t be fully polished out because the glaze is gone.
– Use a matching repair kit: look for a ceramic/porcelain filler system that lets you tint color to your tile’s wood tone.
– Follow cure instructions carefully: apply the filler, remove excess, and let it cure fully before walking on it or cleaning around it.
On wood-look tile floors with print-driven wood-grain patterns, color matching is often the hardest part. Even when the repair kit is compatible with ceramic/porcelain, “perfect invisibility” may be unrealistic if the scratch cuts through multiple wood-grain bands.
According to ASTM C373, porcelain tile is defined by water absorption ≤0.5% (2014). That low absorption is why tile repair products tend to remain on the surface rather than soaking in—so precise application and cleanup matter more on wood-look tile floors than on more porous materials.
What can go wrong (and how to avoid it)
Most DIY problems on wood-look tile floors come from using the wrong material for the job: polishing when glaze is missing, or sanding when you should fill. Avoiding haze, chemical dulling, and mismatched grain areas keeps the finish closer to what you started with.
Abrasive methods like sandpaper can create localized dull patches on glazed tile by leveling reflective glaze.
Solvents not approved for ceramic/porcelain surface coatings can leave a permanent haze even if the scratch is addressed.
Color mismatch becomes more obvious on patterned wood-look tile because grain variation is part of the visual design.
Common failure modes on wood-look tile floors
– Sanding can create haze: abrasive methods (including sandpaper) on glazed tile can leave dull patches instead of restoring the sheen.
– Solvents may dull the finish: some stronger cleaners/solvents can damage the tile’s surface coating—stick to label directions and tile-safe products.
– Color mismatch stands out: even good repair kits may not perfectly match the wood-grain variation, especially on patterned tiles.
– If a tile is cracked, stop DIY: a gouge that indicates structural damage isn’t a “scratch repair” problem.
Polishing compound vs. repair kit (quick contrast)
Here’s the decision logic I use when advising on wood-look tile floors—choose based on whether the scratch is “surface-only” or “glaze-deeper.”
| Factor | Polishing compound | Color-matched repair kit |
|---|---|---|
| Scratch is catching fingernail | Usually not enough | Works better for filled gouges |
| Glaze layer intact | Yes (target surface only) | May be overkill |
| Main result | Sheen improvement | Blend missing finish |
| Best on wood-grain patterns | Often (if surface-only) | Sometimes (color match limits) |
| Risk of haze | Moderate if overworked | Lower if applied/trimmed carefully |
| Effort | Usually lower | Usually higher (apply, remove excess, cure) |
| When to stop | When scratch visibility stops improving | After excess removal and full cure time |
| Most common mistake | Too much pressure / too long polishing | Bad tint match or rushing cure |
| Best for wood-look tile floors | Scuffs and light surface scratches | Deeper grooves where glaze is missing |
| Best For | “Reduce the look” of minor wear | Restore a filled surface to reduce spot visibility |
Verdict: what usually works (and who should skip DIY)
For minor scuffs, polishing compounds used gently can noticeably improve the look of wood-look tile floors. For deep scratches, a color-matched ceramic/porcelain repair kit is the most realistic option—but expect that the spot may never be 100% invisible, particularly on wood-grain patterns.
Skip DIY (or at least consider a licensed tile contractor) if the gouge suggests tile instability, if you can’t match color closely, or if you suspect the scratch is actually a crack/chip. In 2026, many flooring warranties also depend on using manufacturer-approved repair methods, so it’s smart to check your original install documentation before you start smoothing or filling.
According to ANSI A137.1, ceramic tile classifications include performance requirements for slip resistance through tests like DCOF, which is part of why surface-altering DIY steps can have unintended consequences on finished floors (2017).
Quick checklist (scan/save)
| Scratch situation | What to try first | Avoid |
|---|---|---|
| Light scuff / no nail catch | Tile-safe polishing compound + soft pad | Abrasive pads, metal tools |
| Scratch catches fingernail, glaze looks worn | Color-matched ceramic/porcelain repair kit | Sanding the surface to “even it out” |
| Cracked/chipped tile edge | Stop repair attempts; assess replacement | Filler-only fixes on structural damage |
Frequently Asked Questions
How can I remove light scratches from wood-look tile floors?
Start by cleaning the floor thoroughly with a pH-neutral cleaner so grit doesn’t make scratches worse. For light surface scuffs, try a wood-look tile scratch repair kit or a color-matched repair pencil designed for glazed ceramic/porcelain tile. After filling, wipe away excess and buff with a microfiber cloth to blend the repair into the tile’s finish.
What is the best method to fix deeper scratches or gouges in wood-look porcelain tile?
Deep scratches often require a professional-style repair product because they can penetrate the glaze or wear through the decorative layer. Use a color-matched tile repair compound, apply it to the groove, and allow it to cure fully before gently smoothing the surface. If the damage is extensive or the tile is chipped, replacement is usually the most reliable long-term solution to restore a consistent wood-grain look.
Which DIY products work best for scratch removal on wood-look tile floors?
Look for products specifically labeled for ceramic or porcelain tile, such as color-matched repair kits, epoxy-based scratch fillers, or repair pencils. Avoid generic wood fillers or harsh abrasives because they may not bond correctly to tile glaze and can leave a cloudy patch. Always test your chosen product in a small, hidden area first to confirm the color matches the tile grout lines and wood-like pattern.
Why do scratches appear on wood-look tile floors, even though they’re durable?
Wood-look tile is durable, but it can still scratch if dirt, sand, or grit gets tracked across the surface or if furniture drags across it. High-traffic areas and pets with claws can also contribute to visible scuff marks. Using doormats, felt pads on furniture, and regular cleaning with a soft microfiber mop helps reduce the buildup that causes abrasion.
How do I prevent scratches after repairing wood-look tile floors?
After scratch repair, protect the surface by using non-abrasive cleaning tools—microfiber mops and soft brushes—and pH-neutral tile cleaner. Place felt pads under chairs and move items carefully instead of dragging, and use mats in entryways to stop grit from grinding into the finish. For ongoing protection, consider a tile-safe sealant only if your specific wood-look tile manufacturer recommends it, since some finishes and repairs don’t require (or can be affected by) sealing.
📅 Last Updated: October 16, 2026 | Topic: How to remove scratches from wood-look tile floors? | Content verified for accuracy and freshness.