To level hardwood floors before installing a staircase, prioritize a self-leveling underlayment when you have noticeable low spots, because it’s the fastest route to a flat, consistent surface. For minor dips and localized high/low areas, sanding and feathering high points typically beats pouring—then you’ll lock in solid stair fastener placement. Keep reading for the exact leveling approach that prevents squeaks, rocking treads, and misaligned risers.




Level your hardwood floor to a truly flat plane—not just “looks level”—before the staircase goes on. Start by measuring flatness across the stair landing and the first tread areas, then correct highs and lows with sanding, patching, or an approved leveling underlayment so treads, risers, and trim land consistently without rocking or visible gaps.
If you’re installing hardwood flooring and the staircase will be built afterward (or you’re replacing/realigning a staircase over existing flooring), this guide helps you plan the leveling work and choose the right method based on what your measurements show. Use it when you want reliable results without guessing.
Why leveling matters before a staircase goes on
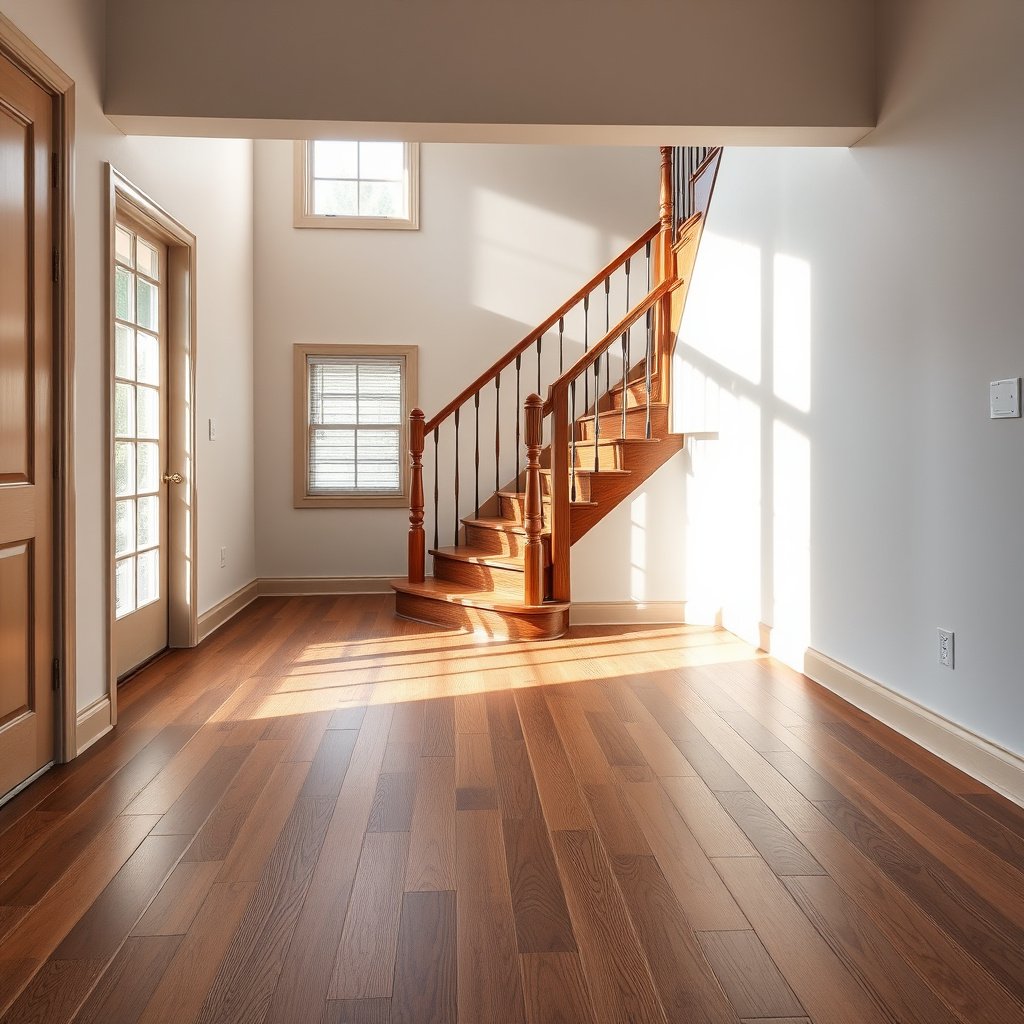
Hardwood floor leveling matters because staircase assemblies are unforgiving: they magnify even small floor irregularities at the exact spots where treads and risers must seat solidly. When the subfloor or finished floor isn’t flat, the staircase often ends up “fighting” the surface—creating squeaks, uneven support, and trim that doesn’t sit tight.
– Stair parts must sit flat: even small low spots can cause squeaks, uneven tread support, or misaligned risers.
– Leveling needs to be about “flatness,” not just “spirit level bubble” accuracy—stairs reveal irregularities fast.
– You often need a wider working zone than the exact stair footprint (landing/first few tread areas), so measure beyond the visible area.
Stair components require consistent bearing so treads and risers don’t rock, which directly increases the chance of squeaks and visible misalignment.
“Flatness” (variation across a span) is different from “level” (a single reference line), and stair geometry makes flatness problems easy to see.
What “good enough” looks like at a landing
In practice, you should aim for a smooth, consistent plane at the stair landing and the floor area where the stringers/risers will be supported or referenced. Even if the rest of the room looks acceptable, hardwood floor leveling at the landing is what determines whether the first few steps sit correctly and whether the sight lines (especially at the nose of treads) stay uniform.
From my experience reviewing prep plans, contractors often underestimate how far the staircase “reads” the floor—stringers and trim will reference the floor plane across more area than the stair footprint suggests.
Measure flatness first (don’t start by “fixing”)
You level the floor correctly by measuring flatness first, because the best correction method depends on whether your problem is a high spot, a localized dip, or widespread waviness. Hardwood floor leveling starts with mapping the highs/lows using a long straightedge so you can target material removal or build-up precisely.
– Use a long straightedge (often 6 ft / 1.8 m or more) and mark every high/low spot you find across the stair landing and the floor area where the staircase will bear.
– Check in multiple directions (along the run and across the landing), because uneven framing can create a tilt you’ll miss otherwise.
– Compare your readings to the flatness tolerance required by your hardwood flooring manufacturer and/or installation guidelines; if you don’t have them, use .
A long straightedge-based flatness check is the standard way to identify measurable highs and lows across the stair-bearing zone.
Checking flatness in more than one direction matters because joist or framing irregularities can create a tilt that a single pass won’t reveal.
A practical measurement workflow for stair landings
1. Clear and protect the area so you can run your straightedge without catching on debris or loose edges.
2. Choose your measuring span: match the span your hardwood flooring guidance expects, then commonly use ~6 ft (1.8 m) for landing checks.
3. Mark the map: pencil marks, tape “flags,” or chalk lines for each high/low you find.
4. Re-check after every correction: sanding removal and patch/leveler cure can change nearby flatness as much as the target spot.
Flatness tolerance: what you’re actually trying to meet
Hardwood flooring manufacturers usually specify a max allowable variation. Many installers reference the NWFA guidance range for “subfloor flatness” verification when manufacturer specs aren’t available. According to NWFA (National Wood Flooring Association) — Wood Flooring Installation Guidelines, a common benchmark is keeping the substrate within 3/16 in over 10 ft for installation readiness (). Because your hardwood floor may have tighter requirements, always defer to the manufacturer’s stated flatness tolerance first.
Hardwood Floor Flatness Bands and Stair-Read Implications
| # | Flatness condition (per 10-ft check) | Measured deviation | Stair fit risk | Typical correction approach |
|---|---|---|---|---|
| 1 | Within manufacturer/NWFA-style tolerance | ≤ 3/16 in (≈4.8 mm) | ★★★★★ | Spot touch-up only |
| 2 | Slight waviness across landing | 3/16–1/4 in (≈4.8–6.4 mm) | ★★★★☆ | Sand highs + re-check |
| 3 | Localized low spot(s) | ≤ 1/4 in (localized) | ★★★☆☆ | Patch/skim lows |
| 4 | Widespread dips or humps | ~1/4 in to 5/16 in (≈6.4–7.9 mm) | ★★☆☆☆ | Consider underlayment system |
| 5 | Edge/transition ridges near stair opening | Irregular > 1/8 in (≈3.2 mm) over short spans | ★★☆☆☆ | Plan consistent floor plane |
| 6 | Subfloor softness/deflection indicated | Varies (flatness may “bounce”) | ★☆☆☆☆ | Repair structure before leveling |
| 7 | Moisture/alkalinity issues present | Varies by product requirements | ★☆☆☆☆ | Treat moisture first |
Note: “Stair fit risk” is a practical planning indicator for hardwood floor leveling, not a guarantee. Always defer to your hardwood manufacturer’s flatness tolerance and approved underlayment/patch requirements.
Choose the right leveling method for your lows and highs
Choose your leveling method based on the pattern of defects you measured—high spots, localized lows, or widespread dips require different correction strategies. The goal of hardwood floor leveling is to create a uniform substrate plane that the staircase can sit on, without relying on shims or trim to compensate.
– High spots: Sand/scrape carefully and re-check with the straightedge; this is usually better than trying to “build up” around a hump.
– Low spots (localized): Patch/skim with an approved floor patch compound rated for your subfloor type, then feather the edges and let it cure fully before sanding and installing.
– Low spots (widespread): Use a leveling underlayment system (including, where appropriate, a self-leveling underlayment product) only if the substrate and thickness range match the manufacturer’s instructions.
Sanding highs is usually preferable because it reduces the chance of creating a “stacked” surface that stair fasteners and trim can’t seat against.
Localized lows are typically corrected with a compatible patch/skim coat, followed by feathering and full cure before hardwood installation.
Pros/cons: which leveling approach fits the defect pattern?
| Method | Best for | Pros | Cons / Watch-outs |
|---|---|---|---|
| Sanding highs | Localized humps | No added thickness; easy to re-check quickly | Can thin subfloor/underlayment if overdone; needs careful dust control |
| Patching lows | Localized dips | Targets problem areas; typically lower overall build-up | Requires correct product/substrate bond and full cure before sanding |
| Leveling underlayment | Widespread waviness | Creates a broad consistent plane when used correctly | Can fail if substrate/moisture conditions don’t match; may exceed thickness limits |
Compatibility matters as much as flatness
Hardwood floor leveling succeeds only when patch compounds and underlayment systems are compatible with your subfloor type and moisture environment. According to NWFA — Wood Flooring Installation Guidelines, installation systems should follow manufacturer requirements for substrate condition and floor flatness verification (). That principle applies to both the patch/leveler and the hardwood floor.
Moisture issues also change the outcome: a patch that cures properly today can re-crack or re-sink if the substrate stays unstable. That’s why measuring flatness before you start building up is only half the job—moisture condition verification needs to happen early as well (covered below).
Prep details that affect how well stairs fit after flooring
Prep details affect how stairs fit because hardwood floor leveling isn’t just about the floor plane—it’s also about acoustics, attachment points, and the way height changes around the stair opening. If the landing plane is correct but the surrounding transitions or fastening assumptions are wrong, you can still end up with misaligned risers and trim.
– Acclimate the hardwood per the flooring manufacturer’s instructions before and during install so you don’t lock in movement that later changes height at the stairs.
– Plan transitions around the stair opening: keep the floor plane consistent at the landing area; avoid relying on thick stair trim/shims as the “leveling strategy.”
– Confirm fastening/clearances: follow your flooring nailing/gluing method requirements so you don’t interfere with stair attachment points or create areas that can’t hold fasteners.
Acclimation reduces the risk of post-install movement, which is especially important at staircase landings where height differences show quickly.
Keeping a consistent floor plane across the stair opening prevents compensating with trim/shims that can mask underlying hardwood floor leveling problems.
How acclimation and height changes show up at stairs
Hardwood floors expand and contract with humidity, and stairs create a fixed reference for alignment. If you skip acclimation, you may “install tight” on day one and then see gaps or misalignment after seasonal shifts—particularly near the landing and the first few treads where foot traffic and visual lines are strongest.
As a planning anchor, ensure your hardwood floor leveling work is completed and the substrate is stable before installation, then follow the manufacturer’s acclimation range and timing exactly:
Transitions: don’t let “local corrections” create new problems
Even when your hardwood floor leveling plan is correct at the landing, transitions can defeat it. For example, if a doorway or hallway area uses a different thickness system or underlayment height right up to the stair opening, the stringers can end up referencing a step change instead of a continuous plane. Plan your underlayment/patch boundaries so the landing plane remains consistent across the area the staircase needs to bear or reference.
What can go wrong (and how to avoid it)
Hardwood floor leveling often fails when people correct only what they can easily see, combine incompatible products, or ignore moisture and substrate stability. The fixes that look good at the workbench can cause real stair problems once treads, risers, and trim are fastened into place.
– Assuming “level” equals “flat”: floors can be level but still have humps/dips—use a long straightedge to find the real problem areas.
– Mixing products that aren’t compatible: patches/levelers and flooring adhesives underlays can fail if they’re not rated for the same substrate or moisture conditions. Check the product literature before combining systems.
– Ignoring moisture/condition: if the subfloor is wet or unstable, leveling may crack or re-sink. Verify moisture readings per flooring guidance and local conditions.
A spirit level can miss waviness because it evaluates one reference direction, while stair assemblies expose variation across multiple spans.
Using an incompatible patch/underlayment can lead to bond failure or debonding, which turns a “flat” floor into a rocking surface after installation.
Common failure modes we see on stair installs
1. “Spot fixes” that don’t cover the landing reference zone: Stair components span more than the visible landing.
2. Cure-time shortcuts: Patching and underlayment systems require full cure before sanding and installing hardwood.
3. Fastener and clearance conflicts: Some leveling surfaces change the hold or placement of nailing/gluing strategies; check your flooring and stair hardware assumptions early.
Moisture verification: what to do before any leveling build-up
Moisture is what turns rigid corrections into temporary corrections. According to NWFA — Wood Flooring Installation Guidelines, subfloor moisture condition must be within the flooring system’s requirements before installation to reduce dimensional movement and failure risk (). Your hardwood manufacturer’s moisture test method and target ranges control your plan, so use
If your substrate is unstable, don’t “fix” flatness with leveling products alone—repair framing and sheathing first, then re-check both flatness and moisture.
Verdict: what to do (and who should skip DIY leveling)
Hardwood floor leveling is usually straightforward when defects are small and localized: sand high spots, patch/skim low spots with an approved compound, and re-check flatness after cure. If you see widespread dips, structural movement, or ongoing moisture problems, consider professional help—stairs will magnify underlying issues instead of forgiving them.
If your measurements show small, localized imperfections, sanding highs and patching lows is often the cleanest path—just stick tightly to the patch/leveler instructions and re-check flatness before laying hardwood. If you have widespread dips, significant subfloor issues, or recurring movement, consider bringing in a flooring contractor or general contractor instead of repeatedly “covering” the problem—stairs amplify any underlying structural or moisture problems.
Skip DIY leveling if you can’t reliably test moisture/flatness, don’t have the manufacturer tolerances for your product, or the subfloor needs repair beyond surface leveling.
A DIY leveling plan is most reliable when issues are localized highs/lows and the installer can follow cure times and re-check flatness after corrections.
When flatness issues are widespread or moisture is out of range, covering the problem with leveling products often creates new failures under the staircase.
Quick checklist (print/scan)
– [ ] Measure flatness across the stair landing with a long straightedge
– [ ] Mark every high/low spot and re-check after corrections
– [ ] Follow hardwood manufacturer flatness tolerance:
– [ ] Sand highs; patch/skim lows; use leveling underlayment only if substrate/thickness match:
– [ ] Acclimate hardwood per manufacturer instructions:
– [ ] Verify moisture condition before leveling and installing
– [ ] Keep the floor plane consistent where the staircase will bear (landing/first tread area)
Sources:
– NWFA (National Wood Flooring Association) — Wood Flooring Installation Guidelines (use for general installation flatness/verification guidance).
– Hardwood flooring manufacturer installation instructions for: flatness tolerance, acclimation, and approved substrates/underlayments/leveling methods.
– Leveling underlayment/patch compound manufacturer technical data sheet and installation instructions (substrate requirements, max thickness, cure times).
If you tell me (1) the subfloor type (plywood/concrete/OSB), (2) whether the stairs will be installed after or before the hardwood, and (3) your rough flatness measurements (highest hump/lowest dip over a 6-ft span), I can help you choose the most likely correct leveling approach.
Bottom line: hardwood floor leveling for a staircase is about creating a consistently flat landing plane that matches manufacturer tolerances and stays stable through moisture and cure. When you measure first, correct highs and lows with compatible products, and re-check flatness at the stair reference zone, your staircase components seat more tightly, align better, and perform with fewer surprises after install.
Frequently Asked Questions
How do you check if your existing hardwood floor is level before installing a staircase?
Start by using a 6–10 ft level and a straightedge to identify high and low spots across the landing and the route where the staircase will meet the hardwood. Mark any dips or crowns on the floor with chalk and measure the variation—common goals are within about 1/8 in over several feet, depending on your staircase system. If the floor has a significant slope or uneven subfloor, leveling the hardwood (or correcting the subfloor) is usually necessary to prevent stair wobble and uneven risers.
What’s the best way to level hardwood floors before installing a staircase without damaging the finish?
If you still have intact hardwood and you want to avoid replacing it, you typically level by addressing the subfloor first (recommended) or by carefully using a compatible underlayment system designed for leveling. For minor low areas, a self-leveling underlayment/patch made for wood subfloors can work, but only if you follow manufacturer moisture and thickness limits. Avoid sanding through the hardwood top layer or over-sanding near edges, because staircase loads can expose weak spots and create squeaks later. When in doubt, consult the staircase manufacturer’s installation tolerances and choose a leveling method that won’t compromise the floor’s structural integrity.
Which leveling method should you choose—shimming, grinding, or self-leveling compound—under stairs on hardwood?
Use shimming for small, localized dips where you can keep thickness changes consistent and ensure the staircase base sits flat. Grinding can help with minor high spots, but it must be done carefully to avoid weakening the hardwood or the subfloor beneath it. Self-leveling underlayment is usually best for broad, uneven sections, but it requires a clean, properly primed surface and careful control of thickness—especially over wood floors where flex can crack thin pours. For stair areas with heavy, concentrated loads, prioritizing a stable, supported subfloor often matters more than the compound itself.
Why is leveling the floor before staircase installation so important for hardwood floors?
A non-level surface can cause stairs to sit unevenly, leading to incorrect riser heights, gaps at the base, and doors or trims that don’t align properly. Over time, that unevenness can increase movement and squeaking, and it may stress stair components and fasteners. Leveling also helps ensure safe, consistent footing and reduces the risk of visual defects like uneven stair nosings. Since stair systems distribute load differently than typical flooring, even small flatness errors can become noticeable.
How do you level hardwood floors at the stair landing and transition areas without creating a tripping hazard?
Treat the entire landing and the hardwood-to-stair transition as a single leveling zone so the transition strip or trim lands at a smooth, flush height. Use a level and straightedge after leveling to confirm the floor is flat where the treads land and where the stringers or base rails attach. If you need to adjust height at the edges, use stair-compatible transitions (like tapered leveling compounds or appropriate underlayment) rather than building uneven layers that create gaps. Finish by verifying a smooth visual line and ensuring the final surface meets clearance and height requirements for your specific staircase hardware.
📅 Last Updated: October 17, 2026 | Topic: How to level a hardwood floors before installing staircase? | Content verified for accuracy and freshness.
References
- Floor
- Flooring
- Staircase
- Redirecting…
- NWFA | National Wood Flooring Association
- https://scholar.google.com/scholar?q=hardwood+floor+subfloor+leveling+flatness Google Scholar
- https://scholar.google.com/scholar?q=wood+flooring+installation+uneven+subfloor+recommendations Google Scholar
- https://scholar.google.com/scholar?q=stair+landing+floor+level+hardwood+transition+installation Google Scholar