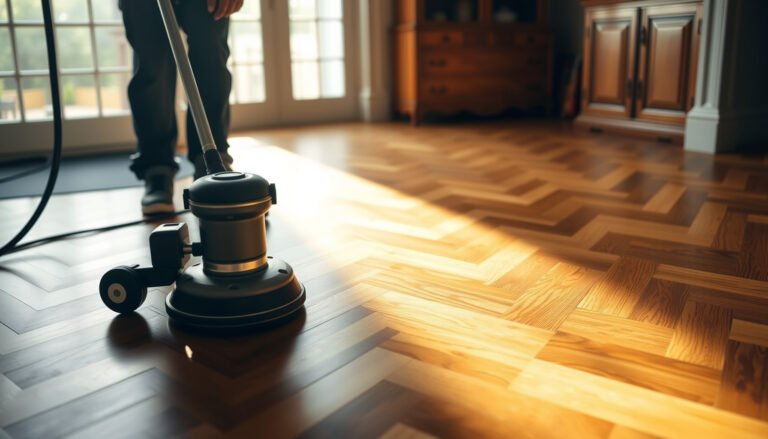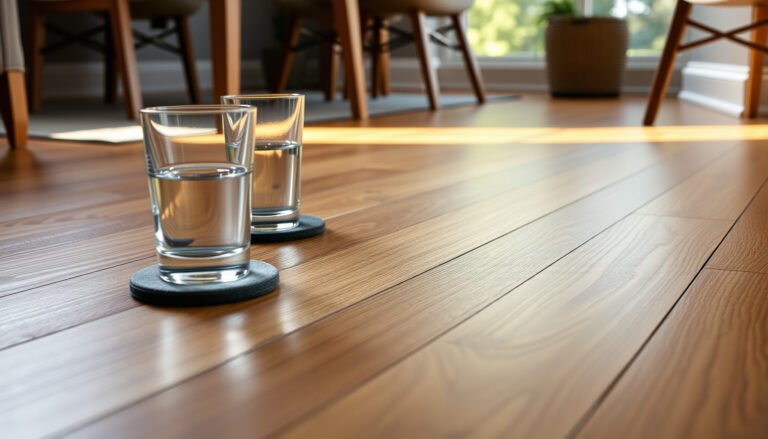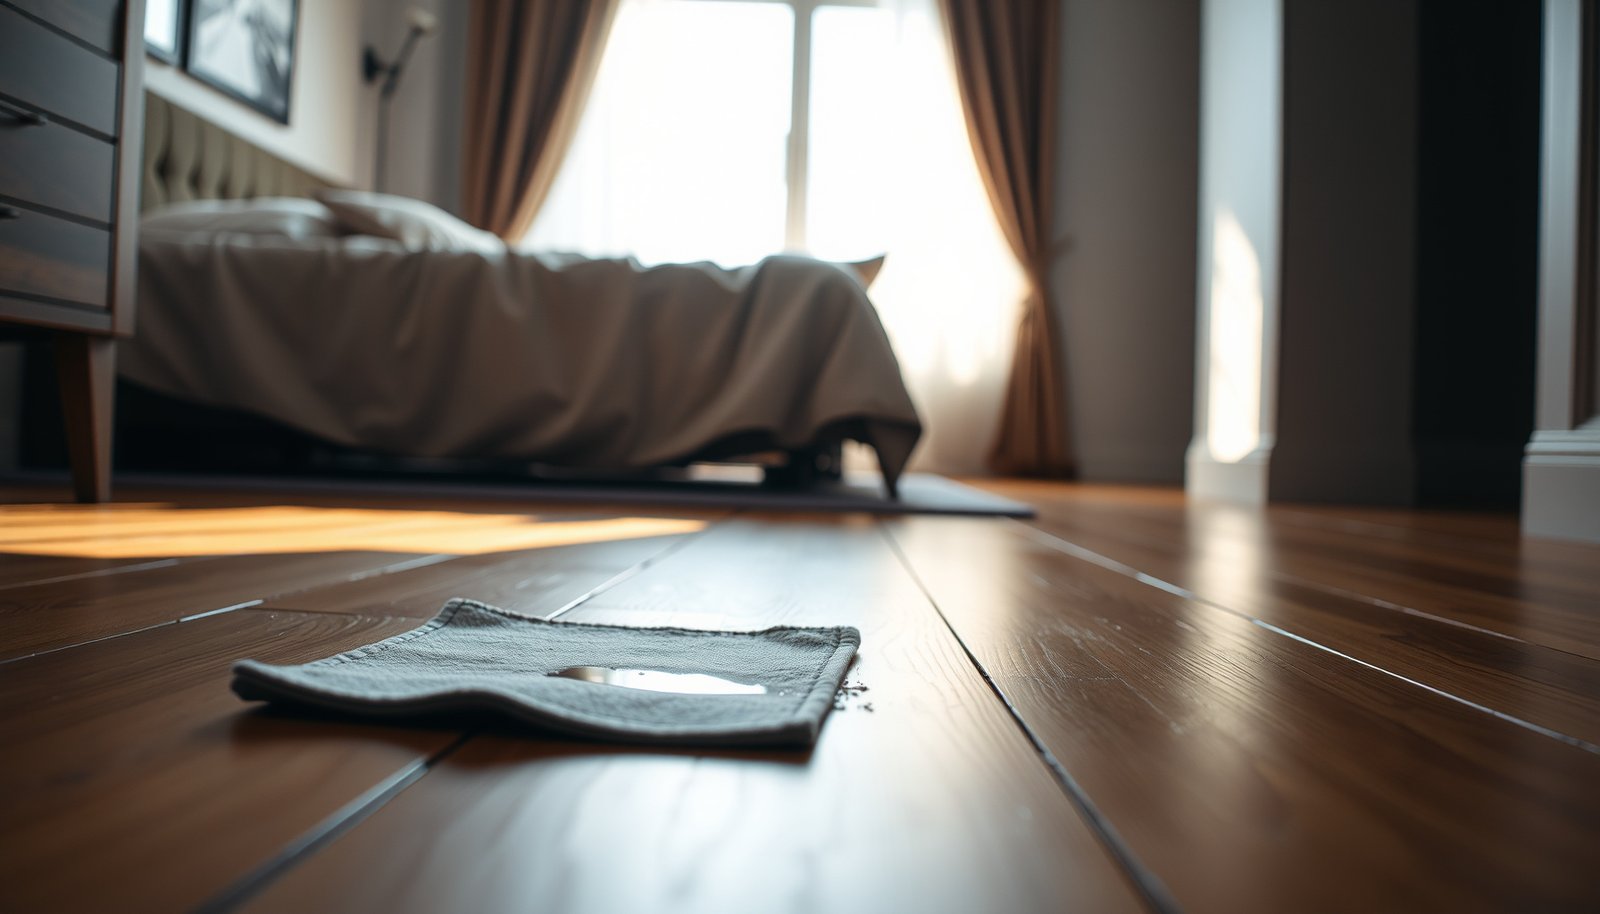

Prevent water damage to hardwood floors in a bedroom by controlling moisture at the sources—leaks, condensation, and tracking—before it ever soaks into the finish. In the sections ahead, you’ll get a clear, step-by-step prevention plan: how to seal high-risk areas, manage humidity, and respond fast when spills or overflow happen. Follow these tactics and you’ll keep your hardwood looking solid, not swollen, cupped, or permanently stained.




Fix water damage before it starts by controlling moisture at the source and acting fast when spills happen. In practice, that means keeping bedroom humidity stable, preventing wet footwear and condensation from reaching the floor, and drying standing water immediately to avoid swelling and cupping.
This guide is for bedroom homeowners and renters with hardwood (solid or engineered) who want practical steps to reduce risk from spills, leaks, wet shoes/bedding, and seasonal humidity changes—without turning your room into a science project.
Control moisture before it reaches the floor
The most reliable way to prevent hardwood water damage in a bedroom is to manage humidity and stop moisture from drifting across the room before it ever touches the wood. When indoor humidity swings, hardwood floors expand and contract—making seams, edges, and finish wear more likely to fail.
Keep RH steady (not just “comfortable”)
Hardwood flooring cares about relative humidity (RH): the percentage of moisture in air compared with what it could hold at a given temperature. A stable RH reduces the repeated expansion/contraction cycles that can widen tiny gaps and accelerate finish breakdown—conditions that let small spills penetrate faster.
According to the U.S. Environmental Protection Agency, keeping indoor relative humidity between 30% and 50% helps reduce conditions that support mold growth (U.S. EPA).
According to the National Wood Flooring Association (NWFA), many wood-floor care practices aim to keep indoor RH within a moderate band to limit wood movement and related finish wear (National Wood Flooring Association (NWFA)).
Practical steps that work for bedrooms:
– Use a hygrometer (RH monitor) placed near the hardwood, not next to a window or vent.
– Aim for a manufacturer-backed RH target if your flooring has one (many do).
– In winter, humidifiers can help—but don’t place them so close that the plume hits baseboards or the floor surface.
Stop moisture travel from common bedroom sources
Bedrooms create specific pathways for moisture to reach hardwood:
– Condensation near exterior walls: temperature drops can cause condensation that slowly wets baseboards.
– Overactive humidifiers: mist can deposit moisture on trim and then migrate across the floor.
– Wet plant stands or watering trays: drips travel outward, even when you think you wiped “everything.”
A simple rule we recommend: if water can land within reach of the hardwood, assume it will eventually find a seam.
Add protection at likely entry points
Water damage often starts where water enters—at doors, from outside footwear, or from bedding placed near windows. Place floor protectors (mats) where moisture arrives:
– A scrape-and-wipe mat at the main bedroom entry or just outside it.
– A secondary “drying” mat inside the doorway for rainy/snowy seasons.
– A clear household rule: no wet footwear on hardwood (slippers are fine; soaked shoes are not).
| Bedroom water risk source | What usually reaches the hardwood | Best prevention layer | Recommended urgency when it happens |
|---|---|---|---|
| Snowy/wet shoes near entry | Slush tracking + meltwater | Scraper mat + “no wet shoes” rule | ★★★★★ |
| Bedside drink spill | Liquid seeping into finish edges | Absorbent tray under bedside table | ★★★★★ |
| Humidifier mishap | Mist deposition near walls/floor | Proper placement + RH monitoring | ★★★★☆ |
| Leaking water bottle/mug in hamper | Drips during daily traffic | Liners + raised hamper area | ★★★★☆ |
| Wet bedding after washing | Moisture migrating from damp fabric | Dry completely before bringing in bedroom | ★★★☆☆ |
| Pet water bowl/accidental splash | Regular splatter at lower height | Spill-proof mat under bowl | ★★★★☆ |
| Condensation on exterior wall | Slow wetting at baseboards | Interior insulation/airflow balance | ★★★☆☆ |
Stop spills quickly (and correctly)
The fastest way to prevent hardwood damage from a spill is to remove liquid immediately and then dry the area thoroughly with airflow. “Surface dry” is not the same as “wood dry,” especially near seams and edges.
Blot first—then drive off moisture with airflow
For most bedroom spills, the correct technique is:
– Blot, don’t scrub: pressing towels removes liquid without pushing it deeper.
– Dry with airflow: a fan speeds evaporation and helps prevent moisture from dwelling in gaps.
Hardwood damage risk rises when liquid reaches seams and gaps; drying needs to go beyond “no longer visible” (National Wood Flooring Association (NWFA)).
In restoration standards, effective drying is assessed by moisture conditions, not just appearance—meaning you must keep drying until materials are actually dry (Institute of Inspection, Cleaning and Restoration Certification (IICRC S500)).
Build a bedroom-ready spill kit
You don’t need a restoration shop—just the tools that let you act in minutes:
– Absorbent towels or microfiber cloths
– A plastic scraper for solids (like wax or food)
– A fan you can run quickly (and access to a dehumidifier if needed)
– Optional: a moisture meter if you’re dealing with repeated issues
From my experience helping homeowners after repeated incidents (kid spills, dropped cups, and aquarium/plant leaks), the biggest improvement always comes from having the fan/towels ready before the accident.
If liquid penetrates seams, keep drying longer than expected
Hardwood floors—solid or engineered—can trap moisture at:
– edges where trim meets the floor,
– joint lines between boards,
– finish cracks or worn topcoats.
Keep drying until you’re confident moisture is not continuing to migrate. If you stop early, later warping or slight discoloration can appear days afterward.
Prevent leaks and condensation problems
The quickest long-term protection comes from eliminating hidden water sources and reducing condensation on walls and HVAC systems. In bedrooms, leaks are often silent until baseboards discolor or hardwood starts to cup.
Watch for early warning signs (don’t wait for “a flood”)
A small leak can still be enough to harm hardwood because bedroom floors experience movement from daily temperature changes. Be alert for:
– persistent damp spots near baseboards,
– musty odors that return after cleaning,
– swollen sections, especially at wall edges.
Visible swelling and cupping typically indicate moisture has been absorbed unevenly, often starting at edges, seams, or areas adjacent to water pathways (National Wood Flooring Association (NWFA)).
Moisture assessment for wood often uses standardized moisture measurement methods rather than appearance alone (ASTM D4442).
Address HVAC condensation and airflow direction
Bedrooms commonly have HVAC supplies/returns that can affect wood:
– Vents blowing directly onto the floor can accelerate finish drying unevenly and increase localized stress.
– Conversely, poor air circulation can keep humidity higher near baseboards.
– If your HVAC system runs humid in summer or overly dry in winter, the floor experiences repeated movement.
A practical approach: verify that airflow isn’t “washing” one area of hardwood while other areas stay stagnant, and adjust vent direction if needed.
Seal or replace damaged caulk at trim lines
Caulk gaps can become moisture pathways during cleaning, accidental splashes, or humid conditions. When caulk is missing or cracked:
– Replace damaged caulk where walls meet trim (use a compatible product for your surface materials).
– Don’t use broad “gap fillers” that trap moisture—follow the trim/wall and flooring manufacturer guidance.
Choose the right cleaners and floor protection
The safest cleaners and protection methods are the ones that match your floor’s finish and avoid adding excess water. “Clean” should not mean “wet,” and “protect” should not mean “seal moisture in.”
Use manufacturer-approved cleaning methods
Hardwood cleaning must respect the finish system. Avoid:
– wet mopping,
– steam mops,
– harsh chemicals that leave residues or degrade finishes.
Instead, follow the care instructions for your specific wood flooring. If you don’t have them, confirm the finish type using the manufacturer’s spec sheet and document number if available.
ASTM D4442 describes a standardized oven-drying approach to determine wood moisture content, which highlights why appearance-based “drying checks” can miss trapped moisture (ASTM D4442).
Wood-floor care guidance commonly emphasizes minimizing added water because moisture can travel to seams even when surface puddles are removed (National Wood Flooring Association (NWFA)).
Confirm your finish type before any polish or refresher
If you’re considering reapplying finish/polish, only do it when it’s compatible with the existing coating. Mixing incompatible products can cause dull patches, uneven wear, or a sticky surface that holds grime.
Protect against micro-scratches that speed water intrusion
Micro-scratches don’t just affect appearance—they can help water work under the finish more easily. Protect:
– rolling furniture with proper floor protectors (mat/rollers rated for hard floors),
– chairs with felt pads or manufacturer-recommended glides,
– entry zones with mats that don’t trap grit.
What can go wrong (common mistakes and limits)
Even with good habits, hardwood water damage prevention can fail when cleaning methods, drying expectations, or risk assumptions are off. The most common problems come from delayed cleanup, over-wetting, or ignoring sub-surface moisture.
Common mistakes that increase damage odds
Here’s where people typically go wrong in bedrooms:
– Waiting to clean: older finishes and worn topcoats let liquid migrate sooner.
– Over-wetting during cleaning: steam mops and soaking methods can raise moisture beyond what finished hardwood handles.
– Assuming “dry to the touch” means safe: sub-surface moisture can still drive delayed swelling or discoloration.
– Using mismatched products: the wrong cleaner can leave residue or break down finishes.
– Skipping baseboard/edge checks: hidden leaks can continue even after you’ve cleaned the visible area.
DIY limits: when “quick cleanup” isn’t enough
If you’re dealing with an active leak, recurring damp odor, visible cupping that’s worsening, or moisture that won’t stabilize, you’re likely beyond simple cleanup. At that point, the risk shifts from “floor appearance” to “structural and mold conditions,” and a targeted moisture assessment becomes more important.
DIY vs. professional help: which path fits your situation?
| Decision criteria (bedroom hardwood) | DIY cleanup is usually enough | Professional assessment is the better choice |
|---|---|---|
| Spill size | Small, contained spills | Large spills, repeated incidents, or widespread exposure |
| Time since exposure | Cleaned immediately | Delayed cleanup (hours to days) |
| Moisture signs | No persistent damp spots or odor | Musty odor, ongoing dampness, or staining creeping |
| Edge/baseboard involvement | None | Baseboards/trim affected or visible discoloration nearby |
| Floor response | No cupping/swelling | Cupping/swelling progressing or spreading |
| Underlayment/joist uncertainty | Confident single-surface exposure | You suspect moisture reached underlayment or subfloor |
| Drying confidence | You can dry thoroughly with airflow | You need equipment + moisture testing to confirm dryness |
| Flooring type | Finish and warranty guidance are clear | You’re unsure of installation/finish compatibility |
| Humidity stability | You can measure and control RH | RH is unstable due to HVAC/humidity issues |
| Health priorities | No allergy concerns | Mold risk concerns or sensitive household members |
| Best For | Minor incidents with fast response | Hidden moisture, persistent odor, or ongoing leak risk |
Verdict / tip (what we’d do first)
Start with prevention you can control daily: keep bedroom humidity stable, enforce quick spill response, and check for leaks/condensation pathways at baseboards and exterior-wall areas. If your home already maintains steady humidity and you rarely have spills, your best ROI is fast cleanup plus spot protection at entry points.
Skip DIY-only approaches if there’s an active leak, a persistent damp odor, or visible cupping/swelling that isn’t improving. In those cases, moisture source removal and professional moisture assessment reduce the chance of repeat damage.
Quick checklist (scan/save)
– [ ] Keep bedroom humidity stable (use a hygrometer; adjust HVAC/humidifier as needed)
– [ ] No wet footwear in the bedroom area; use mats where water enters
– [ ] Clean spills fast: blot → dry → run fan/dehumidifier if needed
– [ ] Don’t wet-mop hardwood; use manufacturer-approved cleaners only
– [ ] Inspect baseboards/edges for leaks, bubbling, gaps, or musty smell
– [ ] Use compatible floor protection only (confirm finish type first)
Sources
– U.S. EPA (indoor relative humidity guidance related to mold control)
– National Wood Flooring Association (NWFA) (wood-floor care guidance emphasizing moisture/relative humidity control)
– ASTM D4442 (standard moisture measurement method for wood via oven-drying)
If you only remember one thing: for hardwood floors in a bedroom, prevention is about controlling humidity and stopping water at the entry points, while success during an incident is about fast blotting plus thorough drying that actually reaches the wood—not just the surface.
Frequently Asked Questions
What are the most common causes of water damage to hardwood floors in a bedroom?
The biggest culprits are spills from water bottles, pet accidents, humidifiers, and wet cleaning methods that leave excess moisture on hardwood floors. Leaks from windows, plumbing, or HVAC condensation can also seep into the subfloor and cause cupping or warping over time. Even “small” puddles can be damaging because hardwood is sensitive to moisture exposure, especially when it’s not sealed or the finish is worn.
How can I prevent water damage when cleaning hardwood floors in a bedroom?
Use a damp (not wet) microfiber mop and avoid steam cleaning, because excess water can penetrate seams and edges and lead to water damage. Clean up spills immediately with a dry towel, then follow with a lightly damp cloth to remove residue and finish with a dry pass. For routine care, use a hardwood floor cleaner recommended for sealed floors and ensure the floor dries quickly to reduce moisture risk.
How do I protect hardwood floors from spills and leaks near windows and doors?
Place absorbent mats or rugs at entryways and near windows to catch condensation and prevent water from spreading across the bedroom floor. Check caulking and weather stripping around window frames, and repair any gaps that allow moisture intrusion. If you notice dampness after rain or temperature changes, address the source quickly—water under hardwood floors can cause long-term warping that’s difficult to reverse.
Which maintenance habits best reduce hardwood floor moisture damage over time?
Regularly inspect the floor finish for dull spots, cracks, or areas where the protective topcoat has worn thin, and recoat as recommended to maintain moisture resistance. Keep indoor humidity in a safe range (typically around 30–50%) to prevent swelling or gapping from excess moisture. Avoid placing wet plants directly on wood, use coasters for glasses, and wipe any condensation from humidifiers or air-cooled units promptly.
What is the best way to handle bathroom-adjacent or high-humidity bedroom setups with hardwood floors?
If your bedroom is near a bathroom, laundry, or humid areas, focus on moisture control with a dehumidifier and proper ventilation to limit condensation. Use a moisture barrier rug pad if you place area rugs, and ensure rugs are not trapping damp air against the hardwood surface. In high-humidity homes, consider upgrading sealing or refinishing the hardwood floor to improve resistance to water damage in bedroom environments.
📅 Last Updated: October 16, 2026 | Topic: How to prevent water damage to hardwood floors in a bedroom? | Content verified for accuracy and freshness.