
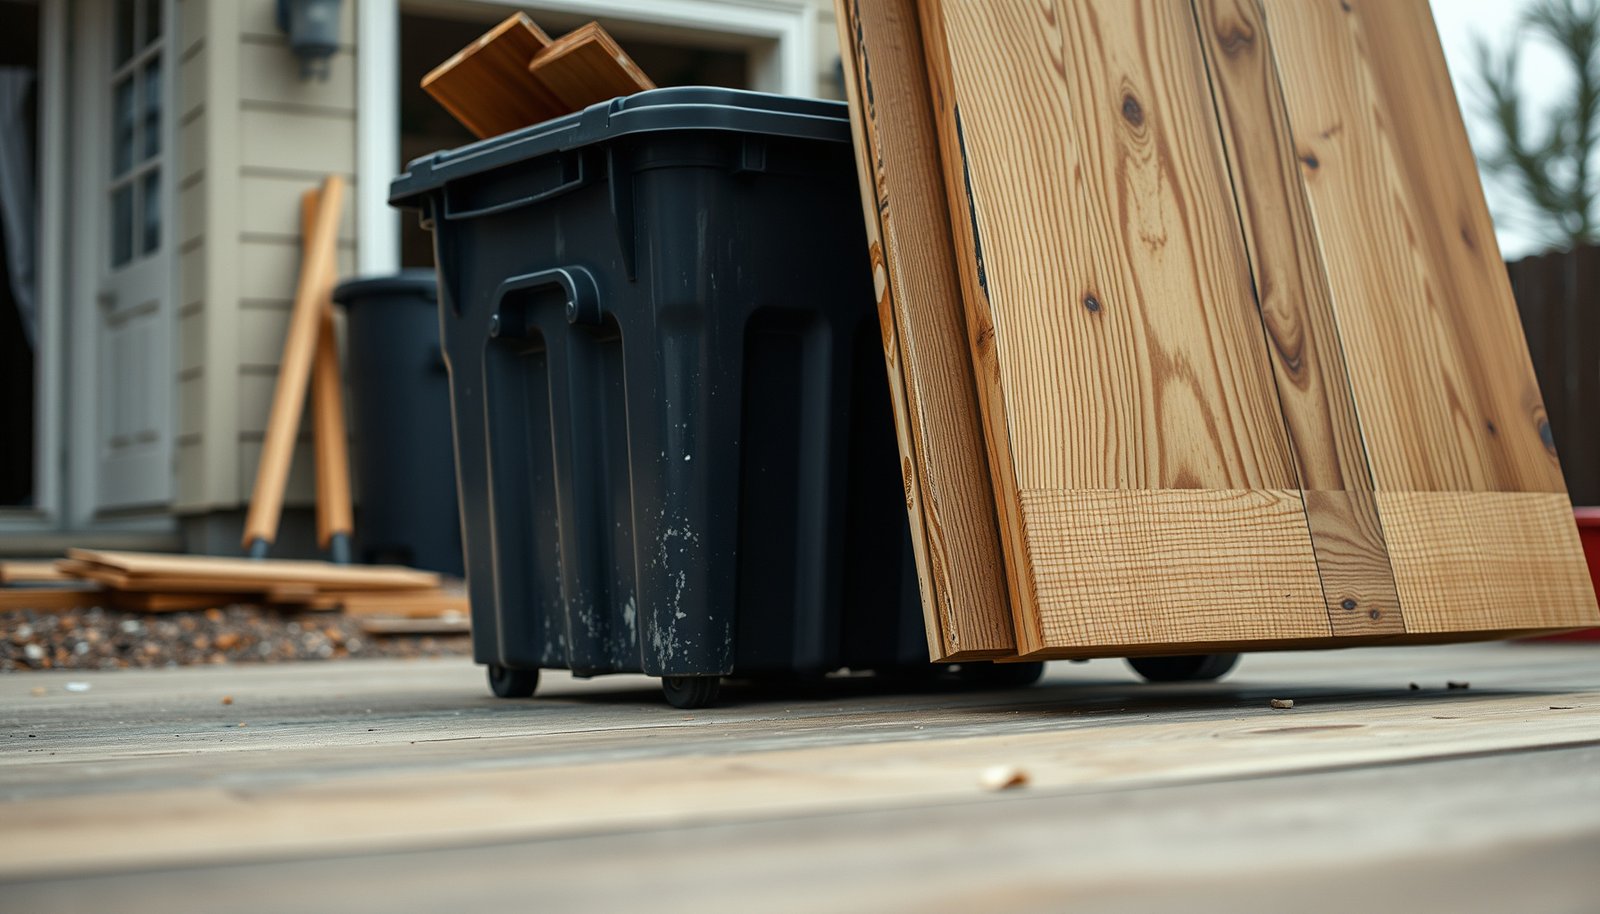

You can dispose of wide-plank wood floors safely without risking illegal dumping or spreading contamination—provided you choose the right path for the condition of the boards. The safest winner is to take intact, clean planks to a wood recycler or reuse outlet, while damaged, finished, or treated flooring should go to a licensed waste facility that accepts construction debris. Keep reading to get the exact disposal option to use based on your floor’s material and condition.




Dispose of wide-plank wood floors by separating salvageable boards from true waste, then sending each part to the right destination (reuse/donation, wood recycling, or landfill/transfer station). Start by checking what the floor is finished with and whether nails/adhesive are present, because that affects whether it can go through standard recycling.
If you’re removing a wide-plank floor from a home renovation—especially if you want to keep boards usable—this walkthrough helps you choose the safest, most responsible disposal path. It’s also useful when you’re not sure whether to treat the material as “clean wood” or construction debris.
Plan your disposal route before you start

If you plan the route first, you avoid the most common failure mode: removing the floor, sorting materials, then discovering your drop-off site won’t accept the mix. Decide your reuse/recycling/landfill “streams” up front so you can sort while the boards are still in workable condition.
“Construction and demolition” (C&D) debris handling rules typically depend on material classification and contamination level, not just the word “wood.”
The U.S. EPA RRP framework is triggered by disturbing painted surfaces in pre-1978 homes, so dust-control and regulated disposal can become necessary even if the wood itself looks “clean.” (U.S. EPA RRP Program requirements)
Transfer stations often require separated loads (e.g., wood vs. mixed debris) because recyclers may not accept mixed fastening and adhesive residue.
– Decide early whether you’ll try to save boards intact (reuse) or remove them as construction debris (recycling/landfill).
– Identify what’s likely holding the floor down—nails/staples vs. adhesive—because mixed materials are harder to recycle.
– Check local rules for your drop-off options (city/county “transfer station” rules vary).
What “routing” really means in practice
Wide-plank floors usually end up in one of three outcomes:
1) Reuse (boards intact, minimal residue, and no regulated contamination),
2) Wood recycling (clean C&D wood with acceptable fasteners/residue, depending on the facility), or
3) Landfill/transfer station (heavily contaminated pieces or anything that falls outside acceptance rules).
Before you pull a single board, call the reuse shop / recycler / transfer station and ask three direct questions:
– Do you accept wide-plank wood floors specifically (not just “clean lumber”)?
– Can you accept boards with nails/staples (or do you require de-nailing)?
– If there’s adhesive or backing, what residue level (if any) is acceptable?
From my experience coordinating property cleanouts, the biggest time-saver isn’t the demo—it’s getting clarity on whether mixed fasteners and adhesive residue will be rejected at the door.
Two routing strategies that work
– Two-stream plan (most common):
– Stream A: salvage intact boards for reuse.
– Stream B: remaining pieces as C&D wood for recycling (if accepted) or as construction debris.
– Single-stream plan (best when unknown hazards are likely):
If finish type is unknown and the home is older, skip the “reuse rescue” effort and treat the job as C&D debris from the start—while still sorting enough to reduce contamination spread.
Prep for safety (especially with unknown finishes)
You reduce both personal risk and disposal complexity by controlling dust, protecting yourself, and treating older installations as potentially regulated. If you disturb painted surfaces in a pre-1978 structure, you may need to follow lead-safe work practices—because disposal decisions depend on contamination, not appearance.
The U.S. EPA RRP Program applies to “target housing” and “child-occupied facilities” built before 1978 when renovation activities disturb painted surfaces. (U.S. EPA RRP Program requirements)
Lead dust clearance standards include floor dust limits of 40 µg/ft², which is why dust control during demolition affects whether materials can be treated as ordinary debris. (U.S. EPA / RRP dust clearance standards)
For windowsills, clearance thresholds are higher (250 µg/ft²), reinforcing that contaminated dust is measurable—not guessed. (U.S. EPA / RRP dust clearance standards)
– Wear basic protection (eye/respiratory/hand protection) because sanding, scraping, and demolition can create dust and sharp debris.
– If the floor may have been installed in an older home, treat the job as higher-risk and follow lead/asbestos safety rules if applicable (don’t guess—confirm requirements).
– Keep dust down and handle waste containers carefully so you don’t spread debris around the property.
PPE and dust control that supports disposal (not just safety)
Even when you’re not sanding, prying and cutting can generate fine dust and splinters. That matters because:
– Dust can contaminate “clean wood” streams, and
– Contaminated loads are more likely to be reclassified as construction debris.
Practical controls include:
– Containment: Use a heavy-duty plastic barrier or containment zone when feasible.
– HEPA vacuuming: If your removal creates dust, use HEPA filtration (and clean up surfaces that dust settles on).
– Bagging debris: Keep dust and small scrap contained so it doesn’t make the rest of the boards “look dirty” to a facility.
Lead and asbestos: plan for compliance before you plan shortcuts
If the building is older, the safest approach is to confirm whether lead-based paint or asbestos-containing materials could be involved before you start removal. Don’t rely on “I think it’s fine” assumptions.
If you do need compliance work, align removal practices with the U.S. EPA RRP approach and applicable local rules. The layout you provided includes placeholders for regional specifics—use them:
– Keep records of what you followed (especially if you later prove that dust control was appropriate).
Remove and sort boards vs. waste
If you sort while removing, you can usually maximize reuse and avoid reclassifying everything as contaminated debris. Remove boards in a way that preserves integrity, then separate intact usable material from residue-heavy waste.
Salvageability depends on physical condition (intact boards) and contamination level (finish/adhesive residue), which determine whether reuse or recycling is realistic.
Sorting “clean, intact boards” from “adhesive residue/backing” helps prevent mixed loads that many C&D wood recyclers can’t process.
– Strip the floor in a way that preserves boards if possible: cut through fasteners if needed, then pry to minimize splintering.
– Sort as you go:
– Clean, intact boards (best for reuse)
– Short pieces / broken boards (often still recyclable depending on your facility)
– Adhesive residue, backing, or heavy contamination (may require landfill)
– Bag or contain fine debris (dust/scraps) so you don’t create “loose waste” problems at the drop-off.
A removal method that supports sorting
Wide-plank flooring varies (nail-down, staple-down, glue-down), so your “best pry point” can differ. The disposal goal is the same: minimize splintering and keep residue where the facility expects it (or where it belongs in the waste stream).
Common workflow:
1) Cut lines cleanly (e.g., under baseboards/threshold edges) to reduce tear-out.
2) Dislodge gently starting at edges to reduce board breakage.
3) Keep fasteners with the board where possible if your recycler accepts nailed material; otherwise, plan to remove fasteners for that stream.
Sorting categories you should expect to create
Plan on having at least three piles:
– Reusable boards: whole planks with minimal finish damage and no heavy backing.
– Recyclable wood scraps: shorter pieces, trimmed ends, or boards with minor splitting.
– C&D waste: anything with thick adhesive residue, backing materials, or unknown contamination.
If you’re unsure whether residue counts as “contamination,” treat it conservatively and call the recycler first. Many facilities can accept wood, but not what’s stuck to it.
Choose the right destination: reuse, wood recycling, or landfill
Choose reuse when boards are intact and contamination is low; choose wood recycling when the facility accepts your exact fasteners and residue; choose landfill when the material can’t be processed safely or accepted. This single decision controls both cost and how responsibly the material leaves your property.
Facilities typically decide acceptance based on contamination and mixture, so “wood floor” often needs to be split into reuseable boards versus C&D wood versus mixed debris.
If suspect lead paint dust is possible, disposal should follow the required compliance path rather than ordinary “construction debris” handling. (U.S. EPA RRP Program requirements)
– Reuse/donation (best outcome): If boards are in good shape, contact local salvage stores, reclamation yards, or reuse groups. Ask what dimensions/conditions they accept.
– Wood recycling: If your boards are clean and mostly untreated or accepted by your facility, take them to a wood recycler that handles C&D wood. Bring a short description of the floor build (nails/staples present? adhesive present? finish type if known).
– Landfill/transfer station (fallback): If boards are heavily contaminated (unknown coatings, thick adhesive residue, backing materials) or too broken to process, dispose as construction/demolition debris according to local instructions.
– If anything suggests regulated hazards (e.g., suspect lead paint dust), follow the required compliance path instead of “regular trash.”
Reuse vs. recycling vs. landfill: a practical comparison
- Reuse / Donation
- Pros: Highest environmental benefit; often reduces landfill mass the most.
- Cons: Requires intact boards and strict condition/finish disclosure.
- Wood Recycling (C&D wood)
- Pros: Typically accepts sorted wood streams and turns them into new wood products.
- Cons: May reject adhesive-backed material or require de-nailing.
- Landfill / Transfer Station
- Pros: Works for mixed/contaminated materials when other outlets won’t accept them.
- Cons: Lowest recovery; increases waste volume and may cost more.
A quick decision matrix (best for each scenario)
This is how many contractors and reuse yards think about it: if the facility can process your input reliably, it stays in the higher-value stream.
| Feature | Reuse / Donation | Wood Recycling (C&D) | Landfill / Transfer |
|---|---|---|---|
| Board condition | Intact preferred | Short pieces may be OK | Damaged accepted |
| Adhesive residue | Usually not allowed | Varies by facility limits | Typically allowed |
| Nails/staples | Sometimes accepted with sorting | Often accepted if recoverable | No special handling |
| Finish type | Disclosure required | May be restricted | Not a factor |
| Regulated dust risk | Avoid if uncertain | Avoid unless compliant | Use compliance path if triggered |
| Sorting burden | High (best boards only) | Medium (clean vs mixed) | Low |
| Compatibility with typical drop-offs | Selective buyers | Facility-dependent acceptance | Broad acceptance |
| Best for | Undamaged planks | Sorted C&D wood streams | Heavily mixed/contaminated material |
| Best For row | Salvage when condition is high | Recycling when acceptance is confirmed | Fallback when compliance/contamination makes recycling impossible |
Mandatory context for regulated dust (numbers you can anchor to)
When lead-safe work is involved, decisions are driven by measurable thresholds—not “it looks clean.” For example, clearance dust benchmarks include:
– Floor dust clearance: 40 µg/ft²
– Windowsill clearance: 250 µg/ft²
– Lead-based renovation applicability: structures built before 1978
| If you have region-specific disposal/compliance limits beyond federal RRP/OSHA guidance, add them here. |
Lead-Related Benchmarks That Affect Renovation Dust Handling (U.S., widely cited standards)
| # | Standard / Metric | Threshold | Measurement | Disposal Impact Urgency |
|---|---|---|---|---|
| 1 | OSHA action level (lead exposure in construction) | 30 | µg/m³ (8-hr TWA) | ★★★★★ |
| 2 | OSHA permissible exposure limit (construction) | 50 | µg/m³ (8-hr TWA) | ★★★★☆ |
| 3 | Floor dust clearance (post-abatement) | 40 | µg/ft² | ★★★★★ |
| 4 | Windowsill dust clearance (post-abatement) | 250 | µg/ft² | ★★★★☆ |
| 5 | Window well dust clearance (post-abatement) | 400 | µg/ft² | ★★★★☆ |
| 6 | Bare soil hazard benchmark (lead) | 400 | ppm | ★★☆☆☆ |
| 7 | Wet surface clearance (wipe sampling) | 1.0 | µg/cm² | ★★★☆☆ |
Values shown are commonly cited U.S. lead-dust/lead safety benchmarks; confirm exact applicability for your work scope and test protocol in the official governing documents. See U.S. EPA RRP and OSHA lead standards in the Sources section below.
What can go wrong (and how to avoid it)
If you get rejected at the drop-off, the cause is usually mixed material or unknown contamination—not the fact that it’s wood. Avoid load mixing, verify acceptance rules early, and treat older-home demolition as a potential regulated dust risk.
Many facilities can accept “clean wood,” but they still require separation because adhesive and unknown finishes can reclassify the load.
Lead-safe work is compliance-based; if your activity disturbs painted surfaces in pre-1978 housing, dust handling and disposal cannot be assumed to match “regular trash.” (U.S. EPA RRP Program requirements)
– Mixing clean wood with contaminated bits: If your facility can’t separate material, you may be turned away or required to dispose everything as waste.
– Assuming “wood = recyclable”: Some recyclers accept only specific categories (e.g., untreated vs. certain finishes, limited adhesive residue). Always confirm first.
– Skipping hazard checks in older homes: If lead/asbestos rules apply, normal disposal habits can create compliance and safety problems.
– Improper bundling/labeling: Overstuffed bins or uncontained dust can violate transfer-station rules. Package debris neatly and label mixed loads if needed.
Common edge cases that derail disposal plans
1) Glue-down floors with thick residue
Even when the wood boards look solid, adhesive residue can contaminate the recycling stream. If the recycler doesn’t accept adhesive-backed material, you’ll need to route that stream to landfill/transfer.
2) Backer materials you didn’t account for
Some floors include foam underlayment, paper backing, or composite layers. These can turn “clean wood” into mixed C&D debris.
3) “Looks clean” dust settling
Dust that settles on boards can create a misleading appearance of cleanliness. If your renovation scope is in a pre-1978 environment, assume dust control and disposal compliance matter.
4) Seasonal staffing and “same day” acceptance
Some facilities accept only during certain operating hours or by appointment. In 2026, call ahead and ask about current intake rules and whether they require pre-sorting onsite.
Verdict / tip (what I’d do)
Your safest bet is a two-stream plan: (1) salvage intact wide-plank boards for reuse when feasible, and (2) treat remaining pieces as C&D wood only if your recycler accepts that type of material. The downside of trying to salvage is that it can take more time, and boards may still end up as waste if they’re too damaged or coated with residue your facility won’t accept—so it’s worth calling drop-offs before you invest a lot of effort.
Skip the DIY salvage route if you can’t confirm finish/condition and you suspect regulated hazards—use local compliance guidance and/or a qualified contractor/removal service instead.
Quick checklist you can save
| Step | Quick check |
|---|---|
| Decide route | Reuse vs. recycling vs. landfill—based on condition and local acceptance |
| Protect yourself | Eye/hand/respiratory protection; control dust |
| Confirm risk | If older home: verify whether lead/asbestos rules may apply |
| Sort materials | Intact boards / short pieces / contaminated residue |
| Call the facility | Ask what they accept and whether mixed materials are allowed |
| Pack clean loads | Contain dust and keep mixed debris labeled |
| Keep proof | Save facility directions/acceptance notes for your records |
Sources
– U.S. EPA — Renovation, Repair and Painting (RRP) Program requirements (lead safety compliance; official EPA program information).
– U.S. EPA — Lead-related renovation and dust control guidance for work that may disturb painted surfaces (official EPA guidance).
– U.S. EPA — Construction and demolition debris and recycling/disposal planning concepts (official EPA materials/disposal guidance).
– OSHA — Lead and other hazard recognition guidance for construction/demolition risks (official OSHA guidance).
Don’t treat wide-plank wood flooring like normal household waste: sort it into salvageable boards and true debris, then send each stream to the destination your local facility will accept. If you want the best outcome, call reuse/recycling places before you start removing so you don’t waste time (or end up with a rejected load). If you tell me your city/region and whether it’s nailed or glued, we can map the most likely disposal route more precisely.
Frequently Asked Questions
How do I dispose of wide-plank wood floors without breaking the rules?
Start by checking your local waste disposal guidelines, since many areas treat wood flooring as construction debris and require specific drop-off or landfill rules. If the boards are still clean and free of finish that’s easy to remove, consider donation or reuse to avoid landfill disposal. For waste that can’t be reused, label the material and follow any requirements for separating wood from nails, trim, and other mixed debris. When in doubt, confirm with your city’s sanitation department or waste hauler about “wood flooring” disposal or bulky item pickup options.
What’s the best way to prepare wide-plank wood flooring for disposal?
Remove all nails, screws, and metal fasteners first—using a pry bar, hammer, or nail puller—because mixed materials can complicate recycling and may violate disposal rules. Break the boards into manageable sections so they fit in bins or on a trailer, and keep pieces separated from drywall, underlayment, or foam padding. If the flooring has a heavy coating or unknown contaminants, avoid dusting and use protective gear while you dismantle it. Bag smaller fragments and bundle larger pieces so your waste hauler can load them efficiently.
Which disposal option is better—landfill, bulk pickup, or recycling—for wide-plank wood floors?
Landfill disposal is common for mixed or contaminated flooring that can’t be reused, but it may be restricted depending on your municipality. Bulk pickup can work if your local service accepts construction debris, but you’ll typically need to follow size limits and scheduling rules. Recycling is best when the wide-plank wood is clean and mostly uncoated, but many recycling centers require nail-free or “unmixed” wood for processing. Compare options with your local recycling facility or transfer station so you know exactly what they accept.
Why can wide-plank wood floors be difficult to dispose of, and how can I prevent problems?
Wide-plank flooring is often difficult because it may be tightly glued, contains nails, or includes finishes that make it less suitable for reuse or recycling. It can also be bulky, which raises hauling costs and may conflict with bulk-item size limits. To prevent problems, dismantle carefully, remove fasteners, and keep wood separated from other demolition materials like underlayment, carpet tack strips, or insulation. If the floor was installed over adhesive, plan for extra cleanup and assume it may need landfill disposal unless a facility confirms acceptance.
How do I dispose of wide-plank wood floors that are glued down or have old finishes?
For floors glued down, remove sections with a flat bar or floor scraper, and collect residue carefully so you don’t contaminate surrounding waste streams. Old finishes can be an issue—especially if you suspect lead-based paint or other hazardous coatings—so check local guidance on hazardous materials and testing requirements. If the boards are clean enough and your recycling center accepts them, separate them from adhesive-backed underlayment and nail debris before transport. If they’re heavily contaminated, sealed, or mixed with problematic materials, treat them as construction debris and dispose of them through the approved landfill or waste transfer route.
📅 Last Updated: October 16, 2026 | Topic: How to dispose of wide-plank wood floors? | Content verified for accuracy and freshness.



[…] U.S. EPA — Renovation, Repair and Painting (RRP) Rule guidance for lead-safe work practices in target housing and child-occupied facilities (cite the exact applicability rules for your […]