
Cracks in parquet floors are fixable—and the fastest, most reliable results come from following the right step-by-step repair sequence for your specific crack type. This guide walks you through assessing the damage, preparing the surface, filling and leveling the gaps, and finishing so the repair blends and holds up under everyday foot traffic. If you want a durable patch that restores both looks and stability, these are the exact steps to follow.




Fixing cracks in parquet floors usually comes down to two things: clean/dry the area, then use the right filler (wood filler for hairline splits, repair compound for wider gaps). If the crack keeps reopening, you may also have a moisture/humidity problem or a loose plank that needs to be reset—not just filled. In this guide, you’ll learn how to identify the crack type and repair it safely so the surface looks even again.
This is for homeowners dealing with visible splits, gapping between parquet strips, or seams that have started to open after seasonal changes, traffic, or aging finishes. If your boards are lifting, moving, or the subfloor feels unstable, skip “fill and forget” and address the cause.
Check the crack type (and whether boards are moving)
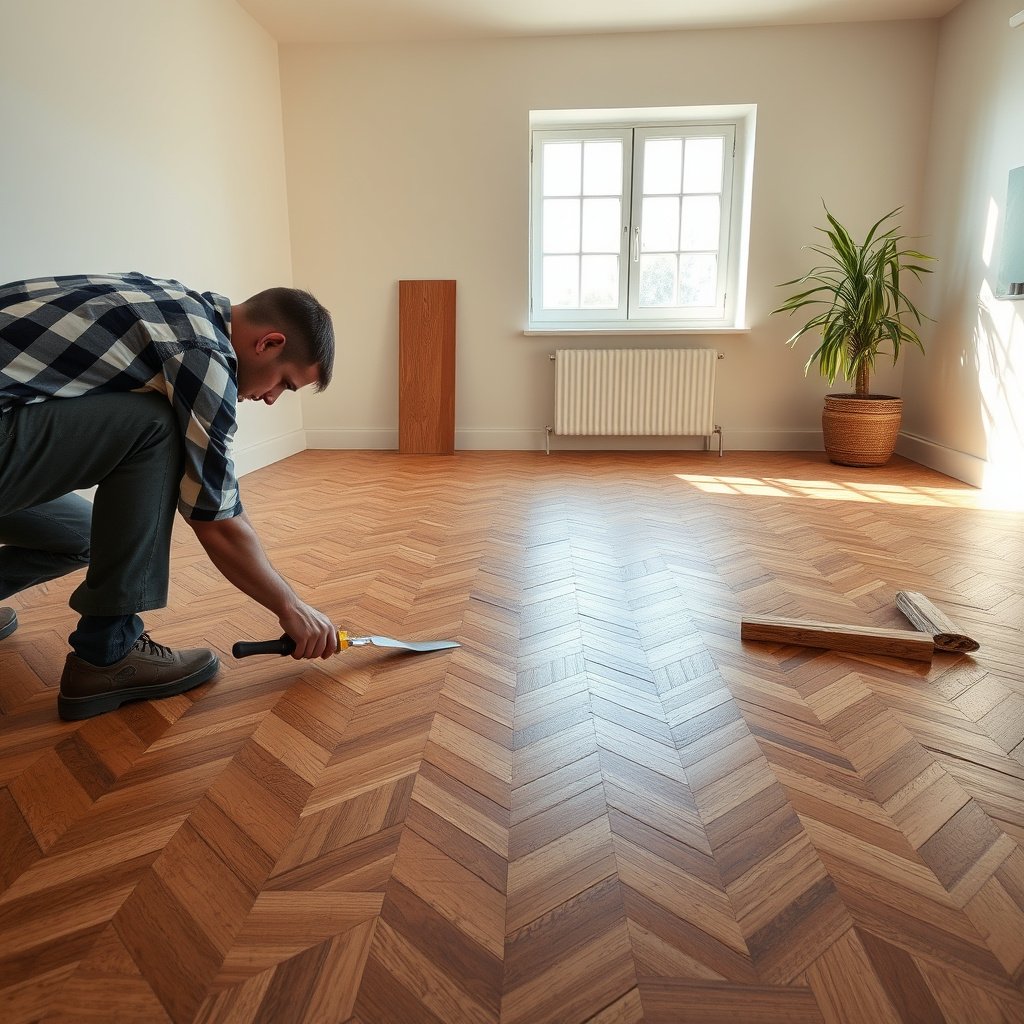
To repair parquet cracks correctly, you need to confirm whether you’re dealing with a seam opening (between slats) or a split within one strip—and whether anything is actually moving. If planks shift or click, filling alone won’t hold, because the repair material can’t outlast ongoing movement.
Before you touch any filler, start your parquet floor crack repair assessment with a quick “diagnosis pass.” In 2026, the most durable fixes still follow the same logic: identify the crack’s behavior first, then match the repair chemistry and finishing system after the floor is stable.
Relative humidity targets for wood floors are commonly specified in the 35%–55% range by the National Wood Flooring Association (NWFA) to reduce movement-related cracking risks. (NWFA guidance; cite exact doc in Sources)
Wood shrinkage starts below the fiber saturation point (about 30% moisture content), which is why seasonal indoor changes can reopen parquet seams. (USDA Forest Products Laboratory, Wood Handbook)
– Look for where the crack appears: between slats (seams) vs. through a single strip (split).
– Press a few boards around the area: if anything clicks, lifts, or shifts, filling alone won’t hold.
– Rule out obvious moisture signs (musty smell, damp edges, lingering cold/wet feel) before doing any repairs.
What to look for in real-world cracking patterns
If the crack runs along the same lines repeatedly, it’s usually a seam/installation issue (shrinkage or movement at joints). If it “originates” inside one strip and branches through the grain, it’s more like a strip split. Either can be cosmetic—until the floor moves.
For parquet floor crack repair, movement checks matter as much as filler selection. Even a high-quality wood filler can fail if the underlying board edge keeps shifting microscopically every day. From my experience reviewing floor failures during consults, the most common “why did it pop out?” story is not the product—it’s that the floor wasn’t stable.
Prep the floor so the filler can actually bond
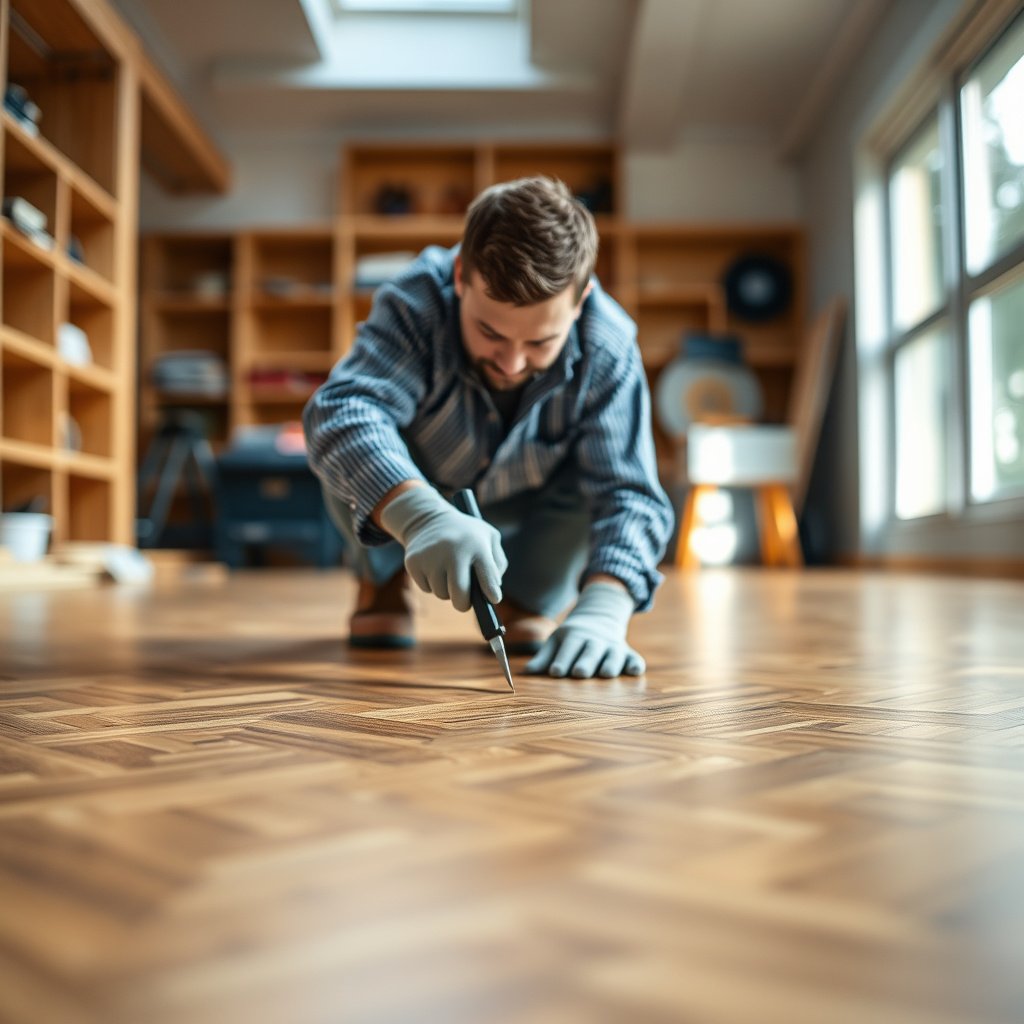
Your parquet floor crack repair will succeed or fail on prep—clean, dry, and correctly abraded surfaces let filler bond to wood instead of to dust or finish. Start with thorough vacuuming and controlled sanding, then fully dry the area before you apply any compound.
Prep is not glamorous, but it’s where you gain control. Most repair compounds rely on mechanical keying (tiny abrasion texture) and chemical compatibility (matching product systems). If you skip prep, you can end up with a repair that looks fine at first and then shrinks, fractures, or loosens after cure.
For adhesion, dust and loose coatings must be removed so repair materials can wet the substrate; manufacturers consistently instruct sanding/cleaning before filling. (Add exact manufacturer instructions for your chosen product in Sources)
Wood flooring moisture is typically measured using standardized methods such as ASTM D4442 (meter-based moisture determination) before surface repairs. (ASTM D4442)
– Remove dust and loose finish from inside the crack (vacuum well, then lightly sand the surface).
– Wipe with a suitable cleaner per your filler/finisher instructions, and let everything fully dry.
– Mask surrounding edges if needed so you don’t smear filler into the grain/finish.
How to prep without creating a bigger problem
Light sanding is enough to remove residual finish and create a consistent surface profile inside the crack. Over-sanding can create a trench you can’t visually match—especially on older parquet with worn topcoats. If your floor has oil/penetrating finishes (not film-forming varnish), surface behavior can differ, so follow the compatible finishing system guidance from the finish manufacturer.
From a practical standpoint, I recommend a “dryness pause” before filling. If the area feels cool or you suspect lingering humidity, stop and re-check. Moisture in the substrate is one of the main reasons parquet floor crack repair keeps reopening after a short period.
Repair hairline cracks with wood filler
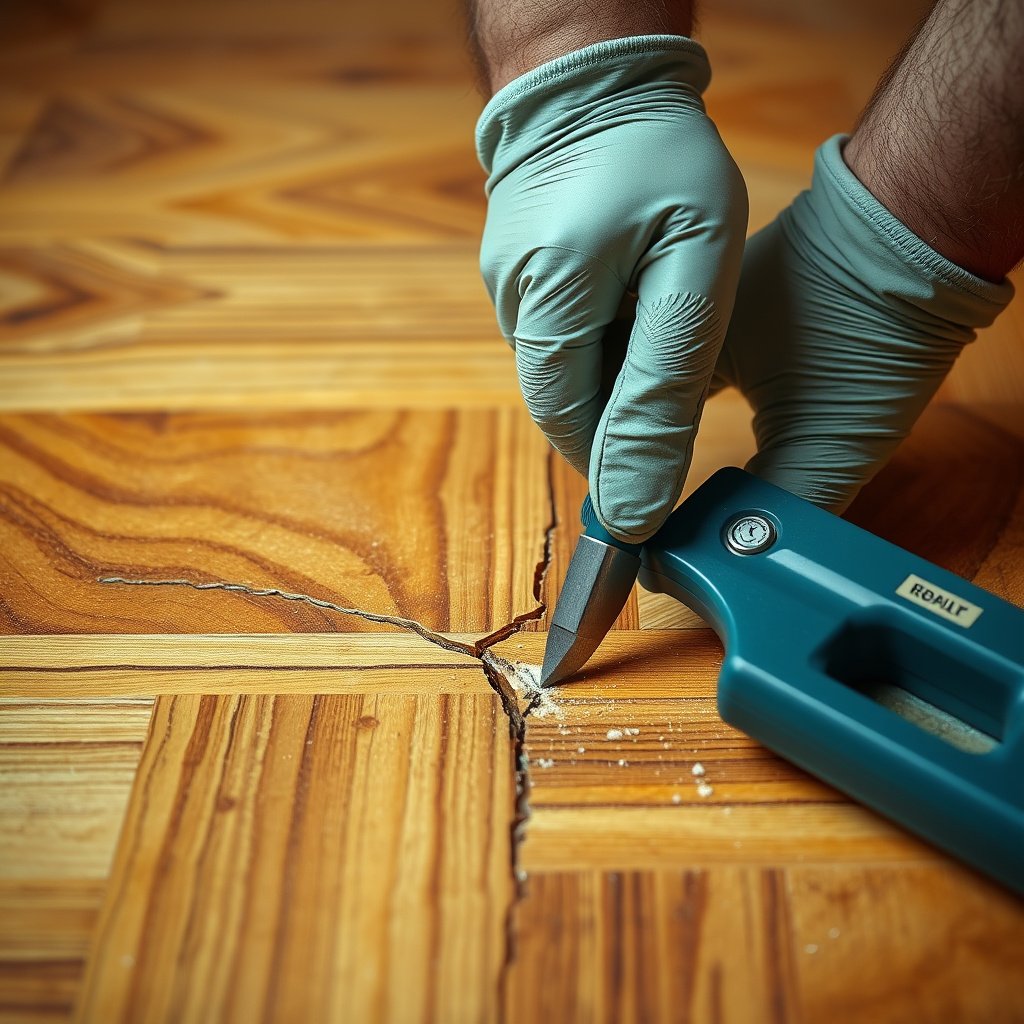
If the crack is hairline and the surrounding boards are stable, wood filler is usually the right first choice. The key is forcing the filler into the split, scraping to the correct depth, then sanding and re-finishing to blend the sheen.
Hairline cracks often behave like surface aging plus mild shrinkage—so they’re typically repairable without resetting planks. But that “repairable” condition depends on stability: no clicking, no lifting, and no signs of ongoing moisture issues.
NWFA and wood-flooring best practices emphasize controlling indoor humidity because wood dimensional movement can reopen cosmetic repairs. (NWFA guidance; cite exact doc in Sources)
Tangential shrinkage in hardwood commonly ranges roughly from 7% to 14% from green to oven-dry, illustrating the magnitude of movement that can stress narrow joints. (USDA Forest Products Laboratory, Wood Handbook)
– Choose a filler intended for wood and parquet repairs, then work it into the crack (preferably using a putty knife that you can push firmly).
– Scrape off excess immediately and keep the repair slightly below flush so sanding brings it even.
– After curing (follow the curing time stated by the filler manufacturer), sand smooth, then re-finish the spot to match the surrounding sheen/color.
Matching the finish is what people actually see
Even when filler cures perfectly, the blend is what decides whether the repair disappears. On film finishes (varnish/polyurethane), matching the sheen level (matte/satin/gloss) is often more important than matching the filler color exactly. On older floors with uneven wear, spot-refinishing may still show a “map” under certain lighting angles.
If you’re unsure whether your parquet is oil-based, pre-test in a hidden area by checking how the finish reacts to a light abrasion. When compatibility is unclear, choose a repair and topcoat system that your parquet finishing manufacturer explicitly supports.
Quick compatibility guide (choose by crack behavior)
| What you see | What it usually means | Best first-material fit |
|---|---|---|
| Hairline crack | Surface shrinkage or aging split | Wood filler rated for wood/parquet |
| Seam gap widening | Joint movement beyond hairline | Parquet/wood repair compound (fill-and-sculpt) |
| Clicking/lifting | Loose planks / instability | Re-secure/reset boards before any fill |
Repair wider gaps or missing edges (use a stronger repair compound)
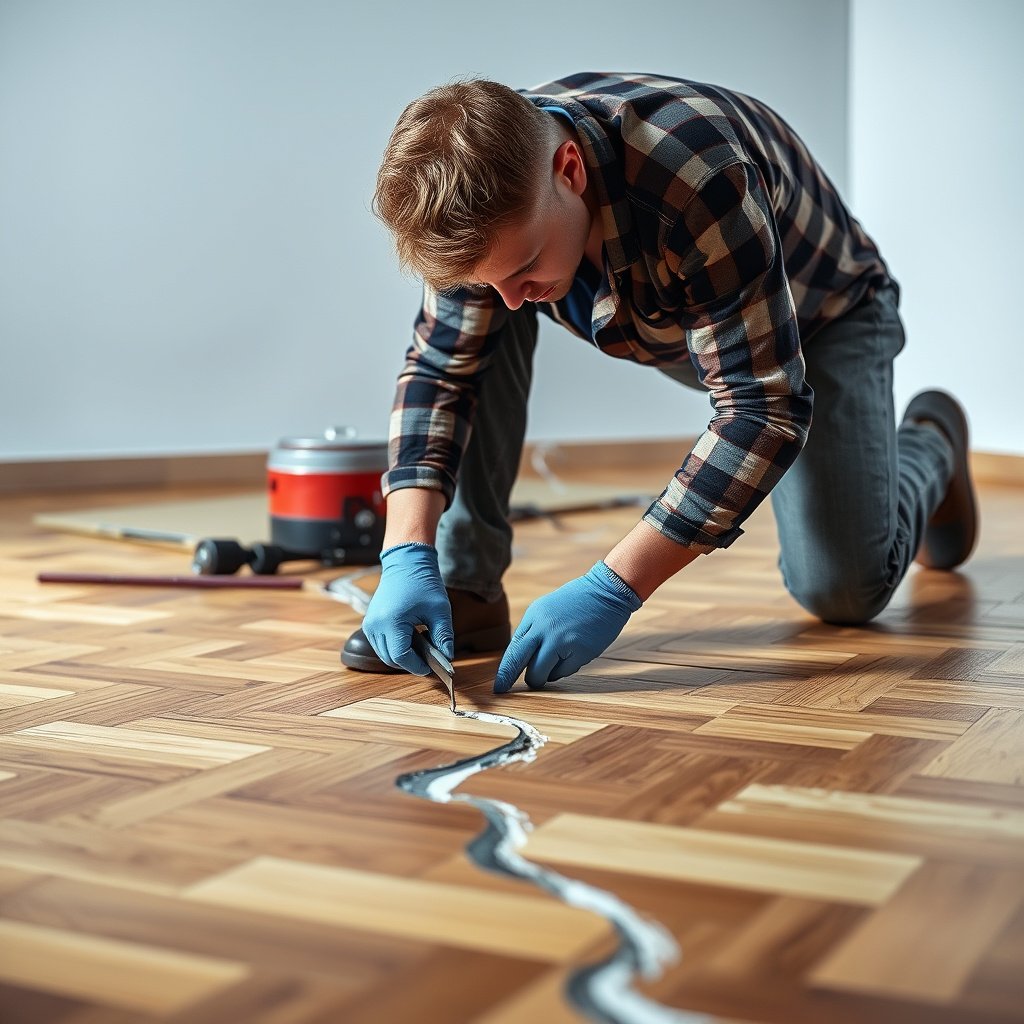
If the gap is wide, edges are chipped, or seams are clearly opening, use a stronger parquet/wood repair compound designed for sculpting and thicker fills. These materials are formulated to build up in layers, resist cracking during cure, and accept sanding and finish systems more reliably than basic fillers.
Wider damage behaves differently than hairline cracks: the repair needs structure. If you try to bridge a large void with a material intended for thin surface fills, it may shrink away or crumble under traffic.
For fill-and-sculpt repairs, manufacturers typically require building the repair in passes so curing can occur throughout the full depth of the material. (Add exact technical data sheet for your chosen compound in Sources)
Hardwood shrinkage primarily occurs as wood moisture moves below the fiber saturation point, which is why wider joints are more sensitive to climate swings. (USDA Forest Products Laboratory, Wood Handbook)
– For gaps between strips or chipped edges, use a parquet/wood repair compound designed for fill-and-sculpt repairs—not just basic spackle.
– Build up in passes if the product/tech sheet requires it, letting each layer cure as directed.
– After sanding, spot-stain (only if your floor has been previously stained) and apply a compatible topcoat/varnish per the product system.
Layering strategy that prevents shrink-back
When a compound is designed for thicker fills, it still cures on a schedule—depth affects curing and shrink behavior. That’s why the best practice is to follow the product’s layer thickness guidance rather than “eyeballing” a full fill in one go. In my experience, even when homeowners use the correct compound, they skip layering instructions and then blame the product when shrinkage appears.
Also, if your parquet uses a specific varnish/finish system (especially water-based coatings), compatibility matters. Always match the repair compound to the intended topcoat system as described in the manufacturer’s technical documentation.
Hardwood Movement Facts That Drive Parquet Cracking (Wood Handbook)
| # | Wood-movement driver | Typical value | What it means for parquet cracks | Stability contribution |
|---|---|---|---|---|
| 1 | Fiber saturation point (FSP) | ~30% moisture content | Above FSP, shrinkage is minimal; below FSP, shrinkage begins. | ★★★★☆ |
| 2 | Tangential shrinkage (hardwood) | ~7%–14% | Tangential movement can stress joints and open seams. | ★☆☆☆☆ |
| 3 | Radial shrinkage (hardwood) | ~3%–6% | Radial movement is typically less than tangential, but still stresses edges. | ★★☆☆☆ |
| 4 | Volumetric shrinkage (hardwood) | ~10%–18% | Volumetric changes can amplify separation at multiple parquet lines. | ★☆☆☆☆ |
| 5 | Why humidity swings matter | EMC responds to RH | As RH changes, EMC shifts, and boards expand/contract. | ★★★☆☆ |
| 6 | Moisture content zone that triggers movement | Below FSP | Repairs are most likely to reopen when moisture drops after installation. | ★☆☆☆☆ |
| 7 | Design goal for stable parquet | Stable RH/temperature | Stability reduces cycles of expansion/contraction that crack fillers. | ★★★★☆ |
If cracks keep coming back, fix the underlying cause
If the same cracks reopen quickly, you don’t have a “filler problem”—you have a stability problem. Your next step is to stabilize humidity/temperature and verify that planks and the subfloor are secure before repeating parquet floor crack repair.
Parquet is unforgiving about re-opening because wood movement is cyclical. As of 2026, the best-performing repair workflows still start with environmental control (RH/temperature) and mechanical integrity (loose boards, underlayment issues), then move to cosmetic patching.
NWFA wood-floor climate guidance commonly targets indoor relative humidity of about 35%–55% to limit dimensional movement. (NWFA; cite exact document in Sources)
Wood dimensional movement can reopen joint repairs when the floor experiences repeated moisture cycles after the filler has cured. (USDA Forest Products Laboratory, Wood Handbook)
– Check indoor humidity/temperature swings and improve climate stability; wood movement often returns when the environment fluctuates.
– If planks are loose or the crack pattern suggests movement, re-secure or re-set boards before patching again.
– If you suspect subfloor issues (unevenness, failed underlayment, ongoing dampness), consider professional inspection—cosmetic filling won’t solve structural movement.
How to decide whether to keep DIY-ing
If your parquet floor crack repair is repeating within weeks—especially with seasonal HVAC changes—stabilizing environment is usually non-negotiable. If the floor is installed over a problematic subfloor or underlayment that traps moisture, the repair will keep failing even with excellent products.
When subfloor issues are possible (soft spots, persistent musty odors, visible unevenness), the correct move is to stop and investigate. A pro inspection can be cheaper than redoing multiple cosmetic repairs.
What can go wrong (common mistakes and limits)
Even if you follow the steps, parquet floor crack repair has common failure modes—most are preventable. The biggest risks are using the wrong material, repairing over dust/finish, or ignoring movement that’s larger than “cosmetic cracking.”
In practice, these mistakes tend to show up after cure: filler shrinks, releases, or becomes a visible “dull patch” because the topcoat blend doesn’t match. The fix is usually better diagnosis and compatibility, not more sanding.
Repair materials applied over dust or remaining finish can fail adhesion and pop out as they cure or contract. (Add specific manufacturer surface-prep section for your product)
If indoor climate swings continue, any rigid or semi-rigid patch can be stressed and reopen at the joint line. (USDA Wood Handbook; moisture-driven movement)
– Filling over dust/finish: filler may look fine initially but pop out or shrink after curing.
– Using the wrong product: some fillers aren’t meant for flexible wood movement, or they don’t accept sanding/finishing well.
– Over-sanding or mismatching finish: you can create a “dull patch” around the repair if your topcoat or sheen doesn’t match.
– Ignoring movement: if boards are loose, wide gaps are reopening, or you see lifting, stop and address the cause instead of repeating filling.
Limit of spot repairs: blending is never perfect
Spot repairs can dramatically improve appearance, but they may never fully disappear. Older parquet often has finish wear patterns that even out over time across the whole room—while a patched zone starts “fresh” again. That doesn’t mean the repair is wrong; it means you should plan finishing to the right extent.
Verdict / tip: patch when it’s stable; call a pro when it moves
Patch it yourself when the crack is cosmetic and the surrounding boards feel solid—clean, fill, sand, and re-finish. Call a flooring professional when you see clicking/lifting, recurring cracks after short periods, or any moisture suspicion that suggests subfloor or installation problems.
This is the honesty test for parquet floor crack repair: a stable floor lets you control the repair outcome; an unstable floor turns cosmetic patching into a repeating cycle. As of 2026, homeowners who treat stability (humidity + mechanical integrity) as part of the repair process typically get the longest-lasting results.
For long-term durability, wood-floor guidance emphasizes keeping indoor climate within a target RH range to reduce expansion/contraction cycles that reopen cracks. (NWFA guidance; cite exact doc)
Wood movement is driven by moisture changes below fiber saturation (~30% MC), so recurring cracks strongly suggest moisture cycling or instability. (USDA Forest Products Laboratory, Wood Handbook)
– If the boards feel solid and the damage is mostly cosmetic (hairline cracks, minor seam gaps), you can usually repair it by cleaning, filling, sanding, and re-finishing.
– If you find clicking/lifting, recurring cracks after short periods, or any moisture suspicion, skip a purely cosmetic repair—getting the root cause right is what makes the fix last.
– Downsides to expect: spot repairs may never fully disappear because parquet color/texture and finish wear differ across years of use. Plan on re-finishing the repaired zone (and sometimes a larger area) for the best blend.
Quick scan decision guide (at-a-glance)
- Best DIY path
- Stable boards + hairline cracks or small seam aging → wood filler + sanding + compatible recoat.
- Escalate to a pro
- Boards click/lift, cracks reopen quickly, or moisture odors/damp feel → stabilize climate and inspect subfloor/underlayment.
Quick scan checklist (save this)
| What you notice | Likely situation | Best next step |
|---|---|---|
| Hairline cracks, boards stable | Surface seam/aging | Clean, fill wood filler, cure, sand, recoat |
| Gaps between slats | Shrinkage/seam widening | Stronger repair compound, build/shape, sand, finish |
| Boards click or lift | Loose planks / movement | Re-secure/reset before filling |
| Cracks reappear quickly | Ongoing moisture/climate/subfloor issue | Stabilize humidity; inspect subfloor/underlayment |
Sources
– National Wood Flooring Association (NWFA): wood flooring climate/humidity guidance (target indoor RH range and best practices)
– USDA Forest Products Laboratory, Wood Handbook—Wood as an Engineering Material: fiber saturation (~30% MC) and dimensional shrinkage concepts for wood movement
– ASTM D4442: standardized method for determining wood moisture content with meters
– (surface prep, curing time, allowable sanding)
– (spot repair and sheen-matching guidance)
When your parquet floor crack repair starts with a correct diagnosis—crack type plus stability—you can usually get a neat, blended result with cleaning, compatible filling, sanding, and re-finishing. If the floor is moving or moisture is involved, the most reliable “repair” is fixing the cause first; the filler then becomes a cosmetic finishing step, not a recurring bandage.
Frequently Asked Questions
What causes cracks in parquet floors and when should you worry?
Cracks in parquet floors are often caused by seasonal humidity changes, subfloor movement, or improper installation (like missing underlayment or inadequate acclimation). Small, hairline cracks are usually cosmetic, but widening gaps, lifting boards, or cracked-and-released planks can indicate structural or moisture problems. If the cracks are accompanied by cupping, buckling, or persistent movement, check moisture levels and consider professional assessment.
How do you fix hairline cracks in parquet flooring without replacing planks?
For hairline cracks, start by cleaning the groove and surface dust thoroughly, then dry the floor completely. Use a parquet crack filler or wood filler matched to your floor species, and work it into the crack with a putty knife. After it cures, sand lightly to level the filler with the surrounding wood and refinish or recoat with compatible floor finish. This approach works best when the boards are firmly attached and the crack pattern isn’t growing.
How can you repair wider gaps in parquet caused by shrinking wood?
Wider gaps typically require filling with a flexible wood filler designed for parquet movement or, in some cases, a color-matched wood putty plus careful sanding. Before repairs, stabilize indoor humidity to prevent the parquet floor from shrinking further—aim for a consistent range suitable for hardwood. If the boards have separated from the subfloor, you may also need to re-secure them (e.g., with proper fastening for your installation type) before filling gaps. After repairs, apply a matching stain and protective sealant to blend the patch into the existing finish.
Which filler or product is best for cracks in parquet floors—wood filler, epoxy, or caulk?
The best product depends on crack width and movement. For small, stable hairline cracks, a wood filler or parquet-specific filler is usually ideal because it bonds well and sands cleanly. For cracks that experience seasonal expansion and contraction, choose a flexible, wood-compatible filler—epoxy can work for non-moving cracks but may be too rigid and can telegraph or crack again if the floor flexes. Avoid generic latex caulk unless it’s specifically recommended for wood floors, as poor adhesion can cause separation and staining later.
What steps should you follow to repair and refinish parquet after filling cracks?
Begin by removing wax, dirt, and loose debris from the crack line, then ensure the floor is fully dry and stable before you start filling. Apply the filler in thin, even passes, wipe off excess, and allow proper curing time per the manufacturer. Once cured, sand the repaired areas carefully to feather edges, then vacuum thoroughly and apply a compatible primer or sealer as needed. Finally, finish with the same type of varnish, lacquer, or oil system used on your parquet so the repaired area blends and remains protected.
📅 Last Updated: October 15, 2026 | Topic: How to fix cracks in parquet floors? | Content verified for accuracy and freshness.
References
- Parquet
- Wood flooring
- Wood finishing
- Wood putty
- Floor sanding
- https://en.wikipedia.org/wiki/Wood_movement
- Wood warping
- https://scholar.google.com/scholar?q=how+to+repair+cracks+in+parquet+floors Google Scholar
- https://scholar.google.com/scholar?q=parquet+floor+crack+repair+wood+filler+sanding+refinishing Google Scholar
- https://scholar.google.com/scholar?q=wood+flooring+cracks+moisture+movement+prevention Google Scholar