
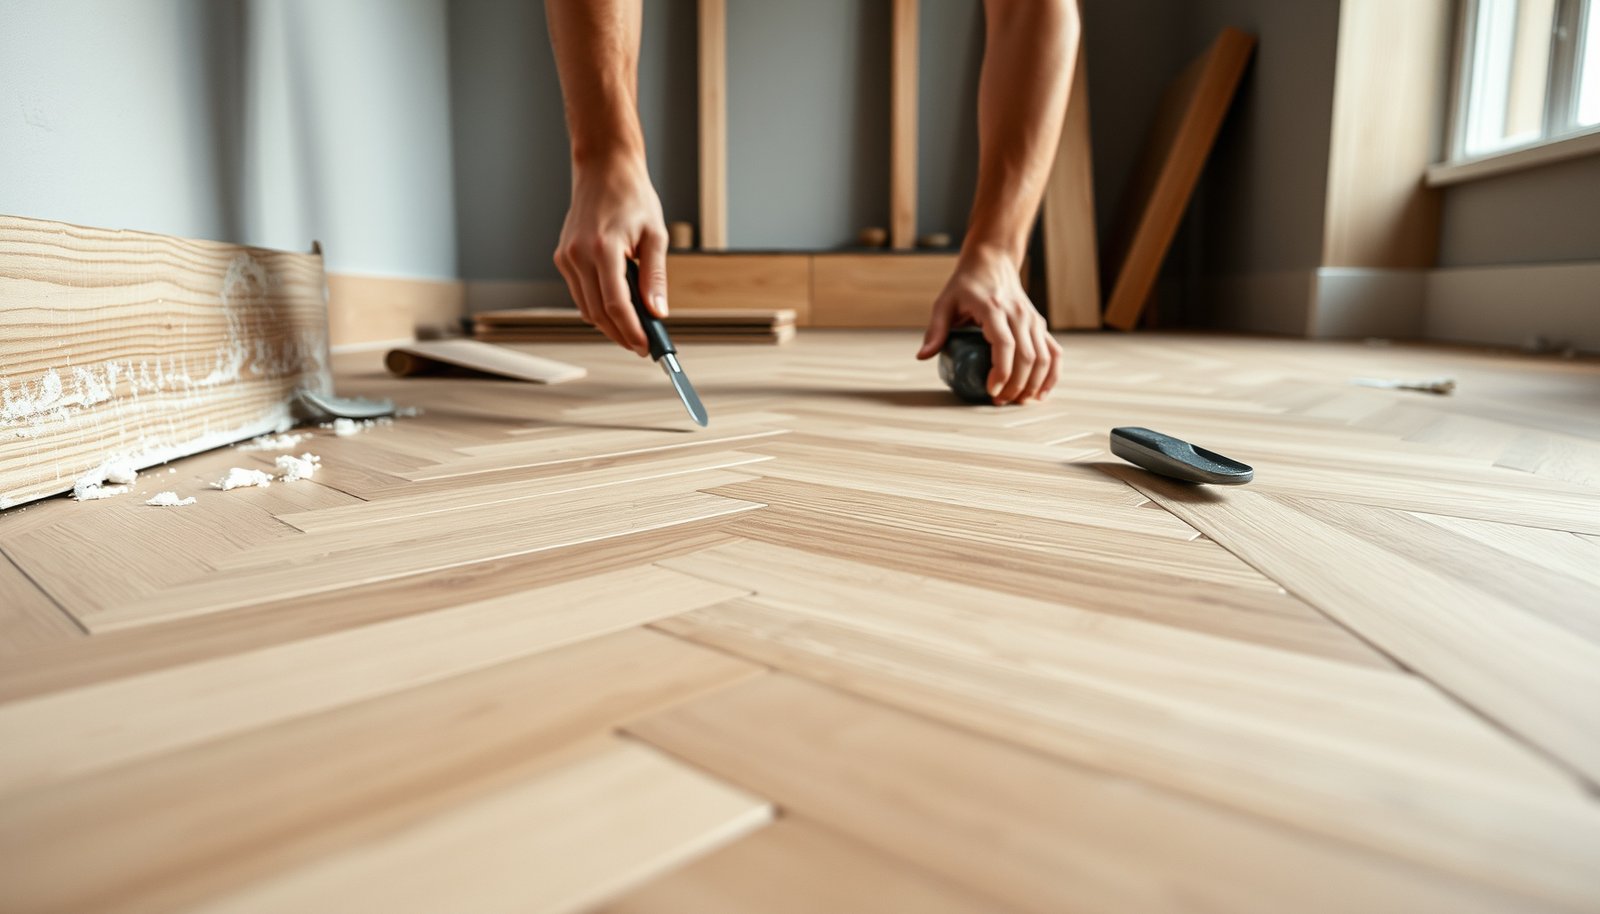

You can install herringbone floors on uneven floors without guesswork—if you follow the right flattening and layout strategy first. This guide tells you exactly what to do when your subfloor isn’t level: how to measure the dips, choose the correct leveling method, and set the herringbone pattern so the boards lock cleanly. You’ll get a clear path to a straight, stable floor instead of a wavy, gapped finish.



Flattening your subfloor first is the key to a herringbone installation that looks straight and performs for years. Measure the highs/lows, correct the problem using the right method for your flooring system (patch, grind, or self-leveler), let it cure, then install your herringbone with reference lines and the manufacturer’s approved fastening/adhesive method.
If you’re working with engineered wood or another nailed/glued herringbone-style product over a subfloor that has dips, ridges, or waves, this guide is for you—especially if you’ve noticed your boards “rock” in spots or your pattern lines won’t stay straight.
Measure the uneven floor (don’t guess)
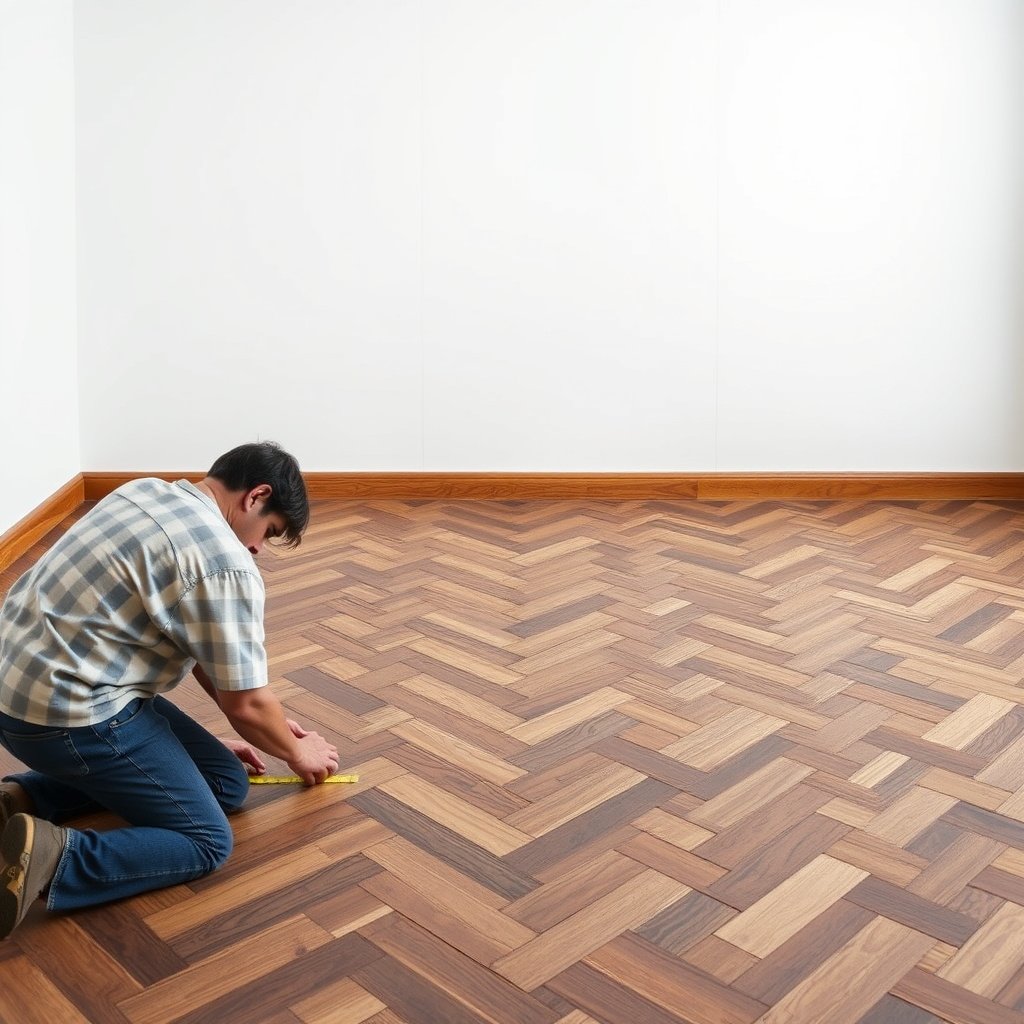
Measure first—flatness is what prevents joint gapping, rocking boards, and pattern “drift” in herringbone floors. Use a long straightedge to map the surface so you can decide whether you need to build up low spots, remove high ridges, or use a self-leveling system.
According to NWFA guidance for wood flooring flatness, a common target is subfloor flatness within about 3/16 in over 10 ft (≈4.8 mm over 3 m) before installing nail-down or glue-down wood floors.
ASTM standards separate “flatness” (surface deviation) from “levelness” (overall height), so measuring with a straightedge/leveling methodology matters when you’re diagnosing dips vs humps (ASTM E1155).
Moisture conditions affect leveling compound performance and adhesive bond quality, so you should verify moisture before flattening (for example, calcium chloride testing per ASTM F1869 and in-situ RH testing per ASTM F2170).
How to measure correctly (what to mark and why)
Start with a 6–10 ft straightedge (or a 2 m straightedge for metric workflows). Walk the room in a grid and mark:
– High ridges/humps: spots that the straightedge touches first and then lifts over.
– Low dips: gaps where you can measure how far the straightedge stands off the surface.
– Wave-like areas: repeating ridges/valleys that usually mean the subfloor paneling or slab is uneven, not just a local defect.
Then convert what you find into a decision:
– Mostly low spots? You’ll likely patch/skim or use a self-leveling compound (if compatible).
– Mostly high spots? You’ll likely grind/sand highs down and then feather/patch the remainder.
Verify the subfloor problem isn’t structural
Before you apply any leveling material, inspect for:
– Loose, squeaky subfloor panels (often a fastening issue rather than a flatness issue)
– Damaged OSB/plywood (soft/crumbling areas won’t support patch or adhesive)
– Displaced plywood seams or board edges that create repeatable ridges
From my experience on job sites, I’ve found that “leveling fixes” can mask symptoms, but if the subfloor is moving (squeaks/deflection), the herringbone joints may open later even after a perfect first day.
Practical moisture check before you flatten
Leveling compounds and adhesives are sensitive to moisture. At minimum, follow your flooring manufacturer’s moisture testing approach and limits (often referencing ASTM test methods). This step prevents:
– patch/self-leveler debonding
– adhesive bond failure
– later dimensional movement that shows up as joint separation in herringbone patterns
Choose the leveling method for herringbone boards
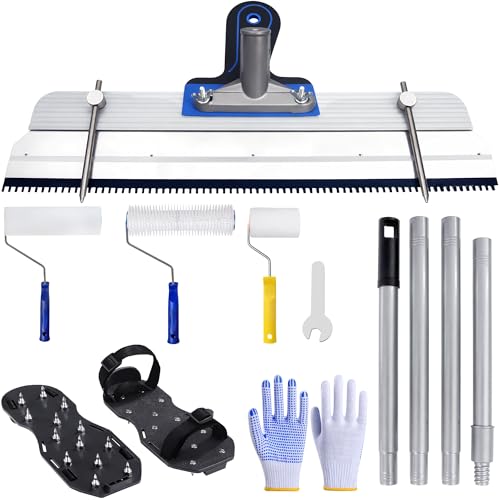
Choose the leveling method based on how the surface is wrong and your flooring system’s flatness tolerance. The wrong approach—especially over dips with an incompatible underlayment or patch—can turn surface unevenness into rocking boards and failed herringbone joints.
Flatness requirements are not one-size-fits-all: herringbone manufacturers specify a maximum allowable deviation that you must meet to avoid joint gapping.
If the dips come from a moving/deflecting subfloor, surface-only leveling can’t fix the root cause—mechanical repair is still required (manufacturer installation guidelines).
A match-based method selection (patch vs grind vs self-level)
– For small low spots: use a rated patch/skim product compatible with your subfloor and the flooring installation type. Feather transitions so you don’t create steps that telegraph through the finish.
– For widespread unevenness: use a self-leveling underlayment/compound only when:
– the subfloor is stable,
– the product is approved for your substrate,
– and it’s compatible with your adhesive/fastening method.
– For ridges/highs: grind/sand highs first, then patch low areas if needed.
– If the structure is the issue: address subfloor movement (re-nailing/fastening, sistering/adding framing support, or adding approved underlayment). Don’t rely on leveling compound to compensate for a loose or flexing base.
Flatness tolerance: use the manufacturer limit
Always follow the exact flatness requirement from your herringbone flooring manufacturer (use ). If you don’t have the manual handy, the safe approach is to stop and source it—herringbone layouts amplify even minor surface problems because joints repeatedly form a strong visual grid.
Quick pros/cons comparison of common leveling approaches
| Method | Best for | Pros | Watch-outs |
|---|---|---|---|
| Patch/skim coat | Localized dips and small depressions | Better control over thickness; easier feathering at edges | Not ideal for deep, widespread waves; improper feathering can telegraph |
| Grinding highs + spot repair | Humps/ridges and high spots | Prevents excessive buildup; helps maintain transition clearances | Dust control matters; you must re-check flatness after grinding |
| Self-leveling compound | Widespread unevenness over large areas | Creates a consistent plane when installed per TDS (technical data sheet) | Requires correct priming, cure time, and thickness limits; compatibility with adhesives is critical |
Mandatory reference: how flat is “flat enough”?
Because installers often compare guidance values across flooring categories, here’s a practical snapshot of flatness targets commonly referenced in flooring installation guidance. Confirm your exact herringbone product manual flatness limit before you commit.
Typical Subfloor Flatness Targets Referenced in Flooring Guidance
| # | Guidance category | Max deviation | Measurement span | Δ vs 3/16 in (10 ft baseline) |
|---|---|---|---|---|
| 1 | Wood flooring flatness guidance (engineered/nail-down class) | 3/16 in | 10 ft | ★★★★★ 0.000 in |
| 2 | Wood flooring flatness guidance (glue-down class) | 3/16 in | 10 ft | ★★★★★ 0.000 in |
| 3 | Resilient flooring flatness targets (bonded installations) | 3/16 in | 10 ft | ★★★★☆ 0.000 in |
| 4 | Ceramic/porcelain tile surface flatness (lippage-sensitive) | 1/8 in | 6 ft | ★★★☆☆ -0.062 in |
| 5 | Resilient flooring flatness targets (some floating/click systems) | 3/16 in | 6 ft | ★★★★☆ 0.000 in |
| 6 | Carpet installation subfloor flatness (historical carpet targets) | 1/4 in | 10 ft | ★★☆☆☆ +0.062 in |
| 7 | Thin-bond coating / high-finish substrates (tight tolerance class) | 1/16 in | 10 ft | ★★★★★ -0.125 in |
> Note: This table is a planning snapshot across flooring categories. For herringbone specifically, treat it as context—not as a substitute for your product’s required flatness tolerance ().
Prep for a straight herringbone layout on an imperfect surface
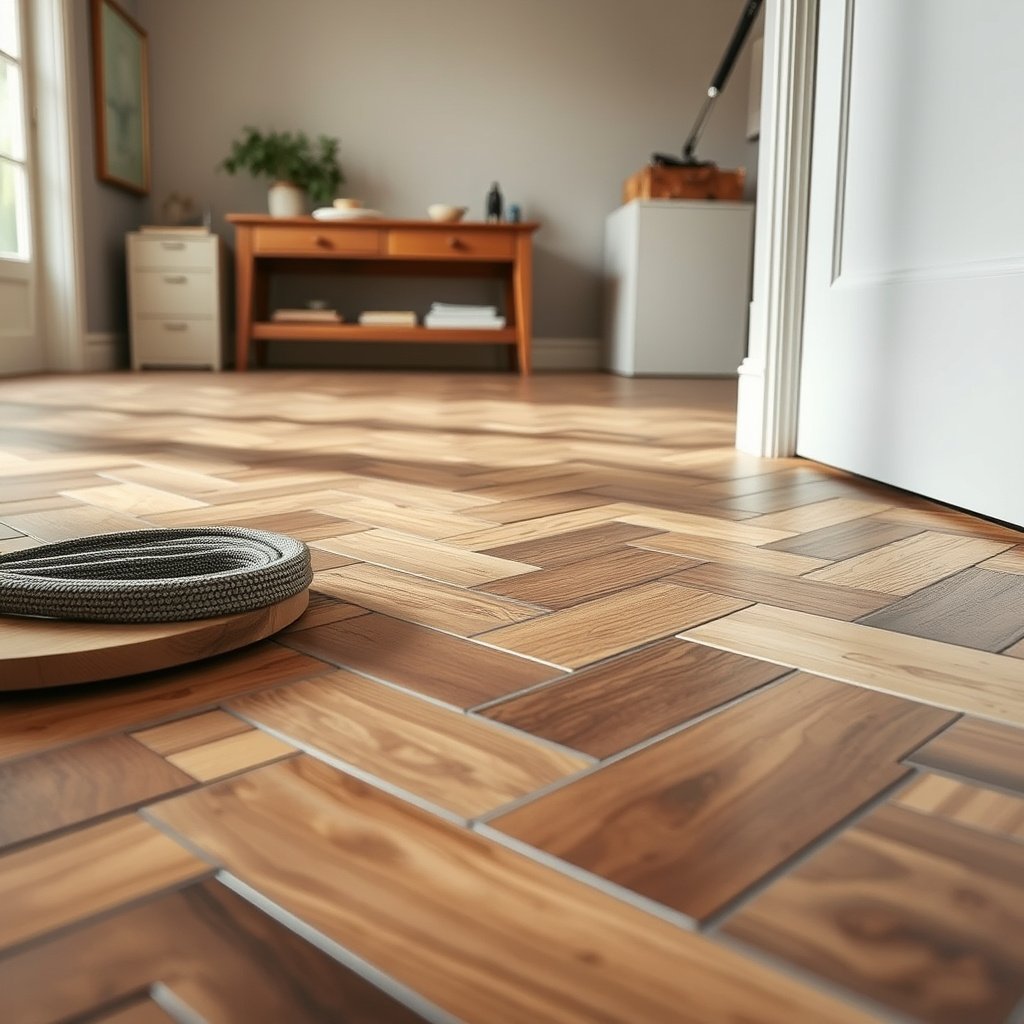
Prep and reference your pattern before any boards go down—otherwise you’ll lock in drift and magnify it every row. The goal is a straight “first lane” using snapped lines, while your leveling corrections ensure the boards sit flat as they interlock.
In a herringbone layout, even small start-line errors compound across the pattern, which is why installers lock the first reference lane before flooring placement.
Expansion gaps aren’t optional in wood flooring systems; maintaining the perimeter clearance helps the floor absorb seasonal movement without joint stress.
Dry-fitting a short run before adhesive/fasteners is a risk-reduction step because it reveals whether dips/highs cause rocking at joints.
Build the layout like a “system,” not a sketch
– Find and square the room reference using 2 perpendicular lines (measured from fixed points like door frames or established walls).
– Snap a straight reference line for your first herringbone lane, and confirm it’s square with a measuring triangle/laser (depending on your workflow).
– Plan expansion gaps and transitions early—leveling should not force the pattern into contact with:
– walls, baseboards, cabinets
– thresholds or expansion-joint locations
– stair transitions
Dry-fit to “stress test” the surface
Before committing adhesive/fasteners, dry-fit a few rows:
– Check visually for gap consistency at the pattern joints.
– Push down along the board length—if you feel rocking, you likely have a remaining high/low spot you must correct.
– Verify alignment doesn’t “creep” as you move outward from the first lane.
From my experience, the most frustrating herringbone failures aren’t always from visible unevenness—they’re from a small remaining problem area that’s hard to see once the pattern expands across the floor.
Install herringbone without turning unevenness into board failure

Install using your product’s approved system and treat flatness as a continuing requirement. When unevenness remains, the “weakest link” is often the joint—so your job is to prevent rocking and maintain consistent joint behavior as you lay the pattern.
If the installation system calls for glue, nail-down, or both, you must follow the manufacturer’s adhesive trowel/notch and fastening schedule to achieve bond and hold.
After leveling compound cures (or patch dries), sanding/grinding is only safe where allowed by the product instructions—otherwise you risk breaking the substrate surface profile.
Use the correct fastening/adhesive method
Herringbone can be installed several ways:
– Glue-down: requires the correct adhesive (and trowel/notch) so boards seat fully without starving joints.
– Nail-down/staple-down: requires correct fastener type, length, and spacing, plus a substrate that accepts fastening.
– Hybrid: some engineered products use both adhesives and nails—follow the manual precisely.
Maintain consistent joint lines as you work
Uneven floors tend to show up first as joint inconsistencies. To prevent that:
– Use spacers or a layout guide to keep the pattern angle and spacing consistent.
– Re-check straightness against your reference lines every few rows.
– Avoid “forcing” boards past problem zones; if you hit a dip/high, stop and correct the surface rather than trading flatness for tension.
Re-check flatness after leveling cures
Once your leveling/patch has cured:
– Re-run the straightedge and measure again.
– Remove ridges/feather edges only as permitted by the leveling product and flooring manufacturer instructions.
– Vacuum thoroughly—dust is a bond killer for many adhesives and can interfere with underlayment adhesion.
What can go wrong (and how to avoid it)
The failure modes are predictable: joint gaps, telegraphing ridges, pattern drift, and bond/fastener issues. Most can be avoided by measuring flatness, matching leveling products to your system, and respecting cure/compatibility rules.
Joint gapping in herringbone installs commonly traces back to subfloor flatness failures or residual rocking points under board lengths.
Telegraphing occurs when patch/self-leveling transitions aren’t feathered to a smooth plane, especially with thinner flooring and underlayment layers.
Self-levelers and patches can appear dry before they’re ready—manufacturers specify cure windows that must be followed before installation.
Common problems and what causes them
– Gaps/separation in the herringbone joints
– Usually: subfloor not flat enough, or leveling created new rocking points (e.g., steps at patch edges).
– Telegraphing ridges through thin products
– Usually: feathering wasn’t smooth, or the leveling buildup exceeded the allowable height/underlayment system design.
– Pattern drift
– Usually: start line not perfectly square, reference lines not re-checked, or boards forced over remaining high/low areas.
– Bond/fastener issues
– Usually: incompatible patch/primer with adhesive, missing primer, or incorrect fastening schedule.
– Cure-time mistakes
– Usually: installing too early after using self-leveler or patch (follow your cure window: ).
Edge cases to watch (where “leveling only” may not be enough)
– Radiant heat systems: can change surface profile and expand/contract behavior.
– Plywood seams: may need seam treatment or additional fastening.
– Floor movement (structural): requires framing/subfloor correction.
– Soft/crumbling subfloor material: requires replacement—not just surface fill.
Verdict / tip (when to stop and call in help)
Flatten the subfloor first, then commit to the herringbone layout—this sequencing is what prevents visible pattern issues from turning into long-term joint failure. Do not try to “patch over” rocking boards; if the base is unstable, the herringbone will advertise it quickly.
This approach works best when the subfloor problem is primarily flatness (measurable highs/lows) and the structure is solid. If you skip flattening, your pattern may look acceptable at first but tends to fail through gaps, squeaks, or uneven wear.
Skip DIY (or get a pro) if you’re dealing with:
– major subfloor deflection or movement
– extensive water damage or any mold-history indicators
– large humps that can’t be safely ground down within your flooring/underlayment limits
– uncertainty about leveling/priming/compatibility requirements for your exact flooring system ()
Frequently Asked Questions
What’s the best way to level uneven floors before installing herringbone flooring?
Start by checking the subfloor for high and low spots using a 6–10 ft straightedge and a level, and note any variations. For small dips, use a self-leveling underlayment compound to create a flat surface; for larger unevenness, you may need to grind high spots or use patching compound where required. Flatness matters because herringbone floors will telegraph irregularities and can cause gaps or joint stress when laid.
How do you install a herringbone floor on uneven concrete without causing gaps in the pattern?
Begin by confirming the concrete is dry, clean, and within acceptable flatness tolerances for your flooring manufacturer. Use a leveling compound or underlayment to correct unevenness before you start the herringbone layout, and always dry-fit planks to verify the pattern will stay consistent. If you’re installing over a subfloor with slight variation, establish your baseline with a string line and adjust board placement rather than forcing boards to conform to dips.
Which leveling method works best for installing herringbone on uneven subfloors—patching compound, self-leveler, or underlayment?
Patch kits are best for localized low spots, while self-leveling underlayment is typically the right choice for broader uneven floors because it creates a smoother plane. Underlayment can help with minor irregularities and sound control, but it’s not a substitute for leveling when the floor is significantly out of tolerance. Always follow the herringbone flooring installation instructions for maximum permitted subfloor variation, since using the wrong method can lead to lippage, separation at seams, or a distorted herringbone line.
Why does herringbone flooring show unevenness more than other layouts, and how can you prevent it?
Herringbone flooring creates diagonal lines that emphasize even small differences in height, so subfloor irregularities become visible as waviness or misaligned joints. The prevention strategy is to correct flatness first, then use careful installation steps: snap accurate chalk lines, maintain consistent expansion gaps, and avoid forcing planks into high or low areas. If you notice a persistent drift while installing, pause to re-check the surface and adjust your layout plan early.
How can you keep the herringbone pattern straight on uneven floors during installation?
Establish a square starting point and use multiple reference lines—one for the main direction and additional checks as the pattern progresses—to avoid cumulative “walk-off.” On uneven floors, periodically lift and inspect board alignment to ensure the pattern remains consistent across the room, and use spacers and correct fastener placement (or proper adhesive spread) so boards don’t shift. If the substrate changes level, you may need to fine-tune the transition area with trimming at doorways or redistribute cuts to preserve the herringbone look.
📅 Last Updated: October 15, 2026 | Topic: How to install on uneven floors herringbone floors? | Content verified for accuracy and freshness.
References
- E1155/E1155M Standard Test Method for Determining FF Floor Flatness and FL Floor Levelness Numbers
- F710 Standard Practice for Preparing Concrete Floors to Receive Resilient Flooring
- Herringbone
- Parquet
- https://en.wikipedia.org/wiki/Floor_levelling
- https://en.wikipedia.org/wiki/Floor_underlayment
- Floor
- https://scholar.google.com/scholar?q=herringbone+parquet+flooring+installation+uneven+subfloor Google Scholar
- https://scholar.google.com/scholar?q=engineered+wood+flooring+herringbone+installation+subfloor+flatness+tolerance Google Scholar
- https://scholar.google.com/scholar?q=vinyl+plank+herringbone+installation+subfloor+preparation+uneven+floors Google Scholar


