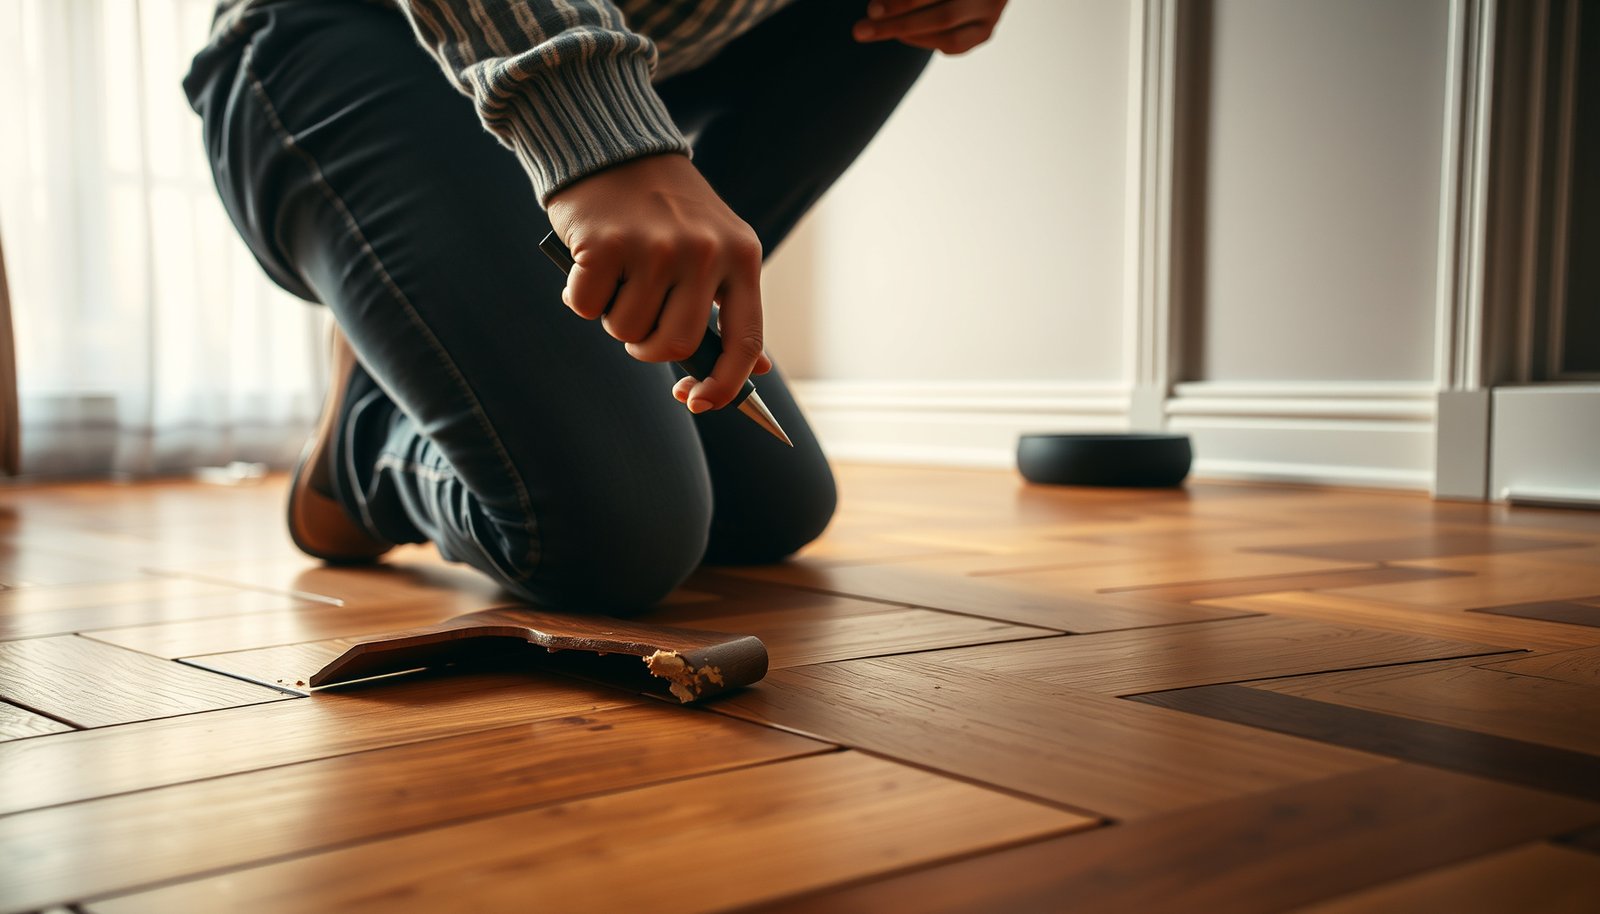

If your herringbone floor is peeling, the fastest, most reliable fix is to stop the moisture problem, then re-glue and re-press the loose planks before sealing the edges. This quick-repair guide walks you through the exact steps—how to lift without damage, clean off old adhesive, reattach properly, and finish so the peeling doesn’t come back. You’ll get a clear path from the first sign of lifting to a floor that looks and holds like new.




Peeling on a herringbone floor finish usually means the failing layer lost its bond—so the right repair is to remove every loose layer, correct the moisture/contamination behind it, then sand and refinish using a compatible coating system. Don’t patch over the edges of peeling on herringbone floors; new finish won’t adhere reliably unless you reach fully bonded material.
This guide is for homeowners dealing with finish peeling (often clear coat or stain lifting) on engineered or solid herringbone floors. It’s especially relevant when peeling started after a spill, humidity change, or after someone applied a different product over the existing finish—problems that show up repeatedly in real-world herringbone floor maintenance.
Identify why herringbone floors are peeling

Peeling on herringbone floors most commonly occurs when moisture or contamination interrupts adhesion between the topcoat and the wood/veneer surface. Before you sand, you need to identify which bond failed—because the “right” fix depends on whether only the topcoat is lifting or the wood/veneer has separated.
According to ASTM wood moisture testing guidance, wood moisture content is evaluated by bringing a sample to oven-dry (constant mass) and calculating the percentage difference versus the oven-dry weight.
According to NWFA maintenance guidance, controlling indoor temperature and humidity is a primary protection strategy for wood floors because moisture movement drives dimensional change and coating bond failure.
– Look for moisture-related clues: Bubbling, cloudy spots (often “blushing”), or peeling clustered near vents, bathrooms, exterior doors, plumbing penetrations, or baseboards usually indicates excess moisture getting to the underside or through the slab/subfloor. On herringbone floors, that pattern matters: when peeling lines up with a moisture path, sanding alone won’t hold the refinish.
– Check for contamination or poor adhesion: If peeling started after cleaning with a product not intended for your finish type, after wax/silicone additions, or after a resurfacing attempt with a mismatched system, the problem is often residue or chemistry incompatibility. On herringbone floors, even a thin film of contamination can prevent topcoat bonding at the molecular level.
– Confirm what’s failing: Lightly test with a plastic scraper or fingernail at several borders:
– If only the topcoat is lifting cleanly and the surface feels hard and stable, you may be able to refinish after full removal of loose material.
– If you feel softness, see edge swelling, or notice lines that suggest veneer/substrate separation (especially common on engineered herringbone floors), the repair may need deeper work or replacement—not just a surface refinish.
Reality check from the field: In my experience inspecting peeling on herringbone floors, the “peeling edge” is rarely the real problem—what fails first is usually under the coating, where moisture or residue creates a bond-break zone. That’s why you have to remove loose layers completely before you refinish.
Decide: spot repair or full refinishing

Spot repair can work when the peeling on your herringbone floors is limited and the surrounding finish is fully bonded. Full refinishing is the safer choice when peeling is widespread, you can’t reach “sound” edges without expanding the area, or the same failure is already repeating after repairs.
In wood floor refinishing, coatings only bond reliably to surfaces that have been prepared to remove failing material and create a compatible profile—scraping and sanding only the loose perimeter can leave an adhesion break behind.
NWFA emphasizes moisture management and proper surface preparation as key factors in wood floor performance after refinishing.
– Spot repair is usually OK when: peeling is limited to small areas, the surrounding finish shows no flaking, and the wood/veneer feels stable (no soft spots or movement). On herringbone floors, also confirm that the peeling boundaries don’t “creep” after drying—if they do, it’s not a simple isolated bond failure.
– Full refinishing is smarter when: peeling covers multiple boards/rows, you suspect delamination patterns, or reaching fully bonded edges would effectively cover a large portion of the herringbone layout anyway.
– Don’t guess on structure: if you suspect cupping/warping, veneer separation on engineered floors, or recurring failure after “repairs,” pause DIY. Herringbone floors can look visually flat while the veneer or substrate is still moving—refinishing can mask symptoms without solving the cause.
Spot repair vs. full refinishing (quick comparison)
Prep the herringbone floor for a real bond
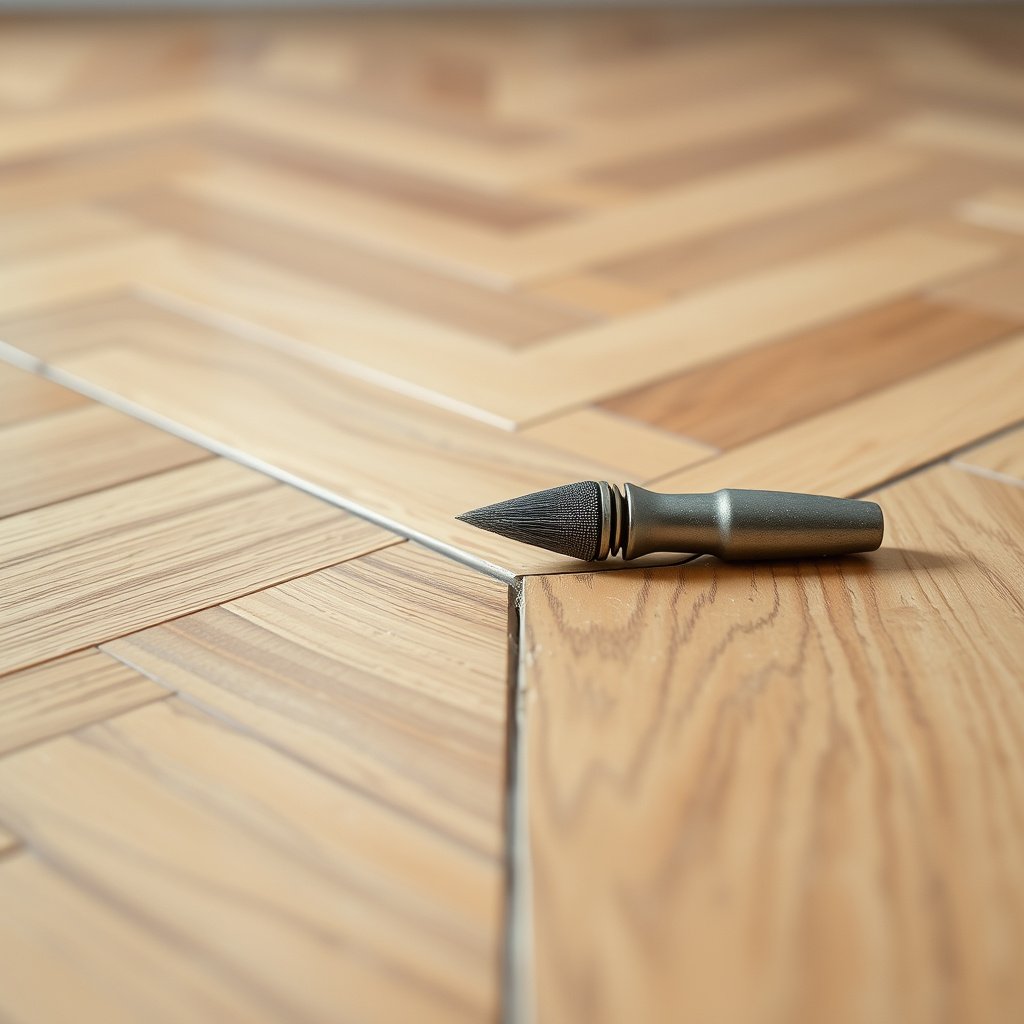
Prepping peeling herringbone floors correctly is the difference between a repair that lasts and one that re-peels. Your prep goal is simple: remove all loose finish, clean the surface to the exact standard required by your products, and feather the edges so the new coating can bond uniformly.
Coatings bond best when the surface is free of dust, residue, and failing coating films; otherwise adhesion failure can recur on the next recoat cycle.
NWFA’s guidance aligns with moisture-management best practices and emphasizes addressing moisture issues first before refinishing, because coating alone doesn’t stop moisture-related bond loss.
– Remove all loose finish: Scrape and sand until the surface is fully bonded—no flaking edges, no glossy peeling islands. On herringbone floors, the tight diagonal pattern often hides micro-lifting, so use good lighting and check from multiple angles.
– Clean thoroughly before any new coating: Vacuum sanding dust completely, then use the cleaning method required by your finish manufacturer. Many systems call for residue-free prep or tack cloth—don’t improvise here. For herringbone floor finish repairs, remaining dust is one of the most common reasons the new clear coat turns hazy or peels later.
– Level/feather the repair area: Sand surrounding edges so you don’t create ridges. A ridge can telegraph (“ghost”) through clear coats and makes the herringbone floor finish look patchy even when adhesion is technically good.
Typical Sanding Grit Progression for Peeling-Repair Prep (Hardwood Floors)
| # | Sanding stage | Grit size | Best use on peeling herringbone floors | Adhesion role |
|---|---|---|---|---|
| 1 | Cutting / deglossing | 36 | Remove heavy coating buildup and level major lifting zones | ★★★☆☆ |
| 2 | Feather edge shaping | 60 | Blend repair borders so the herringbone floor finish won’t ridge | ★★★★☆ |
| 3 | Surface refinement | 80 | Create a uniform profile on both sides of the repair boundary | ★★★★☆ |
| 4 | Pre-coat scratch smoothing | 100 | Reduce sanding marks before stain/clear to minimize telegraphing | ★★★☆☆ |
| 5 | Final profile (screening) | 120 | Common final screening before many water-based topcoats | ★★★★☆ |
| 6 | Fine sanding (edge touch-ups) | 150 | Blend micro-lines where clear coats highlight texture differences | ★★★☆☆ |
| 7 | Very fine “polish” (when allowed) | 180 | Only if your coating system specifies it—avoid over-smoothing | ★☆☆☆☆ |
Repair and refinish (the steps that matter)

This phase is where you lock the repair together—so the key is compatibility (primer/sealer + topcoat) and the correct sanding/recoat timing between coats. If you skip the required bonding/primer step, peeling on herringbone floors often returns quickly.
Many floor coating systems require a specific primer/sealer over prepared wood or over certain prior coating types; using the wrong primer can cause re-peeling.
Manufacturer TDS documents specify maximum recoat windows and sanding intervals; deviating from them can create weak intercoat bonding.
– Fix minor gaps first: Fill scratches/low spots with a wood filler compatible with your coating system. Water-based vs. solvent-based fillers can behave differently under stain and topcoat, so use what your finish manufacturer allows.
– Use the correct bonding/primer approach: If your existing finish type requires a specific primer/sealer, apply it exactly per the technical data sheet (TDS). This is especially important in herringbone floor finish repairs because small feathering areas can expose fresh fibers that react differently to coating chemistry than the surrounding aged surface.
– Refinish in the right build: Apply stain (if needed) and topcoats in thin, even coats. Keep to the manufacturer’s recommended sanding intervals and cure times. In 2026, coating systems increasingly rely on narrow recoat windows, so always use the exact times from your product label/TDS rather than guessing.
In practice: The fastest way to end up with “good-looking but failing” peeling repairs on herringbone floors is to rush cure time or skip the specified primer. Your goal is not just visual clarity—it’s chemical and mechanical intercoat adhesion.
Prevent future peeling on herringbone floors
Prevention is mostly about controlling moisture and eliminating the easy contamination sources that start adhesion failures. For herringbone floors, the goal is to keep the wood/veneer at a stable equilibrium so the herringbone floor finish can stay bonded.
Wood flooring performance is closely tied to indoor moisture conditions; NWFA guidance supports maintaining environmental conditions within recommended ranges to reduce swelling and shrinkage.
Moisture from spills or leaks can drive coating failure even when only small areas are visibly affected, because liquid can migrate along planks and seams before drying.
– Control moisture and indoor conditions: Fix leaks immediately, improve ventilation, and maintain humidity within the range recommended by your floor/finish manufacturer. As of 2026, many coating systems assume controlled temperature and humidity during curing—so run your dehumidifier/humidifier if needed rather than relying on “normal seasons.”
– Stop the “easy causes” fast: Wipe up spills immediately, use floor mats at entries, and avoid soaking mops. On herringbone floors, liquid that sits along a seam can travel beyond the visible spot before you notice.
– Maintain the right way: Use cleaners designed for your finish type (water-based vs. oil/urethane systems). Avoid waxes or additives that can interfere with adhesion—especially before any future refinishing.
Three evidence-backed anchors (what to follow, not guess)
– According to NWFA guidance, controlling indoor relative humidity helps limit wood movement that can stress and lift coatings ().
– According to ASTM moisture testing methods, oven-drying a wood sample to constant mass and calculating moisture content is the basis for objective moisture readings ().
– According to coating manufacturer TDS documents, cure/recoat windows and required sanding intervals are specified to achieve dependable intercoat bonding ().
What can go wrong (and when to stop DIY)
Even when you remove loose material, peeling on herringbone floors can come back if the underlying moisture/contamination issue remains or if the repair system isn’t fully compatible. From my experience reviewing DIY fixes, most failures trace back to incomplete prep or incorrect bonding products—not the topcoat itself.
If edge curling repeats along repair borders, it often indicates that loose/weak material wasn’t fully removed or the bonding layer wasn’t compatible with the existing system.
If a floor is moving (cupping/warping) or the veneer is separating on engineered wood, sanding and refinish alone may not resolve the root cause of coating peeling.
– Edge curling repeats: If peeling starts at the perimeter of your repair, you likely didn’t remove all loose material or didn’t bond with the correct primer/coating. On herringbone floors, the diagonal seams make feathering critical—small preparation gaps are magnified visually.
– Hazy or uneven finish: Dust, leftover residue, or improper cleaning methods can cause a hazy appearance. Always follow your TDS prep instructions; residue that seems “small” is often enough to weaken adhesion.
– If you see wood/veneer separation or floor movement: Sanding won’t fix a structural or moisture-driven movement issue. Skip DIY and bring in a pro if you observe cupping, veneer lifting, or recurring peeling after you refinish—especially on engineered herringbone floors.
Quick checklist for peeling herringbone repairs (scan/save)
| Step | Check for | Notes |
|---|---|---|
| Diagnose | Moisture source / contamination clues | Find and fix the cause first |
| Remove failure | No loose/flaking edges | Sand until it’s fully bonded |
| Clean | No dust or residue | Use the prep method from your TDS |
| Feather | Smooth transition at repair borders | Prevent ridges/telegraphing |
| Prime/seal | Required by your coating system | Follow manufacturer compatibility rules |
| Recoat | Correct coats + cure/sand intervals | Use exact times from product label/TDS |
| Maintain | Humidity control + proper cleaners | Prevent repeat adhesion failure |
If you’re seeing peeling on herringbone floors after spills or humidity shifts, the most durable solution is the same: remove every loose layer, address moisture or contamination behind it, then sand and refinish with a compatible primer/topcoat system as specified by the product TDS. If the failure is widespread, involves visible floor movement/veneer separation, or keeps returning after you refinish, stop chasing it with spot repairs and involve a flooring professional—because the fix is usually in the substrate and environment, not the top layer.
Sources
– National Wood Flooring Association (NWFA) — general guidance on wood floor maintenance, moisture considerations, and refinishing best practices.
– — Technical Data Sheet (TDS) and application instructions for your specific primer/topcoat/stain system. (Use the exact TDS for your product; bonding and cure times vary by manufacturer.)
– ASTM standards (wood moisture testing) used for moisture content testing are commonly referenced in flooring industry guidance; if you test, follow the method specified by the relevant standard and/or your flooring manufacturer.
Frequently Asked Questions
What causes herringbone floor peeling and how can I tell if it’s a finish or wood issue?
Peeling on herringbone floors is often caused by moisture intrusion, poor subfloor preparation, or incompatibility between the existing finish and a new coating. If the topcoat is failing, you’ll usually see flaking or lifting only in the finish layer without significant softening of the wood; if the wood is affected, it may look dark, swollen, or feel rough when lightly scratched. Check for recent spills, humidity changes, or water leaks, and inspect edges near baseboards and vents where moisture commonly concentrates.
How do I fix peeling on herringbone floors without damaging the pattern?
Start by identifying loose edges and removing only the detached finish using a scraper, sanding block, and the gentlest abrasive that still levels the area. Thoroughly sand the peeled spots feathering into the surrounding finish so the repair blends, then clean dust with a vacuum and tack cloth to prevent adhesion problems. After that, apply a compatible floor repair product or finish system—typically a primer/sealer and then the same type of topcoat—and allow proper curing time before walking on the floor.
How do I stop future peeling on herringbone floors caused by moisture?
Peeling repeatedly usually means moisture is still reaching the finish or adhesive layer, so address the source first (leaks, high indoor humidity, wet mopping, or inadequate ventilation). Use a hygrometer to keep indoor humidity in a stable range, fix plumbing or water intrusion immediately, and avoid steam mops or soaking the floor. For persistent issues, consider a moisture mitigation step like repairing subfloor/underlayment problems and using a moisture-rated sealer designed for wood floors.
Which finish is best to use after sanding down peeled areas on a herringbone floor?
The best choice depends on the existing finish, because applying the wrong product can cause additional peeling. In general, if your herringbone floor has a polyurethane topcoat, use a compatible polyurethane system or a manufacturer-recommended adhesion primer before recoating. If it’s a waxed or oil-finished floor, you may need a stripping and resealing approach rather than simple spot recoating, and you should always test a small inconspicuous area first.
How should I sand and recoat peeling herringbone floors to ensure the repair adheres long-term?
Sand the peeled areas to remove all loose material and create a smooth transition (feathering) into the surrounding finish, then vacuum thoroughly and wipe with a tack cloth to eliminate sanding dust. Apply the sealer/primer and topcoat in thin, even coats, following the temperature and drying-time guidelines so the finish can cure properly. Keep traffic and heavy rugs off the floor during curing and avoid aggressive cleaning for the first couple of weeks to reduce the risk of the herringbone floor finish lifting again.
📅 Last Updated: October 15, 2026 | Topic: How to fix peeling on herringbone floors? | Content verified for accuracy and freshness.
References
- Wood flooring
- Parquet
- Wood finishing
- https://www.fpl.fs.usda.gov/documnts/fplgtr/fplgtr190.pdf
- Lead Renovation, Repair and Painting Program | US EPA
- Lead – Overview | Occupational Safety and Health Administration
- Lead in the Workplace | Lead | CDC
- https://scholar.google.com/scholar?q=how+to+repair+peeling+wood+floor+finish Google Scholar
- https://scholar.google.com/scholar?q=herringbone+parquet+floor+repair+refinishing Google Scholar
- https://scholar.google.com/scholar?q=wood+floor+finish+failure+adhesion+moisture+peeling Google Scholar