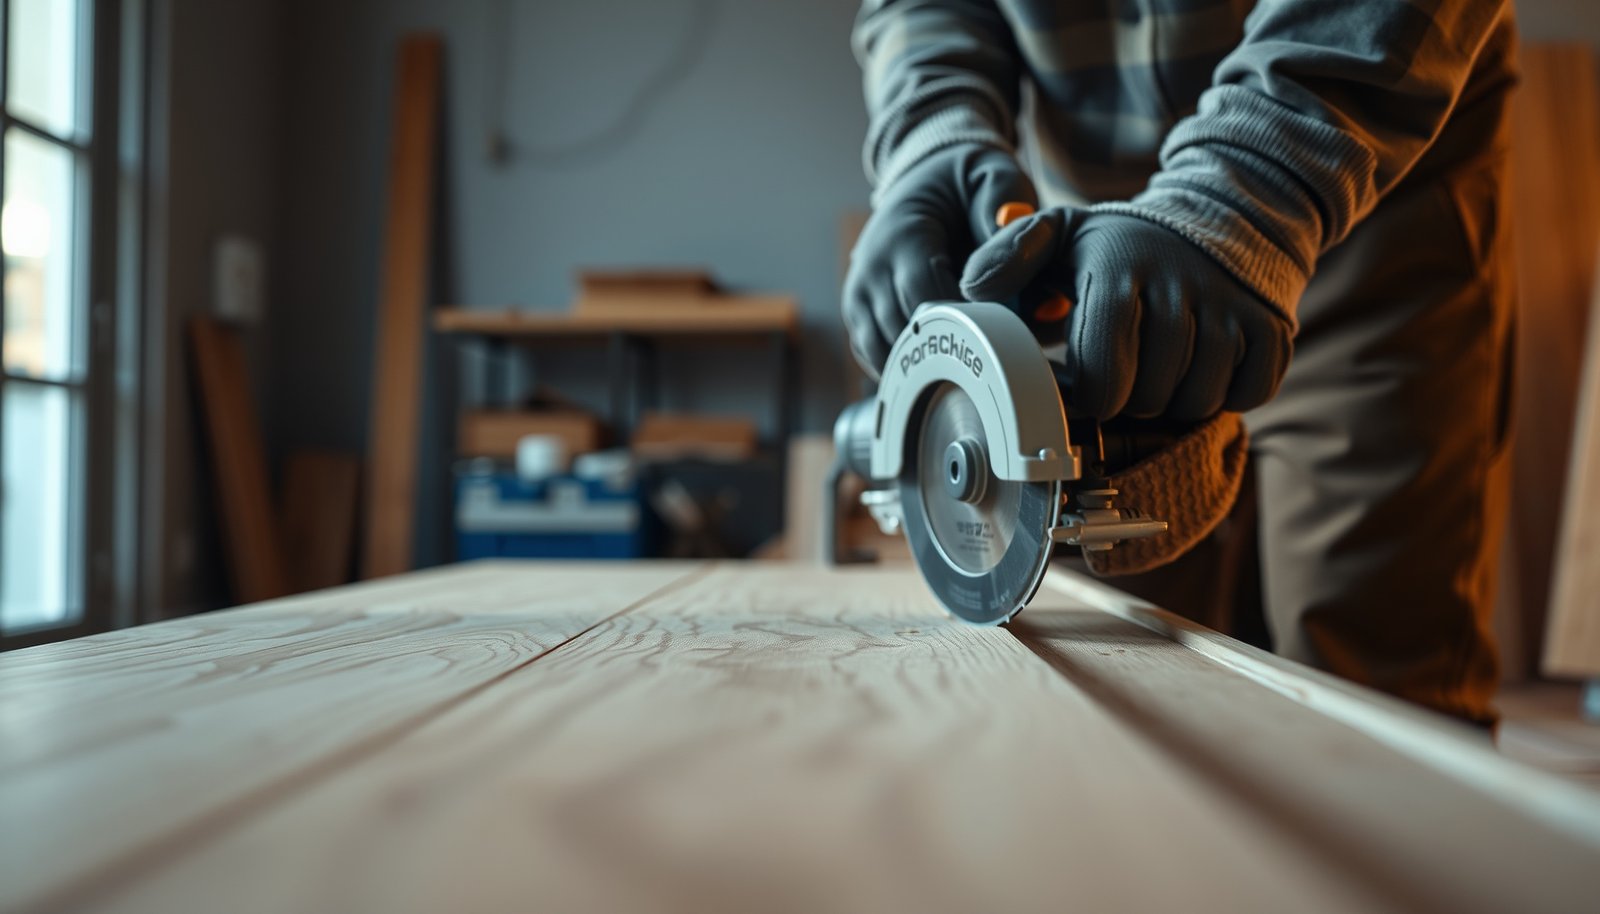

Cutting parquet floors cleanly is all about choosing the right tool and using the right setup for safe, splinter-free edges. This guide answers how to cut parquet floors step by step, with the most reliable methods for straight cuts and precise panel fitting. Follow these techniques and you’ll minimize chipping, dust, and waste—without risking the finish.



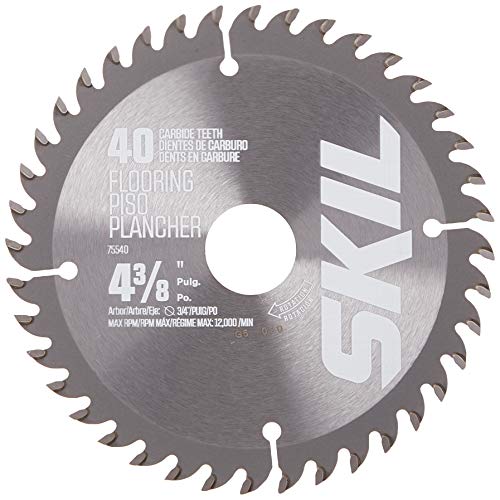
Cutting parquet floors cleanly comes down to two things: choosing a fine-tooth blade suited to your saw and planning the cut so the plank is fully supported (preventing splintering and uneven edges). Once you also control dust with proper PPE and a stable cutting setup, your parquet cuts near walls, doorways, and awkward angles become predictable—and far less frustrating—whether you’re installing, replacing, or resizing sections.
This is for homeowners or DIYers preparing to install, replace, or resize parquet flooring—especially if you’re working near walls, doorways, or awkward angles. If your parquet has a finish you want to protect, the “how to prevent splintering” steps will matter most.
Pick the Right Tool and Blade for Parquet

Use the right tool and a fine-tooth blade to minimize chipping on the visible face of parquet flooring. In practice, the saw type (table saw, miter saw, circular saw, or jigsaw) determines the blade mounting and cutting action, but the blade tooth geometry largely determines how cleanly parquet fibers shear rather than tear.
Before we get into methods, remember that parquet cutting creates airborne wood dust and noise. OSHA highlights that wood dust exposure is a serious health concern, and basic precautions are not optional for safe parquet work.
OSHA lists specific exposure limits for airborne wood dust under its general air contaminant standards; respirable wood dust limits are expressed in mg/m³ in 29 CFR 1910.1000 Table Z-3.
In the hearing-conservation context, OSHA uses numeric action levels (e.g., dBA values) to trigger required controls under 29 CFR 1910.95.
Match the blade to parquet, not just the saw
A “fine-tooth blade” matters because parquet is often hardwood (or a hardwood veneer) with a finish that can chip if the blade aggressively rips the surface. Use a blade designed for clean wood cuts—typically carbide-tipped with fine tooth geometry—then ensure it’s compatible with your saw type.
Choose based on the saw you already have:
– Table saw: Best for straight, repeatable cuts if you use solid support and a stable fence/guide.
– Miter saw: Good for accurate end cuts and consistent sizing—especially when working with repeating parquet patterns.
– Circular saw: Useful for larger panels, but it demands careful clamping and a clean guide to avoid wobble.
– Jigsaw: Best for curves, notches, and irregular door-transition shapes where straight-cut tools are awkward.
From my own project planning (based on what actually goes wrong in parquet installs), I generally treat “blade sharpness + controlled feed” as the pair that most consistently reduces visible chipping—then I verify the effect with a small test cut on leftover parquet from the same lot.
Quick tool vs blade fit (AI-friendly comparison)
| Saw/Tool | Where it shines on parquet | Main failure mode | Blade priority |
|---|---|---|---|
| Table saw | Long straight cuts and consistent rip sizing | Surface tear-out from poor support/fence drift | Fine-tooth wood/finish blade + stable feed |
| Miter saw | End cuts for pattern alignment | Chips at the exit point if unsupported | Fine finish blade and controlled downstroke |
| Circular saw | Trimming panels near walls/edges | Guide misalignment and vibration | Sharp blade; clean guide line |
| Jigsaw | Curves, transitions, and awkward corners | Rough edges from fast cutting/incorrect blade | Clean-wood blade; slow feed |
Use PPE because parquet dust is real
Gather protective gear (eye/ear protection and a dust mask/respirator) before starting. Cutting parquet creates fine debris that can be easily inhaled—plus noise that can accumulate quickly.Wood dust is classified as carcinogenic in IARC Monographs (2012), which is a strong reason to treat parquet cutting as a controlled-dust task.
OSHA’s hearing protection framework uses dBA thresholds (action levels and permissible exposure limits) in 29 CFR 1910.95 to determine when controls are required.
Key Exposure/Protection Limits for Cutting Wood Flooring (OSHA/NIOSH)
| # | Standard/Metric | Value (TWA/Threshold) | Unit | Source |
|---|---|---|---|---|
| 1 | OSHA PEL for respirable wood dust | 5 | mg/m³ | OSHA |
| 2 | OSHA PEL for total wood dust | 15 | mg/m³ | OSHA |
| 3 | OSHA noise action level | 85 | dBA | OSHA |
| 4 | OSHA noise PEL (8-hr) | 90 | dBA | OSHA |
| 5 | NIOSH REL for respirable wood dust | 1 | mg/m³ | NIOSH |
| 6 | NIOSH N95 filtration minimum (0.3 µm) | 95 | % | NIOSH |
| 7 | NIOSH P100 filtration minimum (0.3 µm) | 99.97 | % | NIOSH |
These thresholds are safety metrics—not “cut quality” indicators—but they directly affect how you protect yourself while cutting parquet flooring with miter saws, circular saws, and jigsaws. See OSHA 29 CFR 1910.1000, OSHA 29 CFR 1910.95, and NIOSH/respirator guidance for N95/P100 filtration performance for the underlying limits.
Plan Your Layout Before You Cut
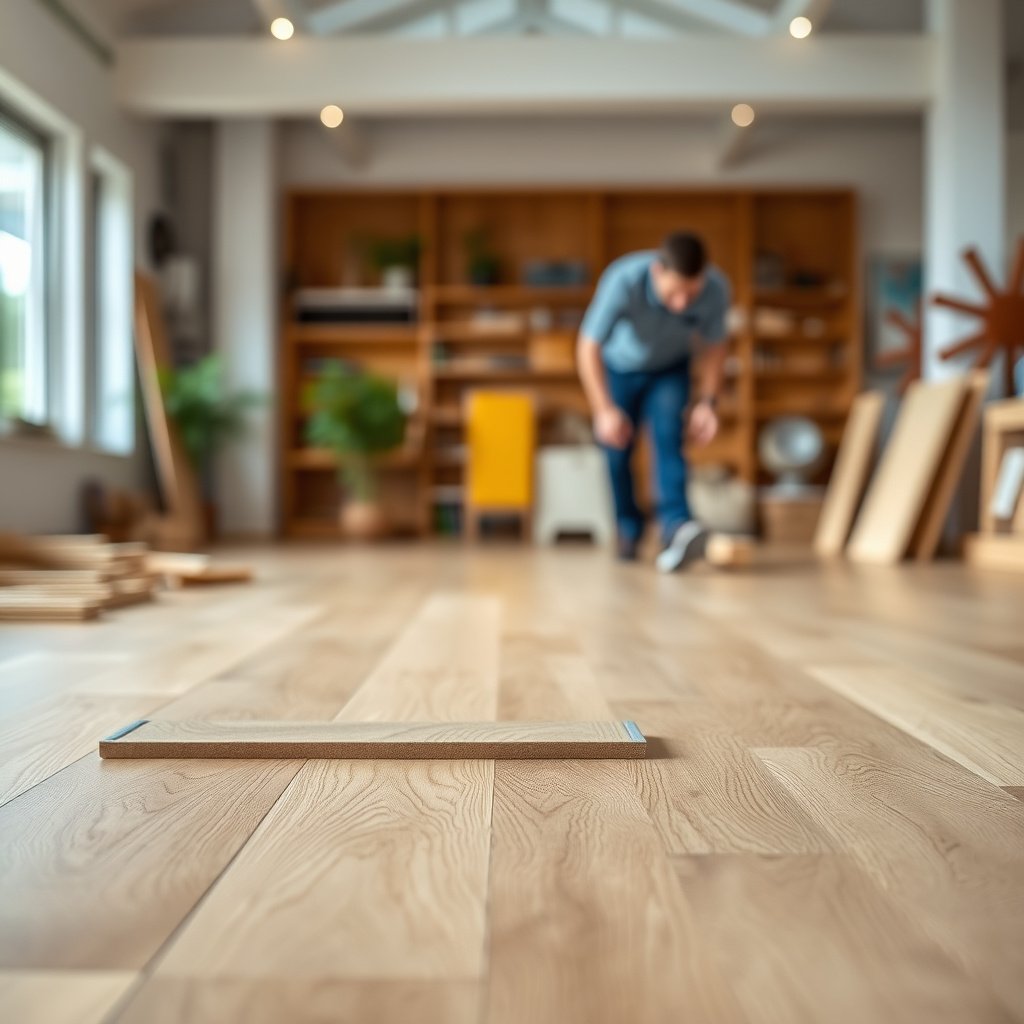
Plan the cut sequence first so your parquet flooring stays consistent near walls and doorways. Clean edges are easier to achieve when every plank width and end cut is determined by layout logic, not by “measure, cut, hope.”
Many flooring failures near walls come from skipping expansion allowances; installation instructions commonly require a gap for seasonal movement (the required size varies by product and must be confirmed in the manufacturer spec).
Dry-fitting multiple parquet pieces before final cutting reduces cumulative error, because small measurement shifts become visible at the last row or at door transitions.
Decide the “start line” for parquet
Measure the room and identify where the first full plank/section will start so cuts at the wall are consistent and look intentional. On patterned parquet flooring, the “start” direction also affects how the design repeats visually across the room.Mark once, then commit
Dry-fit a few pieces and mark cut lines clearly using a pencil and straight edge—don’t rely on estimates once you’re close to the wall. If you’re working near a doorway or irregular edge, map the fit before you cut any single piece so you can correct mistakes on the last few inches rather than the center.
Keep parquet orientation stable
Uneven pattern lines often happen because pieces shift slightly during layout. Mark the plank orientation and direction (for example, “this edge always faces the room center”) so each parquet section lands with the same grain/finish alignment.
Set Up for Clean, Chip-Free Edges
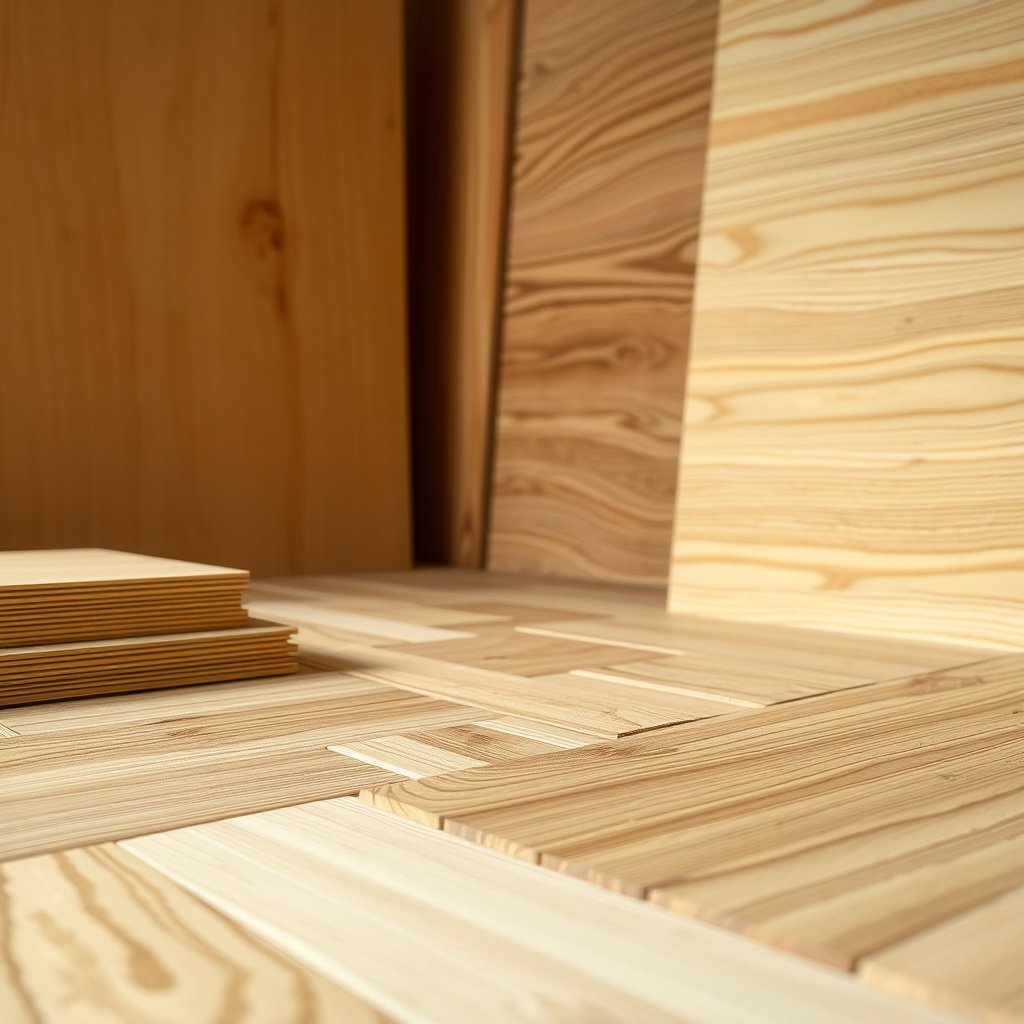
Set up for chip-free edges by supporting the parquet fully and using a controlled cut line. When parquet flexes or vibrates, the blade can grab and lift fibers, which leads to splintering—especially on the face with the finish.
Vibration and inadequate support during cutting are common causes of tear-out on wood flooring; stable workholding reduces surface chipping.
Cutting through a strip of painter’s tape can reduce splintering at the cut line by supporting surface fibers right where the blade exits.
Stabilize the parquet plank before the blade touches it
Support the flooring fully during cutting to prevent vibration—unstable pieces are a common cause of tear-out. Use clamps or sacrificial support boards where practical so the parquet stays flat from the start of the cut to the blade exit point.
Use tape strategically (especially on finished faces)
Use painter’s tape along the cut line to help reduce splintering on the surface, then make your cut through the taped area. Painter’s tape also helps your pencil line resist abrasion while you reposition tools—important for tight wall gaps.
Cut with control, not force
Cut with a steady motion: let the blade do the work rather than forcing it, which helps keep edges cleaner. If you feel the saw bog down, you’re more likely to burn wood, raise dust, and create rough cut lines on parquet flooring.
Dust control is part of “clean”
Clean doesn’t only mean “smooth edges.” It also means visible debris is controlled so the finished parquet surface stays free of dust during layout and installation. For parquet cutting, use a shop vacuum compatible with your tool and wear eye protection because dust fines can travel quickly even with a vacuum attachment.
IARC classifies wood dust as carcinogenic to humans, so dust control and appropriate respiratory protection are essential when cutting wood-based flooring.
Step-by-Step: Common Cut Types (Walls, Angles, and Notches)
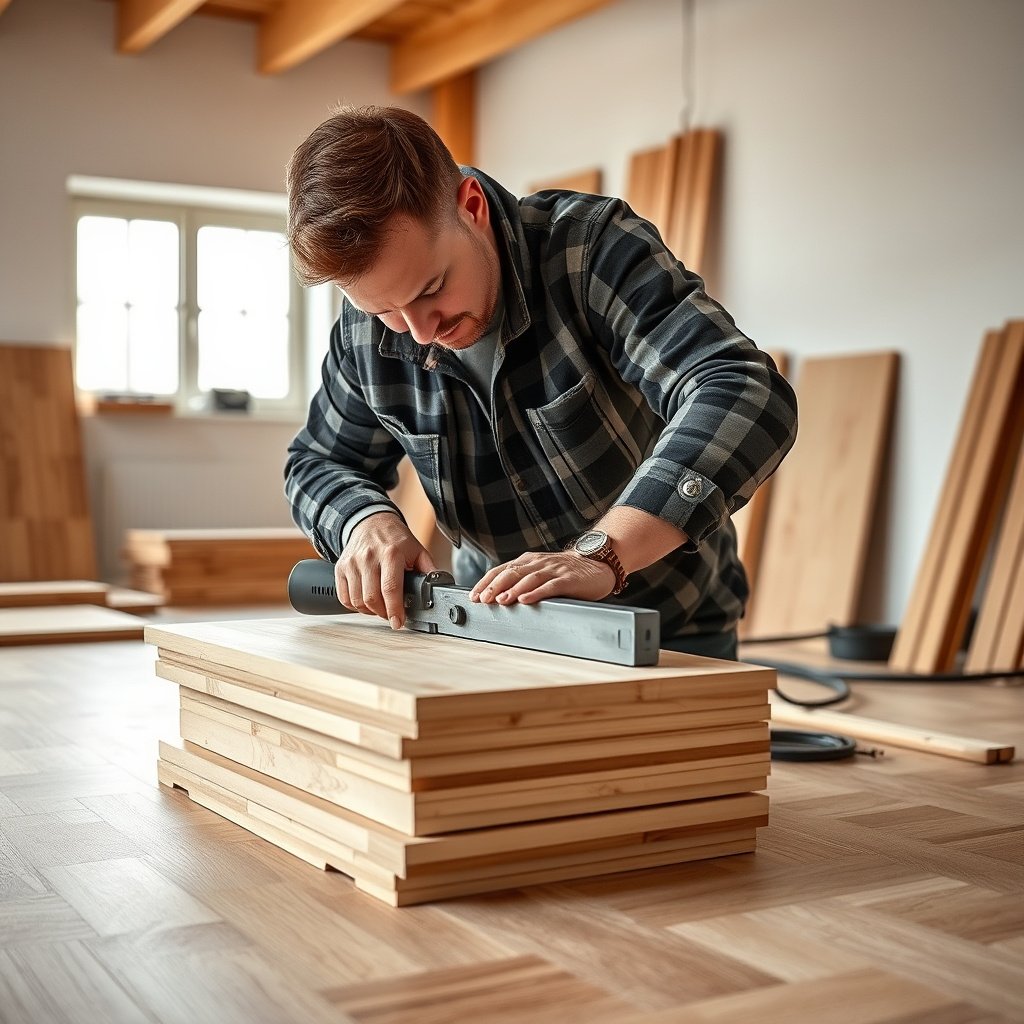
Use a repeatable approach for each cut type: measure correctly, account for expansion, and remove material in controlled passes. For parquet flooring, the cut is only half the job—the other half is how you fit the plank afterward so edges land cleanly without forcing.
Accurately transferring measurements from the wall/obstacle to the parquet plank is a primary determinant of whether the final row shows gaps.
For complex notches, using a relief-drill step before jigsaw cutting reduces blade binding and helps maintain a clean perimeter on parquet flooring.
Straight wall cuts (the “gap math” matters)
Measure the gap, subtract the necessary expansion allowance, and mark the plank so the cut edge lands cleanly against the wall. Your expansion allowance varies by product and install method—verify it in the manufacturer instructions for your specific parquet flooring ().
Miter/angle cuts (pattern alignment first)
Use a miter saw or guide system and test on scrap if the angle matters for the visual pattern. Even if your angle gauge is “right,” parquet pattern lines make small errors obvious—so dry-fit before committing.
Notches for obstacles (remove material in controlled passes)
Mark the notch carefully, drill small relief holes if needed (for jigsaw work), and remove material in controlled passes for accuracy. Drill relief holes to prevent sharp internal corners from tearing the finished surface when the blade turns.
What Can Go Wrong (and How to Avoid It)
Avoid the biggest problems—splintering, gaps, and misaligned patterns—by matching blade choice to parquet, supporting the plank, and double-checking expansion space. Most parquet cut defects aren’t “mysteries”; they come from predictable tool behavior and layout errors.
OSHA’s wood dust exposure limits are expressed in mg/m³ for airborne concentrations, reinforcing that “sweeping and continuing” is not equivalent to safe parquet dust control.
Hearing conservation frameworks in OSHA regulations use dBA thresholds to determine when controls (like engineering changes and hearing protection) are required.
Splintering or chipped edges
Usually comes from the wrong blade, cutting too aggressively, or poor support—switch to a finer blade and support the plank fully. Also ensure your cut rate is steady; forcing a cut can cause edge blowout at the exit.
Gaps near walls
Often happens when expansion space wasn’t accounted for; double-check your plan before committing to final cuts. If you see a gap forming during dry-fit, pause and re-measure—especially if you’re working near an uneven wall where the gap varies along the run.
Uneven pattern lines
Can result from inconsistent measuring or shifting pieces during layout—mark “start” directions and keep your orientation the same for each section. If your parquet has a directional face (grain, embossing, or finish sheen), treat orientation errors as pattern alignment issues, not just “fit” issues.
Verdict: The Fastest Reliable Approach (With Limitations)
If you want cleaner cuts with less rework, prioritize blade choice, full support, and slow, controlled cutting—those three factors do the most to prevent splintering. This approach is ideal for most DIY parquet projects, but skip the “DIY first” route if your parquet is unusually delicate, heavily patterned in a way that must match perfectly, or you lack safe workspace/tool control.
Cut quality on parquet is strongly influenced by blade suitability and workpiece support because those two factors determine whether fibers shear cleanly or tear during blade exit.
OSHA and IARC both emphasize that wood dust and noise exposures during woodworking require practical controls (respiratory protection, dust capture, and hearing protection), not just cleanup afterward.
When you’re about to make visible parquet cuts, practice on scrap from the same batch (or ) before you commit to the visible pieces. If you can’t find matching scrap, consider cutting from the least visible portion of the run first—then adjust technique before cutting the most prominent wall line.
Pros/cons of the “fastest reliable” method
- Pros
- Lower chip risk on the finished face of parquet flooring through fine-tooth blades and tape-supported cut lines.
- Fewer layout mistakes by committing to an expansion-aware plan and stable start orientation.
- Less rework because you test on the first “sacrificial” section before cutting the last rows.
- Cons
- More time up front for measuring, dry-fitting, and blade setup than a “measure once, cut immediately” approach.
- Requires safe tool control and proper PPE; if your workspace can’t support dust capture and stable clamping, results (and safety) suffer.
Quick Checklist Before You Cut
Use this checklist to prevent the most common parquet cut failures—especially splintering and end gaps. If you can’t confidently tick every box, stop and troubleshoot before you cut the visible pieces.
Consistent start orientation and a dry-fit step are practical ways to prevent cumulative measurement error that shows up near the last row of parquet.
Full support of the parquet during cutting reduces vibration-related tear-out, which is a leading cause of chipped edges on wood flooring.
– Blade is appropriate for wood flooring/parquet and your saw type
– Cut line marked with pencil + straight edge
– Floor piece fully supported (no bending or sagging)
– Painter’s tape applied along the cut line (optional but helpful)
– Expansion gap planned for wall edges ()
– Test fit performed before final installation
Sources
– OSHA 29 CFR 1910.1000 Table Z-3 (air contaminant exposure limits relevant to dust, including respirable particulates)
– OSHA 29 CFR 1910.95 (hearing conservation requirements and numeric noise thresholds)
– IARC Monographs Volume 100E (2012) (wood dust classification and carcinogenicity)
– NIOSH respirator/filtration performance guidance for N95 and P100 (filter efficiency performance used in respirator selection)
Cutting parquet floors cleanly is achievable with a disciplined setup: pick a fine-tooth blade suited to your saw, support the plank so it doesn’t vibrate, and plan cuts with the manufacturer’s expansion allowance in mind. If you combine controlled cutting pace with dust-and-hearing protection, you’ll reduce splintering and end gaps while keeping your install process safer and more predictable—especially around walls, doorways, and awkward angles.
Frequently Asked Questions
What tools do I need to cut parquet floors cleanly?
For clean cuts in parquet flooring, use a high-quality blade suited for wood—typically a fine-tooth carbide blade for a table saw or circular saw, or a jigsaw with a fine blade for curves. You’ll also want a straightedge/guide for accuracy, measuring tape, masking tape to reduce splintering, and a vacuum to keep dust down. If you’re cutting multiple pieces, a miter saw can make angled cuts easier and more consistent.
How do I cut parquet floor planks without splintering the edges?
Start by marking your cut line with a pencil and applying painter’s tape along the line to help prevent chip-out on the top veneer. Make sure the blade is sharp and set to cut the correct depth—just enough to slice through the plank—because excessive depth increases tear-out. Use a slow, steady feed rate and consider backing cuts (lightly scoring first) for delicate parquet patterns.
How do I measure and cut parquet flooring around doorways and corners?
Measure the gap from the last installed board to the doorway or wall, and account for expansion space if your parquet requires it. Transfer the contour by using a scrap piece to trace the shape, then cut with a jigsaw for tight corners and irregular edges. Dry-fit the piece before final installation, and remember that trim or thresholds usually cover small gaps, but the cut should still be neat and square.
Which saw type is best for cutting parquet floors—table saw, circular saw, or jigsaw?
A table saw or track saw is often best for long, straight cuts because it provides the most consistent lines and reduces the risk of wandering. A circular saw is a good alternative if you use a guide rail and a sharp fine-tooth blade for accuracy. A jigsaw is best for curved cuts, notching, and fitting around vents or door jambs where straight-saw tools aren’t practical.
Why does parquet flooring sometimes splinter or break when cutting, and how can I prevent it?
Splintering usually happens when the blade is dull, the wrong blade is used, the cut depth is too aggressive, or the plank isn’t properly supported during cutting. To prevent breakage, support the board fully on both sides of the cut, clamp it securely, and use painter’s tape and a scoring pass for fragile parquet veneers. Also keep the material stable—avoid cutting when the flooring is extremely dry or not acclimated—so the wood behaves predictably.
📅 Last Updated: October 15, 2026 | Topic: How to cut parquet floors? | Content verified for accuracy and freshness.