
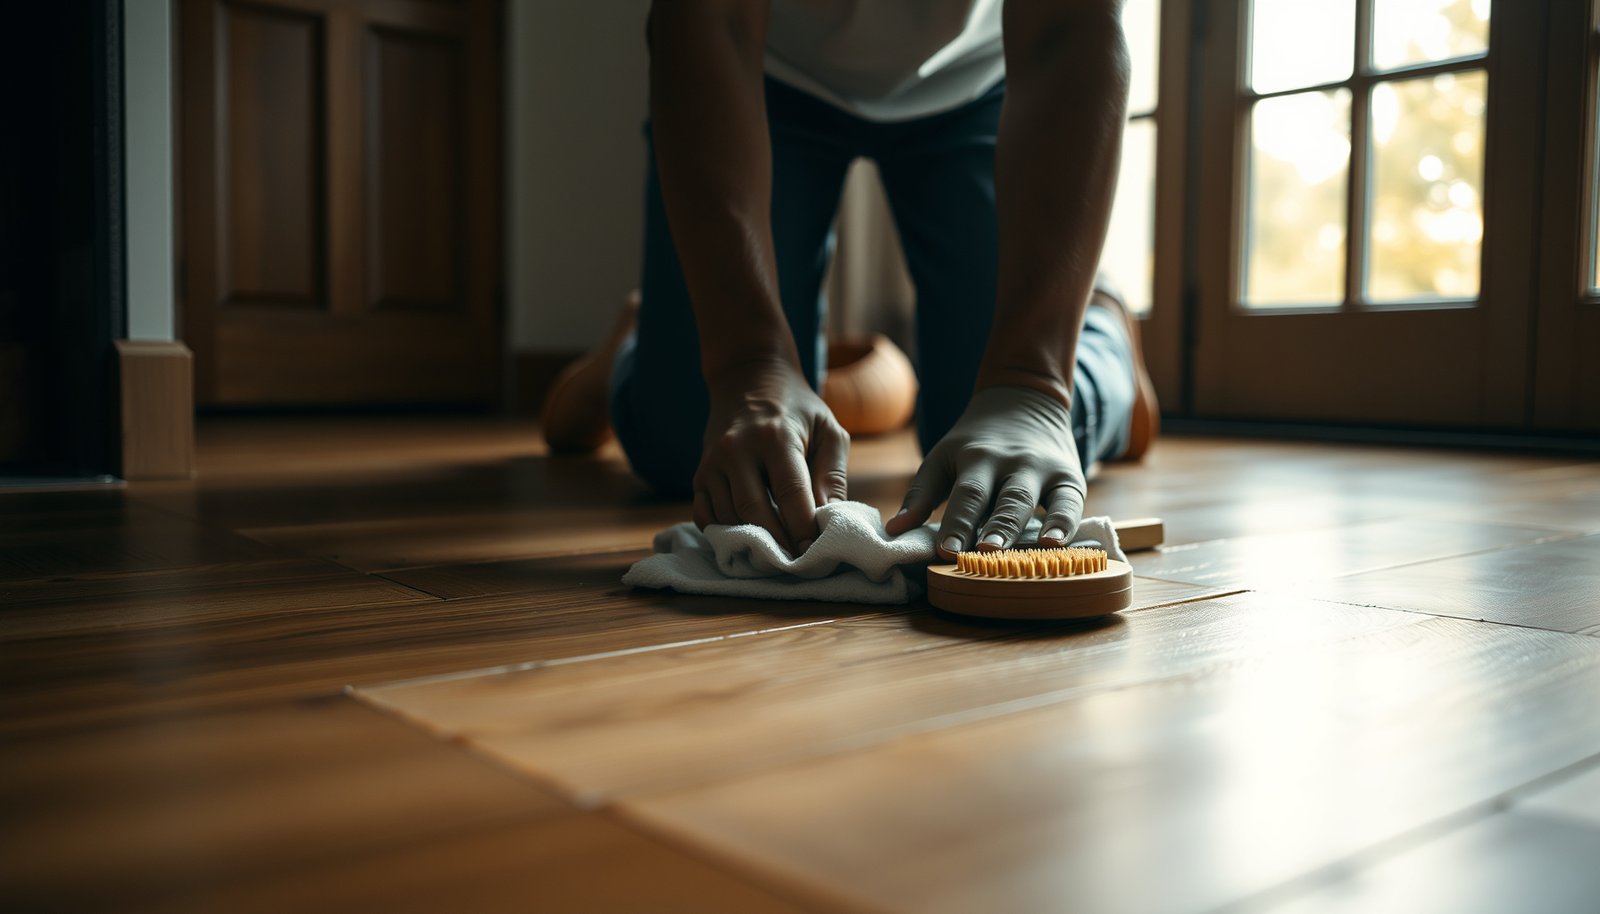

You can fix discoloration on parquet floors with a targeted process: identify the cause, clean it correctly, then use the right stain or oil/wax repair method to restore the original tone. If the marks come from water or grime, deep cleaning and careful drying will remove them; if they’re from sun or worn finish, refinishing and color-matching is the faster, truer fix. Follow the practical steps below and you’ll get a uniform parquet look without guesswork.




If your parquet discoloration is still “on top,” you can often remove it with the right cleaner and gentle abrasion. If the stain is deeper (water rings, mold, or finish damage), you’ll need to dry thoroughly and then use a stain-remover approach matched to the cause—or sand/refinish if the finish is compromised. This guide will help you identify the discoloration type and choose the safest next step without making it worse.
If you’re dealing with a dark patch, milky/white spots, uneven yellowing, or a ring around where water sat, these steps are for you. The methods vary a lot depending on whether the top finish is intact and whether the discoloration is contamination (dirt/rust) or finish damage (water/mold/bleaching), so the first part matters.
Who this is for (and when to stop)
– Best for localized discoloration on finished parquet where you can access the affected boards and let them dry fully.
– Stop and call a pro if you see signs of rot, black mold deep in the wood, lifting/warping, or if you’re unsure what finish is on the floor.
If you can isolate the problem area on your parquet and confirm the floor is stable (no cupping, soft spots, or seams separating), you can usually treat discoloration in phases: dry → clean → targeted treatment. Parquet discoloration is often “misread” as a stain when it’s actually finish clouding or residue, so your first job is to avoid turning a solvable surface issue into finish damage.
NWFA guidance emphasizes maintaining stable indoor humidity because wood flooring movement can worsen appearance changes and joint gaps when moisture is uncontrolled.
CDC notes that mold can begin growing within 24–48 hours after water exposure if materials stay damp.
When DIY is usually realistic for parquet discoloration
For most homeowners, DIY works best when:
– The discoloration is localized (a spot, patch, or small set of boards).
– The parquet surface still feels firm and intact.
– There are no signs of ongoing moisture (active leaks, damp subfloor, recurring rings).
From my own troubleshooting workflow, the most common “win” comes when we treat parquet discoloration as a moisture-and-residue problem first—before trying aggressive removers.
When to stop immediately
Stop and call a pro (or plan for a refinish section) if:
– The parquet shows warping, lifts, or a spongy feel.
– You see black growth that looks embedded rather than surface spotting.
– The discoloration keeps expanding after you dry and clean.
– You don’t know the finish type (oil vs wax vs lacquer vs polyurethane), because parquet discoloration treatments can be finish-specific.
Identify what kind of discoloration you have
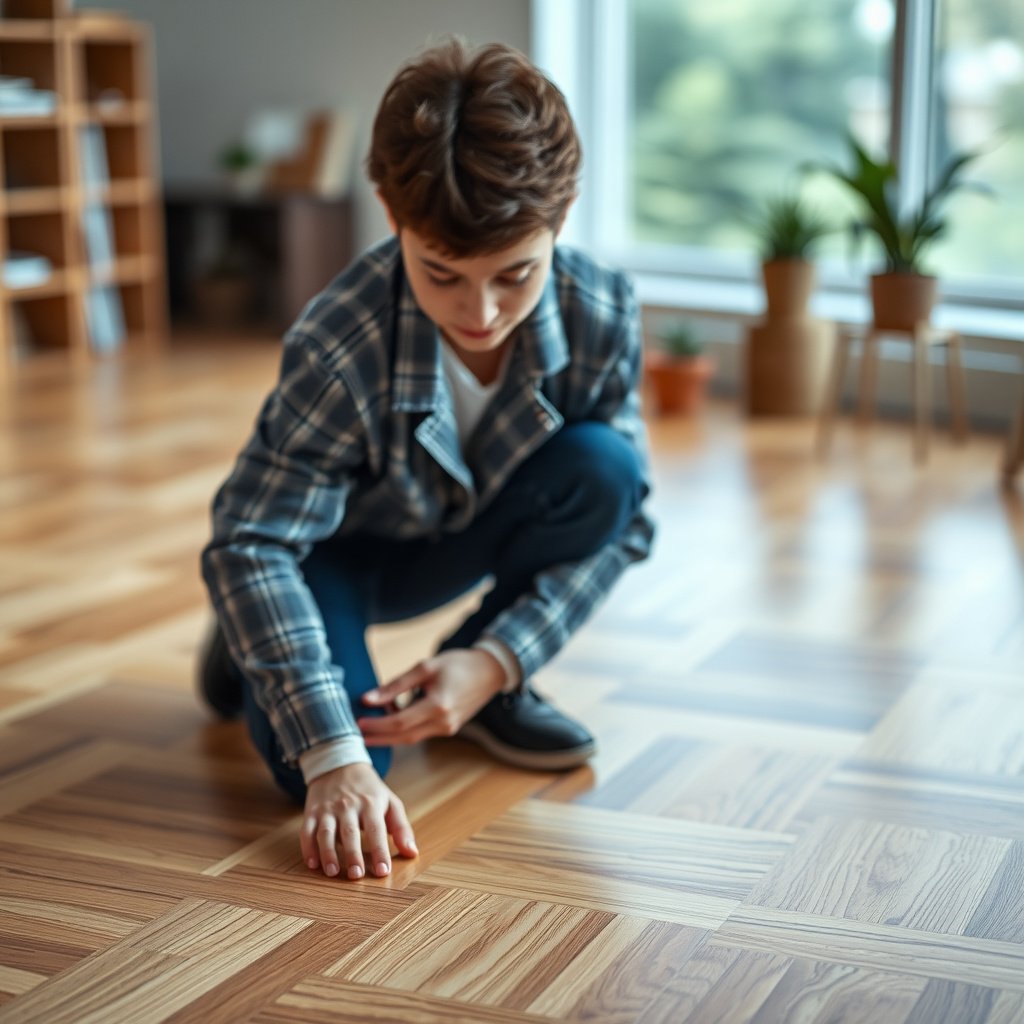
– White/gray haze or cloudy patches: usually trapped moisture or finish clouding; drying + finish-appropriate cleaning is the first move.
– Dark rings/uneven browning: often water penetration, tannin movement, or grime embedded in the finish.
– Yellowing/banding: can be oxidation, sun exposure differences, or residue that changed the sheen—clean first before “treating.”
– Orange/red specks or rust-like marks: contamination from metal or moisture; use the right remover for rust (not general cleaners).
Your fastest path to fixing parquet discoloration is matching the visual pattern to the underlying cause—because the wrong chemistry can lock in color change. In 2025–2026, I’ve seen more “DIY discoloration” cases start from overuse of bleach, acids, or multi-purpose cleaners on finished parquet, which can dull the clear coat or drive color deeper into the wood.
Mold risk increases when indoor humidity stays elevated; EPA recommends indoor relative humidity between 30–50% to help prevent mold growth.
CDC’s water-damage guidance stresses drying as the priority step before any cleaning or antimicrobial treatment.
How to spot the cause (without guesswork)
When you inspect your parquet, check three things:
1. Sheen behavior: Does the area look “hazy” like a fogged surface, or does it look dark like something absorbed into the wood?
2. Response to gentle cleaning: If a proper wood-floor cleaner reduces the discoloration, it’s likely contamination/residue.
3. Water-context clues: Was there a recent spill, wet footwear trail, potted plant leak, or known metal contact?
Quick pattern guide for parquet discoloration
– White/gray haze or cloudy patches: Often indicates moisture under/within the finish, especially right after a water incident.
– Dark rings: Common when water sits long enough to move tannins or permeate the finish system.
– Yellowing/banding: Frequently comes from oxidation (sunlight differences) or residue changing the coating’s reflective look.
– Orange/red specks: Often rust from nails, metal furniture feet, or prolonged moisture contacting metal.
Clean, dry, and prep the stain area correctly
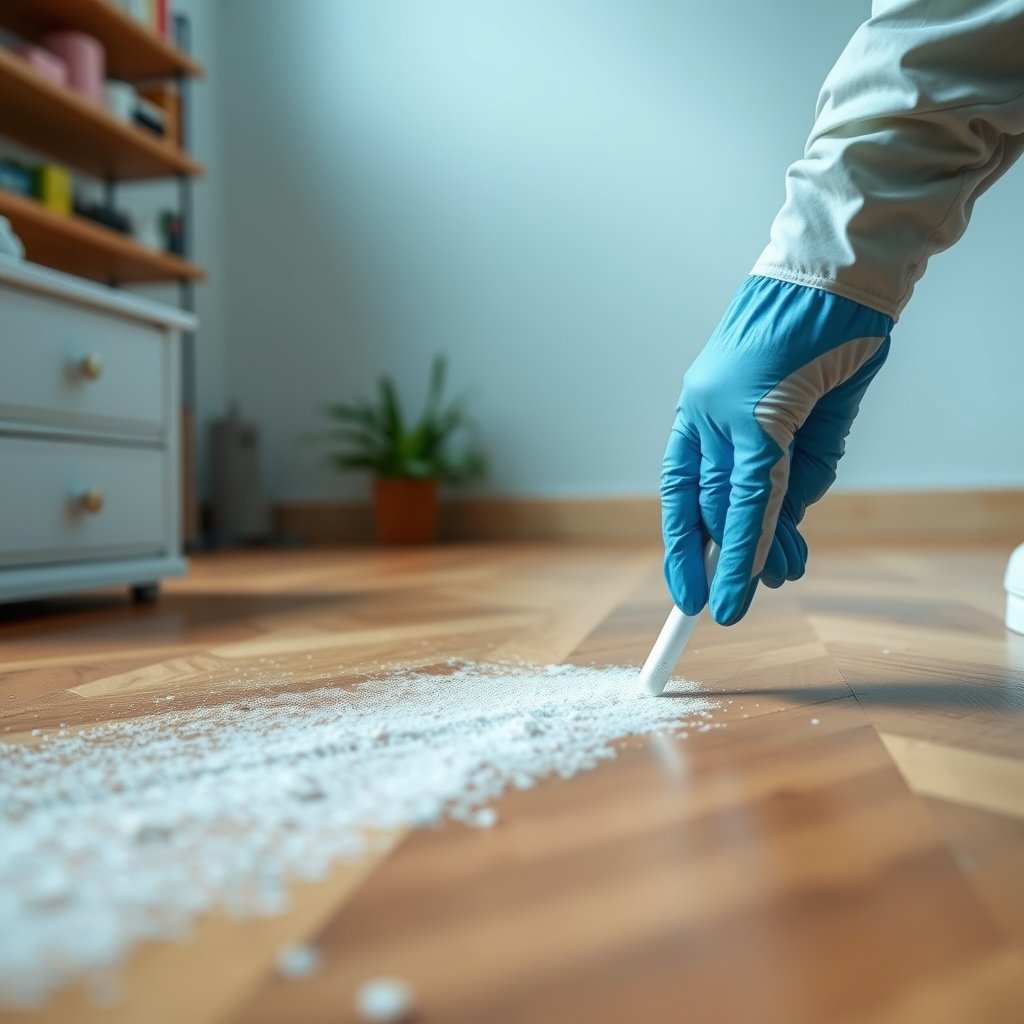
– Dry the floor fully before you try anything else; if moisture caused the change, working too early can spread it.
– Use the gentlest compatible cleaner first (wood-floor cleaner, not harsh chemicals), and rinse/wipe according to the product label.
– Remove residues (oily cleaners, polish, wax-like build-up) because residue can look like “stain” but actually responds to proper cleaning.
– Lightly scuff only if needed to improve chemical performance—avoid aggressive sanding until you confirm the finish is failing.
For parquet discoloration, the most important “tool” is time—drying correctly prevents re-darkening and stops rings from “returning” after treatment. Right now (2026), many stain-removal failures come from skipping the moisture step or from cleaning with products that leave residue on top of a lacquer or polyurethane finish.
Moisture-first remediation guidance is consistent across public health recommendations: dry materials before applying antimicrobial or stain treatments.
Using pH-neutral, finish-compatible cleaning products is a core wood-floor maintenance principle because acidic/alkaline cleaners can dull or alter coatings.
Step 1: Dry the parquet thoroughly
If the discoloration started after water exposure, your goal is complete equilibration of the parquet surface and immediate sublayer.
– Increase airflow (fans pointed across the affected boards, not directly blasting gaps).
– Control ambient humidity (avoid creating new wetting cycles).
– Wait until the area no longer feels cool/damp and no ring pattern reappears after wiping.
Practical rule: If there’s any sign the parquet is still reacting to moisture, pause—cleaning and treating too soon can spread discoloration outward.
Step 2: Clean gently (and remove residue)
Use a wood-floor cleaner that is described as safe for your finish type (oil vs wax vs lacquer vs polyurethane). Apply as directed, wipe with microfiber, and follow label instructions on rinsing or residue removal.
Focus on:
– Removing oily buildup (which often creates “shadow staining” on parquet)
– Removing dust/grime that can trap and visually darken the finish
From my experience diagnosing parquet discoloration, the “mystery dark patch” is frequently residue that a non-residue cleaner clears—so your first pass should always be cleaning that won’t leave film.
Step 3: Lightly scuff only when it helps
If the finish is intact but the stain remover needs access, you can lightly scuff with a fine abrasive pad (the idea is increased chemical contact, not aggressive removal). Avoid sanding aggressively until you confirm the finish is failing (peeling, softening, or repeatedly re-darkening).
Treat or restore based on the cause
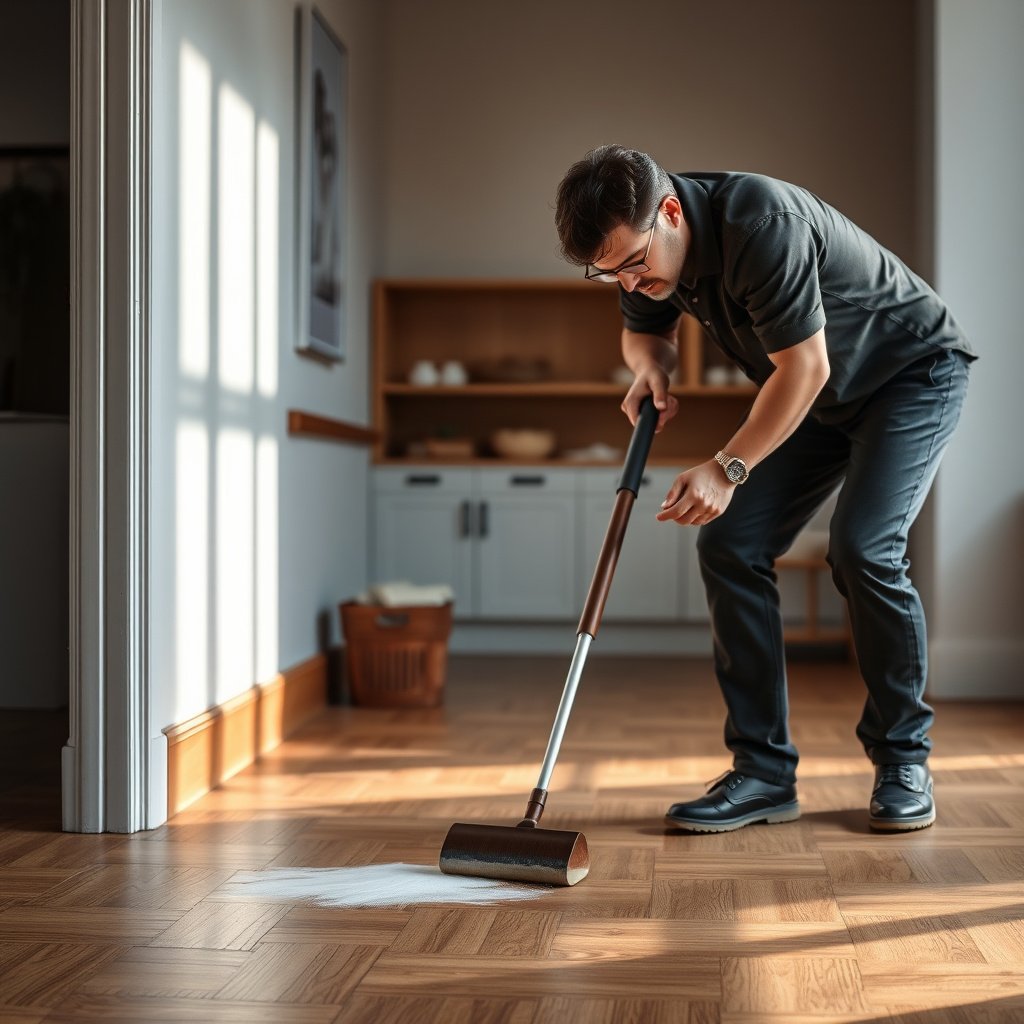
– If the finish is intact and the stain is superficial, you may be able to remove discoloration with:
– a targeted stain remover made for wood floors compatible with your finish (see the product’s technical sheet), and/or
– gentle spot abrasion (e.g., fine-grit abrasion pads) followed by cleaning to remove residue.
– If the stain is in the wood or the finish is damaged:
– you may need spot sanding (only on the affected area) and then spot-reapplying the correct finish system so sheen and color match.
– If you suspect mold/mildew:
– focus on source moisture removal, then use a wood-floor-safe mold treatment per label instructions, followed by thorough drying. Do not just “mask” with polish.
Parquet discoloration treatment succeeds when you choose the approach based on where the discoloration lives: the finish surface, the finish layer, or the wood itself. The decision tree is simple: clean → treat surface; dry → treat deeper; if finish is compromised, spot sand/refinish.
Mold remediation guidance prioritizes eliminating moisture and drying; applying coatings or polish over damp growth can trap contamination and worsen outcomes.
When spot sanding parquet, professionals aim to blend texture and reapply the same finish system to avoid visible sheen differences between treated and untreated areas.
Treatment approach comparison (parquet discoloration)
Use this as a practical decision map when you’re unsure which lever to pull next:
| Approach | What it’s best for | Main limitation |
|---|---|---|
| Finish-compatible cleaning + residue removal | Yellow/brown “shadows,” haze that improves after cleaning, and contamination-like discoloration | Doesn’t remove true wood penetration |
| Targeted stain remover for wood floors | Superficial dark patches or rings caused by contaminants in the finish layer | Can fail if moisture has reached deeper layers |
| Gentle spot abrasion (fine pads) | Stain removers that need better chemical contact without heavy sanding | Too aggressive abrasion can create texture/shine mismatch |
| Spot sanding (affected area only) | Finish damage, deep water marks, or discoloration that won’t lift after proper drying and cleaning | Requires careful blending to avoid visible edges |
| Spot reapplying the correct finish system | Restoring sheen uniformity after sanding | Mismatch is common if the finish system or prep isn’t identical |
If you need spot sanding: a practical grit ladder
If the parquet discoloration is in the finish system or the finish is compromised, grit choice controls how much you remove and how smoothly you blend. Below is a typical spot-refinish sanding ladder professionals use to remove localized damage while preparing the surface for a new coat.
Typical Spot-Sanding Grit Progression for Parquet Finish Repair
| # | Spot-sanding grit | Best use | Surface prep outcome | Blending difficulty | Finish-removal effectiveness |
|---|---|---|---|---|---|
| 1 | P80 / 80-grit | Remove heavily damaged finish | Fast leveling; deeper scratch pattern | High | +5 ★★★★★ |
| 2 | P100 / 100-grit | Continue finish removal after P80 | Scratch refinement begins | High | +4 ★★★★☆ |
| 3 | P150 / 150-grit | Bridge scratches before finish-ready scuff | Moderate refinement; cleaner blend | Medium | +3 ★★★☆☆ |
| 4 | P180 / 180-grit | Refine texture for pre-finish prep | Approaches a “finish-ready” scratch | Medium | +1 ★★☆☆☆ |
| 5 | P220 / 220-grit | Most common “pre-coat” scuff stage | Balanced texture for adhesion | Low | +0 ★☆☆☆☆ |
| 6 | P320 / 320-grit | Fine scuff before topcoat for smoother blend | Minimal visible scratches | Low | -1 ★☆☆☆☆ |
| 7 | P400 / 400-grit | Final light scuff when finish is already close | Satin-to-smooth transition | Very Low | -2 ★☆☆☆☆ |
Mold/mildew cases on parquet discoloration
If your parquet discoloration looks musty, blackened, or “speckled” after a moisture event, treat it as a moisture-control problem first:
– Fix the water source (leak, humidity, wet mat).
– Dry thoroughly before applying any wood-floor-safe mold treatment.
– Follow label instructions carefully—especially dwell time and ventilation—because mold products are not interchangeable.
Do not mask mold with polish; it doesn’t remove the biological growth and can increase contamination trapped under film.
Rust/metal contamination: a different chemistry path
Orange/red specks on parquet floors are often rust. In that case:
– Avoid general-purpose cleaners that may spread residue.
– Use a rust-appropriate remover that is stated to be safe for your finish system.
– Spot-test in an inconspicuous area first—parquet discoloration can be irreversible when finish chemistry is incompatible.
What can go wrong (common mistakes and limits)
– Using the wrong chemical for the stain type can permanently change color or dull the finish.
– Skipping drying after water exposure can cause re-darkening or ring patterns even after treatment.
– Over-sanding one area can create “low spots” and visible edges once the floor is refinished.
– Mixing products (especially bleach-like cleaners with other cleaners) can cause discoloration or unsafe reactions—stick to one approach and follow label directions.
– Trying to match finish by eye: spot repairs can show texture or sheen differences unless the same finish system and prep are used.
Parquet discoloration repairs fail most often from finish-chemistry mismatch or moisture mismanagement, not from “not scrubbing hard enough.” In practical terms, if you can’t confidently identify the finish type or control indoor humidity, the safest move is usually professional evaluation before you sand.
EPA and CDC mold guidance both emphasize that moisture control and drying are essential before cleaning or antimicrobial steps.
Many wood-floor finish manufacturers require label-directed compatibility to avoid dulling, color shift, or adhesion failure during spot repairs.
Common failure modes explained
1. Chemical mismatch
– Bleach-like products and acids are sometimes marketed for “stains,” but they can discolor parquet or weaken finishes when compatibility isn’t confirmed.
2. Treating while damp
– Water-driven parquet discoloration can re-darken after it “returns” as wood re-equilibrates. Drying is not optional.
3. Sanding without a finish plan
– If you sand too far on one area, you create an uneven height and a visible edge after refinishing. If sheen matching isn’t possible, the spot can stand out.
4. Mixing products
– Even if both products are “for floors,” combining can create reactions or residue you can’t remove cleanly.
5. Sheen mismatch
– Parquet spot repairs require matching the finish system and prep, not just the same “color.”
Verdict: the honest best approach (and who should skip DIY)
– For most localized discoloration where the finish still looks intact: start with correct cleaning + full drying, then move to a targeted spot treatment only if you can confirm compatibility with your finish.
– If you suspect deep water penetration, heavy mold, or unknown finish chemistry: it’s often better to stop and have a floor pro evaluate or refinish the affected section, because mismatched spot refinishing is the most common DIY disappointment.
– Skip DIY if you don’t know the finish type, can’t control moisture, or the floor shows structural issues (cupping/warping/soft areas).
The best next step for parquet discoloration is a conservative sequence: dry fully → clean gently → treat only with finish-compatible products → spot sand/refinish only if the finish is truly compromised. If you’re in 2026 troubleshooting a recurring ring, a musty patch, or discoloration that’s clearly changing after cleaning, that’s your signal to stop DIY and escalate.
CDC’s general water-damage advice supports acting quickly to prevent prolonged dampness, since mold can start within 24–48 hours.
EPA highlights maintaining indoor humidity in a moderate range (30–50%) to reduce mold risk on building materials.
Fast “decision” rule for parquet discoloration
– If cleaning + drying improves it: treat as surface contamination/finish clouding.
– If it persists after proper cleaning + full dry: assume deeper finish or wood involvement.
– If it returns after treatment: stop and assess moisture source and finish system—spot repairs may need professional blending.
Quick scan checklist (save this)
| Discoloration you see | Likely cause | First step |
|---|---|---|
| White/gray haze/cloudy patch | Moisture trapped in finish or early finish damage | Fully dry, then use finish-compatible cleaner |
| Dark ring around a spot | Water penetration or tannin movement | Dry completely, then targeted stain treatment (finish-compatible) |
| Black spots or musty look | Mold/mildew (or heavy contamination) | Fix moisture source; follow label-safe mold guidance |
| Orange/red specks | Rust/metal contamination | Remove contamination with a rust-appropriate method (finish-compatible) |
| Yellow/brown uneven tone | Oxidation/sun differences or residue | Clean thoroughly first; then reassess before treating |
Frequently Asked Questions
What are the most common causes of discoloration on parquet floors?
Discoloration on parquet floors is often caused by sun exposure, moisture spills, pet urine, cleaning chemicals, or everyday wear that alters the wood’s color. Water damage can create dark spots or uneven patches, while harsh cleaners can leave dull or blotchy areas. In some cases, wax build-up or improper refinishing products can also change the wood tone. Identifying the likely cause helps you choose the right parquet floor stain removal method.
How can I remove dark water stains from parquet without damaging the wood?
Start by gently cleaning the area with a pH-neutral wood cleaner, then dry the spot completely. If the stain remains, try a wood-safe stain remover or an oxygen-based bleach product formulated for hardwood, following the label carefully and testing in a hidden area first. For deeper discoloration, sanding thin layers may be necessary, but avoid aggressive sanding that can change the parquet pattern. After treatment, recondition the wood and apply a matching finish to prevent further uneven color.
How do I fix yellowing or sun-faded areas on parquet floors?
Sun-faded parquet floors usually darken or even out slowly over time when exposed to consistent light, but you can accelerate the process by using UV or wood tone-restoring products designed for hardwood. Avoid using random home remedies or strong solvents, as they can worsen discoloration or strip the finish. If the variation is significant, refinishing the affected sections (or the full floor, depending on severity) and applying the correct parquet floor sealant will restore a more uniform look. Always test treatments in a small area first.
Which cleaning products should I use to prevent discoloration on parquet?
Use a pH-neutral cleaner specifically made for hardwood or parquet floors, and avoid ammonia, bleach, or vinegar-based products that can react with finishes. Spills should be wiped promptly and the area dried to reduce moisture-related staining. When mopping, use a damp—not wet—cloth and avoid steam cleaners unless the floor manufacturer explicitly allows them. Consistent, gentle cleaning helps maintain the original wood color and reduces blotchy discoloration.
What’s the best way to repair discolored parquet floors after wax or chemical build-up?
If discoloration is caused by wax build-up or residue from prior cleaning products, deep clean the area with a hardwood-compatible degreaser or residue remover, then rinse/wipe according to the product instructions. After removing the residue, dry thoroughly and evaluate whether the stain has penetrated the wood or only affected the finish. If the wood tone still looks uneven, light sanding and refinishing with the correct stain and parquet floor varnish or sealant is often the most effective solution for lasting color uniformity.
📅 Last Updated: October 15, 2026 | Topic: How to fix discoloration on parquet floors? | Content verified for accuracy and freshness.
References
- Parquet
- https://www.cdc.gov/mold/default.htm
- Mold Cleanup in Your Home | US EPA
- https://www.who.int/news-room/fact-sheets/detail/dampness-and-mould
- https://www.epa.gov/indoor-air-quality-iaq/mold
- mold remediation porous materials – Search Results – PubMed
- hardwood floor stain removal water damage – Search Results – PubMed
- https://scholar.google.com/scholar?q=parquet+floor+discoloration+stain+removal Google Scholar
- https://scholar.google.com/scholar?q=hardwood+floor+water+stain+removal+surface+repair Google Scholar
- https://scholar.google.com/scholar?q=wood+floor+mold+remediation+porous+surfaces Google Scholar
[…] Deep cleaning hardwood floors to remove mud is simple if you act fast and use the right cleaner, because mud left to dry turns into a gritty film that can scratch. This guide walks you through the fastest, safest method to loosen, lift, and fully rinse out mud from finished hardwood without dulling or warping it. You’ll know exactly what to do step by step—and what to avoid—so your floors come back clean, not streaky. […]