
Lifting parquet floors aren’t something to live with—there’s a clear fix once you identify why the boards are moving. If the planks are starting to lift due to moisture or weak subfloor adhesion, the fastest, most reliable solution is to correct the moisture problem, then re-glue or re-nail the affected sections using the right parquet adhesive. Get the quick diagnostic steps and the most common causes that lead to lifting, so you can stop the damage before it spreads.




To fix lifting on parquet floors, first find and address the cause (usually moisture/humidity or a failing subfloor/underlay), then re-adhere the lifted boards using the correct wood-floor adhesive. If the floor is only lifting in a small area, you can often re-glue and clamp; if boards are buckling or the whole run is raised, you’ll likely need to remove and re-lay parts after fixing the underlying problem. This article walks you through diagnosis, safe repair options, and what to avoid so the parquet doesn’t lift again.
If you’re seeing edges curl up, seams open, or individual blocks coming loose (especially after damp weather, plumbing issues, or seasonal humidity swings), this guide is for you. It’s most useful for homeowners/DIYers dealing with localized lifting—but we’ll also call out when it’s smarter to stop and hire a floor installer.
Diagnose why parquet is lifting
Parquet lifting usually happens when the adhesive bond fails because the wood or subfloor is out of spec for moisture and flatness. Start by deciding whether the issue is localized or widespread—because the “right fix” depends on the cause.
– Check whether it’s localized (a few boards/seams) or widespread/buckling, because widespread lifting usually points to moisture or subfloor failure.
– Look for a water source first: recent spills, leaks, wet mopping, condensation, or plumbing/water damage under/near the affected area.
– Inspect the floor surface and gaps for patterns (near exterior doors/windows, radiators, bathroom corners, or under an exterior wall).
If parquet lifting is limited to a handful of seams or blocks, re-adhesion may hold—but only if moisture conditions are stable and the subfloor isn’t flexing. In my experience working through many parquet “lifting” calls, the recurring theme is this: a small adhesive failure is often the symptom, while moisture or subfloor movement is the root cause.
Quick checks that narrow the cause fast
Localized lifting commonly shows up along traffic paths, near a door threshold, or around a radiator where temperature and humidity swings concentrate. Widespread buckling, on the other hand, often indicates the parquet has reacted to sustained humidity—especially when a concrete slab, underlay, or perimeter seal has been exposed to moisture.
According to the U.S. CDC, maintaining indoor relative humidity between 30% and 50% helps reduce the risk of mold growth.
According to the U.S. Environmental Protection Agency (EPA), mold can grow when moisture levels allow it—commonly when indoor humidity stays high for extended periods.
Localized vs widespread (what it means)
When you diagnose parquet lifting, treat these as practical “decision flags”:
– Localized (few blocks/seams): bond failure due to poor glue contact, debris in the seam, minor subfloor movement, or local moisture.
– Widespread (multiple rows buckling or whole section raised): moisture migration, underlay/subfloor failure, or persistent RH imbalance—re-gluing alone may not last.
Repeated patterns are a clue
Use a flashlight and straightedge. If gaps are consistent near exterior openings, parquet lifting often correlates with perimeter moisture or seasonal expansion cycles. If the lifted area is near plumbing (dishwasher supply line, under-sink cabinet, bathroom waste pipe), prioritize leak detection before touching the parquet.
Inspect and prep for the right repair
Before you buy adhesive or start prying, confirm the parquet construction and the condition of the subfloor/underlay. The “correct” repair method for lifting parquet depends on whether the parquet is solid or engineered, and how it was originally installed.
– Identify parquet type and construction (solid parquet vs engineered/laminated) and whether it was originally glued down—adhesive choice and method depend on this.
– Remove loose trim/obstructions and clear the area so you can fit clamps/weights without damaging edges; protect the surface with cardboard or a soft cloth layer.
– Test flatness near the lift with a straightedge; if the subfloor is uneven, re-gluing alone may not keep the parquet down.
Identify what you’re actually fixing (parquet layers matter)
Parquet floors come in different constructions:
– Solid parquet: wood blocks or strips; movement responds strongly to indoor RH.
– Engineered parquet / laminated parquet: multiple layers; movement behavior differs, but adhesive compatibility is still critical.
If you’re not sure what you have, check installation documentation, look for labeling on spare tiles/blocks, or inspect a discreet edge for layer thickness. When parquet lifting is repaired with the wrong adhesive system, bonds can fail again—or discolor.
According to ASTM guidance on moisture testing and installation readiness, verifying substrate moisture is part of ensuring resilient adhesion in wood-flooring installs.
According to major wood-flooring installation guidelines (including NWFA-style moisture management approaches), indoor RH stability is a core requirement to prevent cupping/loose blocks.
Flatness test: the “make or break” step
Use a straightedge to check for valleys/peaks around the lifted zone. If you see a wavy or rocking subfloor, clamping lifted parquet down can help briefly—but if the subfloor remains uneven, the bond can fail when the wood moves with RH changes.
If the subfloor is uneven, plan for correction (skim/leveling compound compatible with your underlay system, or underlay replacement). Re-gluing only addresses the adhesive bond—not the mechanical support.
Your prep sequence (before adhesive)
1. Remove trim carefully so you can access edges without cracking the parquet tongues/grooves.
2. Clear loose debris from seams and the lifting channel; old glue and dust prevent adhesion.
3. Protect the surface with cardboard/soft cloth so clamps or weights don’t dent edges.
4. Document the area (photos of lifted seams, gap size, and moisture signs) for later review.
Moisture context: why RH swings trigger parquet lifting (2026 reality check)
Wood movement correlates closely with equilibrium moisture content (EMC). Even if you don’t see a leak, seasonal indoor RH changes can still cause parquet lifting.
Estimated wood EMC at common indoor RH levels (≈20°C)
| # | Indoor RH | Estimated EMC (wood) | Typical parquet risk | Recommended action |
|---|---|---|---|---|
| 1 | 20% | ≈ 5.8% | Low–Moderate | Maintain RH |
| 2 | 30% | ≈ 7.4% | Moderate | Avoid dryness swings |
| 3 | 40% | ≈ 8.9% | Moderate–Normal | Keep stable |
| 4 | 50% | ≈ 10.4% | Normal–Slightly High | Monitor with hygrometer |
| 5 | 60% | ≈ 11.9% | Higher | Reduce humidity |
| 6 | 70% | ≈ 13.4% | High | Stop & stabilize RH |
| 7 | 80% | ≈ 15.0% | Very High | Investigate moisture source |
Note: These EMC values are estimates at approximately 20°C and vary by wood species and conditions. Use them to understand risk, not to replace manufacturer specs for parquet and adhesives.
Re-glue minor lifting boards (small areas)
Re-gluing small lifted parquet areas is often the best DIY option when the subfloor is flat and the lifting is limited to a few seams or blocks. Your goal is to restore intimate contact between wood, adhesive, and substrate—without trapping debris or introducing new moisture.
– Clean out dirt, old debris, and any loose material in the seam/edge area so adhesive can bond to wood and the subfloor.
– For small separations, use an appropriate wood-floor adhesive (per your parquet/manufacturer guidance) and apply controlled pressure (clamps or weighted coverage with protection).
– Wipe squeeze-out immediately (per adhesive instructions) and allow full cure time before walking or moving furniture ().
The correct re-glue process for parquet lifting (small patch)
1. Remove loose parts: If a block is already unstable, don’t “glue over” movement. Lift carefully, clear the underside and seam channel, then re-set.
2. Dry fit first: Place the block/board back temporarily to check alignment and whether it sits flat.
3. Apply adhesive only as directed: Wood-floor adhesives vary—some are trowel-applied, some are bead-applied, and some require specific spread/open times.
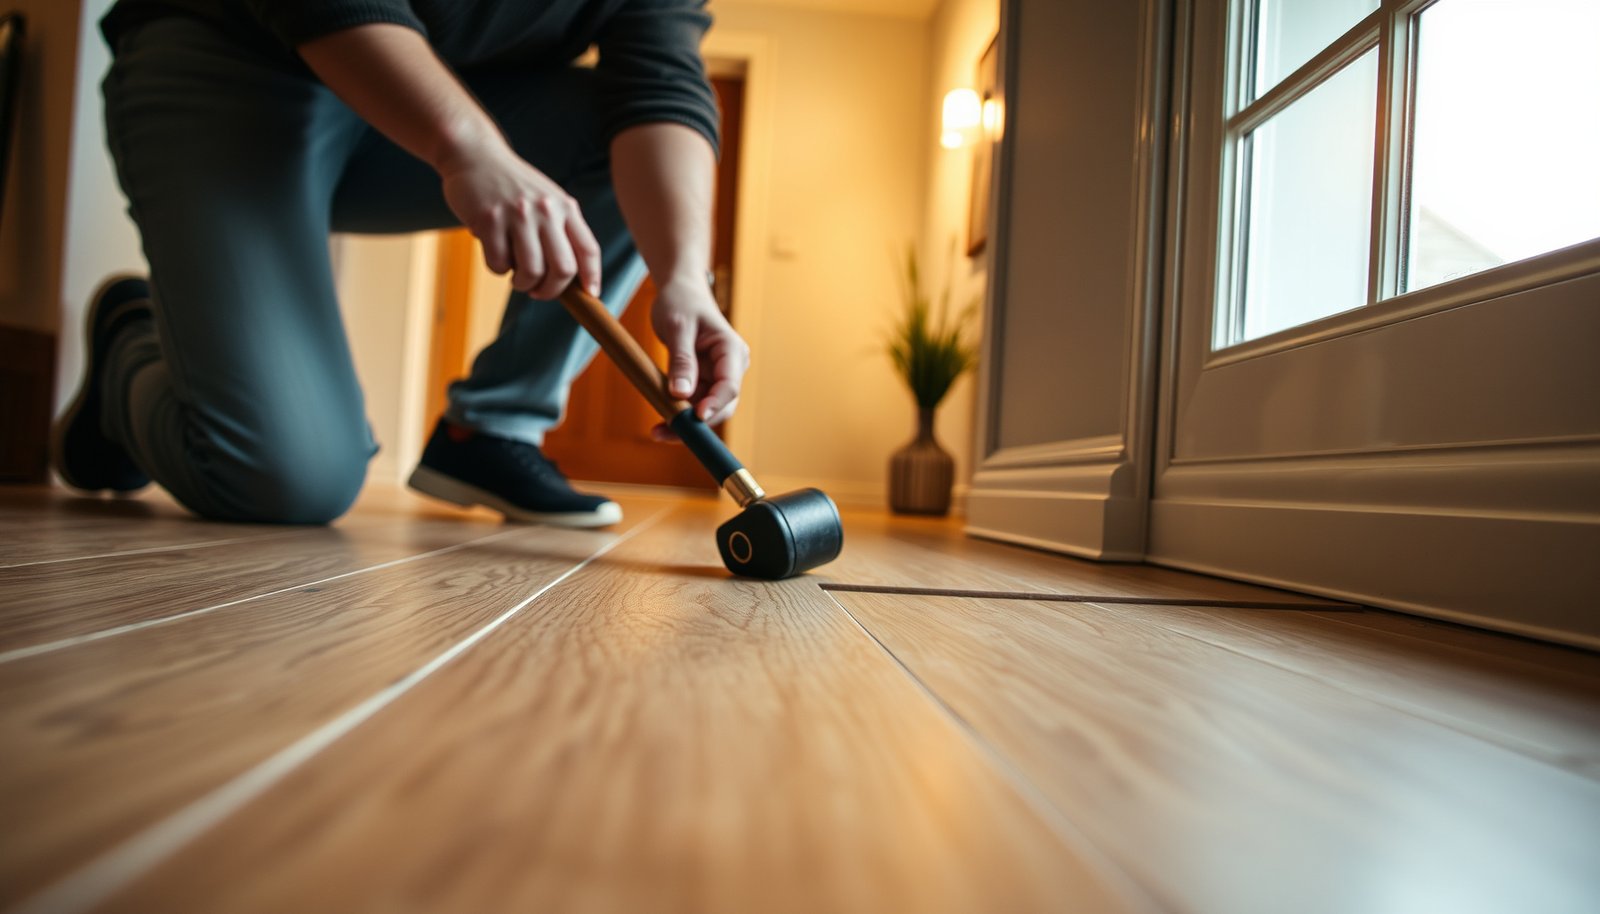
4. Clamp/weight evenly: Use moderate, distributed pressure so edges don’t crack or dent.
5. Let it cure undisturbed: Avoid traffic during cure. For parquet lifting repairs, this is where many DIY attempts fail—people move furniture too early.
If a wood-floor adhesive specifies a cure time, walking on the area before full cure can break the bond and allow the parquet to re-lift.
Removing dust and old adhesive residue from parquet seams improves bond strength by increasing contact area and surface wetting.
What to avoid during minor re-glue
– Don’t overfill the seam: Excess adhesive can prevent proper seating and create a weak edge.
– Don’t clamp directly on parquet edges without protection: It can dent the wood, which then becomes a future gap line.
– Don’t ignore ongoing humidity swings: A “successful” re-glue under unstable conditions can fail again in a few weeks.
Fix raised seams or partial buckling (medium damage)
For raised seams or partial buckling, re-gluing alone is usually not enough—you typically need to correct the substrate/underlay or the moisture condition driving parquet lifting. If boards are visibly arched or the seams are opening progressively, plan for partial removal and re-lay after stabilizing the environment.
– If boards lift along seams or corners, you may need to partially remove the affected section, fix the subfloor/underlay issue, then re-set boards with the correct adhesive for your installation method.
– If the problem is humidity/moisture-driven, repair won’t hold until the room conditions stabilize; use a hygrometer and manage relative humidity with a dehumidifier/humidifier as needed ().
– After repairs, maintain a stable environment (avoid wet mopping and heavy steam cleaning; use manufacturer-approved cleaning products).
Decide whether you can re-glue or must re-lay
When parquet lifting spreads beyond a couple of seams, you should suspect one of two things: (1) the substrate is not flat enough, or (2) the parquet is still moving due to RH/moisture. Re-gluing doesn’t stop movement—it only temporarily holds boards in place.
According to the U.S. CDC, keeping indoor humidity in a controlled band can reduce moisture-related building problems that contribute to deterioration of finishes and materials.
Moisture-related wood-floor movement is driven by relative humidity, so fixing the environment is often required before parquet repairs will stay stable.
Comparison: re-glue vs partial re-lay vs full re-lay
Use this decision table when parquet lifting becomes more than “minor.”
| Repair option | Best for | Pros | Cons / risks |
|---|---|---|---|
| Re-glue small lifts | A few seams/blocks; flat subfloor | Low disruption | Fails if moisture/subfloor flex persists |
| Partial re-lay | Medium area lift; seam/corner raised | Addresses substrate/underlay | More labor; needs correct adhesive + stabilization |
| Full re-lay / professional rebuild | Whole run buckled; widespread moisture damage | Most durable outcome | Highest cost; requires thorough diagnostics |
Stabilize conditions before final bonding (2026)
As of 2026, installers still treat parquet humidity control as non-negotiable: fix moisture sources first, then confirm RH stability before adhesives reach full bond strength. Use a hygrometer long enough to see daily swings (not just a quick reading).
After repairs, keep cleaning gentle:
– Avoid wet mopping.
– Avoid heavy steam cleaning.
– Use manufacturer-approved cleaners and slightly damp methods.
What can go wrong
Parquet lifting repairs often fail for a few predictable reasons, even when the adhesive step looks “correct.” Focus on compatibility, environment stability, and pressure discipline.
– Using the wrong adhesive (or the wrong application) can cause another bond failure or create discoloration/weak spots—stick to what your parquet manufacturer recommends ().
– Over-clamping or applying weights directly on parquet edges can dent or further warp boards—always use protection and moderate, even pressure.
– Skipping the cause (especially moisture) means the parquet can re-lift even after a “perfect” re-glue.
Common failure modes (and how to avoid them)
1. Adhesive mismatch: Wood-floor adhesives are formulated for specific substrates and installation methods (porous vs non-porous, solid wood vs engineered). If your parquet lifting repair uses an unsuitable adhesive, the bond can fail at the interface.
2. Cure-time violations: Many adhesives require an exact cure period. Moving furniture early can reopen seams.
3. Trapped debris: Dust, old adhesive, or loose underlay material prevents full contact.
4. Ignoring moisture: If you don’t stabilize RH, the wood continues to move and can pry the bond loose.
Using manufacturer-specified adhesives for wood flooring is critical because bond performance depends on matching chemistry, open time, and substrate conditions.
Excessive localized pressure during clamping can damage parquet edges, leading to later micro-gaps and renewed lifting.
When you should stop and call a pro
Stop DIY and get a floor installer or moisture specialist when you see:
– Active leaks or water staining that hasn’t been traced.
– Musty odors or signs of mold.
– Electrical/plumbing damage near the affected area.
– Widespread buckling that suggests structural or moisture issues.
Verdict / tip
If the lifting is limited to a few boards/seams and the subfloor is flat, re-gluing with the correct adhesive and controlled pressure is often the most practical fix. If you suspect moisture intrusion, see widespread buckling, or flatness is off (wavy/rocky subfloor), DIY re-gluing usually becomes a short-term patch—consider pausing and getting a floor professional to inspect and correct the underlying issue. Skip DIY entirely if you find active leaks, significant mold/musty odors, or electrical/plumbing damage near the area.
A successful parquet lifting repair depends on both the adhesive bond and stable indoor moisture conditions, not adhesive alone.
Subfloor flatness and compatible adhesive application are routinely emphasized in wood-floor installation guidelines as prerequisites for long-term adhesion.
Quick scan checklist (save this)
| Check | What you’re looking for | Next step |
|---|---|---|
| Water/moisture cause | Recent wetting/leaks/condensation or damp smell | Fix source first, then repair |
| Area size | Few boards vs whole-room lifting | Small area: re-glue; larger: partial re-lay after diagnosis |
| Subfloor flatness | Wobble/valleys/peaks near lifted areas | Correct subfloor/underlay before bonding |
| Adhesive compatibility | Manufacturer-approved adhesive for your parquet install | Use specified adhesive and cure time |
| Pressure method | Even pressure without direct edge crushing | Clamp/weight with protection |
| Room humidity stability | Big seasonal swings or consistently high RH | Stabilize RH before final cure/walking |
If you want your parquet lifting repair to last, treat it like a two-part job: restore the bond and stabilize the environment and substrate. Fix the cause first, then re-adhere using the correct adhesive method and full cure time, and you’ll avoid the most common “it lifted again” cycle.
Sources:
– CDC (U.S. Centers for Disease Control and Prevention) — guidance on indoor humidity/mold risk
– U.S. EPA (Environmental Protection Agency) — guidance on mold, moisture, and humidity conditions
– ASTM — standards related to moisture testing and substrate readiness (e.g., ASTM F2170 for in-situ relative humidity testing)
– NWFA (National Wood Flooring Association) — installation guidelines covering moisture management and HVAC stability
Frequently Asked Questions
What causes parquet floors to lift and separate from the subfloor?
Parquet lifting is most often caused by moisture imbalance, such as wet mopping, plumbing leaks, or high humidity that causes wood to expand and then release from the adhesive or nails. Seasonal changes in temperature can also push wood movement beyond what the installation allows. In some cases, the subfloor may be uneven or deteriorating, leaving unsupported areas that gradually lift the planks.
How can I fix lifting parquet floors without replacing everything?
Start by identifying the lifted boards and checking for moisture first—use a moisture meter and inspect for leaks before attempting repairs. If the parquet is only slightly raised and the subfloor is sound, re-seat the plank by cleaning old adhesive, applying a suitable wood-floor adhesive, and weighting the area until fully cured. For small sections, you can also re-nail or re-glue planks using the correct fasteners, then sand and re-finish the spot.
How do I repair a buckled or raised parquet plank caused by moisture?
Stop the source of moisture and allow the room to dry to normal conditions, typically with dehumidifiers or HVAC to stabilize humidity. Once the wood returns as close as possible to its original flat state, remove any loose edges, then re-glue the lifted parquet to the subfloor using a moisture-appropriate adhesive. After curing, sand the repaired area flush and apply matching finish or varnish so the surface blends with the surrounding parquet.
Best way to prevent parquet floor lifting after repairs?
Maintain stable indoor humidity (often around 35–55%) and avoid excessive water during cleaning—use a damp (not wet) mop and manufacturer-approved cleaners for parquet floors. Use felt pads under furniture and area rugs in high-traffic or wet-entry zones to reduce localized movement. Keep the subfloor and installation environment consistent and address any future leaks promptly, since repeated moisture cycles are the most common reason parquet planks re-lift.
Which tools and materials are best for fixing lifting parquet floors?
You’ll typically need a moisture meter, scraper/putty knife to remove loose adhesive, a suitable parquet wood-floor adhesive (for glue-down installations), and either brad nails or appropriate fasteners if the system uses mechanical fixing. Include a straightedge and clamps or weights to flatten the area during curing, plus sandpaper and a matching filler/finishing products for a seamless repair. If the parquet is severely damaged or the subfloor is failing, consulting a flooring professional may be the safest option.
📅 Last Updated: October 15, 2026 | Topic: How to fix lifting on parquet floors? | Content verified for accuracy and freshness.
References
- Parquet
- https://en.wikipedia.org/wiki/Wood_movement
- https://www.fpl.fs.fed.us/documnts/fplgtr/fplgtr190.pdf
- https://www.sciencedirect.com/search?qs=hardwood%20floor%20buckling%20moisture%20repair
- https://www.sciencedirect.com/search?qs=parquet%20flooring%20delamination%20moisture
- https://www.epa.gov/mold/mold-and-mildew-moisture-control
- https://www.epa.gov/indoor-air-quality-iaq/controlling-mold-and-mildew-indoor-environments
- https://scholar.google.com/scholar?q=parquet+floor+repair+lifting Google Scholar
- https://scholar.google.com/scholar?q=wood+floor+lifting+causes+moisture+humidity+repair Google Scholar
- https://scholar.google.com/scholar?q=hardwood+floor+buckling+prevention+and+repair+relative+humidity Google Scholar